


rudydubya
Well-Known Member
- Joined
- Nov 26, 2008
- Messages
- 337
- Reaction score
- 7
She looks better now that she's cleaned up and uncluttered. I made the spark plug from a Fox glow plug body and a sample of Corian countertop I got from a local home improvement store. It worked OK, but I broke off the bottom electrode trying to adjust the gap (note to myself -- those plugs weren't meant to be adjusted). Still worked even after that, the spark path was between the middle electrode and the side of the body. But I thought a hotter plug might be better because of the way the plug was situated in the head, and bought a Rimfire from Jerry Howell. I think it runs a little better with the Rimfire. The one I made is shown in these pictures.
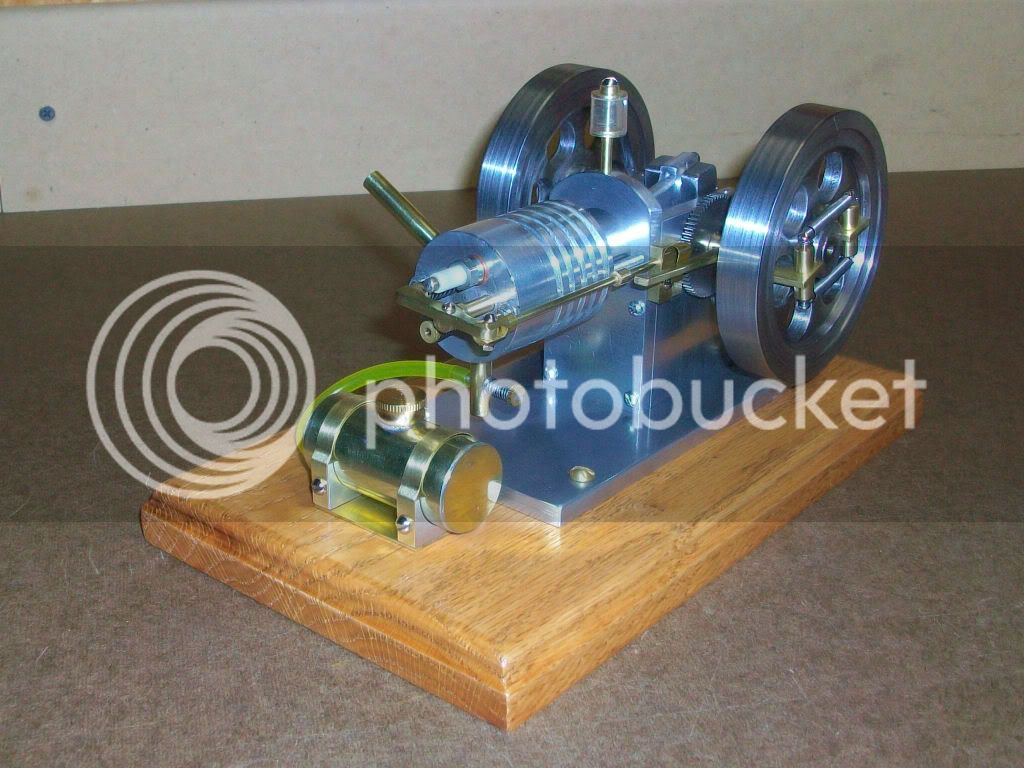
I made the fuel tank body from a piece of 1" diameter brass toilet tank overflow pipe and some brass sheet for the ends. The cap and fill tube are brass lamp parts.
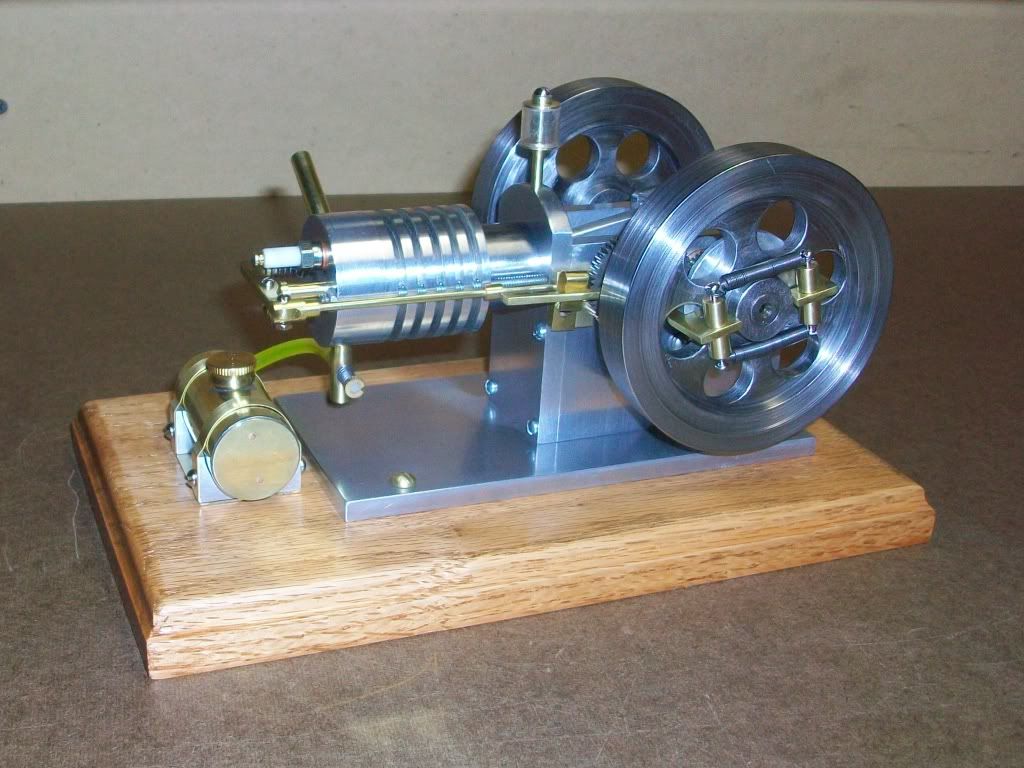
I made all the springs from music wire using a tool described in Model Engine Builder magazine. The hardest for me to get right were the intake valve spring and the flywheel governor springs.
The plans give the option of placing the spark plug in the side of the head or in the top of the head. I chose the top because I thought it might be easier to make that way, but if I had it to do over again I'd put it in the side. It's harder to insert and remove in the top, and I was getting some occasional sparking to the rocker arm until I insulated the plug wire better.
Rudy
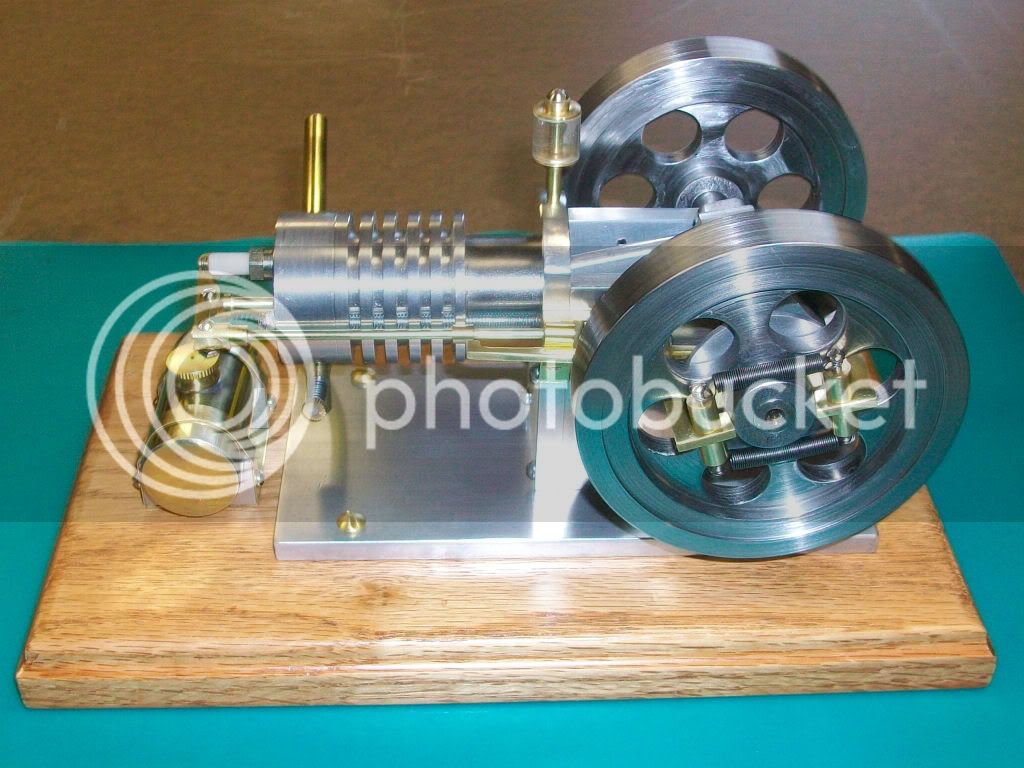
I made the fuel tank body from a piece of 1" diameter brass toilet tank overflow pipe and some brass sheet for the ends. The cap and fill tube are brass lamp parts.
I made all the springs from music wire using a tool described in Model Engine Builder magazine. The hardest for me to get right were the intake valve spring and the flywheel governor springs.
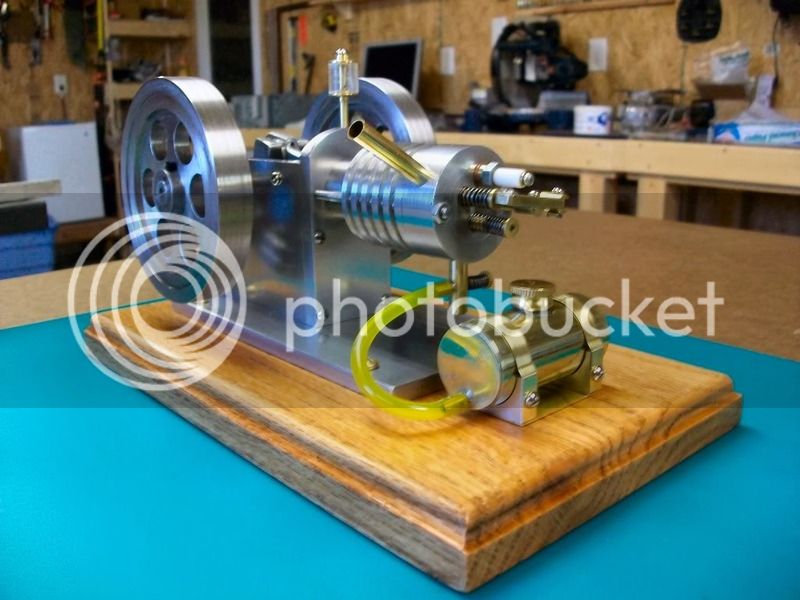
The plans give the option of placing the spark plug in the side of the head or in the top of the head. I chose the top because I thought it might be easier to make that way, but if I had it to do over again I'd put it in the side. It's harder to insert and remove in the top, and I was getting some occasional sparking to the rocker arm until I insulated the plug wire better.
Rudy
")