My "Chuck's Horizontal Single"

Home Model Engine Machinist Forum

Help Support Home Model Engine Machinist Forum:

This site may earn a commission from merchant affiliate links, including eBay, Amazon, and others.

bretk

Well-Known Member
Joined
Apr 22, 2008
Messages
164
Reaction score
0
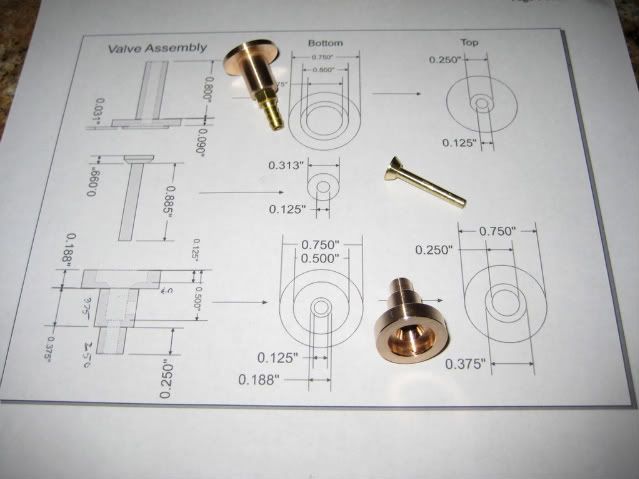
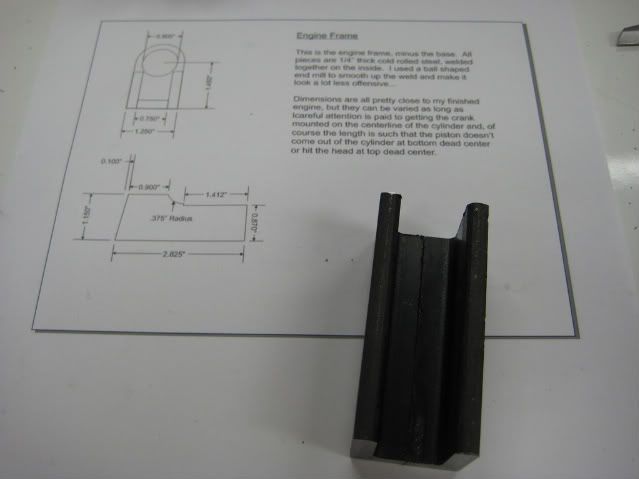
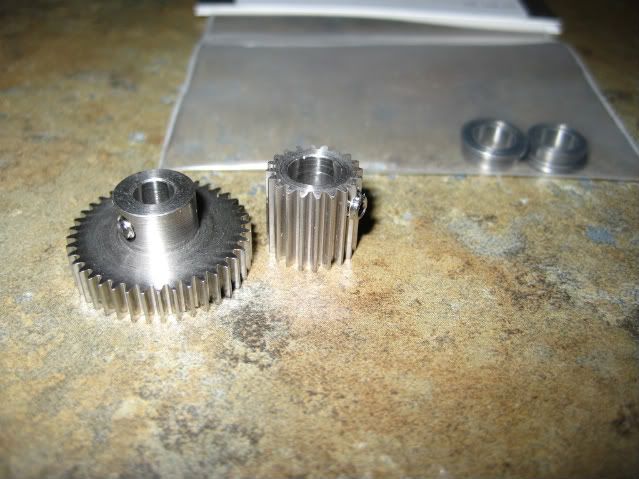
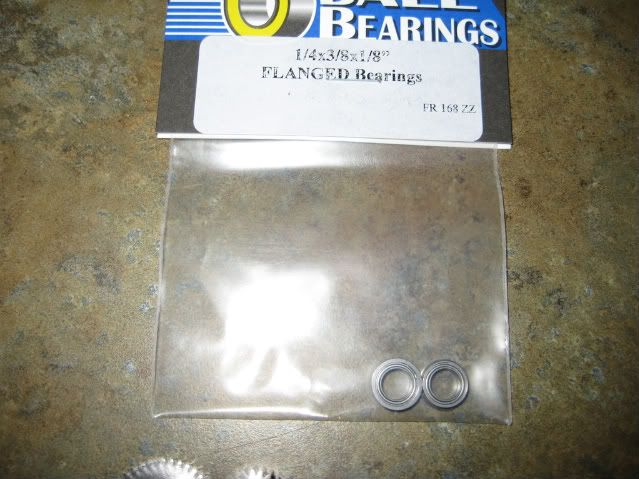
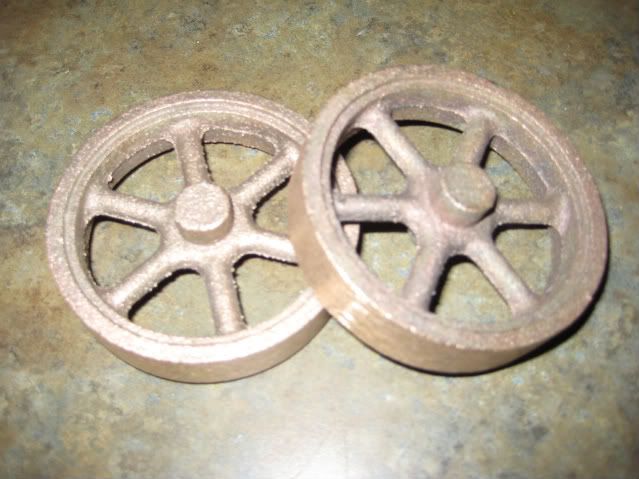
I have Started a version of Chuck's Horizontal Single. I Just Can't seem to get theat Darned Poppet Valve Sound Out of My Head :big: :wall: :big: So I Gotta Make one of my own! Is anyone else planning a build of this engine? If so I would be happy to do a step by step as I make my pieces parts.
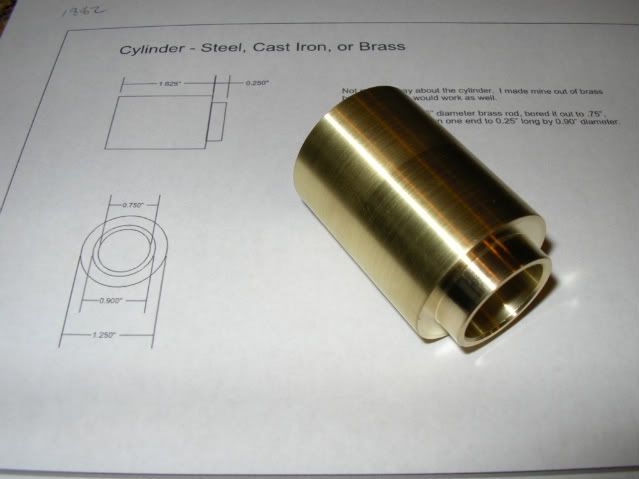
My Cylinder:
IMGP0234.jpg


-Bret
 
Please do a step by step. If I don't build I still learn so much by seeing it done.
 
Great Start, Bret. Sure hope I didn't make any mistakes on the drawings! :eek:

If anything looks odd or a little wrong, let me know before you start making swarf.

Guess I better get back to finishing the drawings...

Chuck
 
Did I miss the plans? Did you post them already Chuck?

Eric
 
I've got the head made (in brass). Planned to do the cylinder today, but got sidetracked.

I'd be interested in your 'blow by blow' if you do it.
 
Bret,

I have also started building Chucks Horizontal Single. I am building it in Autodesk Inventor and in the shop at the same time. The cylinder was layed out last night. Like you when I heard the engine running I knew I had to make one. I will be following your thread and Chucks plans and add when I can.

Thank's to both you and to Chuck for the plans.

Jim Geib
Mansfield, Ohio
 
I discovered 'Chucks Way' a while back, and with Chucks great descriptions and diagrams, I managed to make my own.

If you have a longing to make an ic engine, without the hassle of ignition, carburation and cooling, this is defintely the way to go.

Thank you Chuck

John
 
Thanks Chuck.

What do you think of a team build for this engine?

Eric
 
Yes, please on the step-by-step. I'm currently working on Elmer's mill engine, which at my pace will probably take months to finish. But Chucks engine is definitely the one after that.
 
Eric,

I think this would make a great team build, and I am very willing to participate ;D

-Bret
 
Brass_Machine said:
Thanks Chuck.

What do you think of a team build for this engine?

Eric

Eric, if you are asking me, I wouldn't mind if the group wanted to do a team build. However, I wouldn't want to participate, other than answer questions or consult. I have a very difficult time making more than 1 or 2 of something exactly alike. I tend to be more of a fitter. ;D

Chuck
 
Installment # 2

Valve Parts

IMG_0011.jpg


Tonight was spent on the 3 valve parts for Chuck's engine, I had some nice 3/4 bronze lying around so I thought it would make a nice Bling Counterpoint to the Brass Cylinder ;D I started with the external work in the 3 jaw and turned all diameters per Chuck's drawing except the Inlet pipe. I had some nice Clippard valve 10-32 Barb fittings laying around and thought it would work nice for the inlet hose. so I left the inlet pipe .375 and only .500 long and tapped 10-32. Parts were Parted ::) off approx .01 thick.

The valve was turned from 5/16 brass rod using a 3-c collet (gotta love collets in a lathe ;)) and a 60 degree taper was put on the valve seat as that was the only countersink I had available at the time for the valve seat. Chuck, I hope it's not too steep.

Valve body was then flipped and drilled .120 thru, then .189 to a depth of .500, then finally a 1/2" endmill was put in the tailstock chuck and brought in to a depth of .125 per the dwg. then a 60deg countersink was used to create the valve seat.

Valve cap was chucked and the .500 step was machined. Finally a 3/8 endmill was chucked in the tailstock and brought in to create clearence for the valve to rise.

-Bret

 
Looks great. I don't think 60 degrees will be too steep.

You may have noticed that I added the drawings for the engine frame tonight. Did you get your angle iron yet?

Chuck
 
Chuck,

Not yet, I hope it comes in today's mail so It gives me something to work on this weekend :) Speedy metals is usually pretty quick in shipping (pun intended) so I expect it soon.

-Bret
 
Speedy Metals Delivered Yesterday! So I started on the engine frame. Material is 1.25 by 1.25 by .25 hot rolled steel. I had forgotten how hot milling steel chips can get without the coolant bath of a cnc machine! (especially landing on your arms) I guess i've been too spoiled working with brass and aluminum :big:. Material machined to length then milled one flange on each part to height of .625 still not sure how I am going to join them, am worried that welding them together will warp/throw things out of alignment. What does the group think? ??? I was thinking of attaching each side to the base plate seperately and using the cylinder endplate to join them with bolts. Here is a pic of them machined to width.

-Bret
pic008.jpg
 
I wanted to do a reply on materials sources for this engine. So Here is where I found items (with Chuck's Guidance)

Gears:
http://www.sdp-si.com/estore
Stainless Steel Gear Item #'s
S1086Z-048S020 2 $13.91/Each (small Gear)
S1084Z-048S040 2 $13.60/Each (large Gear)
pic002.jpg


Bearings:
http://stores.ebay.com/RCBoyz
Great Source of inexpensive small ball bearings approx $1.00 ea and shipping for 14 bearings was only $2.00. Make sure you ask for combined shipping discount, it will be better then the automatic ebay discount!
pic003.jpg


Flywheels:
http://www.tinypower.com/store2.php?crn=60&rn=297&action=show_detail
Bronze flywheels 3" dia, nice castings at only $8.50 each. Stock Up!!!!
pic004.jpg


Steel and Other Metal Not in my Recycle Bin ;)
http://www.speedymetals.com/
Quick shipper, pretty reasonable prices, can buy in small quantity with no surcharge.

-Bret

 
bretk said:
still not sure how I am going to join them, am worried that welding them together will warp/throw things out of alignment. What does the group think? ??? I was thinking of attaching each side to the base plate seperately and using the cylinder endplate to join them with bolts. Here is a pic of them machined to width.
-Bret

I agree with you, Bret. Just use two screws each side up through the bottom plate, then screw the front plate to each side. That's essentially what I did on this engine, except I had room to come in from the top:

IMGP0533.jpg


Also this one, but the bolts come up from the bottom:

DSCN2044.jpg


Chuck
 
I just finished my first ever "wobbbler" and I may try and build this engine next. Is there a video/audio clip somewhere of this engine running?---Brian
 
Chuck just posted a video for me on the thread where he is posting the plans. this will definitely be my next build.---Love the sound!!!
 
Back
Top