metal for steam engine??

Home Model Engine Machinist Forum

Help Support Home Model Engine Machinist Forum:

This site may earn a commission from merchant affiliate links, including eBay, Amazon, and others.
Great work Kye especially being at Uni at the same time!
 
hi all!!

so its been quite some time since I've posted anything in here, but i have been busy working on the steam engine whenever Ive had time.
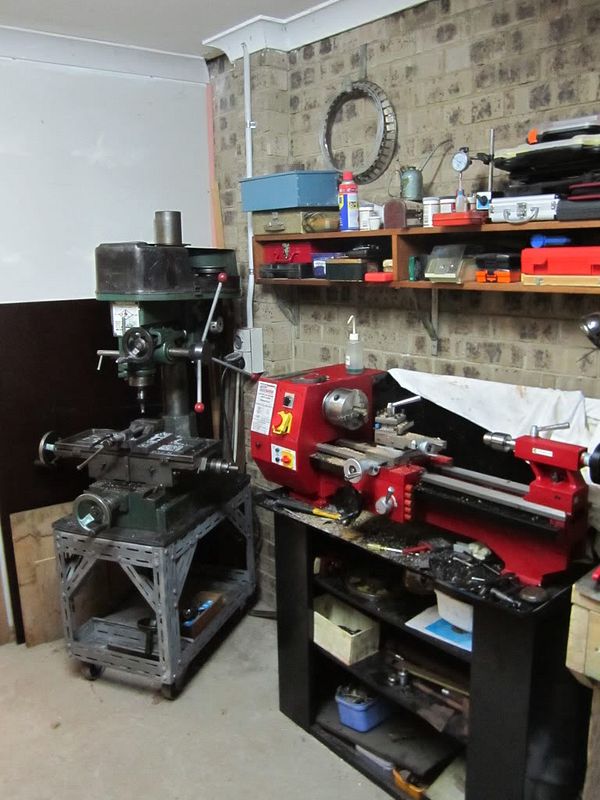
since the last time you heard from me i have made some trastic changes to my workshop :) 
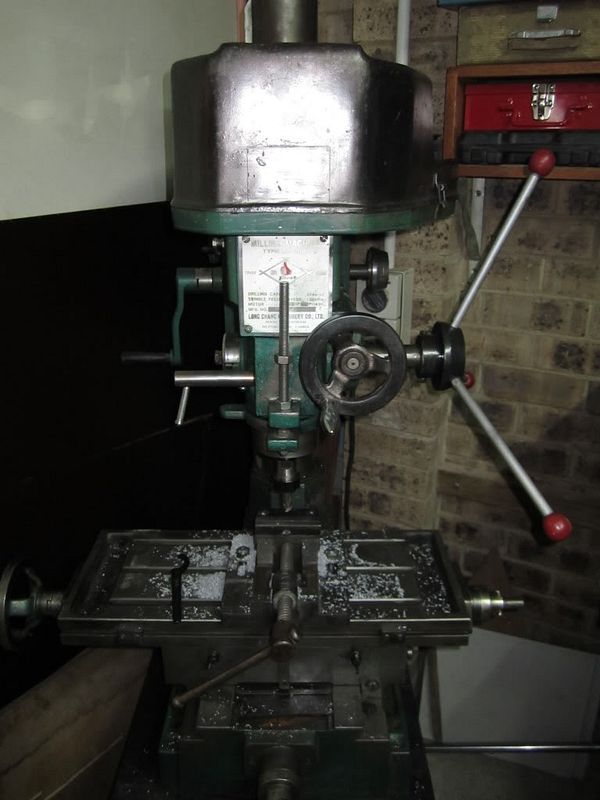
with the purchasing of a lathe, a heap of tooliing for it and a mill which i only very recently got.
004-6.jpg

003-6.jpg

002-5.jpg


my workshop also now has quite a bit of other machinery as well including a simple mig welder, a furnace that i made, an elcheapo belt and disk sander, band saw as well as a few other wood working tools.

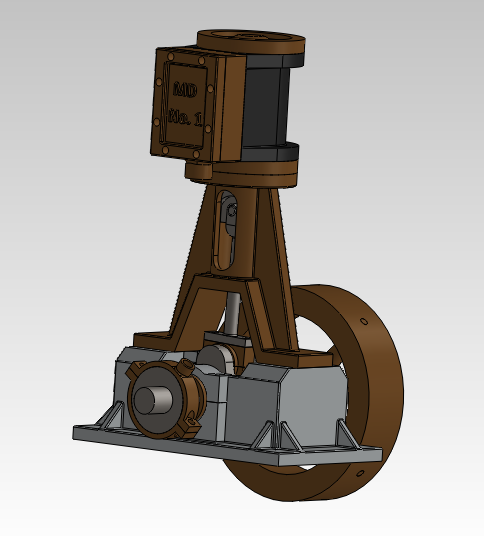
during the yr Ive made changes and design altercations to the steam engine and for the most part the design is finalized.
Capture.png


within the last couple of weeks Ive been able to get away from my uni work and into the garage to start on making all the patterns for the different components.

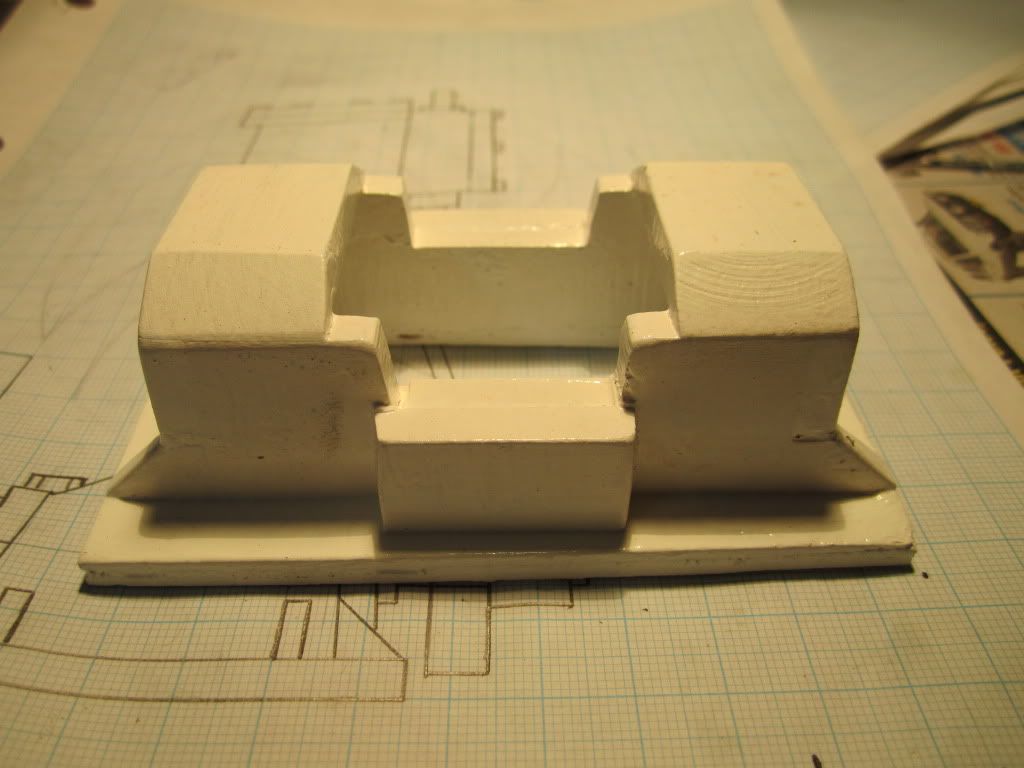
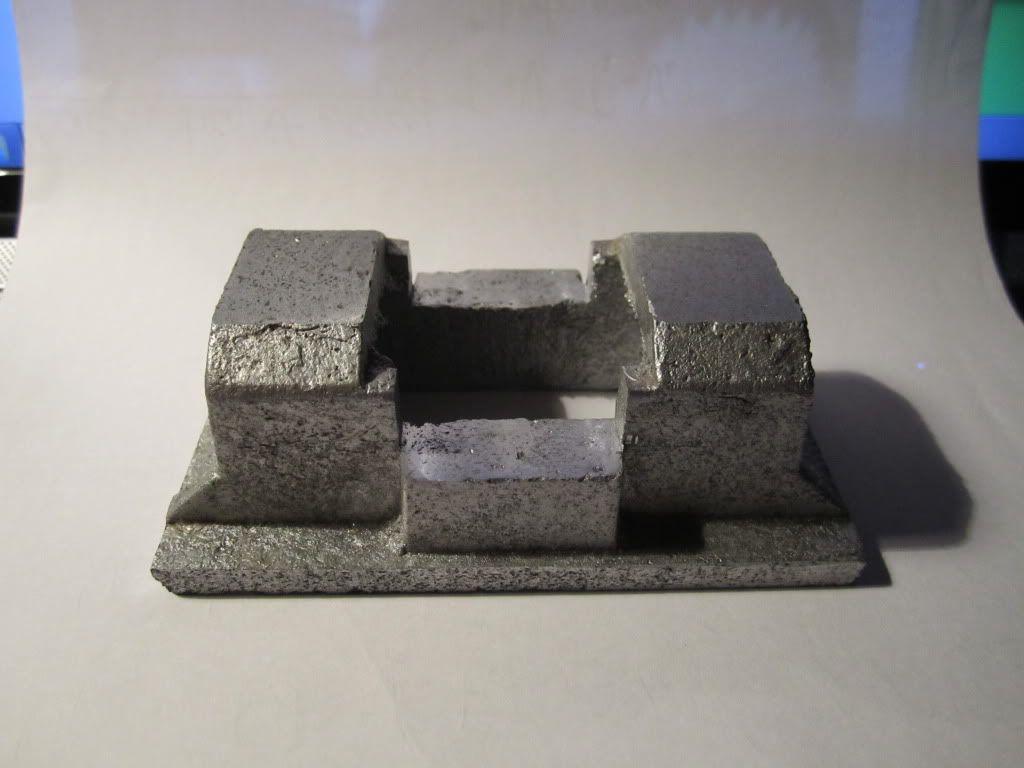
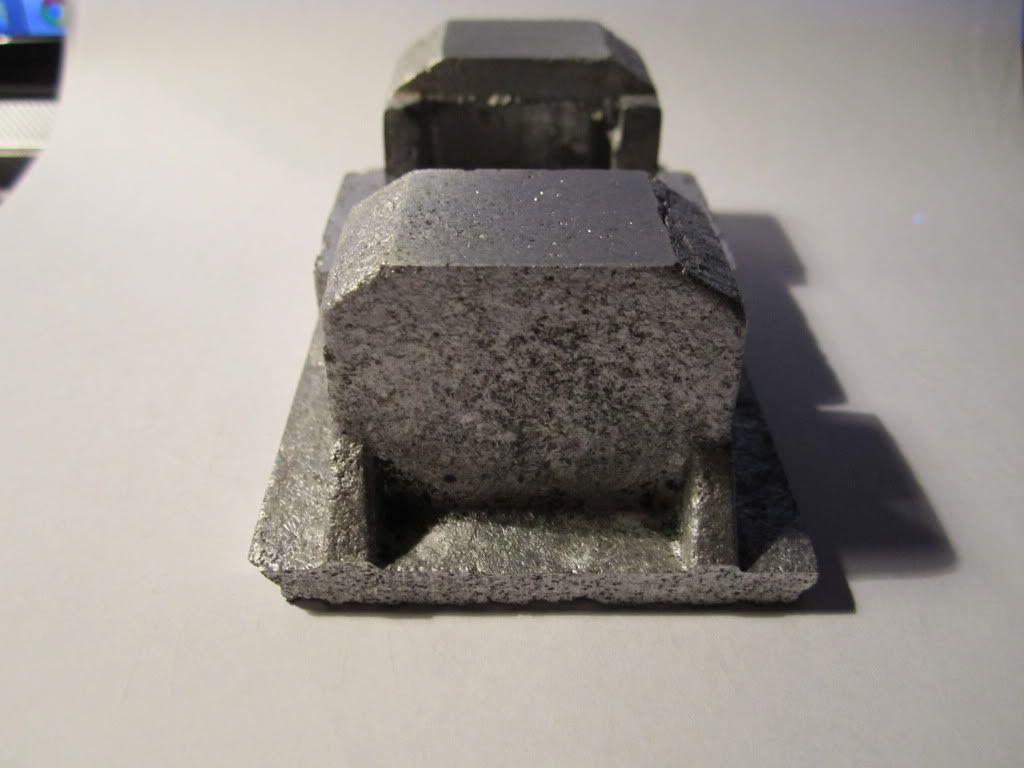
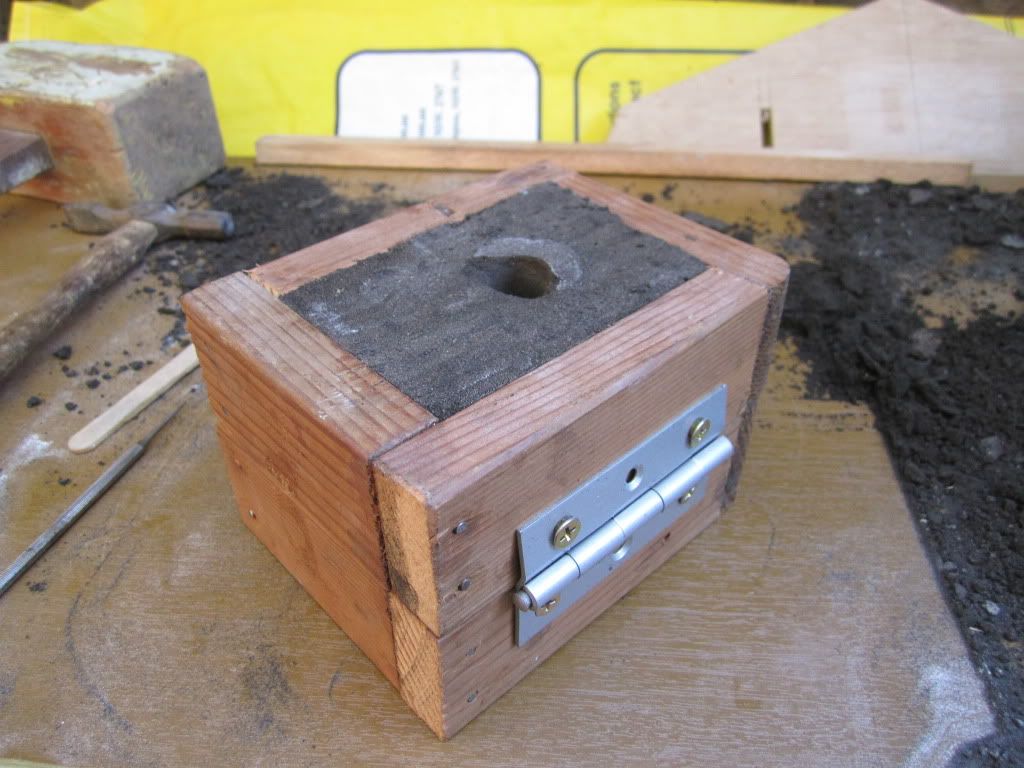
this is the new base i will be making
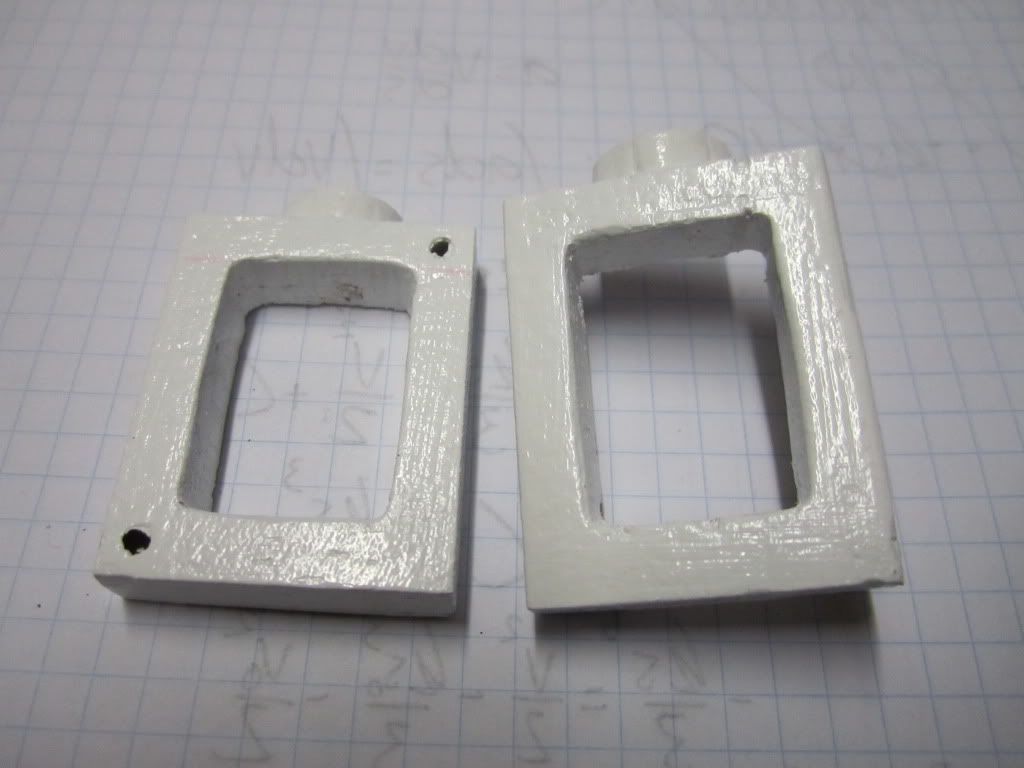
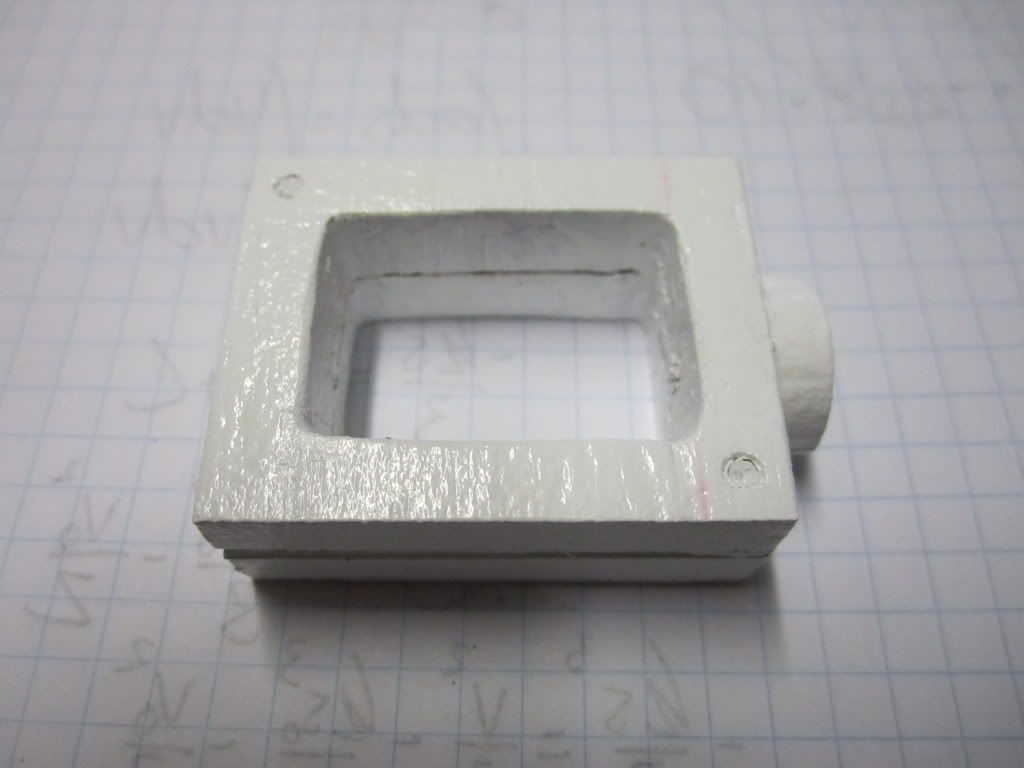
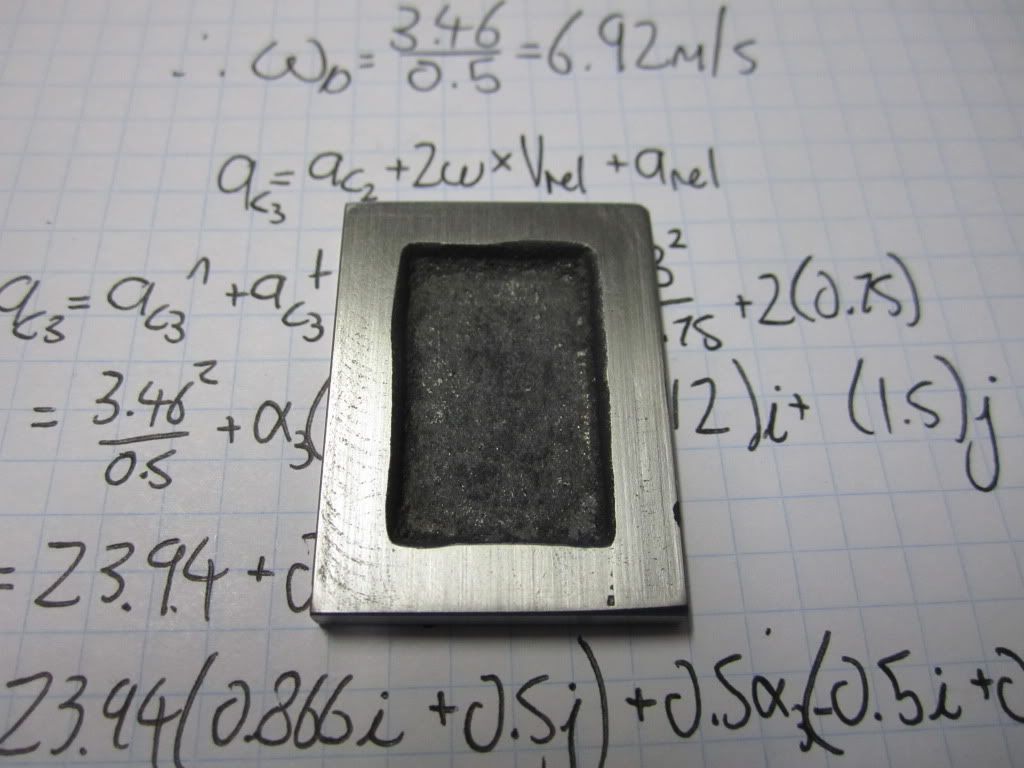
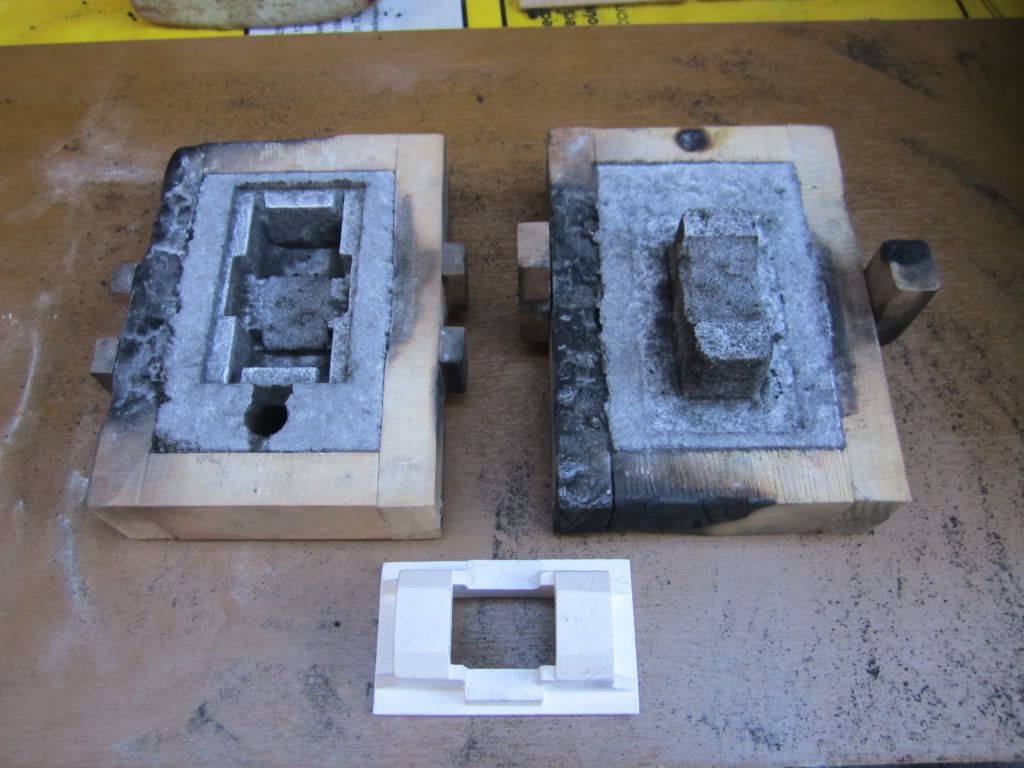
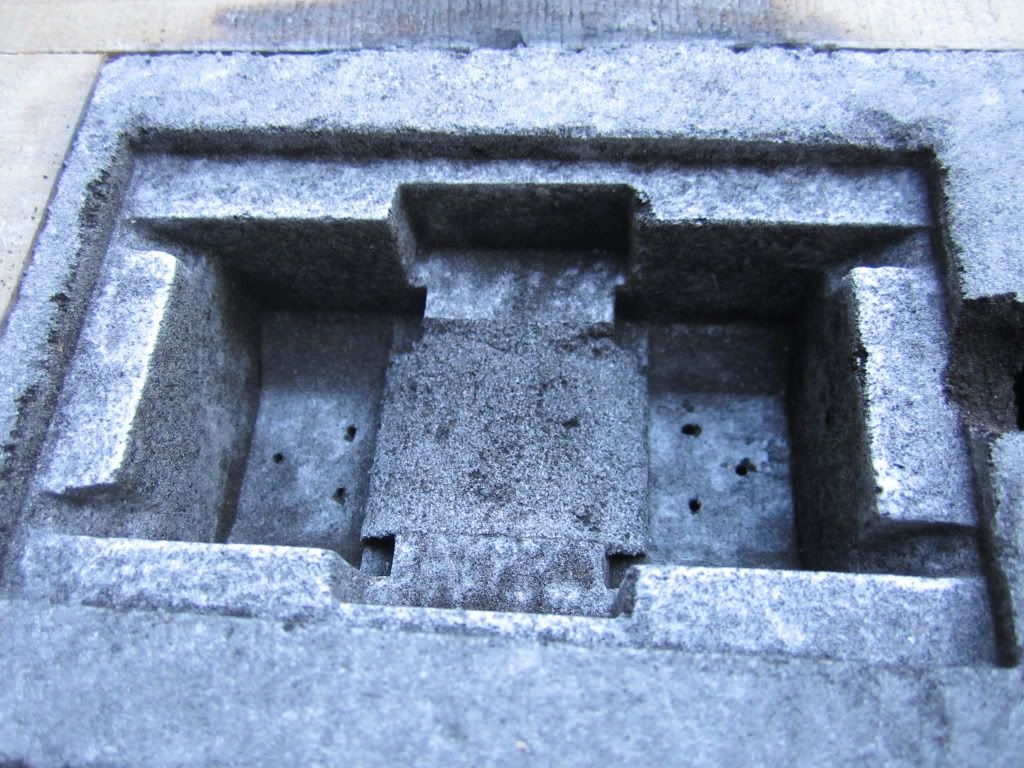
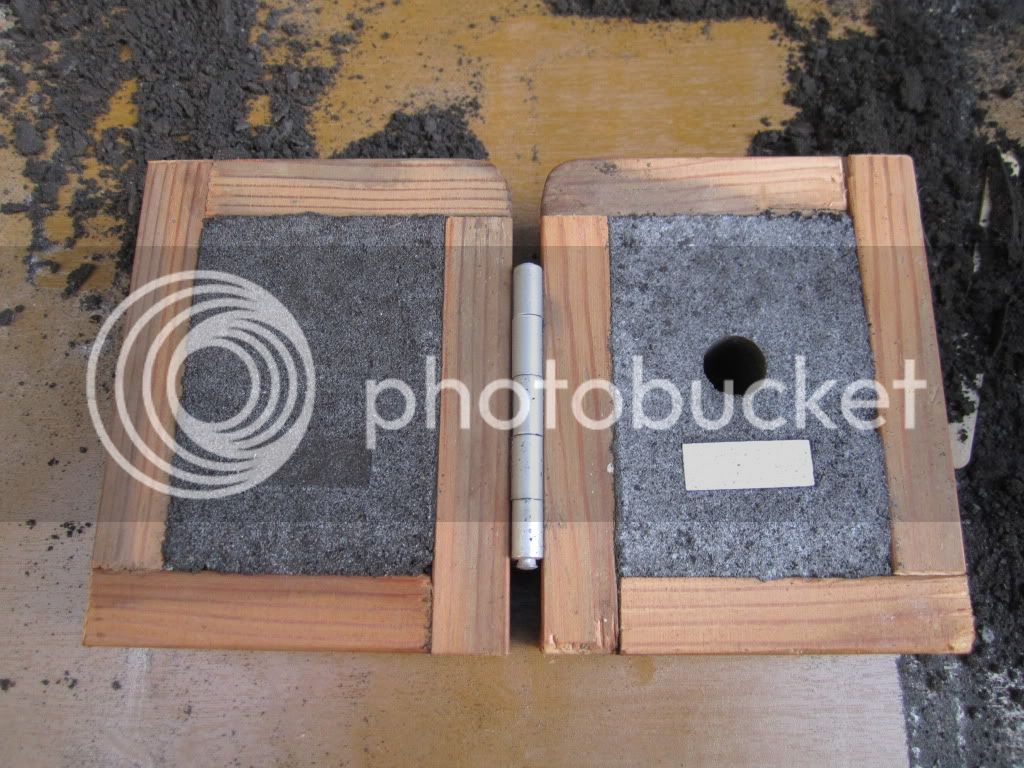
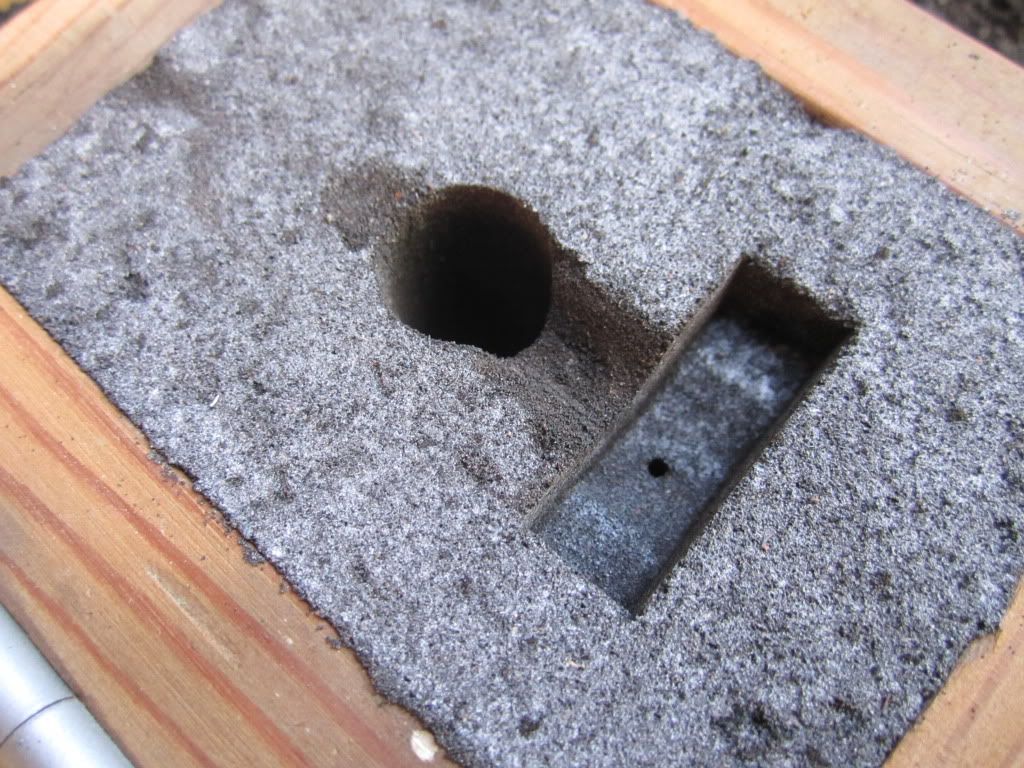
006-2.jpg

the steam chest
017.jpg

016.jpg

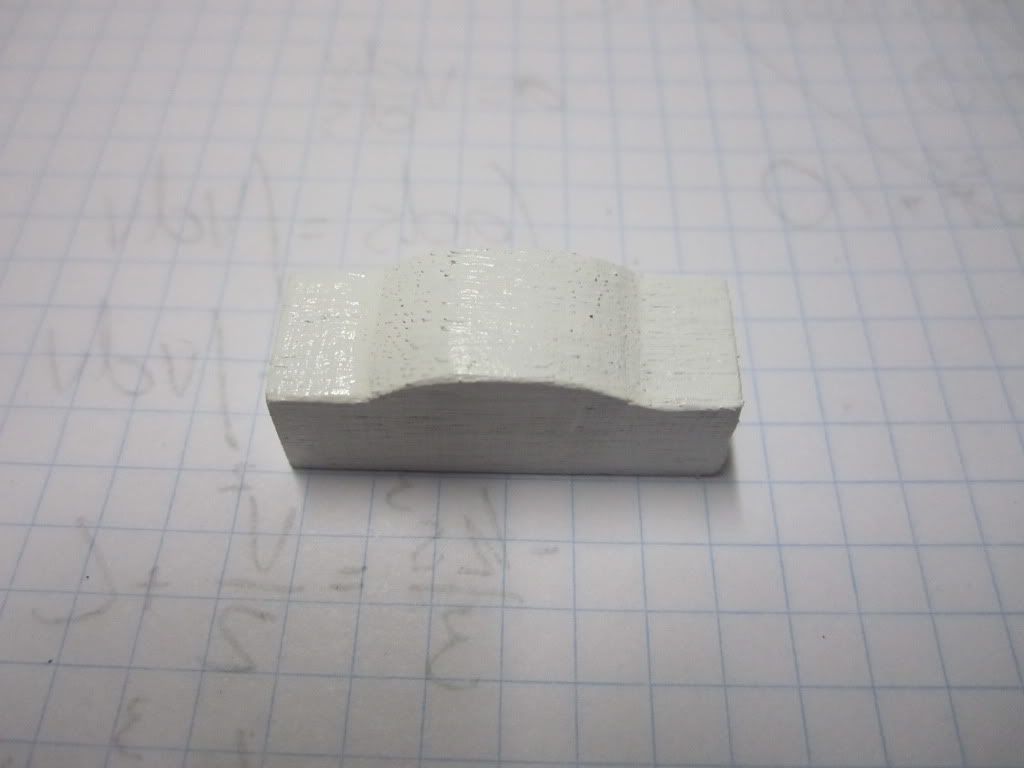
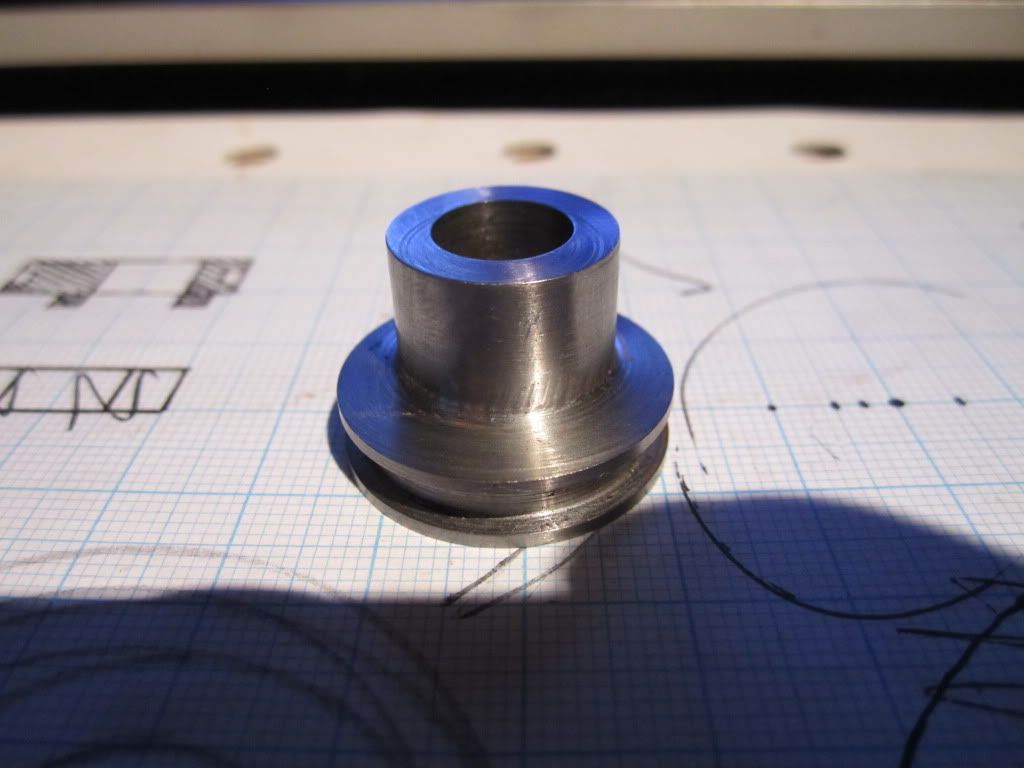
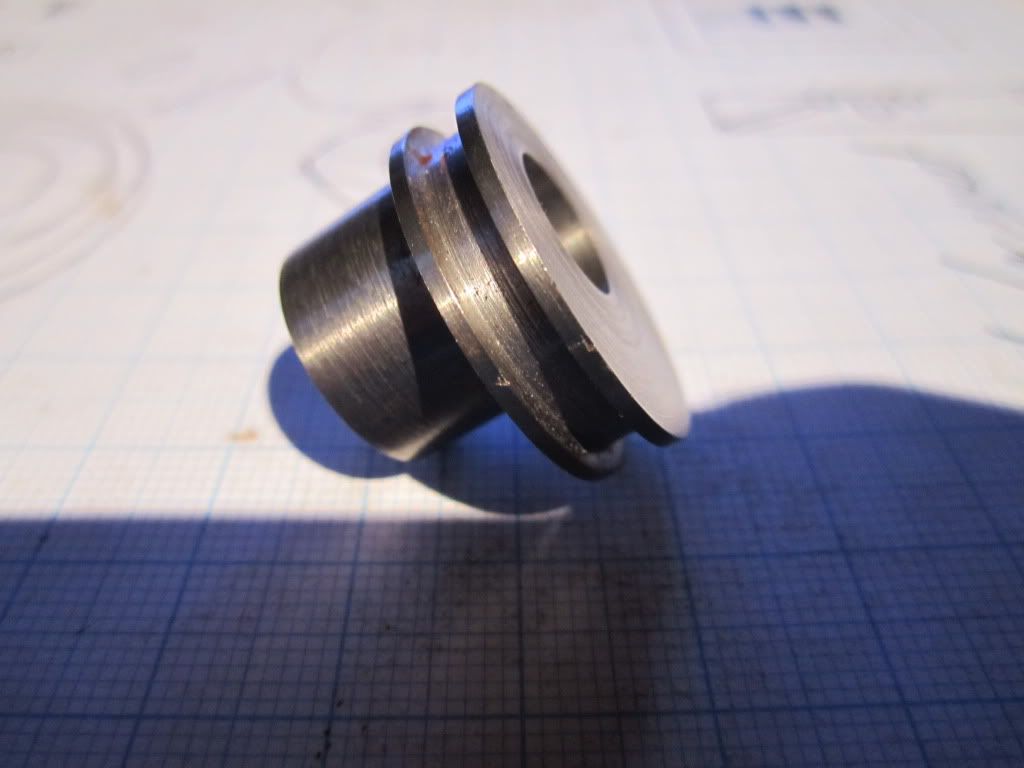
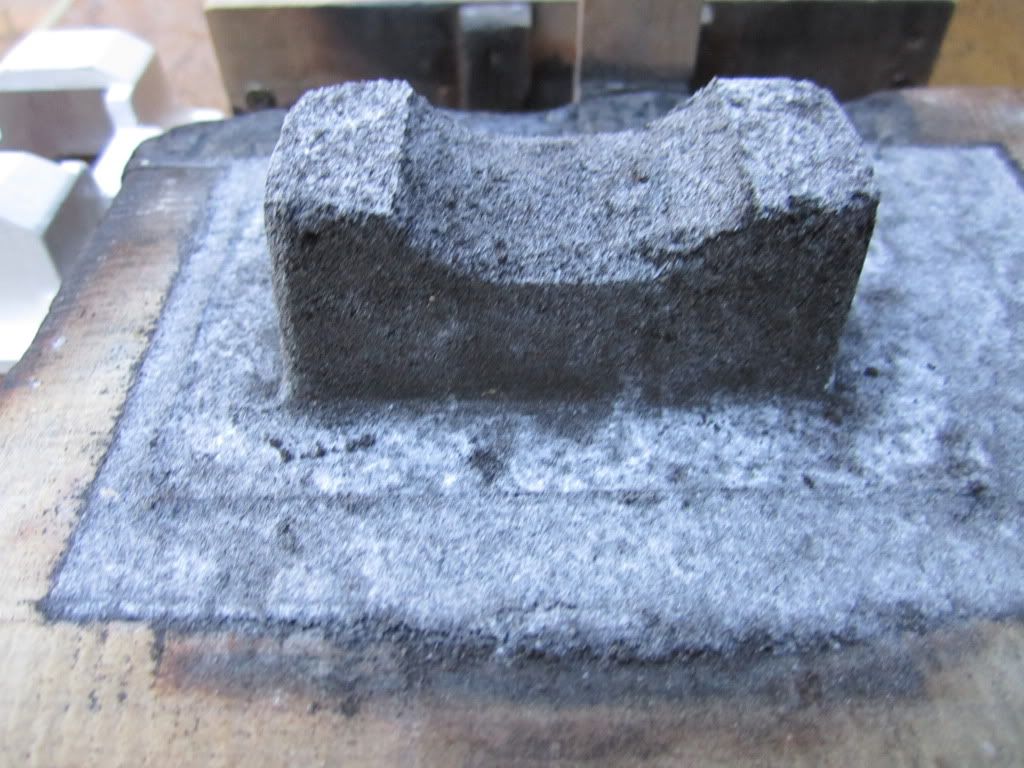
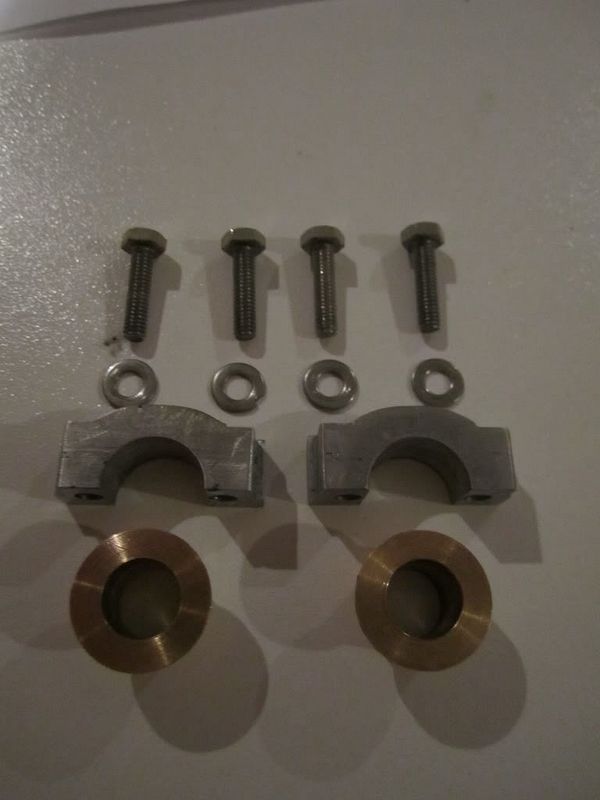
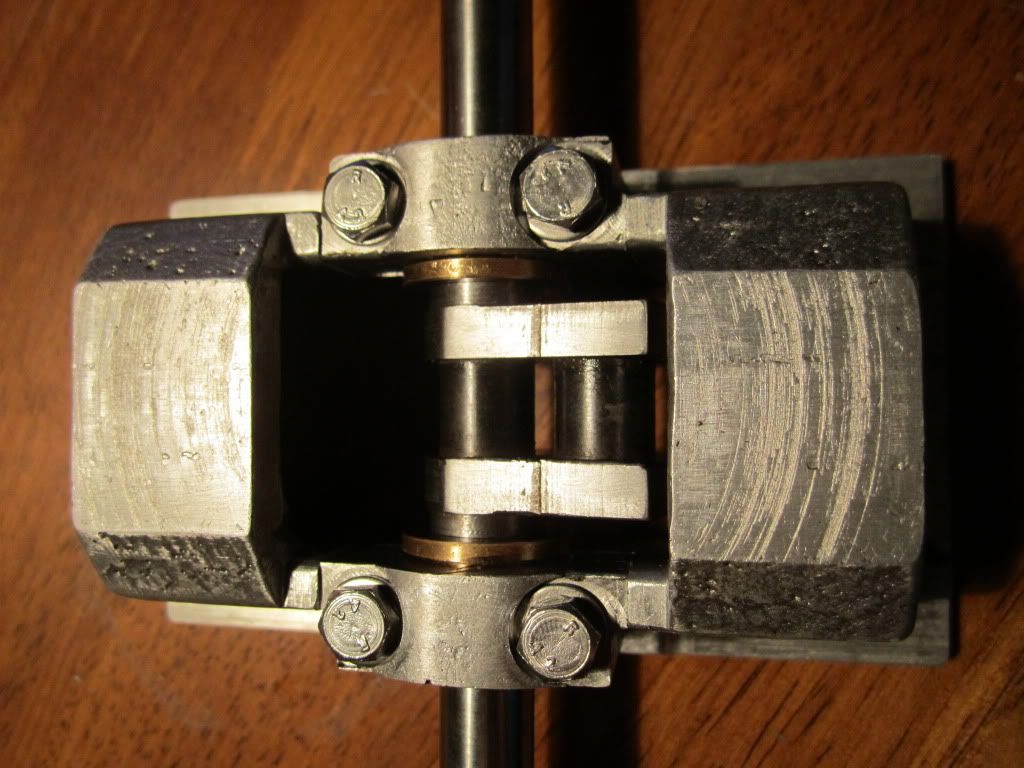
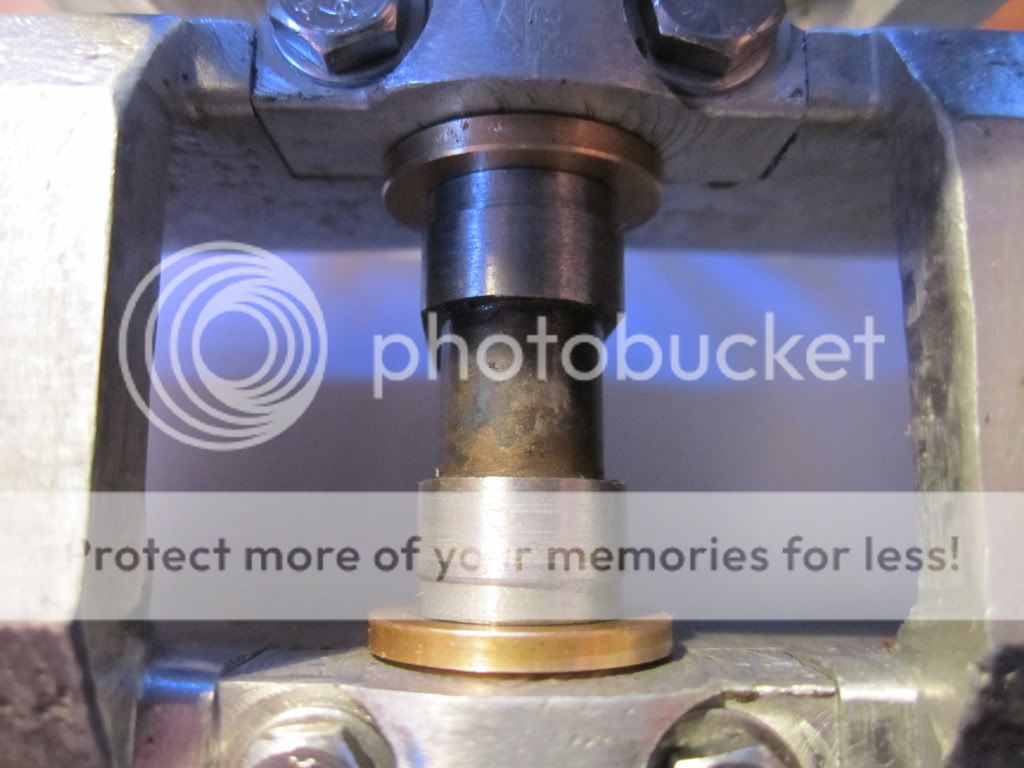
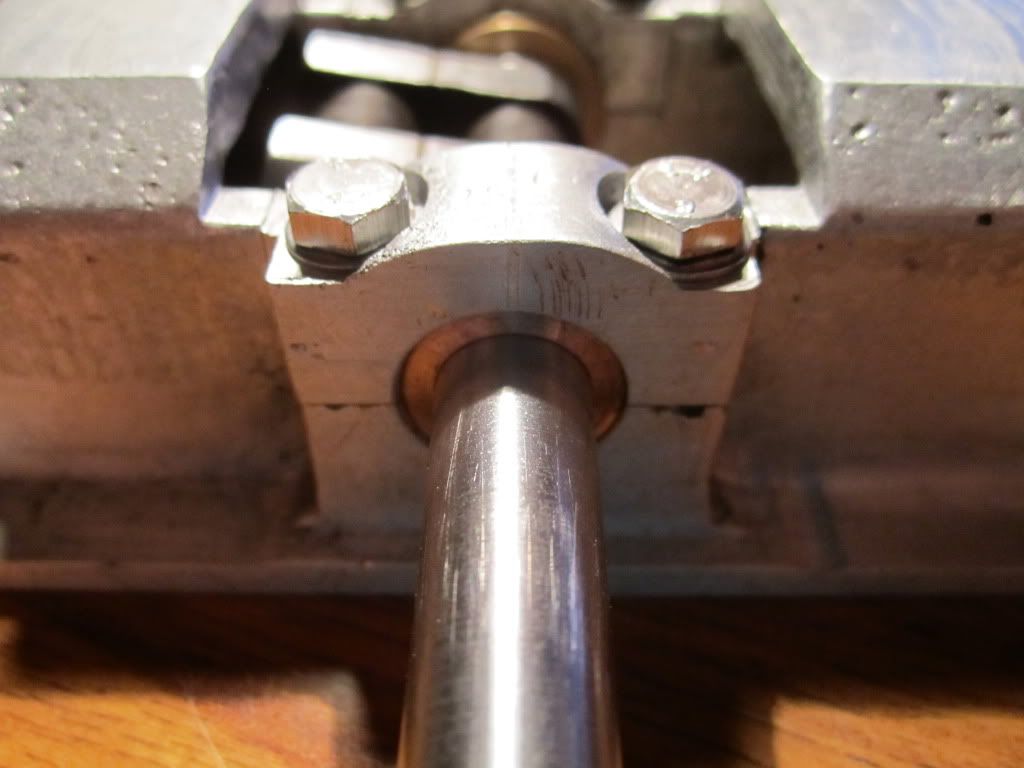
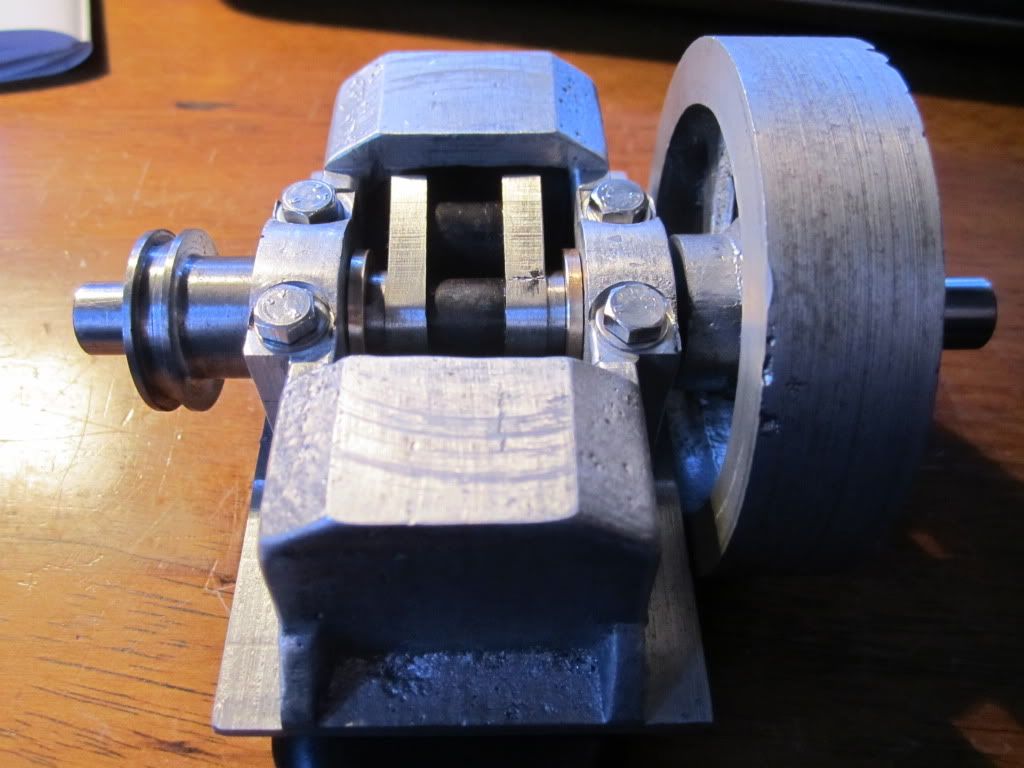
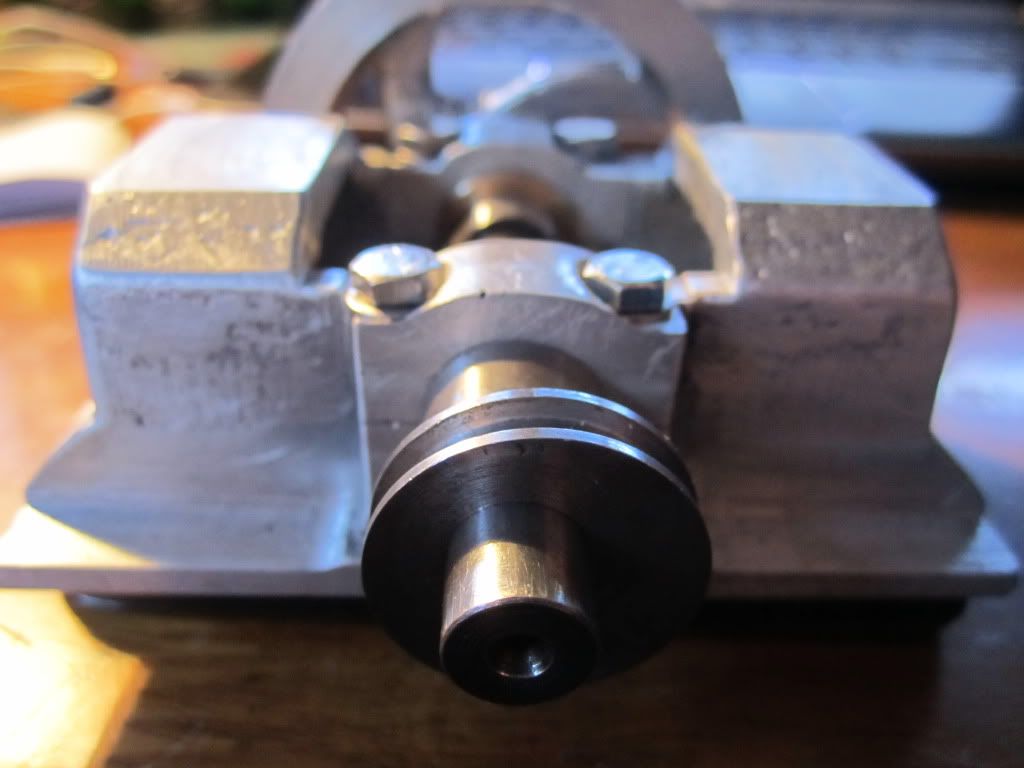
the bearing cap thingo
014.jpg

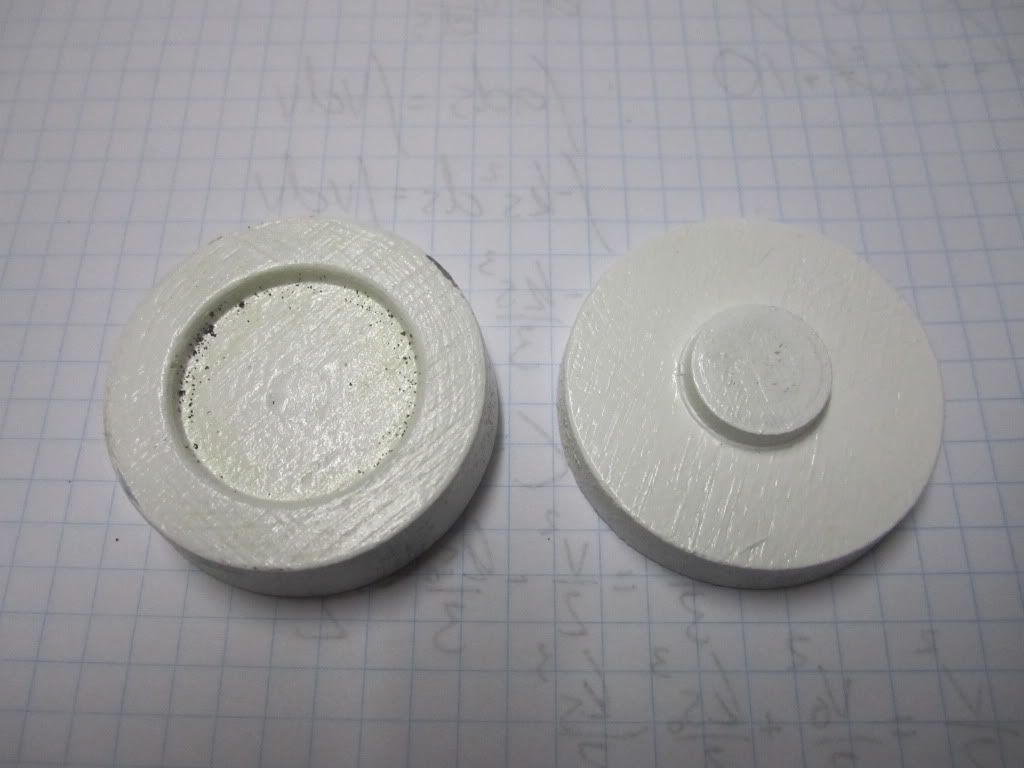
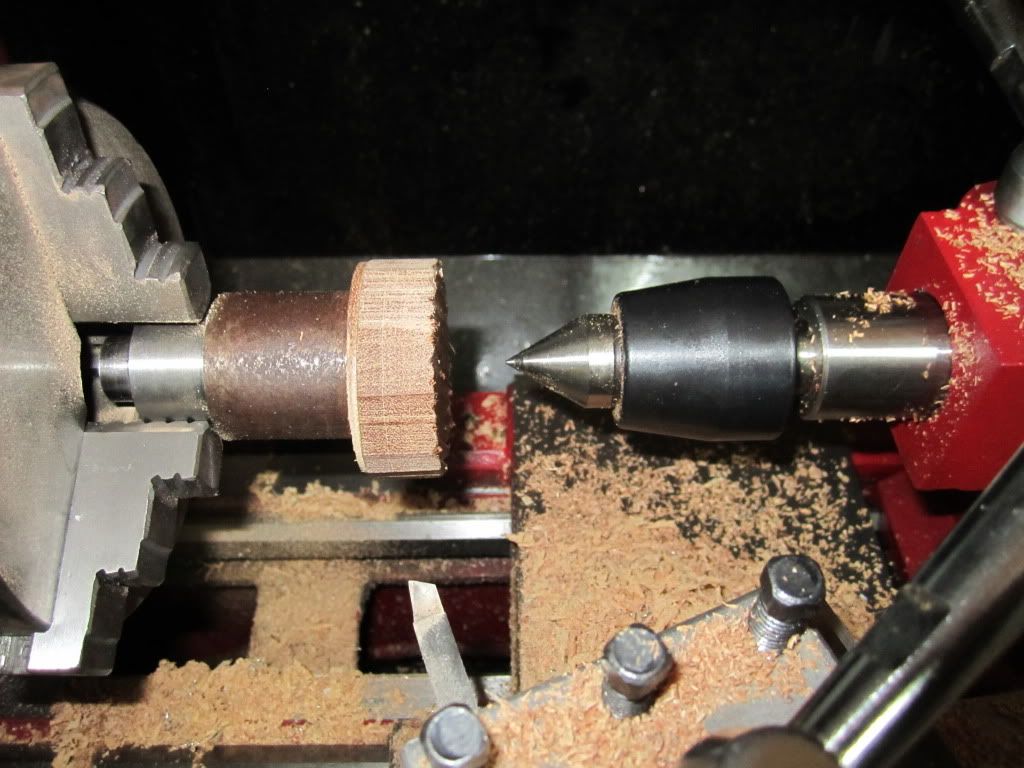
the cylinder caps top and bottom
013-1.jpg

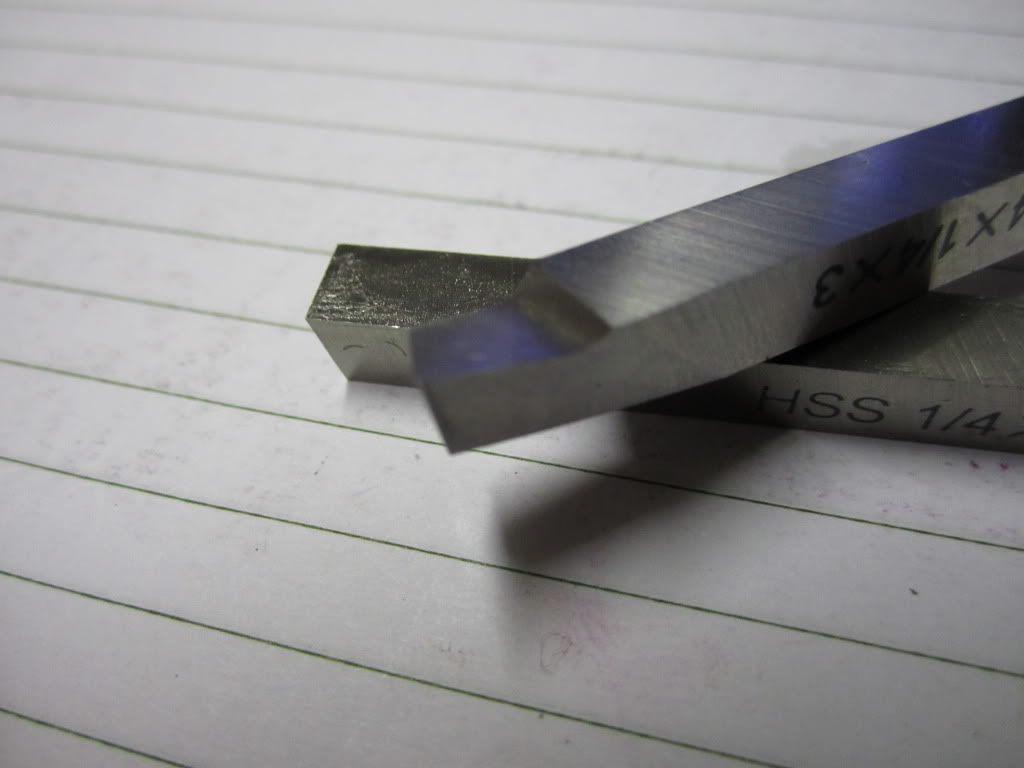
and how they were made
009-3.jpg

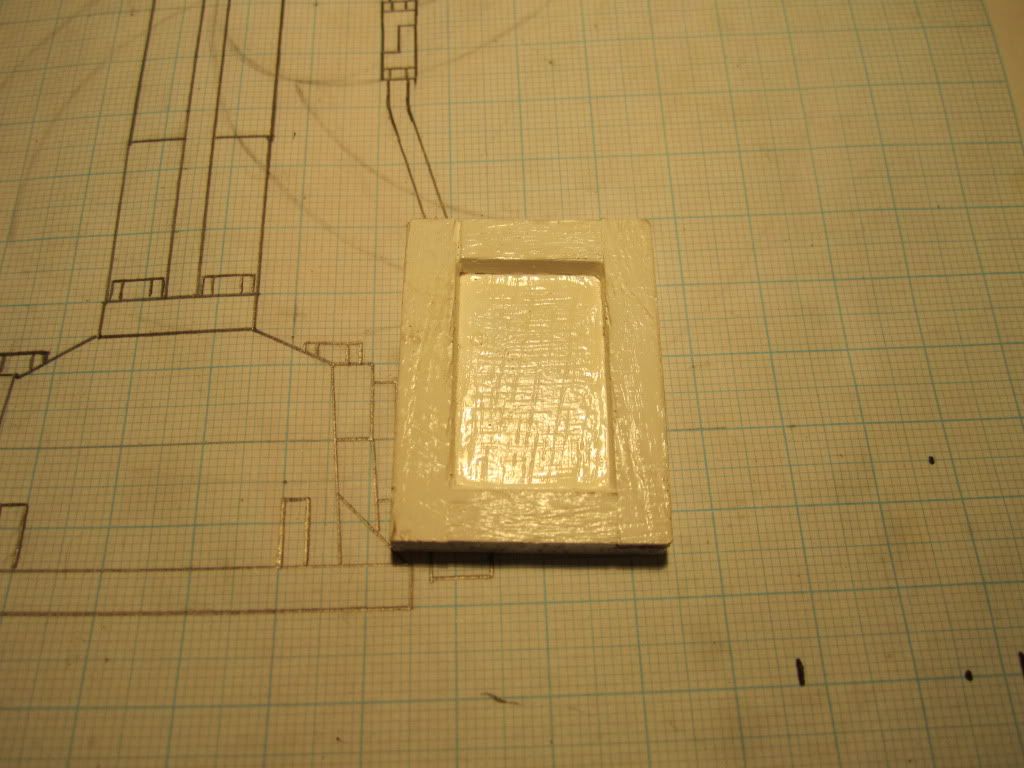
the steam chest cover plate
005-4.jpg


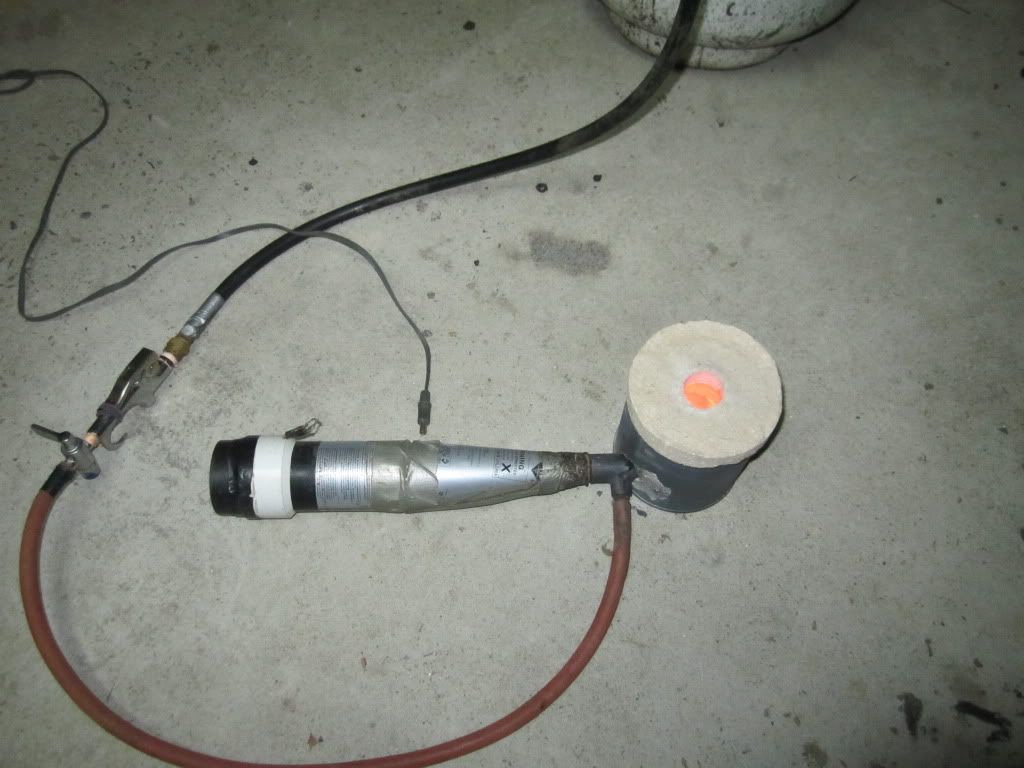
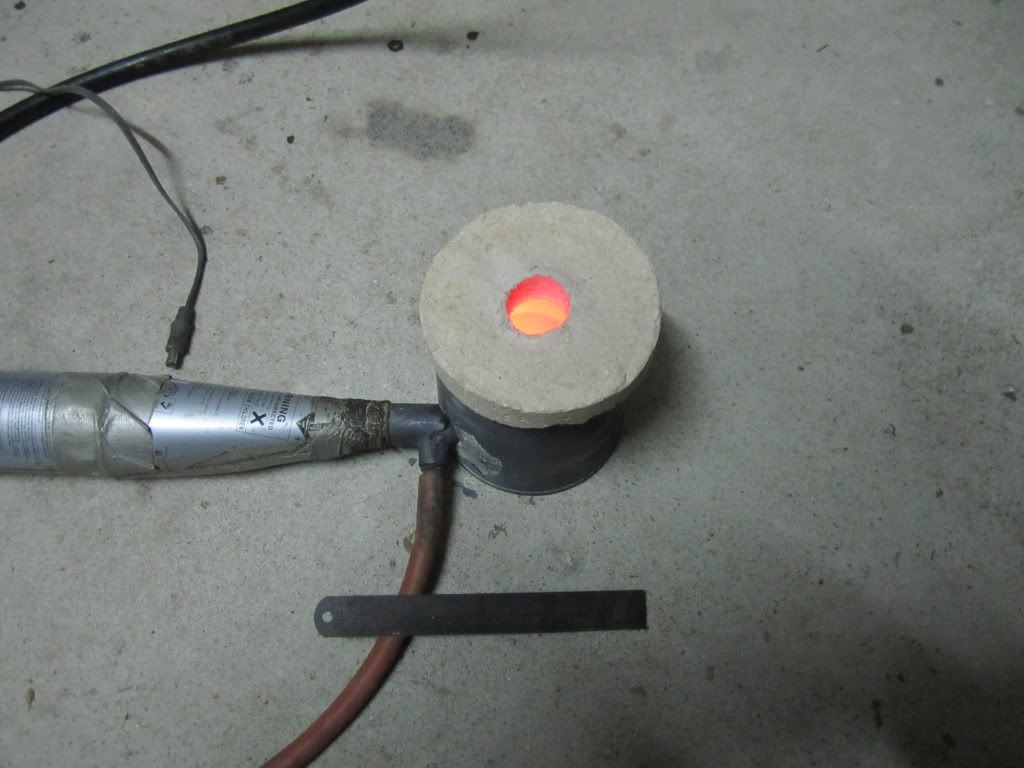
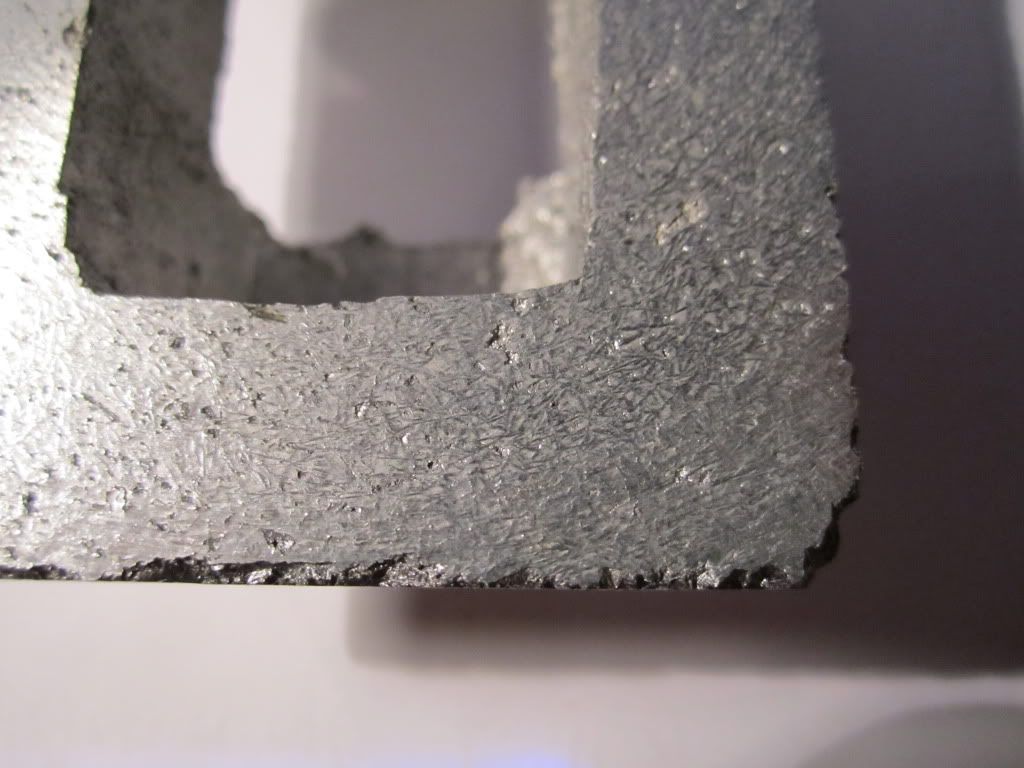
today i decided id like to see how a small furnace id made would handle some heat so set it up and started running it..... immeadetly i could tell that it was going to burn bloody hot and so chucked in some castiron. well within about 2minutes it was a nice little pool at the bottom of the crucible so i added some more and ran around frantically to get some greensand ready for the iron.
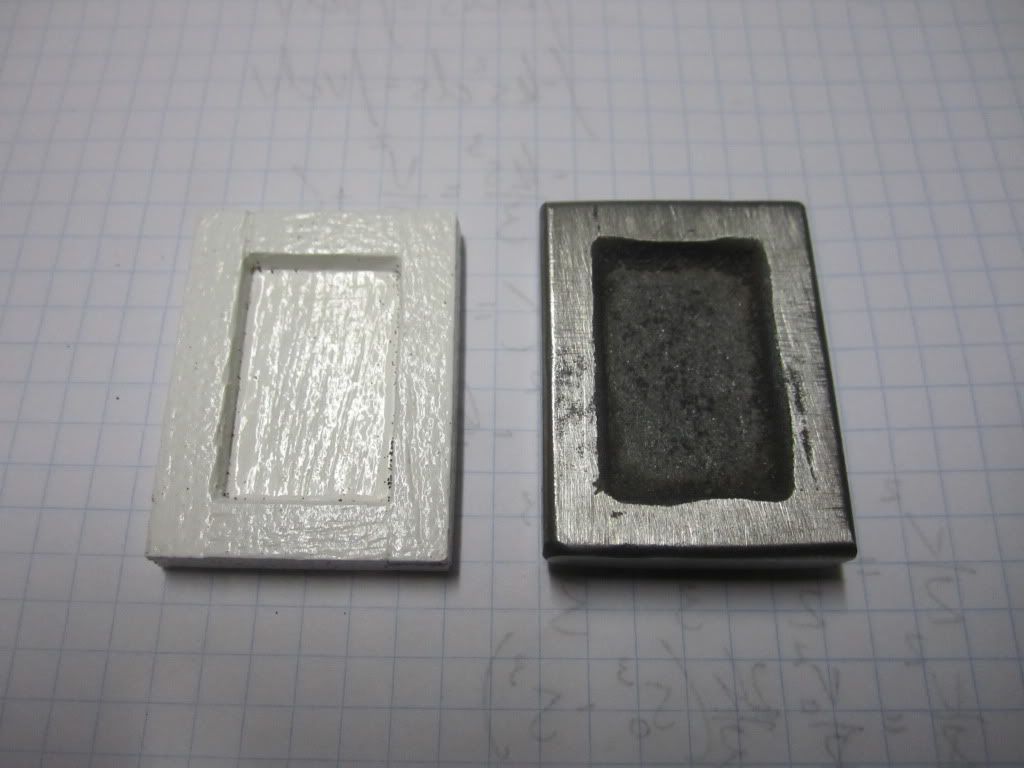
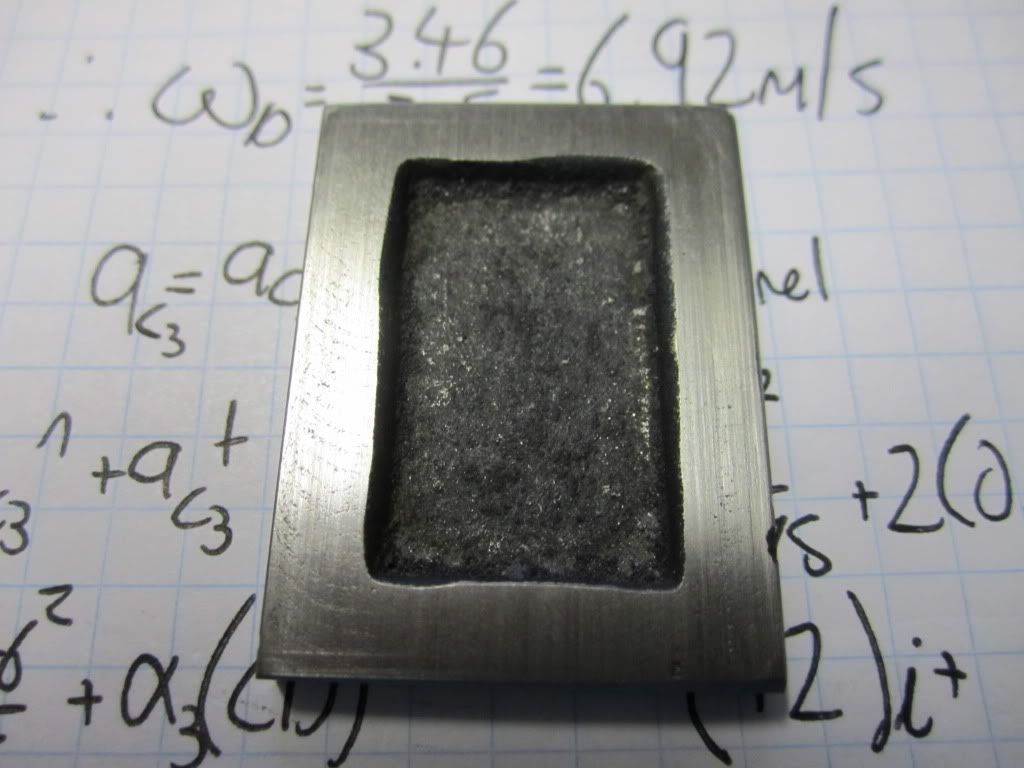
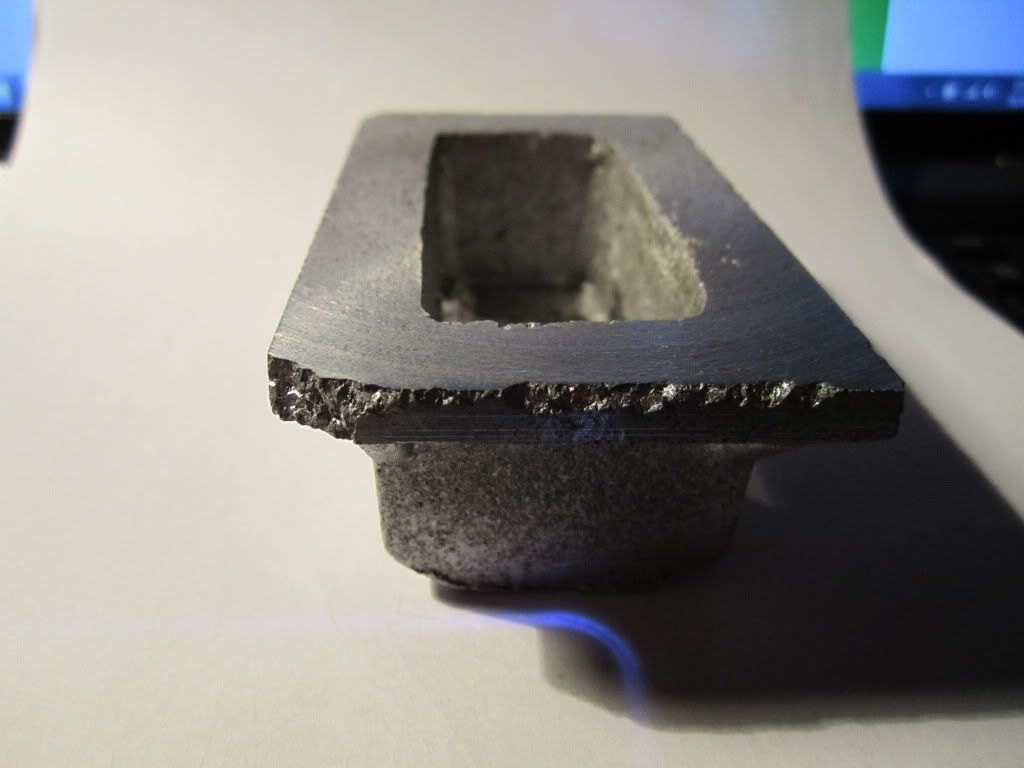
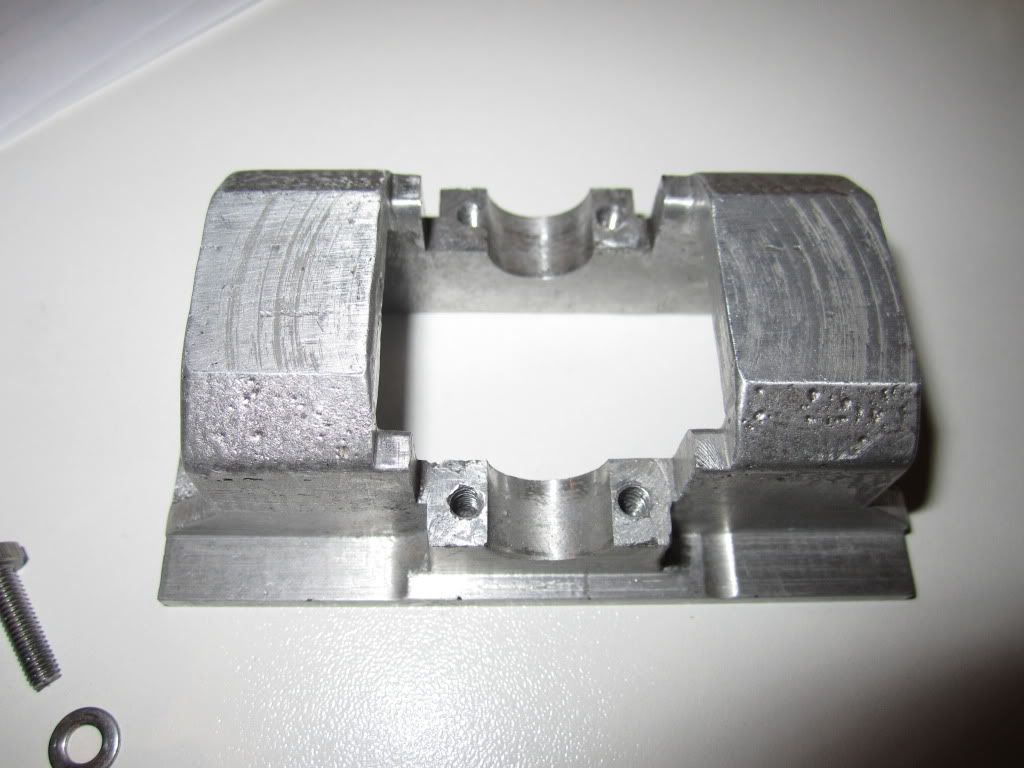
so i poured it and this is the result!! :)
012-2.jpg

as i poured it with an open top the piece is quite thick but as it was only really a test to show it could be done I'm bloody happy.
here it the little furnace post burn
010-3.jpg

011-2.jpg


so i have one exam coming up in less then a week but after that I'm hoping to get a large deal of the castings done and a fair bit of machining work as well.
 
ohh i almost forgot about some of the other stuff ive done here and there most will end up being practise peices.
piston and piston rod
024.jpg

a mostly sucsessful crank shaft silver soldered together
023.jpg

this is a conrod and the slider thing
022.jpg

some bronze bearings
019.jpg

the eccentric cam, this ill be using and im really happy with how it came out.
010-4.jpg

011-3.jpg


finally this is the first HSS bit i ever ground, really proud it it so just had to post a pi of it :)
003-7.jpg

007-3.jpg


mackye.
 
looking good, kye!

Hey send that bit my way, would ya? I'm about to have to grind my first one myself...

- Ryan
 
YUP

Nothing wrong with that bit! I might knock the very tip down a bit so it won't chip, but with soft aluminum,,,,it might not matter...

Dave
 
Hi Kye

congratulation on the iron casting

The sand side of the casting looks like it was reasonably filable, did you get much chill hardness on the open/air cooled side of the casting?

Bez
 
hi dave, the photos dont really show it but there is a nice radius at the tip. it did cut steel beautifully but it was a bit of beginners luck and i ended up butchering it when i tried resharpening it :mad:.

bez, i havnt really done anything to see whether there are hard spots or not, as i sanded it on a belt sander and on the bench grinder. when i poured it and as soon as i noticed that it had solidified i put a heap of dry green sand over it to slow down the cooling rate, which seemed to work as it was still red quite a few minutes later when i checked it.

 
hi all,

bez, i can happily say that the cast iron machined very nicely!! there didnt seem to be any hard spots and all the chips were a very nice dark grey colour.
004-8.jpg

001-5.jpg

002-6.jpg


today i intended to cast the base for the engine, things didnt end up going quite so well as id hoped :-. firstly when i was making the sand mold the pattern clearly wasnt quite ready and i was stuffing arounf for ages trying to get the sand to part from the internal portion of the pattern. turned out there were two small spots that were sticking out a bit which held the sand firmly in place, but i finally got around it and make a usable sand mold.

then to make things just that little bit more annoying it turns out that went i was gathering all my pieces of unknownium from my "aluminium" box, what i can only presume to be a piece of die cast magnesium from an old computer went into the melt and basicly destroyed the pour. as youll see in the photos below, the overall dimensions and shape turned out great, but the surface finish is s*#t and the metal itself is highly granular and extremely brittle and has rendered it completely unusable. :(

005-6.jpg

006-4.jpg

008-5.jpg

007-4.jpg


progress should hopefully pick up next week and hopefully ill be able to get a large number of the castings done and ill be able to do some machining as well! :)

until then.....

mackye

 
hi all,
i have made some progress with the casting of the base, i recast and whilst im still not 100% happy with the alloy, its now at least workable and the casting itself came out nicely.

i took some photos of the sand molds used but didnt end up taking any photos post cast and during the machining steps as for most of the operations it was my very first attempt at doing so.

so these photos show the two halfs of the base mold.
004-9.jpg

006-5.jpg

008-6.jpg

as can be seen this poor old cope and drag has been through a lot, but it still functions just fine.
next is the first of two bearing cap blocks, i made the cope and drag using the hinge as it makes things a bit quicker but does limit what can be used in it for the patterns.
001-6.jpg

002-7.jpg

003-9.jpg


so this is the stage im up too in machining the base, as you can see ive made a few boo boos here and there but its will still function fine and im sure ill be able to hide them away just fine later on.
019-1.jpg

the bearing caps and bearings. ill probably have to make the bearings again as the surface finish on the bearing surfaces are less then optimal but theyll work for now.
016-2.jpg

next is the crack shaft, its made from 10mm drill rod(silver steel) and the webs hot rolled plate. at first id wonted to just pin it all together as i knew that the dril rod wasnt going to like being heated to high temps that would be required for silver soldering nor was the flux going to be very good for the shaft. well that plan went down the drain when the drill bit broke whilst drilling, i was doing it on the mill and just didnt have the finesse needed for the small diameter drill bit. anyway i ended up silver soldering it and much to my delight it went very smoothly without much corrosion to the shaft.
017-2.jpg

and finally here are some shots of the previous parts assembled
021-1.jpg

020-1.jpg

005-8.jpg

022-1.jpg

and finally one with the eccentric and a yet to be finished flywheel
003-10.jpg

003-10.jpg

004-10.jpg


mackye
 
Looking good mackye ;)
More progress needed before uni interferes though :D

Tim
 
Back
Top