MB building Upshur Farm Engines.

Home Model Engine Machinist Forum

Help Support Home Model Engine Machinist Forum:

This site may earn a commission from merchant affiliate links, including eBay, Amazon, and others.
Outstanding work MB. It is always such a pleasure to follow along with you on your journeys. That step in the flywheel side face really makes the piece 'jump' visually. Now then as for colors... wait, don't tell me, let me guess. MB Green! :big: A great choice. It sure must feel good to get these engines to run with a minimum amount of fiddling around. It speaks volumes to the craftsmanship and or the overall design of the engines themselves or both. Whatever the reason, I like it. ;D

BC1
Jim
 
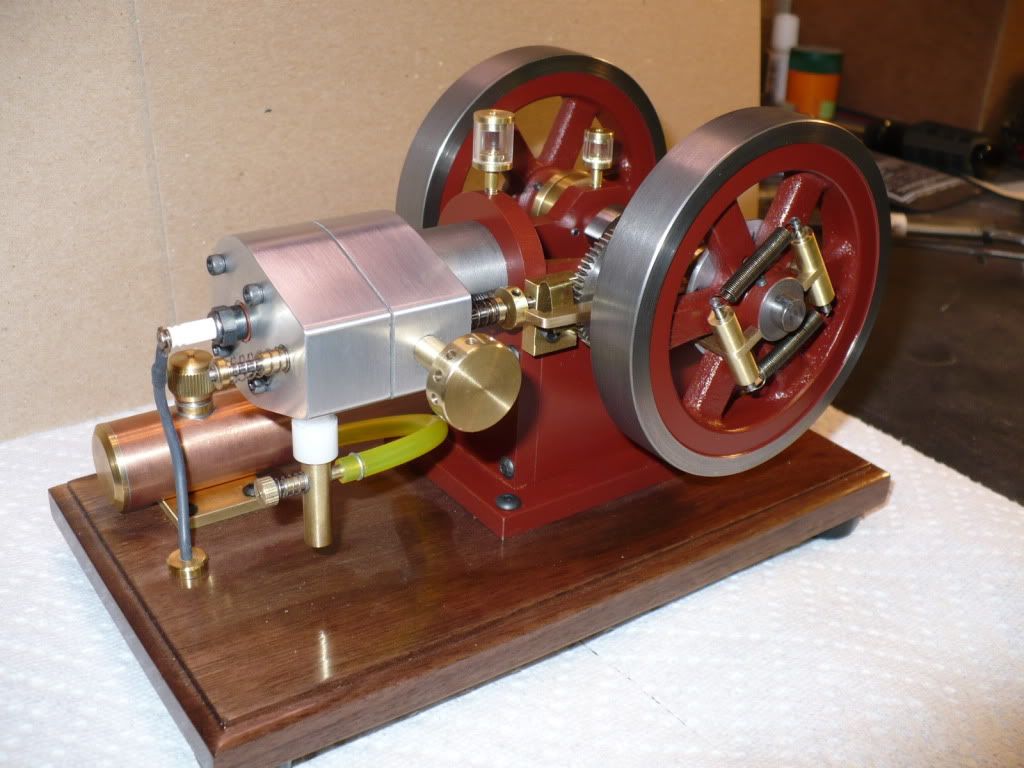
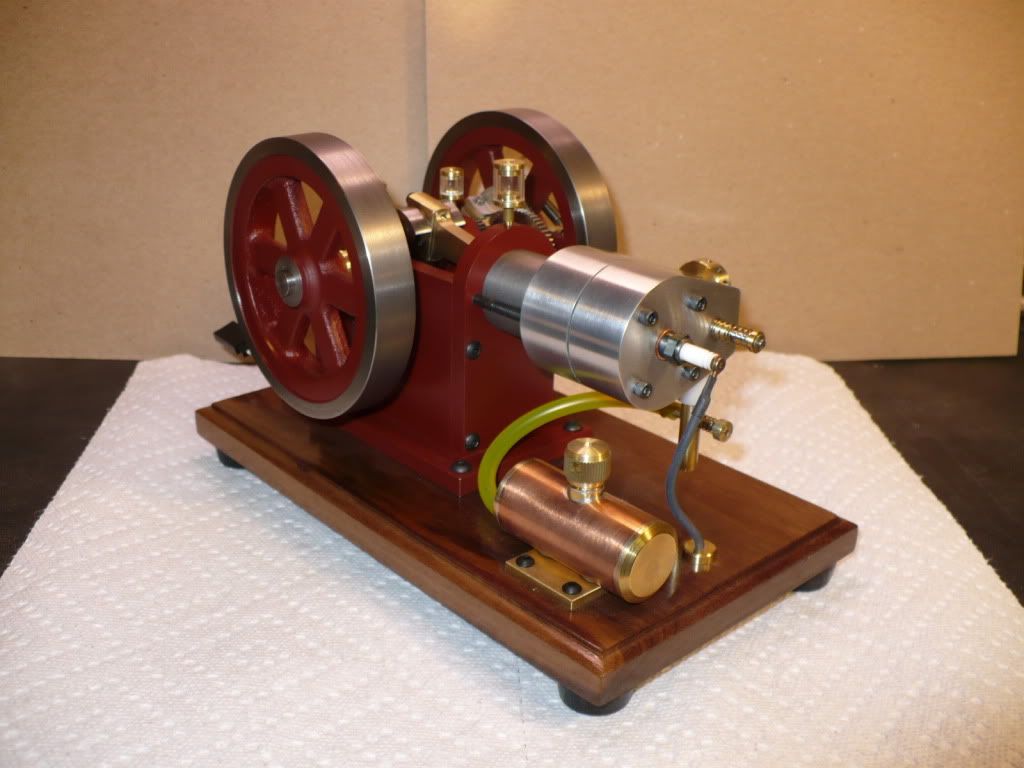
#362 After a complete dis-assembly of build #2 last night all of the parts to be painted were cleaned with lacquer thinner to remove any traces of oil. I dusted on a thin base coat of light gray primer, followed by a thin top coat of clear lacquer. After an hour of air dying the parts were oven dried at very low temperature for two hours. today I carefully assembled the engine and took the pictures posted below. Prior to dis-assembly I marked the gear and magnet carrier positions with a felt tip marker to speed up the adjustments that will be needed to put the engine back in running order.

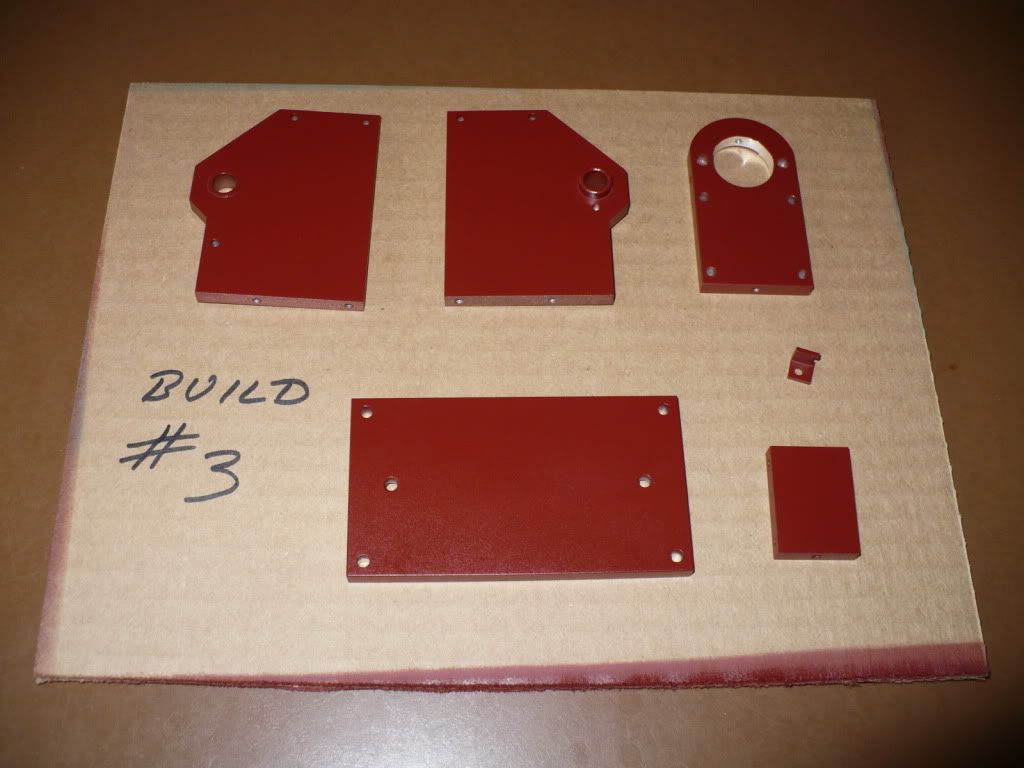
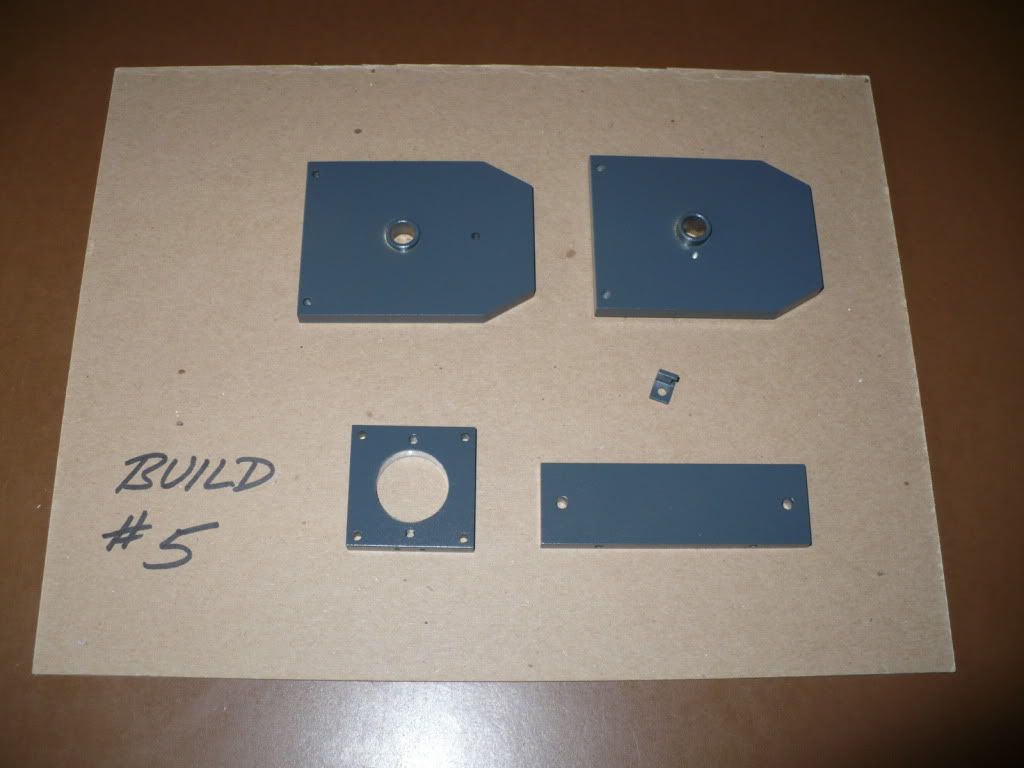
The best approach on build #3 might be to paint the engine first before the initial set-up and maiden run. I was not planning on painting all five builds, but I changed my mind feeling its worth the extra effort for the cosmetic benefit.

P1050554.jpg


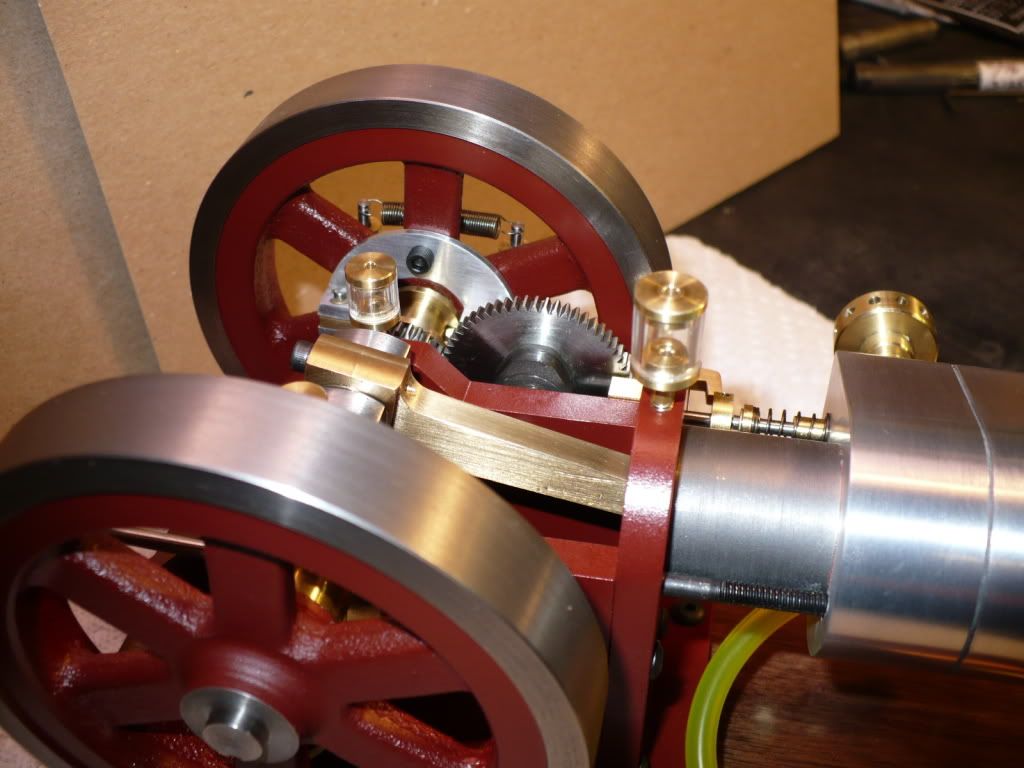
#363 As most of you may already know, the NO.1 cause of Hall Sensor failure is a grounding failure or interruption. To eliminate this possibility its a good idea to remove all the paint beneath each screw head on the engines frame. The way I did this without making a mess of the paint job was to spin each screw in its clearance hole with a small amount of lapping compound under the head. Afterward I carefully removed the residue from the frame plates using a soft towel moistened with lighter fluid, and washed the compound off the screws. Then each screw was lightly coated with a very small amount of dielectric grease prior to installation. It might sound a bit like over-kill, but its better to spend a few minutes on prevention rather than an agonizing hour on the cure.

P1050555.jpg


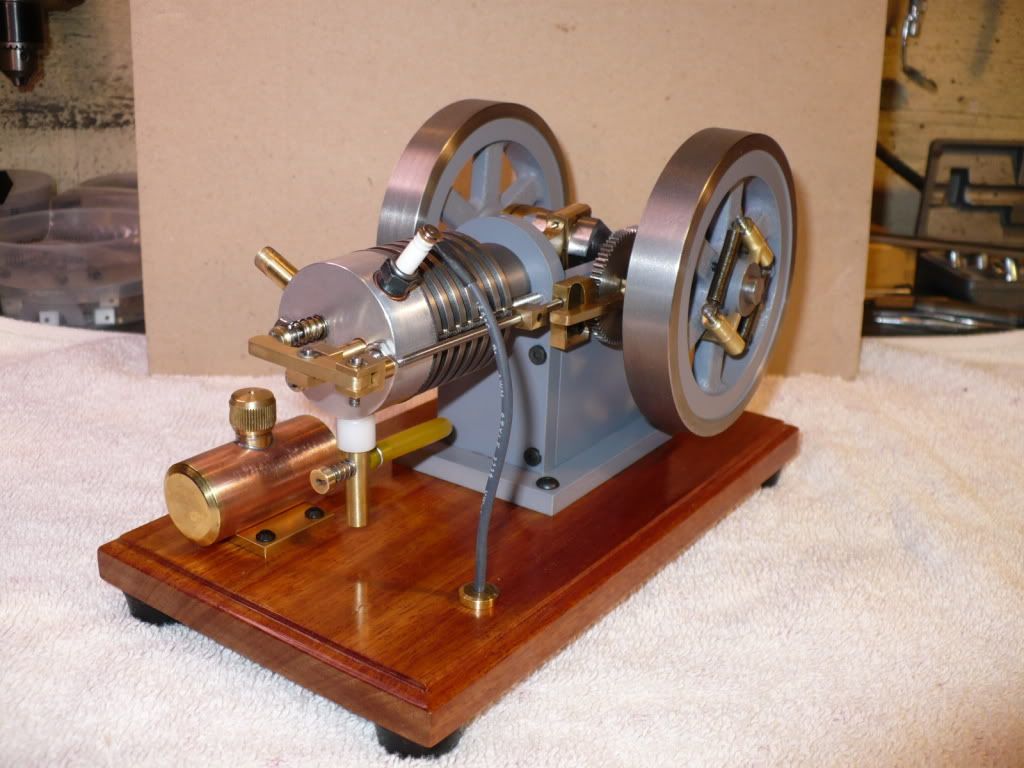
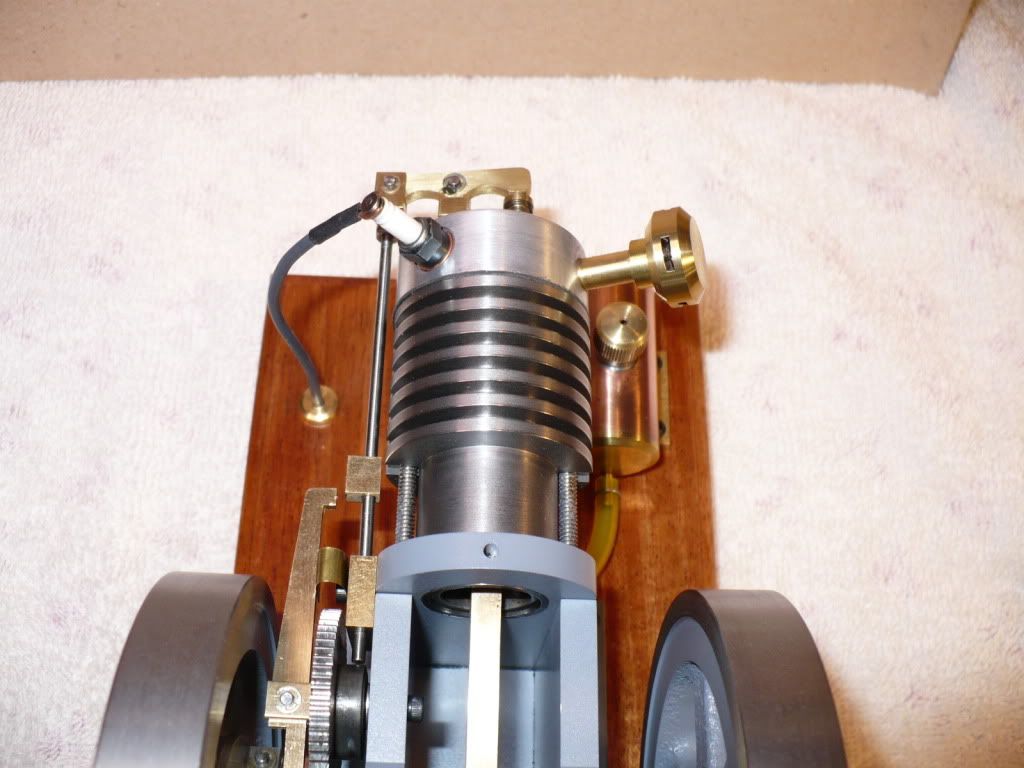
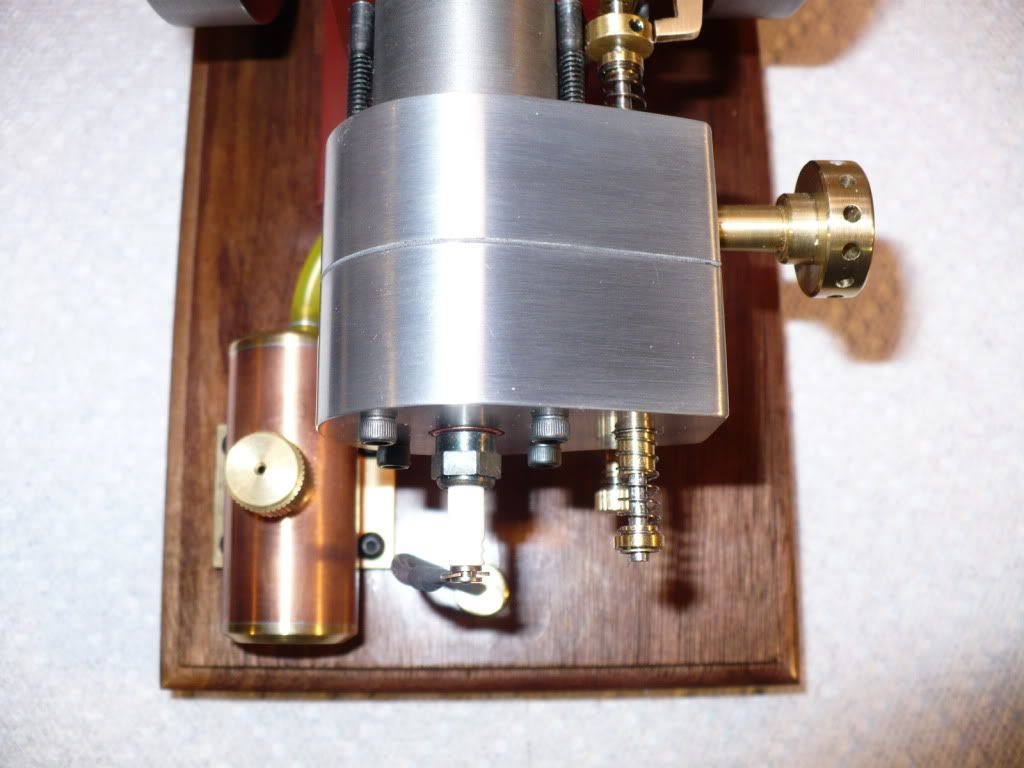
#364 Oops, I forgot to install the muffler! ;D

P1050558.jpg


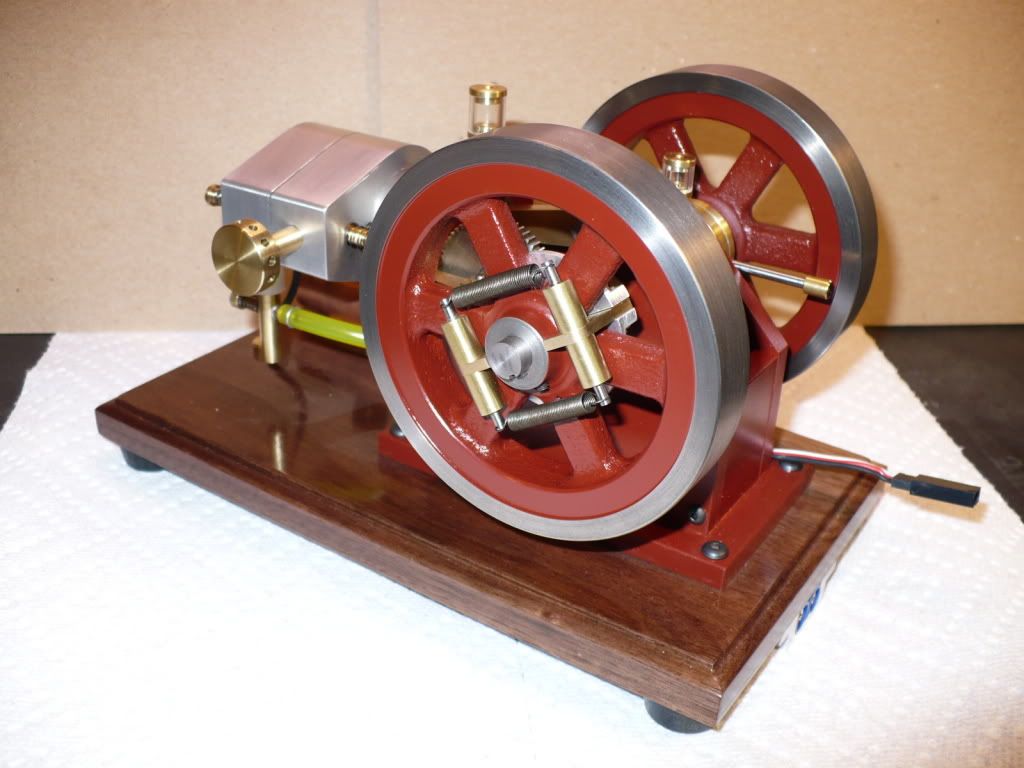
#365 Still no muffler, but its a nice picture! :D

P1050559.jpg


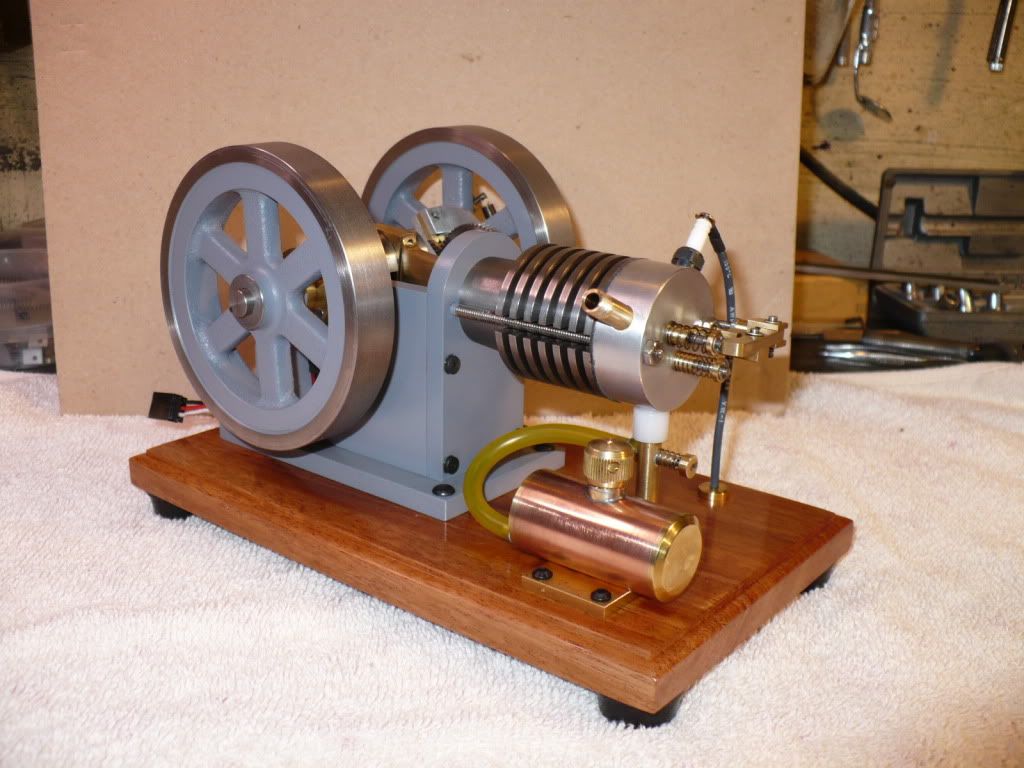
#366 Oh boy! Now I noticed all the oilers are missing too! :Doh:

P1050571.jpg


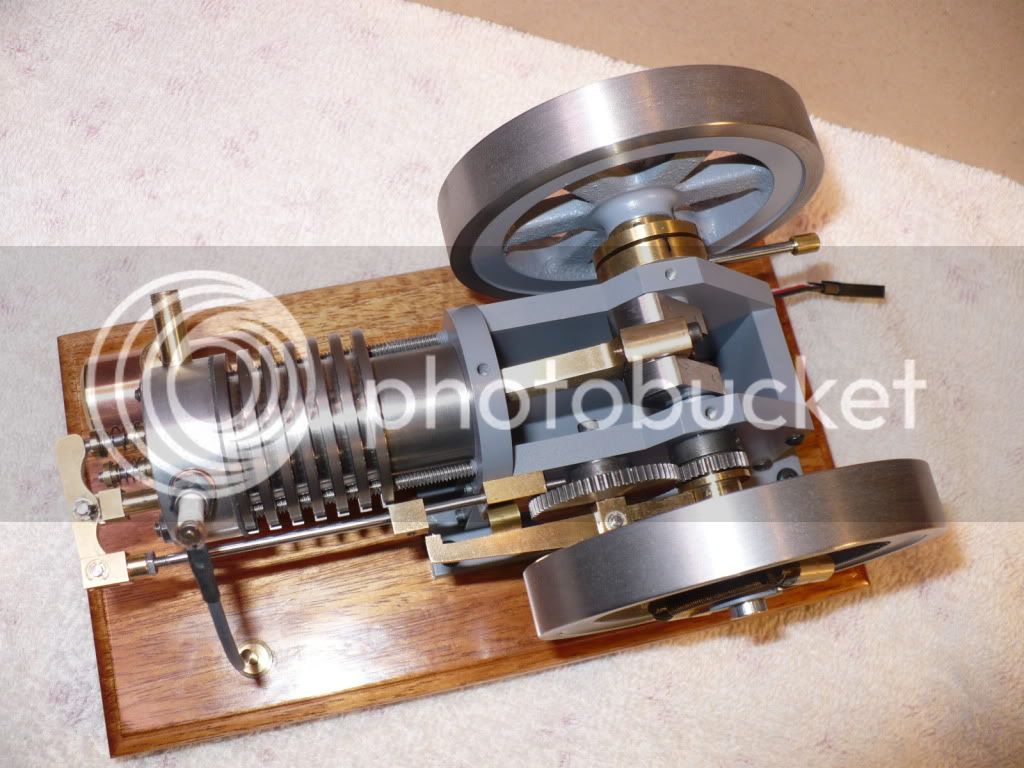
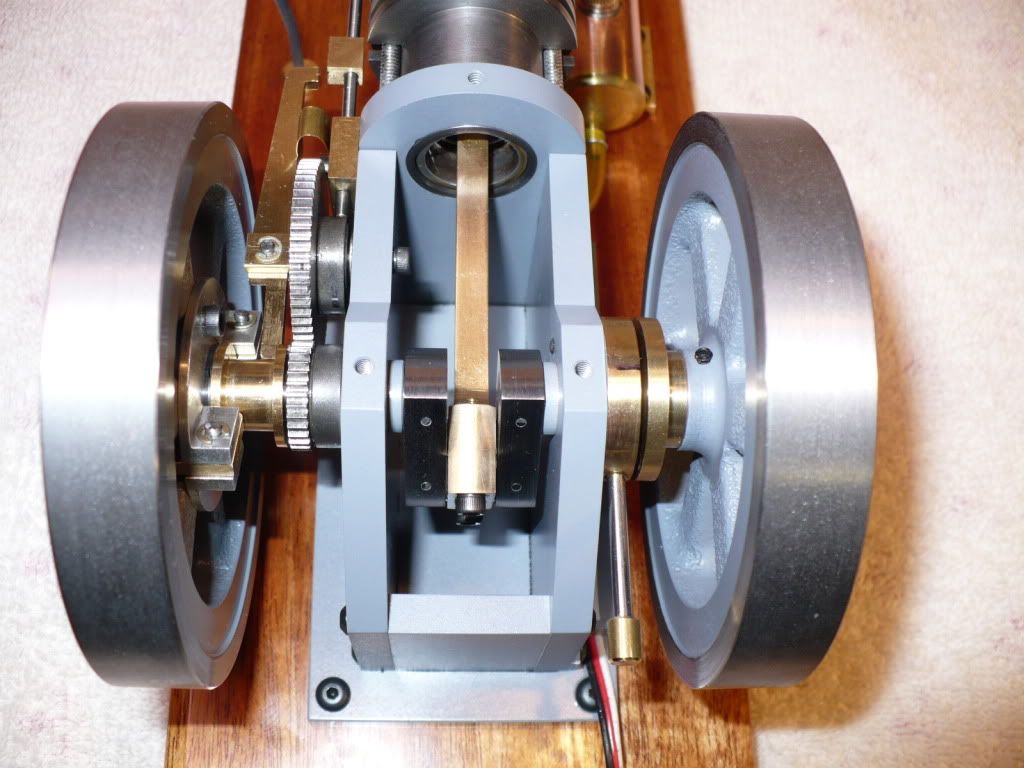
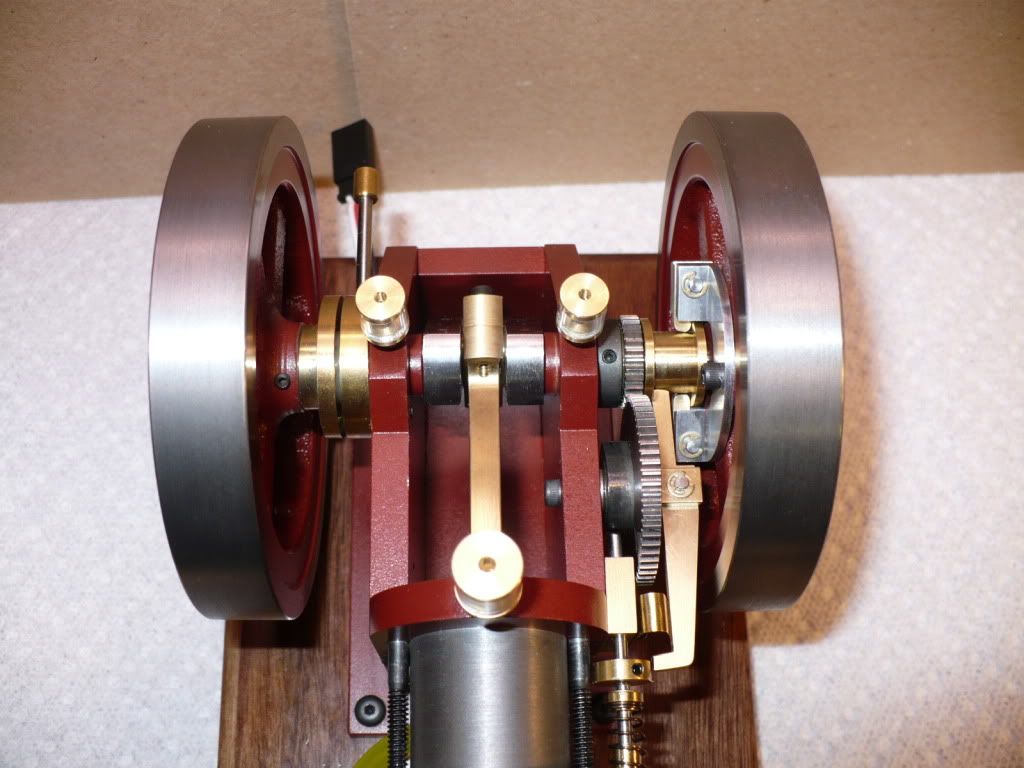
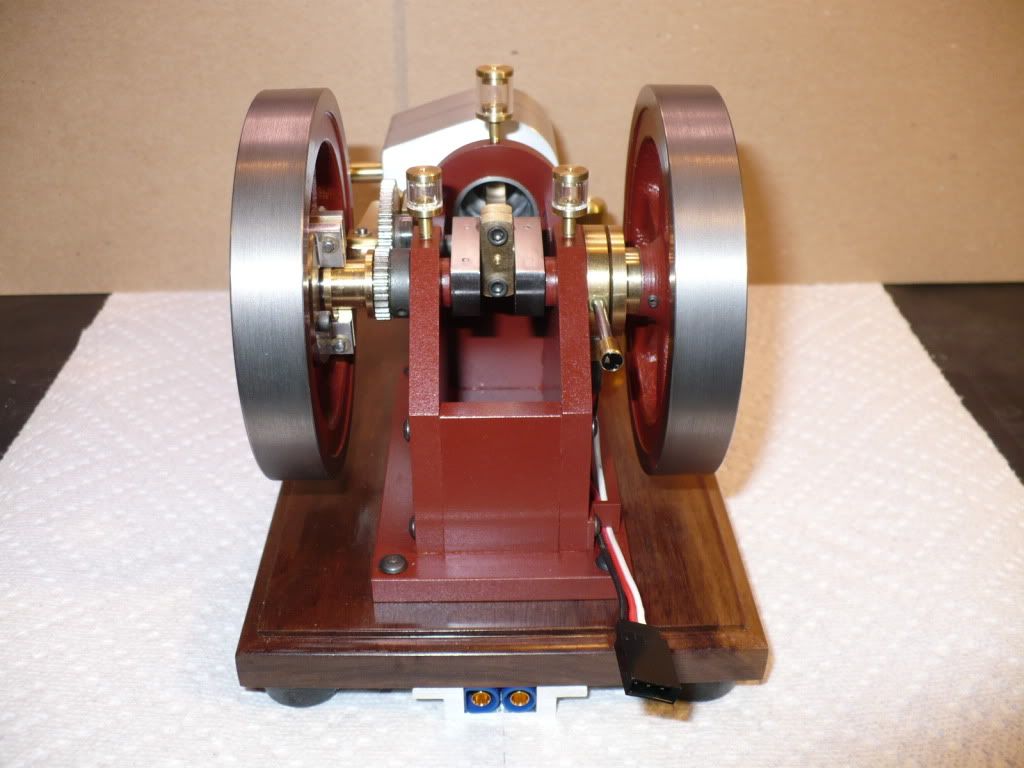
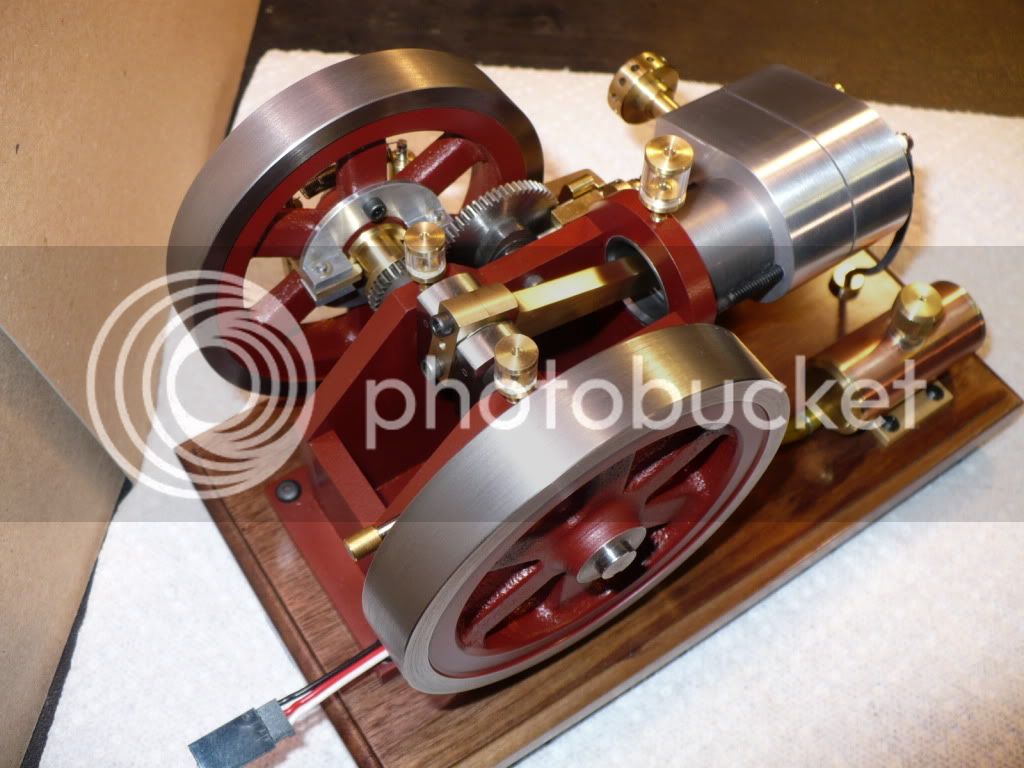
#367 This is a picture from the rear. A chill just ran up my back.... I hope I remembered to install the piston rings! scratch.gif

P1050572.jpg


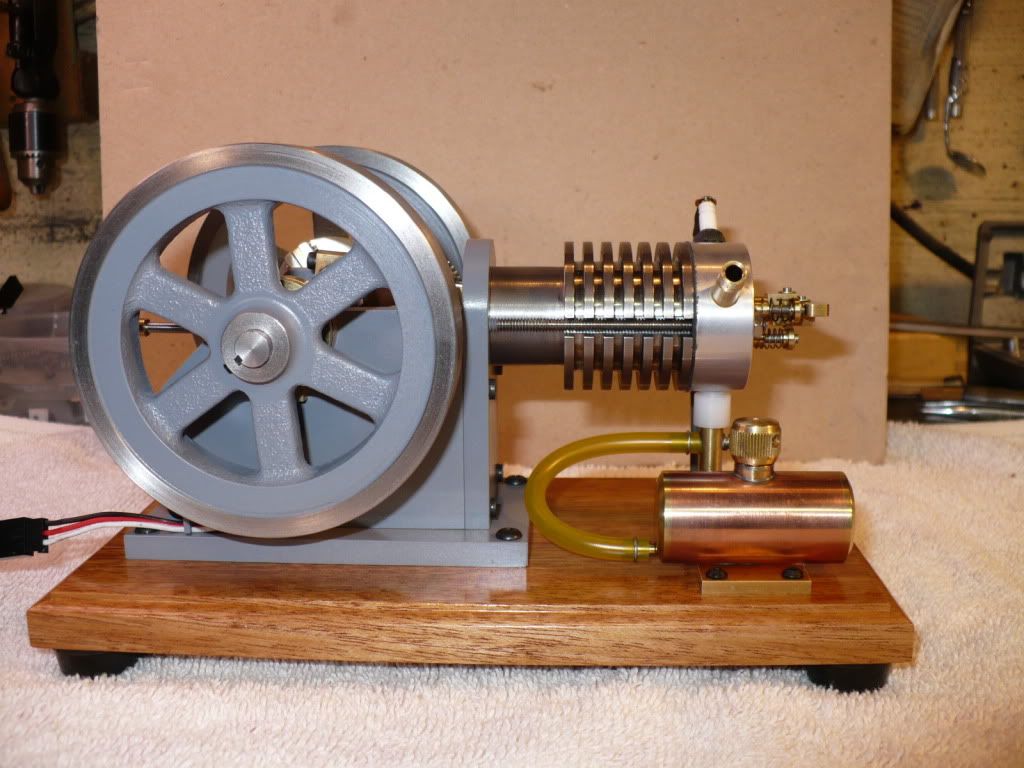
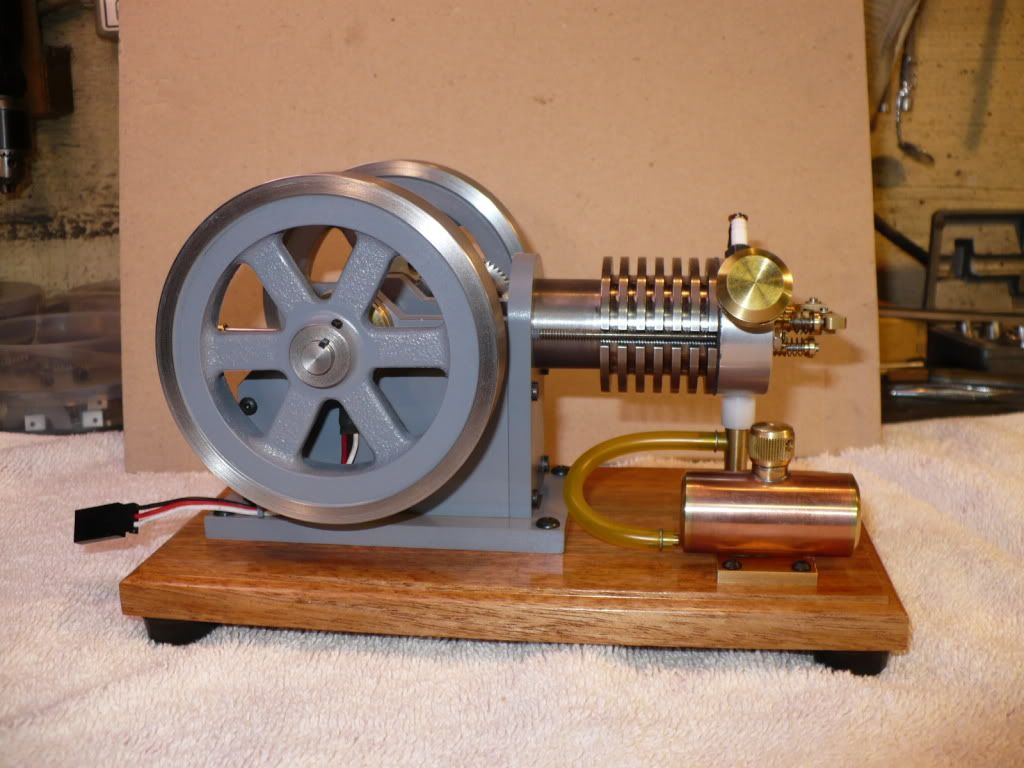
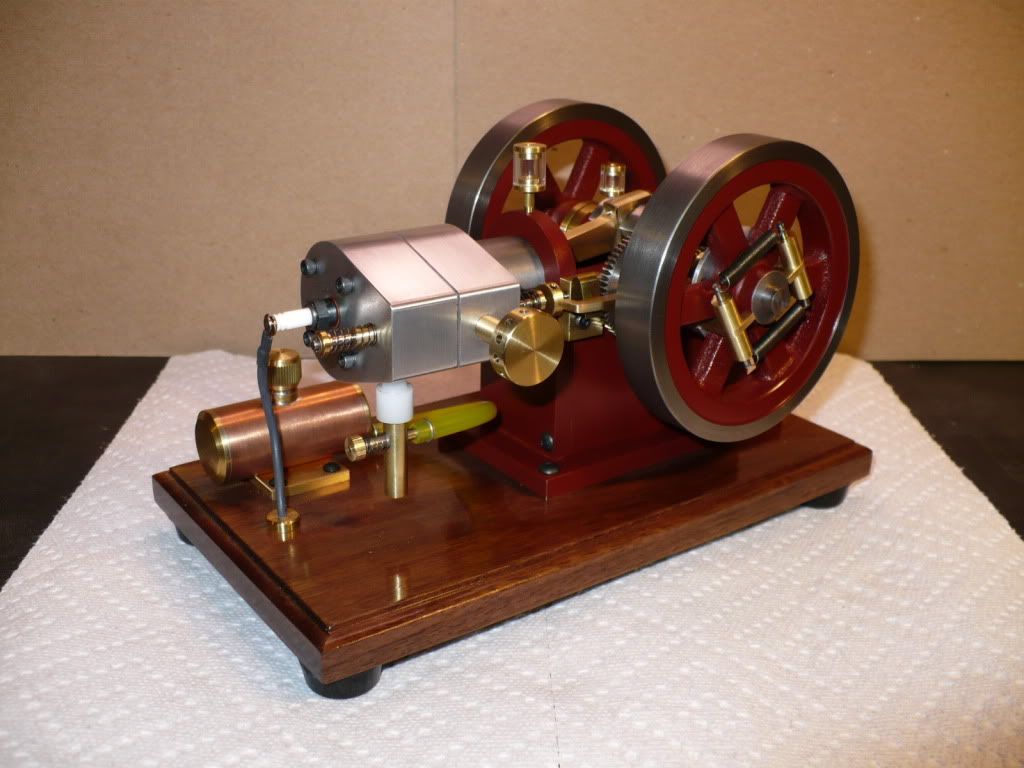
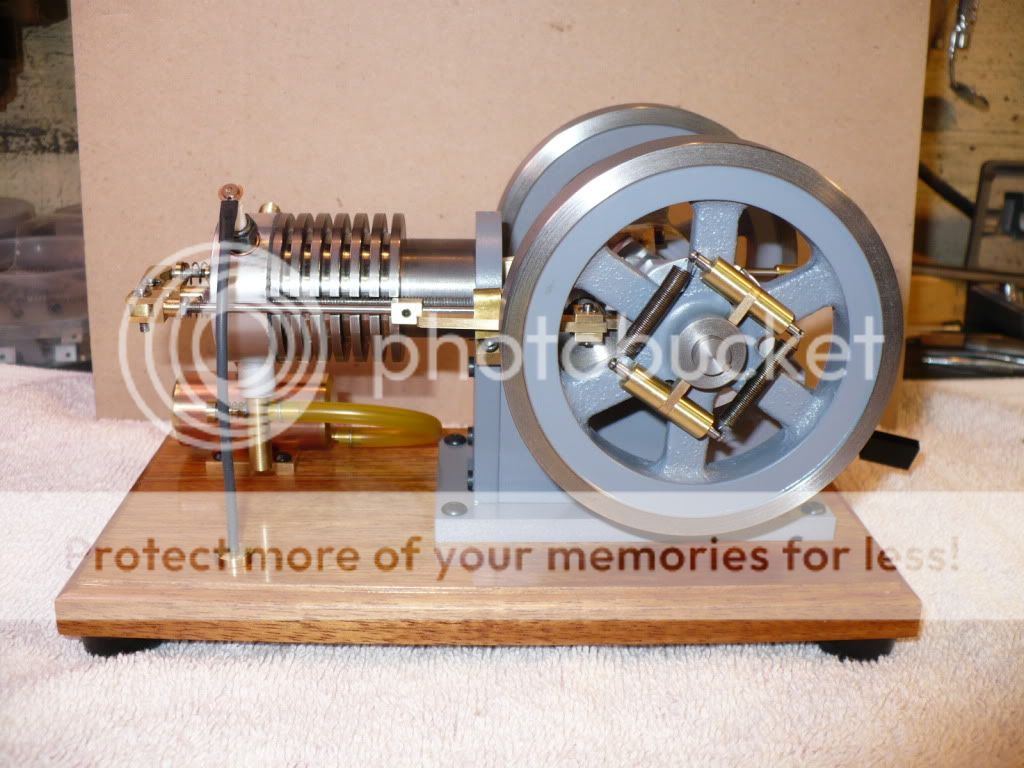
#368 Ah! There's the muffler. :eek:

P1050573.jpg


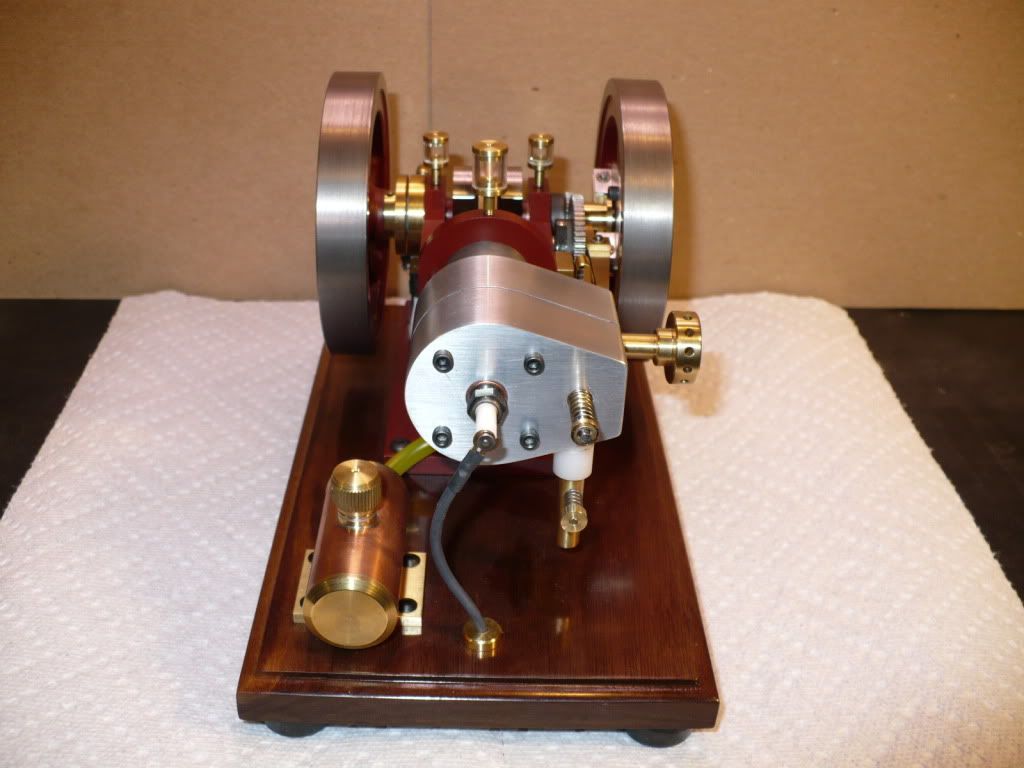
#369 This is the last picture of Engine #2. Its a shame it has to get all dirty when I try to get it into running order again. :D

P1050578.jpg


Video Link: http://www.homemodelenginemachinist.com/index.php?topic=13996.0

-MB
 
That came out great Rick but out of the final three you need a least one red one. Out of all the full sized ones made there were quite a few that were red, Galloways, Associated.
George
 
Hi George! What a coincidence! :eek:

I decided earlier today that the very next one (#3 engine) would be red. A satin red oxide primer color, base coat with clear top coat.

And this one I'm painting before I attempt the first running. ;D

-MB
 
Be carefull MB
Red ones go faster !!
Pete
 
I have to agree with you, MB, the paint does add a lot of interest to the engines. May have to think about adding some paint to some of my engines. They do spend a lot of time on the shelf not running...

Chuck
 
#370 Since my car needs to be out of the garage every time I paint, a decision was made to paint all of the frame plates for the three remaining engines. The aluminum plates were painted with a self etching primer first. After they dried the colored primer base coats, and the clear lacquer top coats were added and oven dried.

http://www.duplicolor.com/products/selfEtchingPrimer/

[ame]http://www.youtube.com/watch?v=G5c5y5pyOmY[/ame]

Below are the parts for the Horizontal F-Head version ,build #3.

P1050583.jpg


#371 I decided to use the same color on the Vertical F-Head version, build #4.

P1050587.jpg


#372 I used a darker medium gray color on the Vertical Air cooled version, build #5. (The Horizontal Air Cooled #2 engine is a light gray)

P1050590.jpg


Finding and using the right parts to assemble the 3 remaining engines will be interesting to say the least!
I just hope I didn't mix up the parts when I painted them, ending up with multi-colored engines. :Doh: Rof}

-MB
 
This is an interesting situation. 372 pictures are missing on my build thread over night! ???

This tread has been getting very few visitors lately, and my posting has slowed to a snails pace. th_wtf1

Is this a conspiracy, and how they increase their cash flow? :redface2:

-MB
 
This is the way they do it Rick. You have exceeded your "free limit". They still have all your pictures, but they will remain locked untill you "subscribe" to photobucket for a yearly fee. Fortunately, the fee is quite low, but its still kind of a sneaky trick!!!---Brian
 
Hello MB,


Don't know about you, but when something is advertised as 'Free' I figure I don't have to pay for it! (TNSTAAFL!)

Thank goodness I saved all your photos in the Upshur build file I put together as I'm depending on it for help and guidance while building my poor little single copy! ;D

Best,
Mike

 
Your photos aren't locked it is that the band width for the moth is used up you get (I believe) 10gig a month. So at the beginning of the next month they will be back.

 
Later today when "Picture Guy" shows up I'll have him pay the F-bucket bill so he can get the pictures I took of build #3 posted.

Their strong arm tactic worked. th_bs

-MB
 
Hello MB,

Fast question for you: I bought the duMont 1/16th broach and some 1/16th key stock - broached one of the flywheels today using your method and must say it was surprisingly easy (glad I bought the duMont rather than the import!) After pushing it through the first time I then inserted the shim and pushed it through the second time - wouldn't it have been better to just stop with the first cut as the keyway is now almost the depth of the key stock? I appreciate when the grub screw presses down on they key it will lock it to the keyway on the shaft but it looks too deep to me.

Best,
Mike
 
Hi Mike. You do not use the shim to broach the 1/16" key way. One pass is all thats needed.

The shim is used with the largest (1/8") size only, to broach twice, first without and then with the shim, this keeps the amount of material being removed to a minimum.

-MB
 
With the painted finish thoroughly dried I assembled Engine #3, the Horizontal F-Head. I posted quite a few pictures. Now that I have a paid f-bucket account, posting too many pictures is no longer a concern.

Here you go George, a red one! And the next one will be red too!
#373
P1050593.jpg

#374
P1050596.jpg

#375
P1050597.jpg

#376
P1050602.jpg

#377
P1050604.jpg

#378
P1050605.jpg

#379
P1050608.jpg

#380
P1050610.jpg

#381
P1050611.jpg

#382
P1050613.jpg


The next step is to get this one adjusted and in good running order.

Video link: http://www.homemodelenginemachinist.com/index.php?topic=14049.msg144638;topicseen#new

-MB
 
Really excellant work MB! building that many engines in one build, I can't even imagine. Very good looking, very good quality, and a very satisfying build to follow.

John
 
Back
Top