Maryak 10

Home Model Engine Machinist Forum

Help Support Home Model Engine Machinist Forum:

This site may earn a commission from merchant affiliate links, including eBay, Amazon, and others.

Maryak

Well-Known Member
Joined
Sep 12, 2008
Messages
4,990
Reaction score
77
Hi All,

Well here we go again.
biggrin.gif


I wondered should this be.... "Bore along with Bob" or "Metal Mayhem with Maryak" ::)

Take your pick.
LolLolLolLol.gif
. As it is my design a running engine at the end will be a real bonus.

For those who have been following the marking out thread, today's effort may have some relevance.
sovxx.gif
say_question.gif


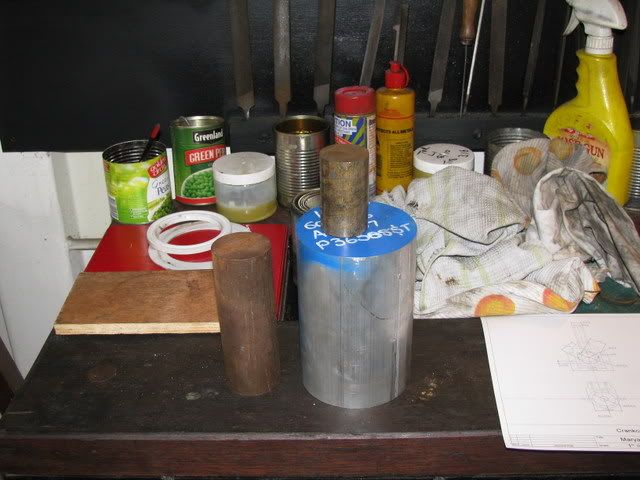
The expensive lumps from which M10 will be attempted.

IMG_0105.jpg


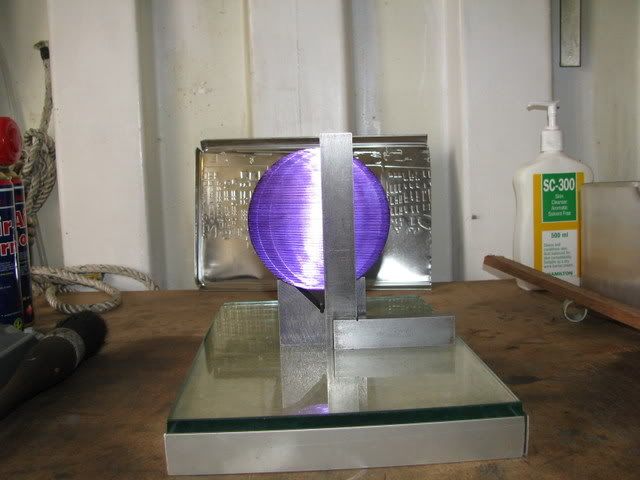
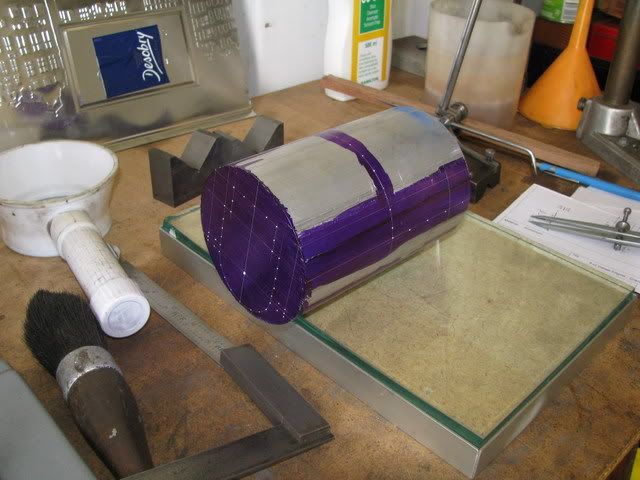
The setup for marking out, the marking out table is a piece of plate glass.

IMG_0106.jpg


IMG_0107.jpg


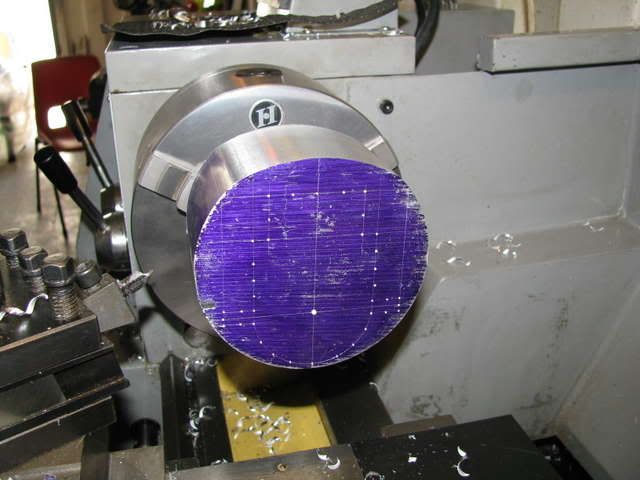
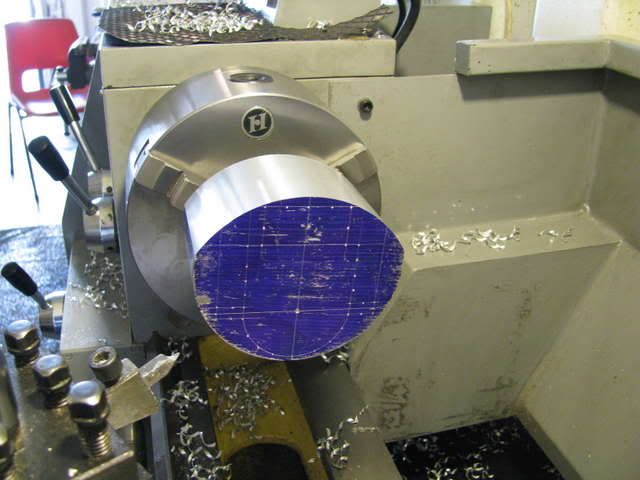
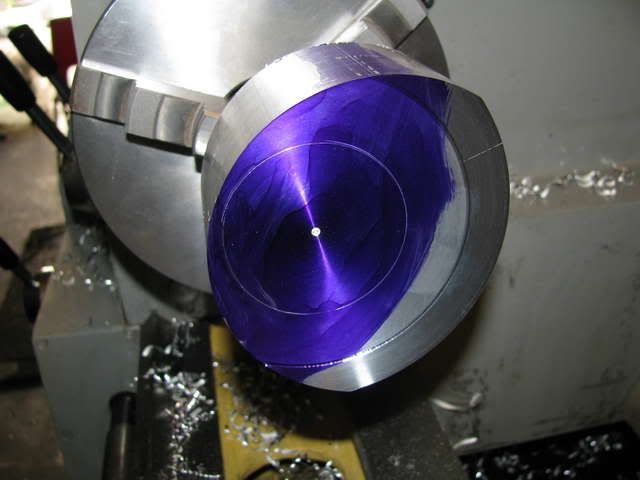
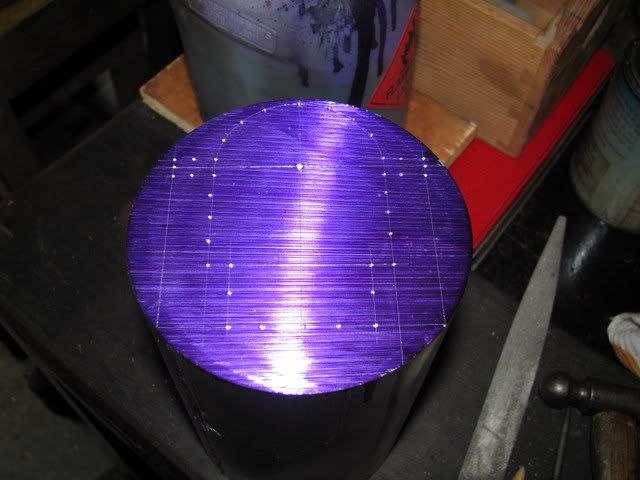
The end elevation of the drawing transferred to the metal. The profile centre pops are so I don't lose all my hard work when throwing it from bench to lathe to mill and back again.
say_eek.gif


IMG_0108.jpg


The cut marks so I can hack off a usable lump.

IMG_0109.jpg


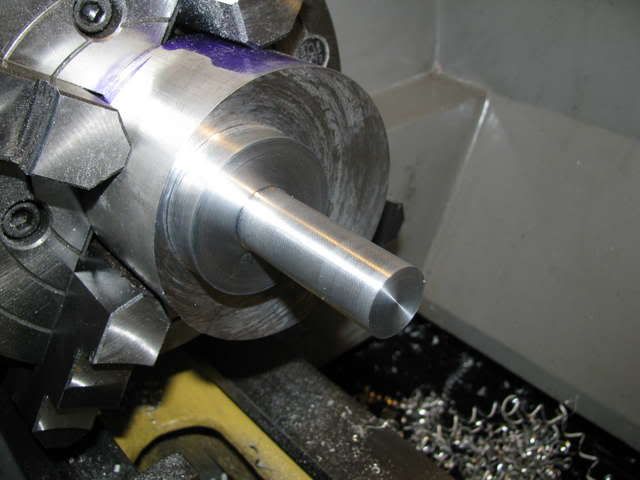
Hacking off said usable lump.

IMG_0110.jpg


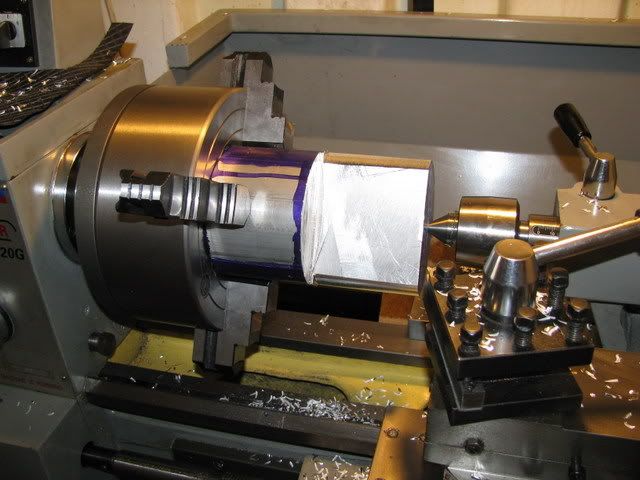
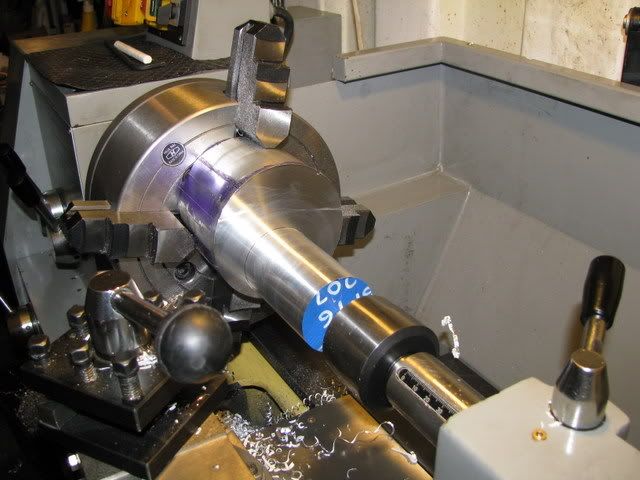
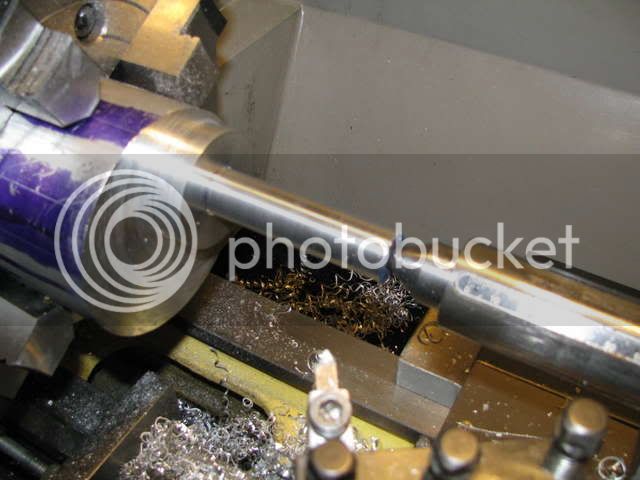
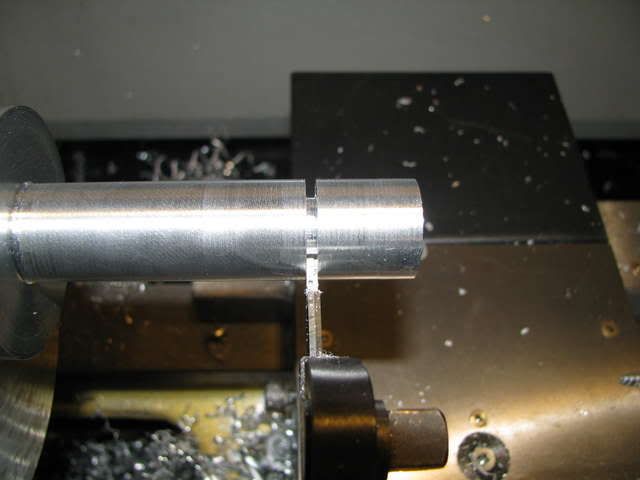
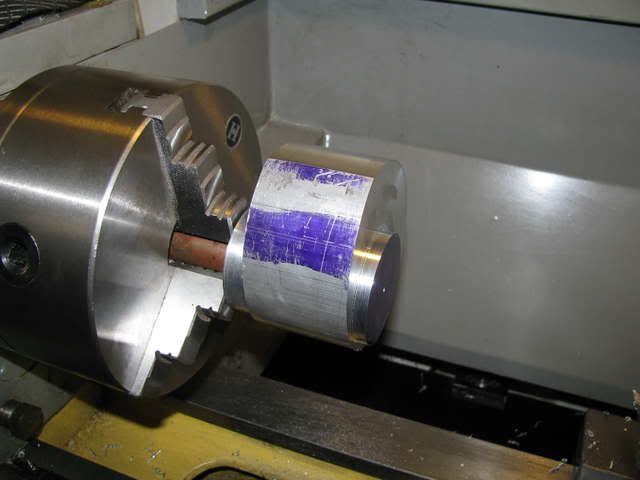
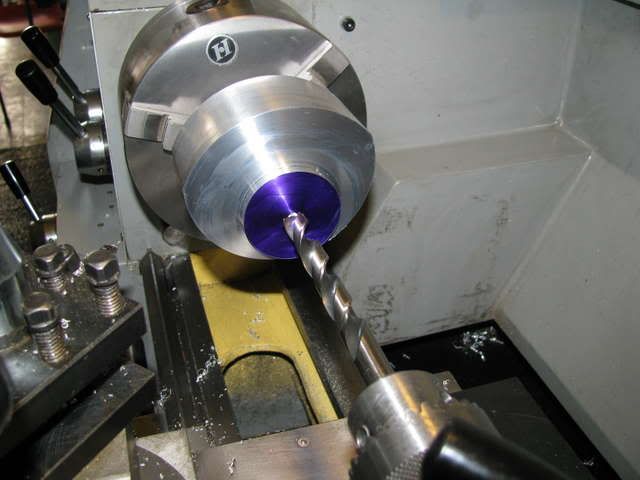
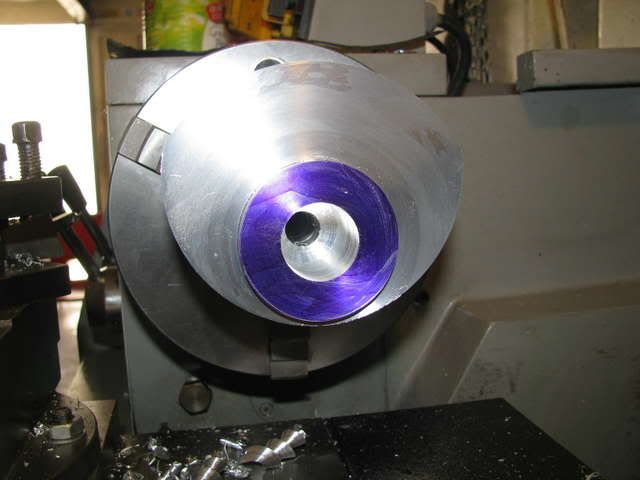
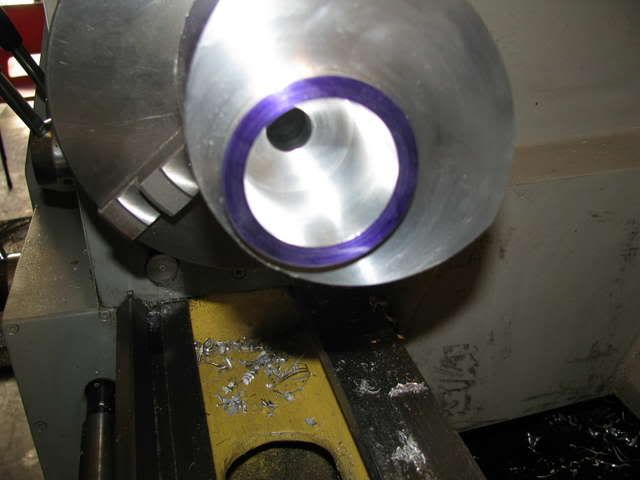
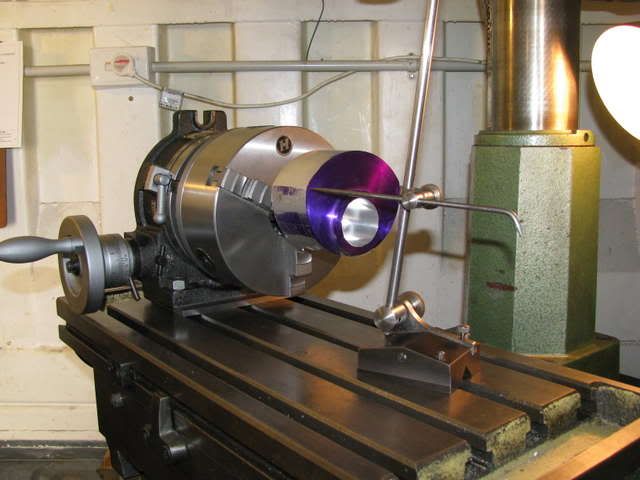
The bit which I hope will be the crankcase ready for setting up in the lathe.

IMG_0111.jpg


And that brings me to the end of day 1.

Best Regards
Bob

 
Wow! I don't have the confidence to hack into a lump of metal like that! This is going to be fantastic! How long are you expecting this project to take? That is another problem of mine ... I lose patience!

Anyway, much respect for getting stuck into such a challenging project, I will be definitely be following it, hats off :bow:

Nick
 
Nice going Bob. I like your power hacksaw. I'll be watching for updates on this one.

Cheers,
Phil


I want to know how the green peas enter into this mark out program.

Is that in case you run out of blue dye? You smear the green peas all over and get a green layout dye?
LolLolLolLol.gif


Bernd
 
Good Morning,

Nick,

Yes you do, just don't walk away during the process and stop when you get to your marks. Due to the angles involved the lump was rotated and reversed to get as close as possible to the cut lines. It was then finished off with a hand hacksaw and finally a hammer and chisel to fracture the last section in the middle still holding on.

Phil,

Yes an oldy but goody, made locally in Adelaide in 1937 it's a Junior version with a 12" blade and a 6" x 6" cut. It was given to me!! A couple of new bushes, new belts and a coat of paint, probably good for another 70 years.

Bernd,

The green peas are an integral part of my operations. They are stand by fuel for my gas torch, (by a round about method), and can be used to good effect to deter unwanted shop visitors by the same circuitous route.


Thanks for your input guys. :bow:
Best Regards
Bob
 
Bob, Can you explain what type of engine this one's going to be?

That's a hefty lump of ally you have there, I went down to Capral to get some stock the other day - obviously I haven't bought aluminium for some time as I almost needed oxygen when they told me the price!

Can't wait to see the progress.
 
As gjn said, "Its a hefty lump of ally"
emsmileo.gif


I found out just how hefty when I set it up. There was a lot of imbalance and it was impossible to run the lathe faster than 200 rpm without it chasing me round the shop.
mg16tons.gif


The good old method of slow down and take bigger cuts sure proved its worth, at 200 rpm the best I felt happy with was 0.060," at 120 rpm 0.125" was a breeze. If you do the sums you'll soon see which removes the most metal in a given time.
clock.gif


Still took a while and this is where I ended up.

The setup

IMG_0112.jpg


The 1st reduction.

IMG_0113.jpg


Rest day tomorrow to prepare myself for New Years Eve.

Best Regards
Bob

 
Well Bob. I'll give you a 'P' for perseverance, if nothing else ;D

Happy Gnu Yar from me as well
 
Jack and Tel,

Thanks gents and a Happy New Year
fest31.gif
fest30.gif
fest10.gif


To you and Yours

Best Regards
Bob
 
That looks like an awesome turning job Bob. Bet you're glad it's that far along. Doing two WIP's in a row is worth :bow: :bow: :bow: :bow: :bow: :bow: :bow: :bow: :bow: :bow: :bow: :bow:

Cheers and happy new year,
Phil
 
Phil,

Thanks for your support again.

Happy New Year to You and Yours
fest31.gif
fest30.gif
fest10.gif


Best Regards
Bob
 
Hi All,

Got a lot and a little done today - a lot in the amount of metal removed
smiley-laughing008.gif
- a little in the way of much change in appearance
smiley-sad007.gif


Gotta say its gunna be quite a large engine - a real beast if it runs.
smiley-scared003.gif


The second reduction of the output housing of the crankcase.

IMG_0128_resize.jpg


Parting off to length.

IMG_0129_resize.jpg


Ready for transfer to the 3 jaw.

IMG_0130_resize.jpg


More metal removal - Reducing the OD and deriving setting points for the vertical axis.

IMG_0131_resize.jpg


And that's it until Tuesday.
 
Hi All,

Another day of metal removal, first from the model and second from the shop -
smiley-chores009.gif
smiley-chores012.gif
. I was knee deep in ally swarf.

The crankcase OD reduced to the witness marks + a bee's wing for luck. This gave a little better balance and was able to speed up the lathe one notch to 200 rpm.

IMG_0132.jpg


A rough guide for the end cover plate boss. (Note the gouge mark where I advanced the tool without paying attention to the X slide position) :wall:

IMG_0133.jpg


The end cover boss.

IMG_0134.jpg


Drilling through the crankcase.

IMG_0135.jpg


The crankcase drilling is complete.

IMG_0136.jpg


After counterboring for the crankshaft, I think I will tackle some milling next on the outside of the crankcase. As I am machining away, I am starting to think that a jig to hold the crankcase might be a good idea to allow me to hold it more easily and accurately whilst I machine the cylinder and also while I bore out the nose for the crankshaft bushes.

For now it's back to the drawing board to further modify porting etc.

See Ya
 
You got it :D Look good on a V18 Pielstik :big:

Best Regards
Bob
 
Today saw a bit more progress with the cam lobe (crankcase). ::) Still removing lots of metal but that's half, (maybe 1/10th) of the fun.

Here's where I'm at

The boring completed.

IMG_0138.jpg


Finding my centres in the mill.

IMG_0139.jpg


Ready to fly cut the top of the crankcase

IMG_0140.jpg


The top of the crankcase after fly cutting.

IMG_0141.jpg


Hopefully tomorrow will see a heap more metal removed from the sides and the bottom
smiley-signs088.gif
 
This is looking brilliant, and massive! You sure its only 10cc?! ;)
 
Back
Top