


Tony Bird
Senior Member
HMEM Mamod Roadster Conversion Mk.2 a Mamod Morgan 3 wheeler.
Hi,
In December of 2012 in the Finished Projects section of HMEM I started a thread titled A Model Steam Car Modified. The thread described work done on a Mamod Roadster which eventually went a bit OTT, the Roadster ending up with not only R/C steering but an R/C forward/reverse regulator and gas firing as well!
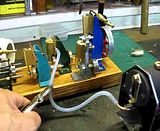
A video of the Mk1 Roadster performance.
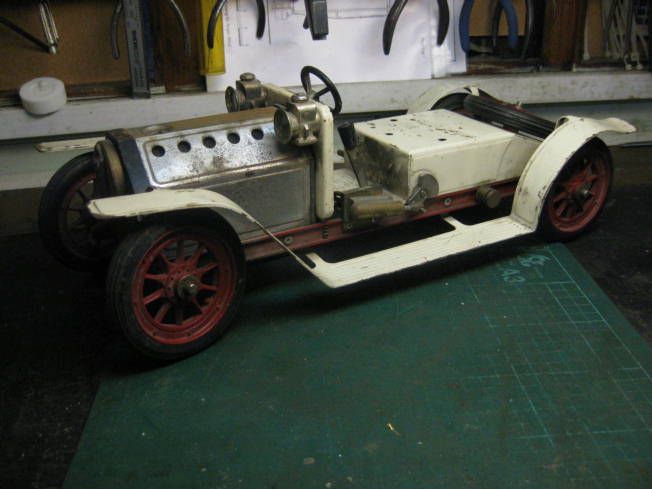
The Roadster performs really well but does have a problem with traction as the drive is through only one of its rear wheels and there is no suspension to talk of. If the surface it is running on isnt particulary flat the drive wheel can leave the ground and loose traction. I had mentioned to several people that if I were to alter another Roadster I would make it a 3 wheeler rather like a Morgan. A few weeks later a friend presented me with a Mamod Roadster that looked as if it had had a hard and interesting life, several bits were missing the seat with its support, safety valve, flywheel and spring drive belts. It also looked as if it had survived a major fire, which probably destroyed its plastic seat, but there was more than enough left for the modifications I wished to make.
Photographs of Mk.2 as received.
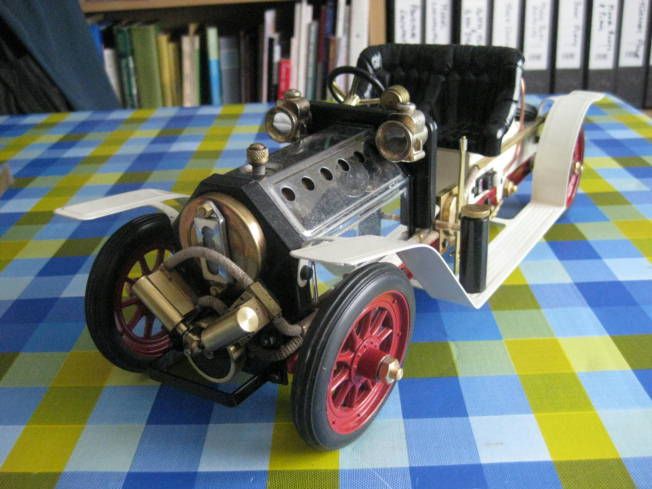
TheMk.1 Roadster hadnt had headlights when received so had had some made for it, these were replaced by headlights supplied by Mk.2. The headlights removed were used on Mk.2.
Photographof Mk.1 Roadster with original Mamod headlights fitted along with another recent addition a pressure gauge.
As most of the construction was covered in the previous thread this thread will only show for the most part the things that are different. It also wont be very quick as it is being done around other jobs. The Mk.2 Roadster was first taken apart and cleaned. As with the Mk.1 Roadster the firebox has been fitted with soldered nuts which allow it to be taken apart easily. There was a dry run to see what it would look like as a 3 wheeler.
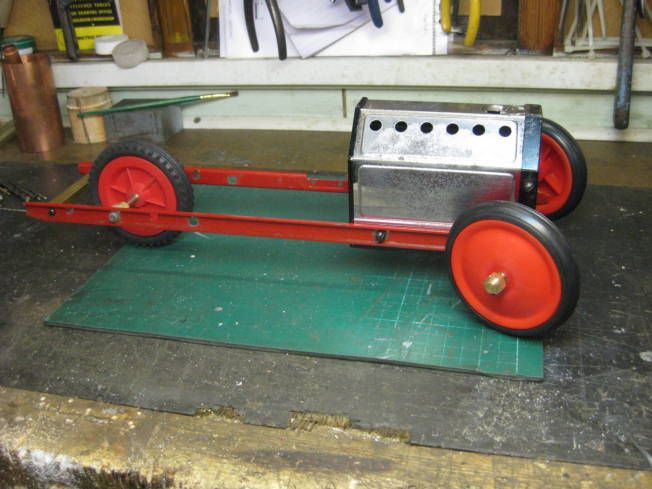
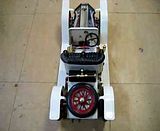
Photographsof Mk2 converted to a three-wheel vehicle.
Some thought was given to the design and construction, with a wheel and all its transmission inside the chassis and a shorter wheelbase there wouldnt be as much room as there was in Mk1 Roadster for the R/C. While working on other projects I looked and thought about what to do regarding the appearance of the Mamod/Morgan. I had been on the web and was unable to find a steam powered Morgan to copy, however there were plenty of photographs of competition Morgans from the 1920s and 30s. So it was decided to make a sports version of a Morgan.
When making Mk.1 sums had been done regarding the gear ratio to be use. The Mamod before conversion had a gear reduction of about 18:1 having done some sums regarding replacing the single acting engine with a 5/16 (8mm) bore and ¾ (19mm) stroke giving a swept volume of 955 cu mm. The replacement a twin double acting engine with a bore of 5/16 (8mm) and stroke of 15/32(12mm) giving a swept volume of 2412 cu mm about 2.5 times grater than the single. A gear ratio of a little less than 9:1 was eventually decided on which worked well, the boiler producing enough steam for continuous running and the model could even managing small slopes. But Mk.1 is heavy having a dry weight (with no water, batteries or gas) of 5.75lbs or about 2.6kgs, so a lightweight version is to be tried.
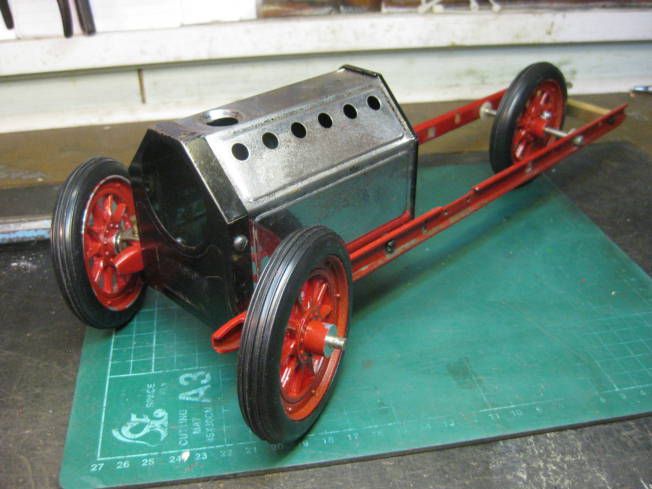
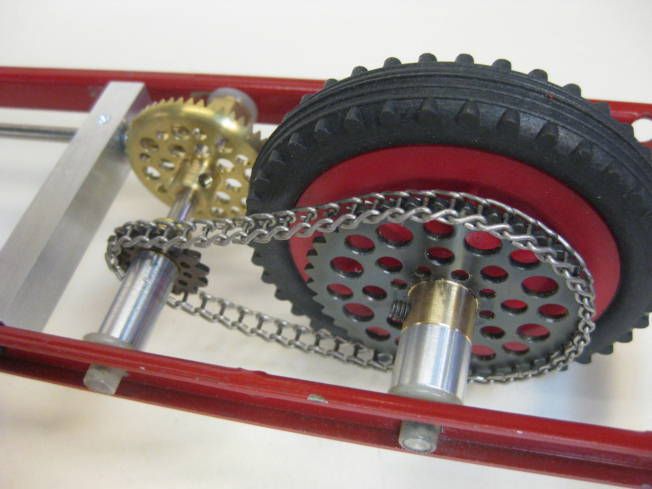
This second Mamod donor model is an earlier version than the first I think, it had a higher gear ratio of about 13:1 and a different pulley arrangement. So the alterations to the model will be to make it as light as possible with perhaps a means of altering its gear ratios. The original wheels though attractive to look at are quite heavy 4.25 ozs or 120grms each. A visit the local model shop produced for a total of less than £3 some plastic wheels of the same size and the 3 of them only weighing a total of 5.25ozs about 150grms, a big saving in weight. The new plastic front wheels are fitted with brass bearings and the driving wheel is fitted to a chain sprocket.
Mk.2 with plastic wheels.
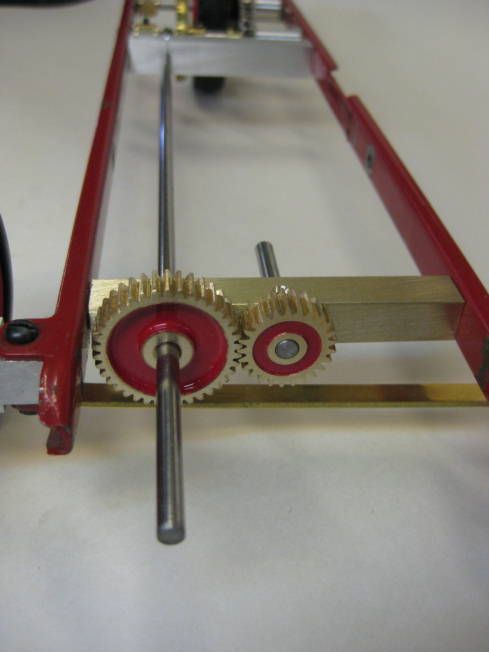
The gear reduction of Mk.2 like the one used on Mk.1 is done in three stages. A primary from the engine using spur gears to a off-set propeller shaft, a intermediate gear consisting of a contrate wheel driven from a pinion mounted on the propeller shaft, the final drive is by a sprocket and chain to the wheel. All the gears used are from Meccano. The primary drive gear ratio, which will be difficult to alter, but it will be easy to alter the ratios of the secondary and final drives.
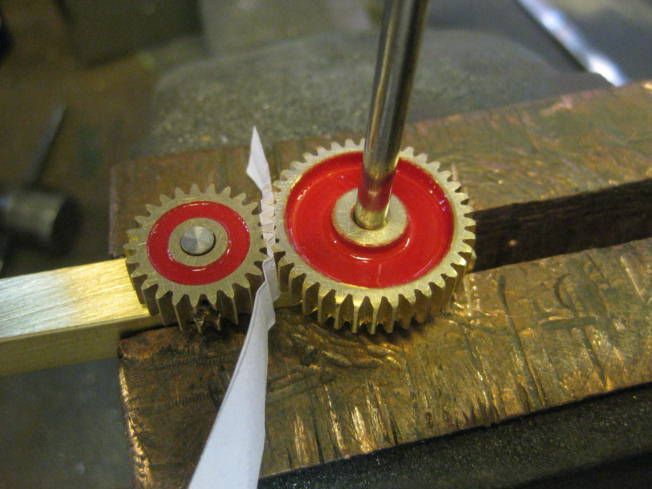
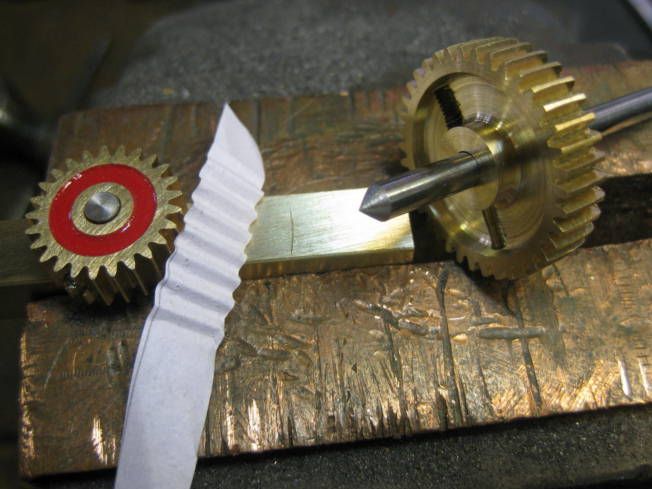
Wheel depthing without a depthing tool or direct measurement.
Primary drive.
Secondary drive.
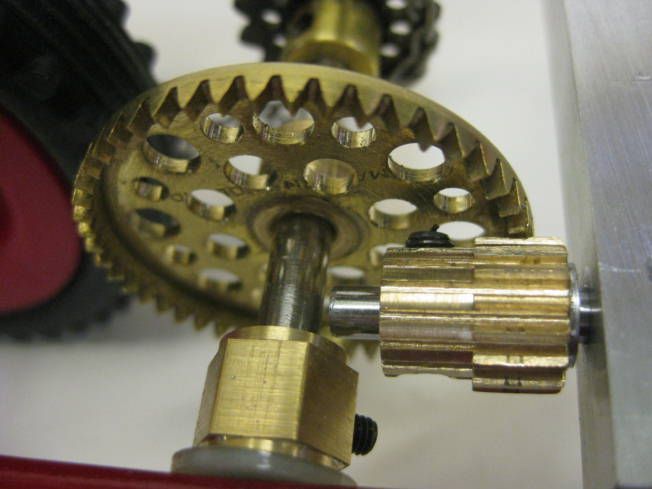
Final drive.
Where possible the gears and sprockets have been lightened and aluminium has been used to reduce weight. More to follow.
Regards Tony.
Hi,
In December of 2012 in the Finished Projects section of HMEM I started a thread titled A Model Steam Car Modified. The thread described work done on a Mamod Roadster which eventually went a bit OTT, the Roadster ending up with not only R/C steering but an R/C forward/reverse regulator and gas firing as well!
A video of the Mk1 Roadster performance.
The Roadster performs really well but does have a problem with traction as the drive is through only one of its rear wheels and there is no suspension to talk of. If the surface it is running on isnt particulary flat the drive wheel can leave the ground and loose traction. I had mentioned to several people that if I were to alter another Roadster I would make it a 3 wheeler rather like a Morgan. A few weeks later a friend presented me with a Mamod Roadster that looked as if it had had a hard and interesting life, several bits were missing the seat with its support, safety valve, flywheel and spring drive belts. It also looked as if it had survived a major fire, which probably destroyed its plastic seat, but there was more than enough left for the modifications I wished to make.
Photographs of Mk.2 as received.

TheMk.1 Roadster hadnt had headlights when received so had had some made for it, these were replaced by headlights supplied by Mk.2. The headlights removed were used on Mk.2.
Photographof Mk.1 Roadster with original Mamod headlights fitted along with another recent addition a pressure gauge.

As most of the construction was covered in the previous thread this thread will only show for the most part the things that are different. It also wont be very quick as it is being done around other jobs. The Mk.2 Roadster was first taken apart and cleaned. As with the Mk.1 Roadster the firebox has been fitted with soldered nuts which allow it to be taken apart easily. There was a dry run to see what it would look like as a 3 wheeler.
Photographsof Mk2 converted to a three-wheel vehicle.

Some thought was given to the design and construction, with a wheel and all its transmission inside the chassis and a shorter wheelbase there wouldnt be as much room as there was in Mk1 Roadster for the R/C. While working on other projects I looked and thought about what to do regarding the appearance of the Mamod/Morgan. I had been on the web and was unable to find a steam powered Morgan to copy, however there were plenty of photographs of competition Morgans from the 1920s and 30s. So it was decided to make a sports version of a Morgan.
When making Mk.1 sums had been done regarding the gear ratio to be use. The Mamod before conversion had a gear reduction of about 18:1 having done some sums regarding replacing the single acting engine with a 5/16 (8mm) bore and ¾ (19mm) stroke giving a swept volume of 955 cu mm. The replacement a twin double acting engine with a bore of 5/16 (8mm) and stroke of 15/32(12mm) giving a swept volume of 2412 cu mm about 2.5 times grater than the single. A gear ratio of a little less than 9:1 was eventually decided on which worked well, the boiler producing enough steam for continuous running and the model could even managing small slopes. But Mk.1 is heavy having a dry weight (with no water, batteries or gas) of 5.75lbs or about 2.6kgs, so a lightweight version is to be tried.
This second Mamod donor model is an earlier version than the first I think, it had a higher gear ratio of about 13:1 and a different pulley arrangement. So the alterations to the model will be to make it as light as possible with perhaps a means of altering its gear ratios. The original wheels though attractive to look at are quite heavy 4.25 ozs or 120grms each. A visit the local model shop produced for a total of less than £3 some plastic wheels of the same size and the 3 of them only weighing a total of 5.25ozs about 150grms, a big saving in weight. The new plastic front wheels are fitted with brass bearings and the driving wheel is fitted to a chain sprocket.
Mk.2 with plastic wheels.

The gear reduction of Mk.2 like the one used on Mk.1 is done in three stages. A primary from the engine using spur gears to a off-set propeller shaft, a intermediate gear consisting of a contrate wheel driven from a pinion mounted on the propeller shaft, the final drive is by a sprocket and chain to the wheel. All the gears used are from Meccano. The primary drive gear ratio, which will be difficult to alter, but it will be easy to alter the ratios of the secondary and final drives.
Wheel depthing without a depthing tool or direct measurement.


Primary drive.

Secondary drive.

Final drive.

Where possible the gears and sprockets have been lightened and aluminium has been used to reduce weight. More to follow.
Regards Tony.


")


