Well, Well, Well !!!!
I just finished reading this thread.
Yup, the whole thing. Every page.
What an educational and fun tour !!!
My thanks go to everyone who posted with information, how-to's and humour.
As for Zee:
Even though you pretend differently you are one self confident and gutsy fellow to expose yourself as you have.
A job well done. :bow:
I do believe that this thread, all by itself, has convinced me to get a shop in order and start building my own engines.
Earl...
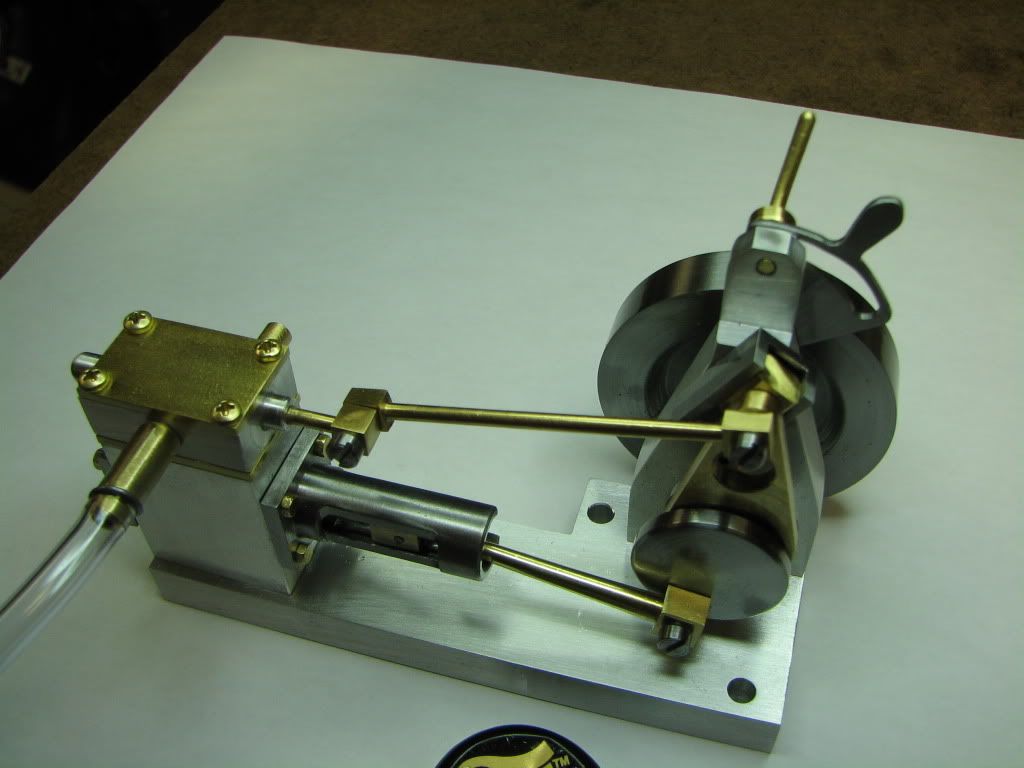
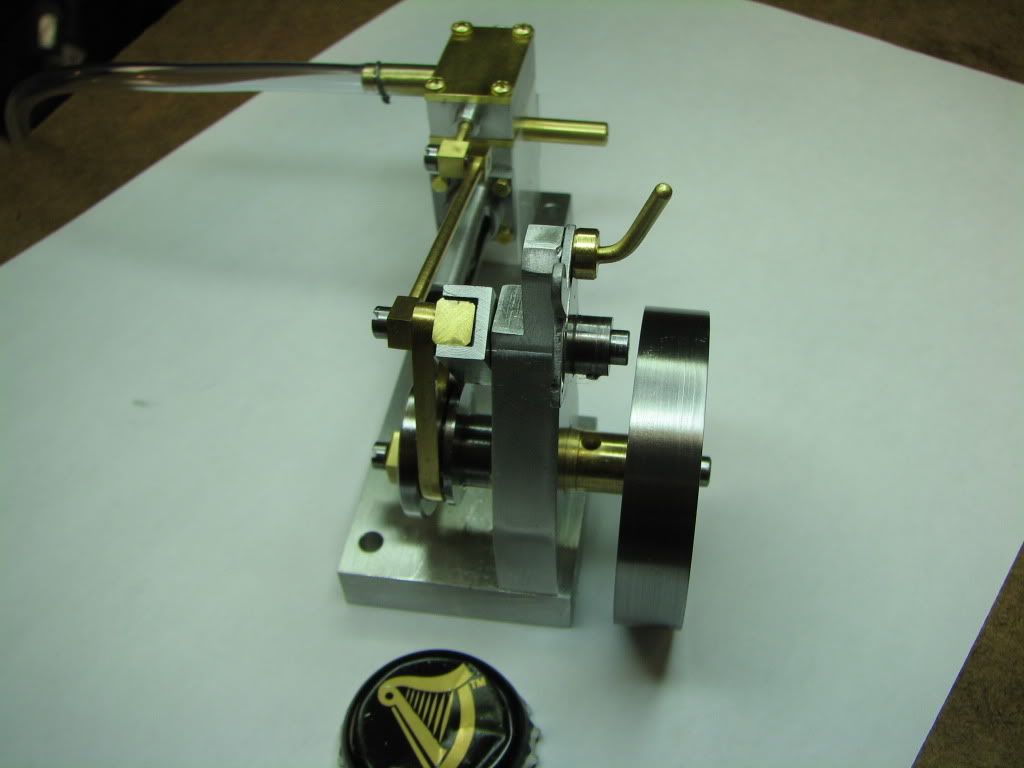
As to the kit:
I see that it sells for $79.95 and weighs 3.93 lbs.
$79.95 / 3.93 = $20.34 per pound.
It seems like at that price-per-pound they would have incentive to include a little extra material for you to hang on to.


")