Hit me - Miss me?

Home Model Engine Machinist Forum

Help Support Home Model Engine Machinist Forum:

This site may earn a commission from merchant affiliate links, including eBay, Amazon, and others.
Bob,

Is that electrical tape holding the packer in place and how tight is the packer?

By the way it's look'n good so far.

Philly
 
Philly,

Thanks for your continued interest and support. :bow:

The electrical tape is covering copper wire binding the packer to the crankpin. You can just see the twisted off end in the 4th photo of my last post. The packer is a very light push fit - not quite a sliding fit. The tape is to remind me to keep away from this area and to check that things are staying put after interrupted cutting.

Best Regards
Bob
 
Hi Bob....
nice useful Way to do a crankshaft!!! :bow:
Best Regards
Paolo
 
Bob,

Once again, I am learning so much from your build.

Thanks,
One of the "other" Bobs.
 
jthulin,

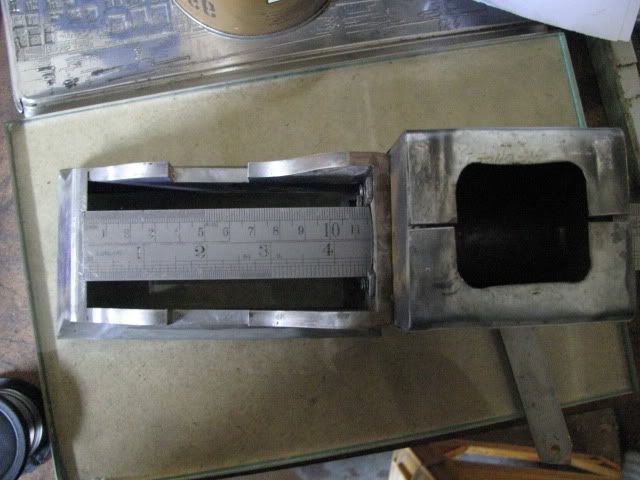
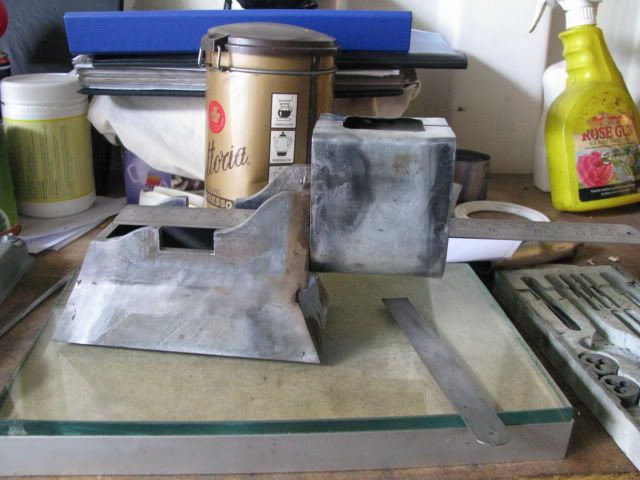
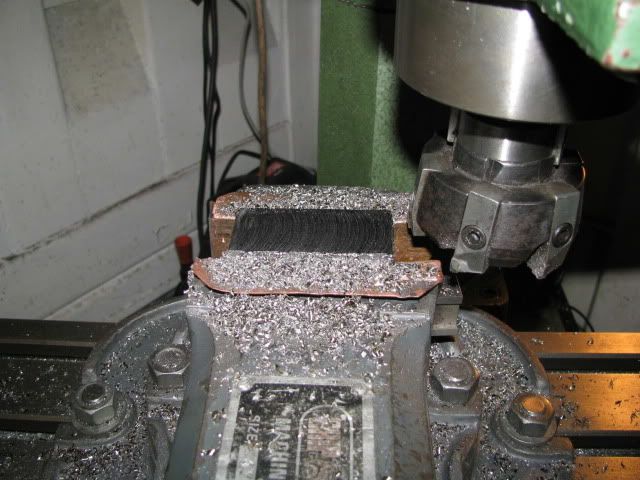
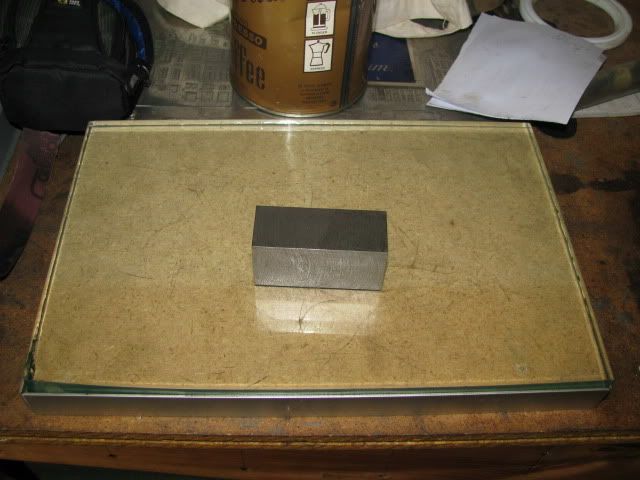
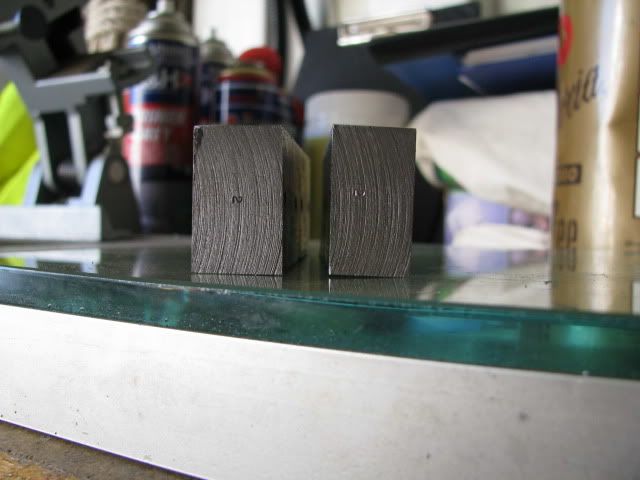
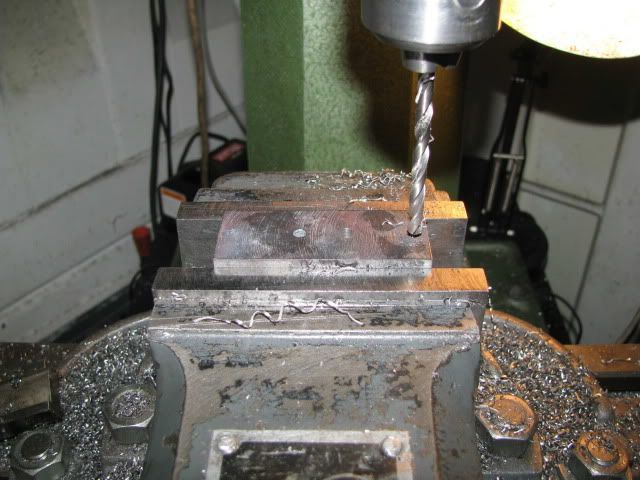
The materials a lump of flat plate, cut off a bigger lump of same at my mates shipyard. It machines similar to mild steel but is probably boiler plate because it is easy to start the metal tearing rather than cutting. It has not been heat treated in any way and if there was distortion it was minimal.

95% of the materials I use are scrounged from many sources and when your head down base up in someones scrap bin I don't ever recall thinking now is this EN 32 or SAE 1024.

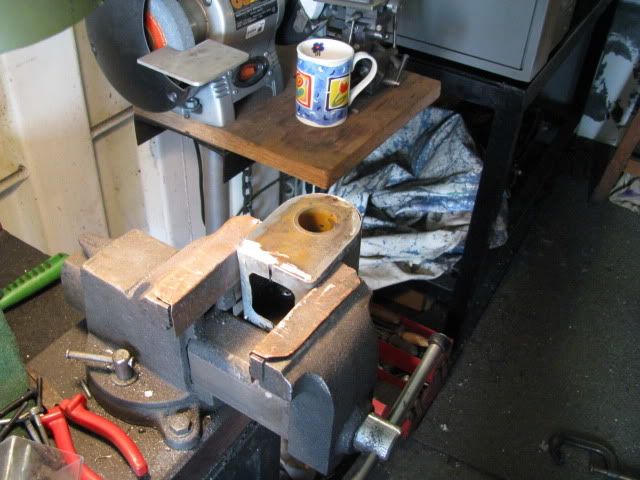
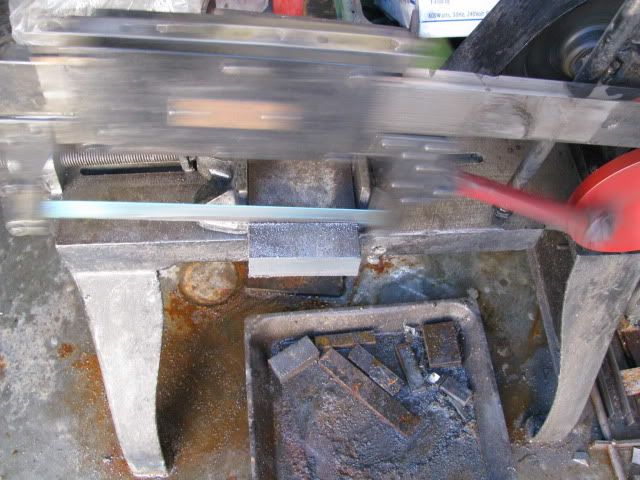
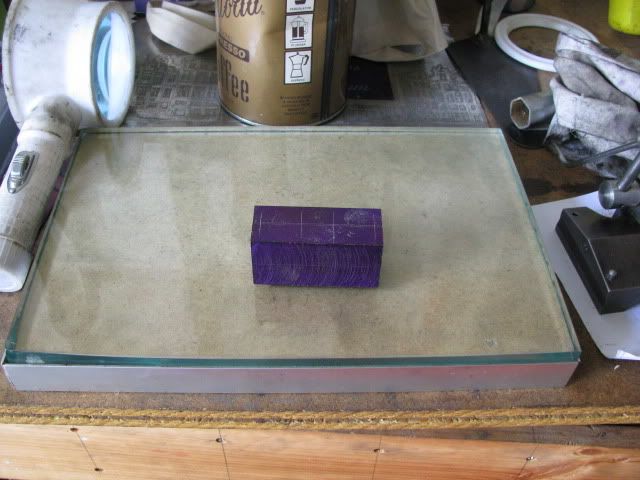
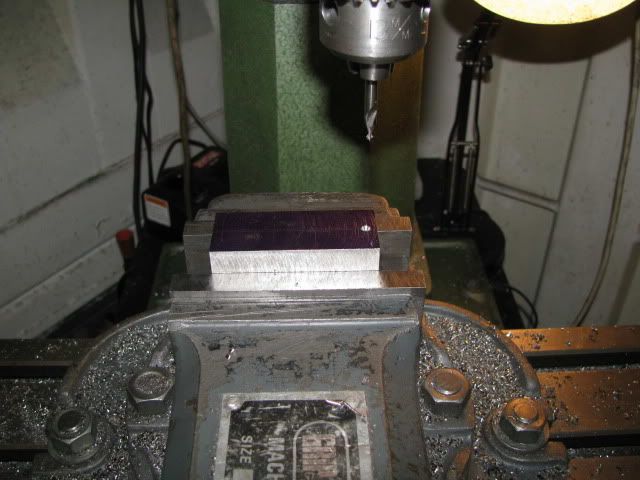
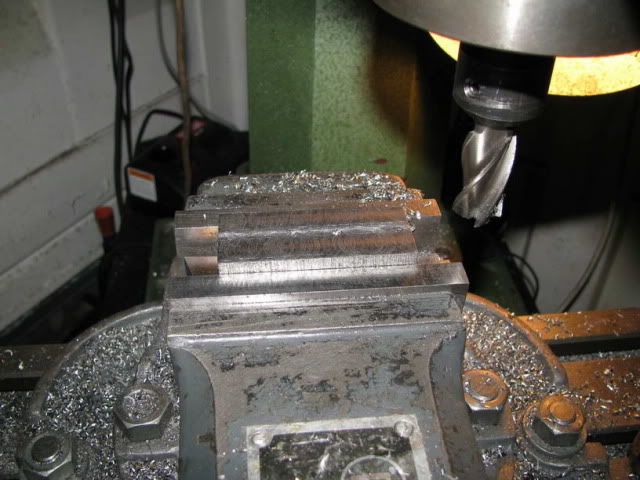
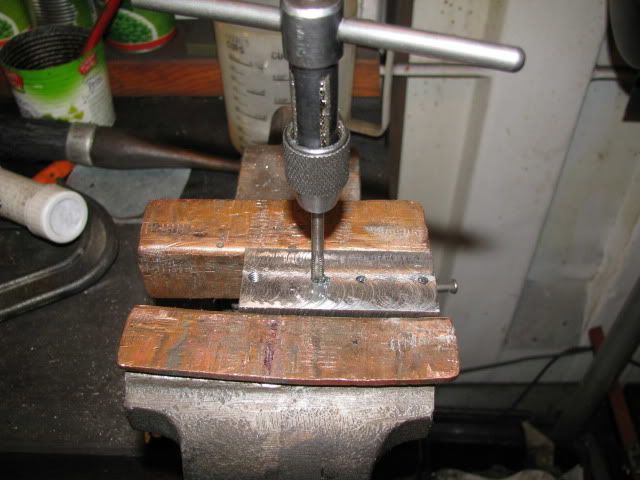
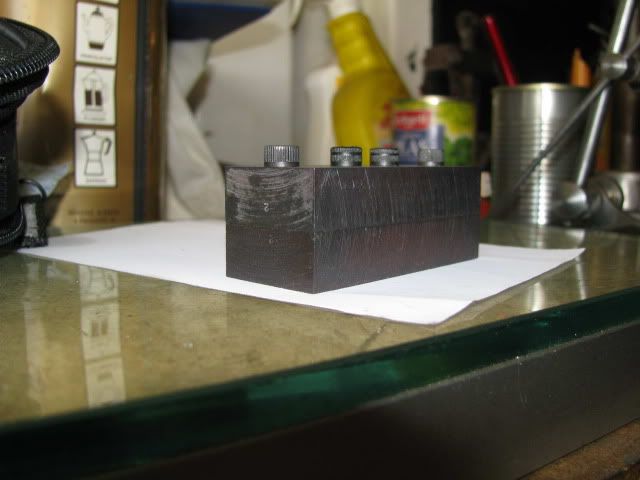
Once it's in the machine you get a handle on its' probable origin e.g. my drilling jig blank.

Best Regards
Bob

Fair enough Bob.

I think it would be safe to assume that your lump of steel has virtualy no internal stresses within it. The same could not be said of a typical piece of cold rolled or to a lesser extent hot rolled flat bar. Removing material as you have done from a cold worked bar could cause a very significant distortion as the stresses become unbalanced- just a word of caution to others planning similar methods...
 
That's coming along very nicely Bob :bow:

Are you driving the crank with a center & dog on the headstock side ?

Regards, Arnold
 
Paolo, Bob, Jeff and Arnold,

Thanks for your support and interest.

Arnold, Yes I am using a dog to drive the crank on the headstock end.

Best Regards
Bob
 
Well,

The start of the week saw the crankshaft done.
wow.gif


Must say I am happy its behind me. The finish on one of the journals is not all I'd hoped for but once I have the bearings positioned I should be able to clean it up. For now I'll leave well enough alone. ::)

Main shaft 2 machining.

IMG_0754.jpg


Sizing the width of the second web.

IMG_0756.jpg


The finished crankshaft.

IMG_0758.jpg


Tomorrow I hope to start tinning and soldering the water jacket.

Best Regards
Bob
 
Nice Crankshaft Bob - Boy, you must be glad those interrupted cuts are done :big:

Regards, Arnold
 
Thanks Arnold for your continued support. :bow:

Yes, I am happy the cutus interuptus is over.

Best Regards
Bob
 
Rob,

Thanks for the kind words and support. :bow:

Today I managed to solder the water jacket to the cylinder, ;D I also managed to forget the camera :mad:

I am sure there will be some plastibond required but that's tomorrows work, plus, of course, the camera to show the results.

Best Regards
Bob
 
Hi,

One of my through bolts was loose so I had the whole thing to unglue to get at the bolt. :mad: :mad:

Can't say this soldering is my strong suit but at least its together and it holds water. :eek: A little more on the top and some bog and some filing and I will be happy.

The Water Jacket

IMG_0759.jpg


Trial fit up for alignment, (at least that's OK).

IMG_0760.jpg


IMG_0761.jpg


Best Regards
Bob

 
Hi,

The last 3 days have had me on the hop with ISO tanks so not much in the way of progress. I did manage to get the waterjacket bogged up using Devcon liquid steel. Some might call it coloured Araldite, although it goes off much quicker than normal Araldite. I am giving it a few days to completely harden before clean up.

I decided I would make a start on the main bearing blocks. A hunt around had me resorting to Bob's mystery metal, (at least I know it welds OK as it was originally a part of a 150 tonne crane).

Hacking off a lump of metal for the main bearing housings.

IMG_0762.jpg


Squaring up the lump.

IMG_0763.jpg


To have a better chance at good alignment the 2 bearing housings need to be machined together so one block of metal has been squared up to allow 2 housings to be made as 1 before dividing.

IMG_0764.jpg


The housing block marked out for drilling and splitting.

IMG_0765.jpg


Avagoodweekend.

Best Regards
Bob
 
Hi Bob , Its really starting to look great ,i do like following your posts.
Rob
 
What Bob said! It's really beginning to look kinda like a 8Hp Simplicity!

Keep going Bob! ;D

Dave
 
Rob and Dave,

Thanks guys for your kind words and support. :bow: :bow: The parts I was least confident about, (the soldering/sealing of the water jacket and the crankshaft), are done so I hope it's downhill from here.

Rob, I looked at your gearcutters in the Myford thread - very impressive, did you use buttons to form them and how did you relieve them ??? ???

Best Regards
Bob
 
Rob,

Thanks again for all the gear info in your Myford thread. :bow:

A little more today, I seem to have to find time for everything other than me at the moment and I don't see it changing for a few months, (years ???).

Drilling the bearing housings - tapping drill size.

IMG_0766.jpg


Splitting the housings.

IMG_0767.jpg


Nominating what fits where.

IMG_0769.jpg


Tanks for the memory was most of today.

Best Regards
Bob
 
Two steps forward and one step back. :mad:

After splitting the two halves are machined to size.

IMG_0770.jpg


Tapping the bottom halves - 3rd hole broken tap.
smiley-angry019.gif
smiley-angry046.gif


IMG_0771.jpg


Under the lime is the bottom halves housing being slow cooled after heating to cherry red.

IMG_0772.jpg


Drilling the bolt clearance hole in the top halves.

IMG_0773.jpg


Ready for marking out and splitting into 2 bearing blocks.

IMG_0774.jpg


Tomorrow will be a lay day due to doctors visits and open home for inspection.

Best Regards
Bob
 
Back
Top