Maryak
Well-Known Member
- Joined
- Sep 12, 2008
- Messages
- 4,990
- Reaction score
- 77
Hi Guys,
Well it's been a week since M10 burst into life. Thanks for all of your remarks in that thread. :bow:
I cleaned and oiled the lathe, stripped the mill down and was pleasantly surprised by the minimal amount of grundge under the tables and on the feed screws. Oiled and greased it up and put it back together. The floor under the benches and machine tables was another matter, I retrieved 10 kg of metal muck and mess from these areas. :")
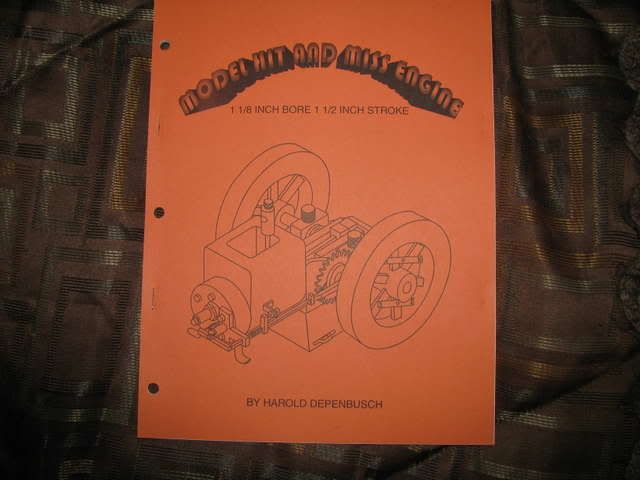
So what's next - the Hit and Miss Engine my daughter gave me the plans for.

After a week without taking photos and thinking how to caption them.... I was bored so here we go yet again.
The Idiots Guide to Hitting and Missing.
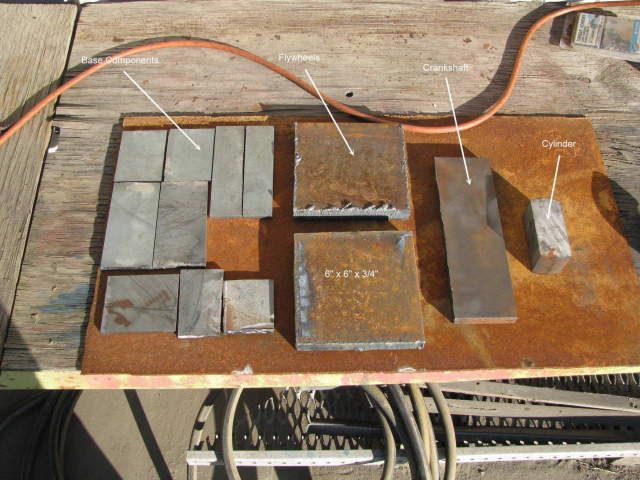
A hunt around revealed a lack of suitable sized material for major components such as flywheels and crankshafts. Up to this point I hadn't fully appreciated how big this model is.
This resulted in some serious grovelling at my mates shipyard to obtain some 3/4" and 5/8" plate for the flywheels and crankshaft. Plate no problem but more grovelling to get it flame cut to manageable sizes. ;D ;D
The major lumps.
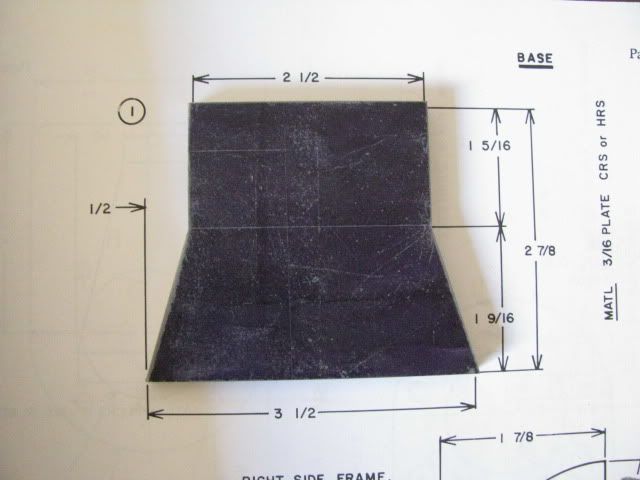
I decided to make a start on the base components.
And now photobucket is down so I will finish this later.
Photobucket is back up so on with the show. :
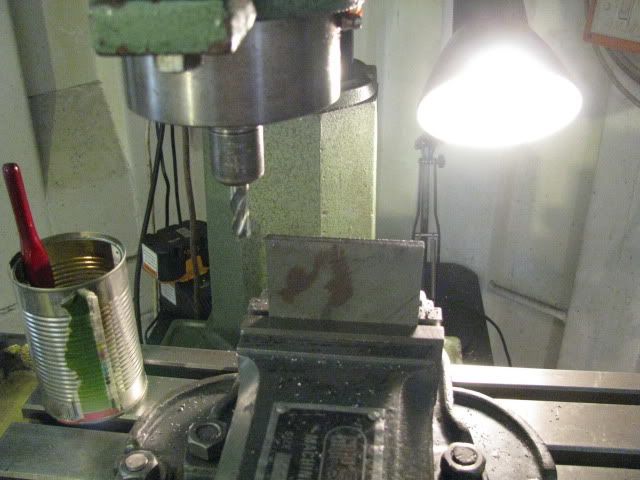
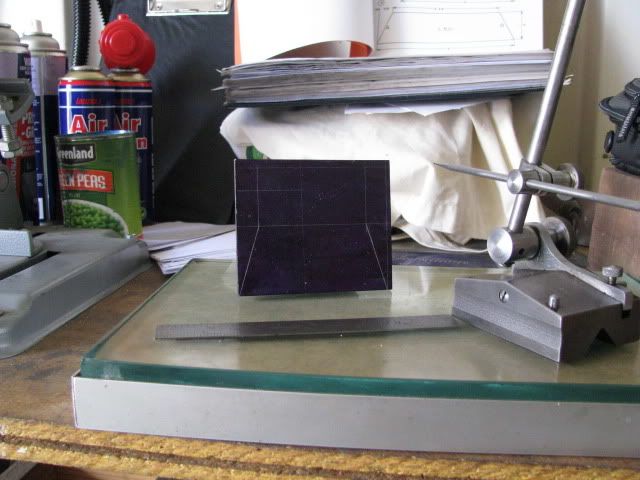
Making a right angle datum on base piece 1 for marking out/off.
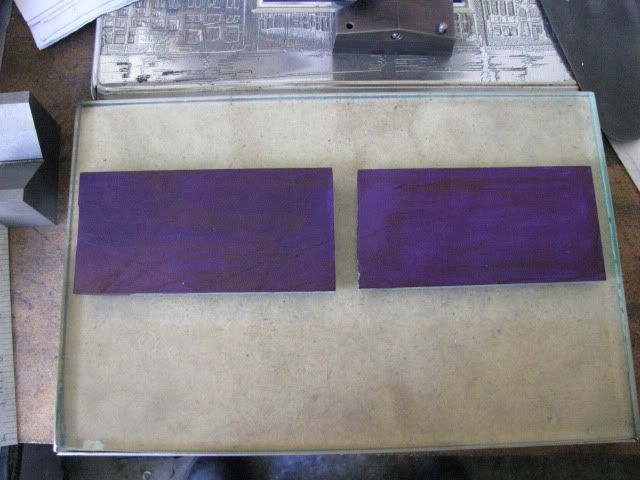
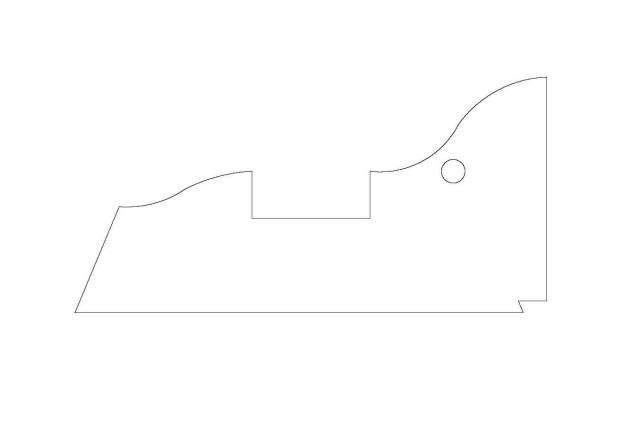
Base1 ready for shaping.
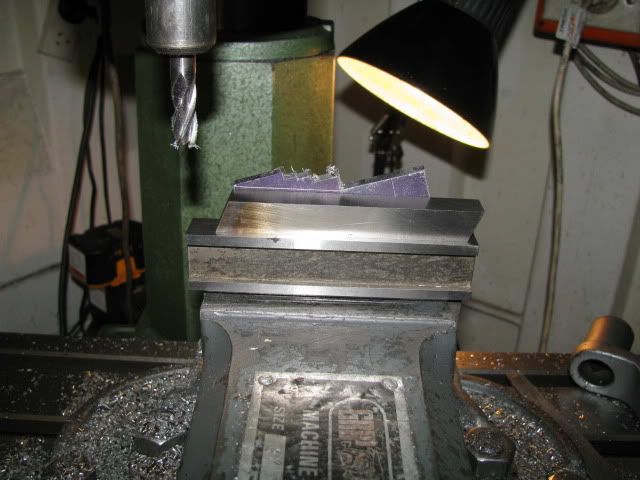
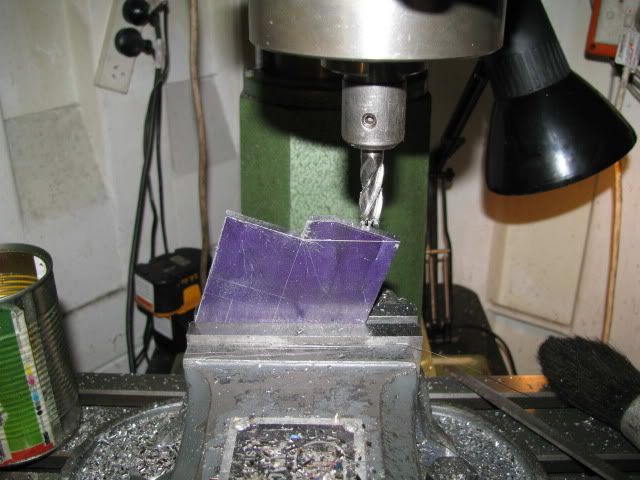
Shaping base1.
Best Regards
Bob
Well it's been a week since M10 burst into life. Thanks for all of your remarks in that thread. :bow:
I cleaned and oiled the lathe, stripped the mill down and was pleasantly surprised by the minimal amount of grundge under the tables and on the feed screws. Oiled and greased it up and put it back together. The floor under the benches and machine tables was another matter, I retrieved 10 kg of metal muck and mess from these areas. :
So what's next - the Hit and Miss Engine my daughter gave me the plans for.
After a week without taking photos and thinking how to caption them.... I was bored so here we go yet again.
The Idiots Guide to Hitting and Missing.
A hunt around revealed a lack of suitable sized material for major components such as flywheels and crankshafts. Up to this point I hadn't fully appreciated how big this model is.
This resulted in some serious grovelling at my mates shipyard to obtain some 3/4" and 5/8" plate for the flywheels and crankshaft. Plate no problem but more grovelling to get it flame cut to manageable sizes. ;D ;D
The major lumps.
I decided to make a start on the base components.
And now photobucket is down so I will finish this later.
Photobucket is back up so on with the show. :
Making a right angle datum on base piece 1 for marking out/off.
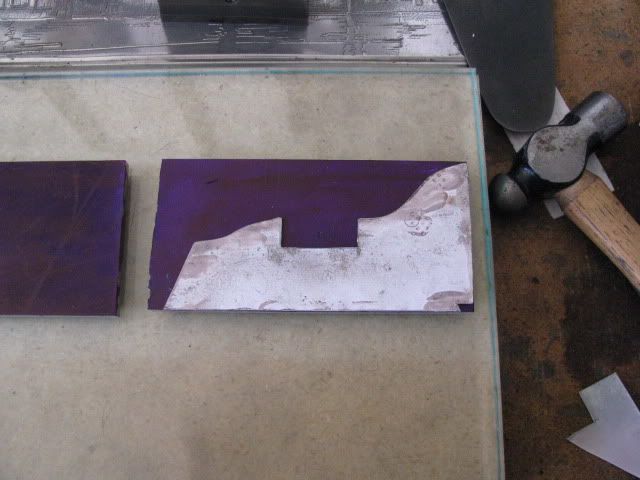
Base1 ready for shaping.
Shaping base1.
Best Regards
Bob