harborfreight8x12
Well-Known Member
- Joined
- Oct 29, 2010
- Messages
- 57
- Reaction score
- 16


Lol. You are right, I should have labeled the circles at the bottom as to "top" and "bottom", but I think Lathe Nut can decipher it from his own pictures of the 'rat nest' wiring. All of you following this thread all agree that the wiring diagrams included in the owner's manual are useless.It looks like Al beat me to it.
Hi again. Did I ever send you the LatheMaster owner's manual for the 8x12? I think it's a little better (but not by much) than the Harbor Freight owner's manual. Sadly, Mr. Broussard at LatheMaster has gone out of business, he was located in Baton Rouge and I bought parts from him. Hope this helps.harborfreight8x12, first off thanks for the pics, yes on the two threaded holes below the spindle shaft, you would think with all the quality built into this machine that it would have a tumbler gear lever, thanks so much for the drawing, I might try it today, worse I can do is blow the second switch or a cap., will let you all know what happend if you see smoke coming from S W Louisiana, that means it did not work.
HMEL, it is what you did that someone beat you its that you are trying to help me learn through this, I did save them to file, printed one and in the note book with the lathe in case of need again, I want to thanks you all for your help, probably will be in need again before this project is done, Lathe Nut, Joe
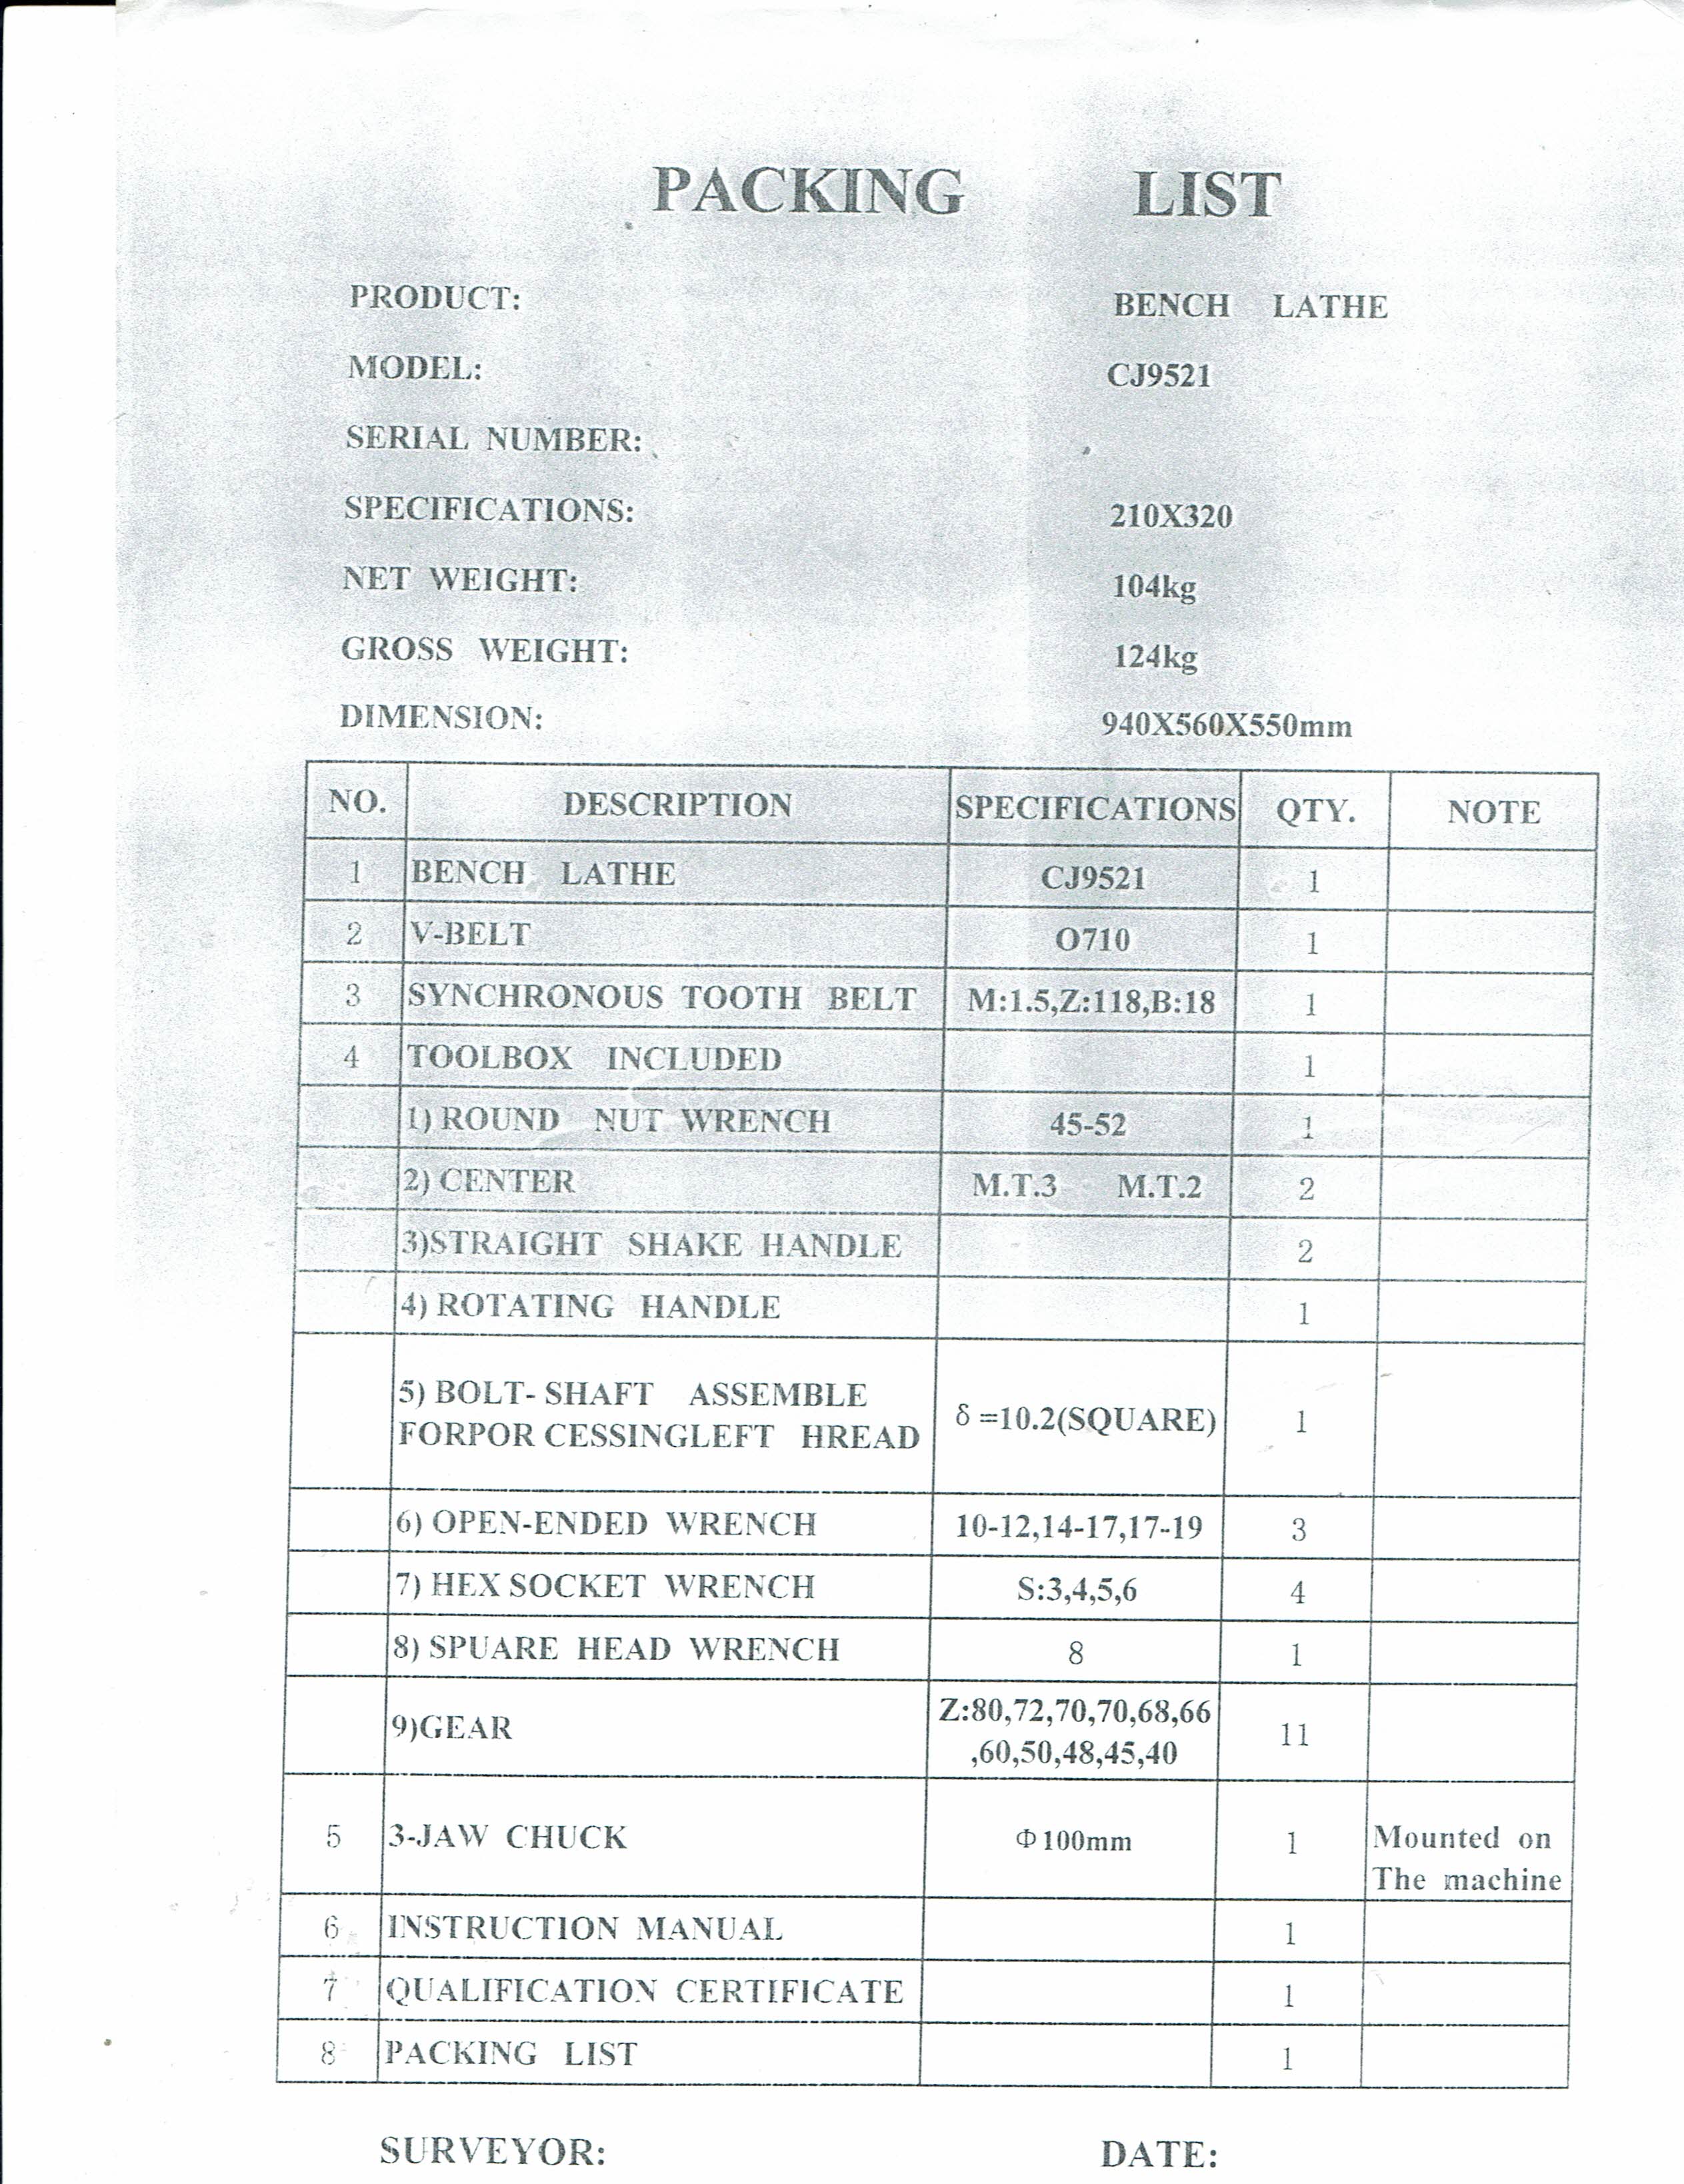
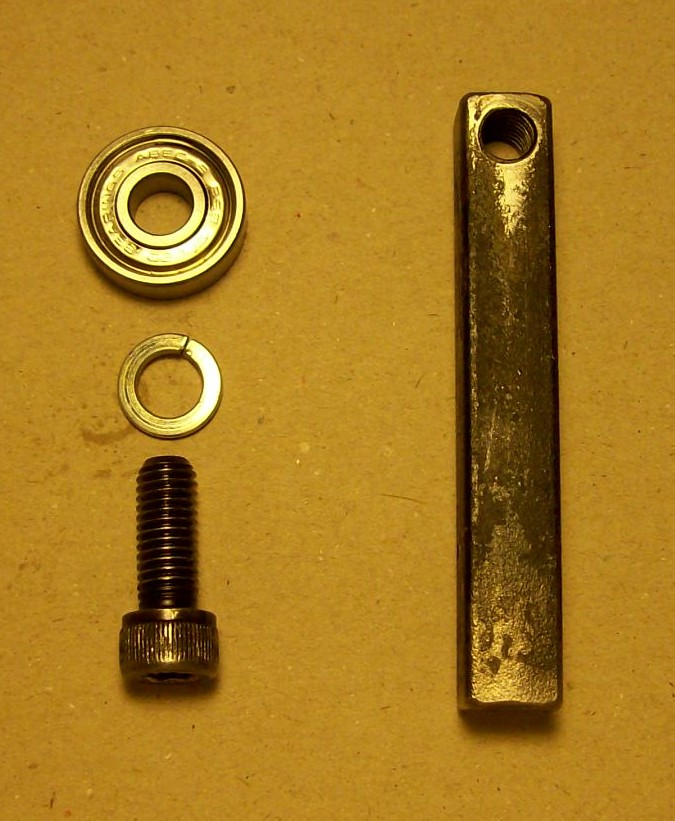
Hi. That tool with the bearing has been indispensable for me, with it I can center stock in the 3-jaw chuck with zero runout. Some machinists say that you can do the same with a piece of derlin but I love my bearing. The carriage clamp was a quick and dirty build and rides the ways perfectly. I decided not to invest in quick-change tool post system and just made extra tool holders from scrap and they work fine. I also scrapped the stock tool post clamp and made one that never gets in the way when turning.harborfreight8x12, I appoligize I did not thank you for the copy of the Lathe Master and the home made tooling, I plan on having a carriage clamp and have been putting off makeing the tool with the bearing on it, seen them on the Tube they look like they work great, Thanks again, Joe.
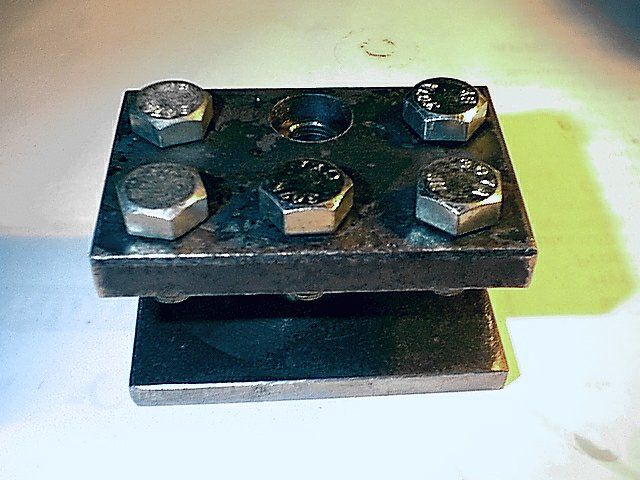
Hi Joe. Yes I did make the ball ends for the tool post clamp. I made a ball turner, actually two of them, pics attached. Also made several M2 tapers, but I also bought some because they're so inexpensive. The M2 tapers with the 3/8" x 24 thread are perfect for recycling drill chucks and the 1/2" x 20 thread are perfect for recycling 1/2" drill chucks, the M2 are great for the tail stock. One of the ball turners is of the "yoke" type and the other is of the "over the top" type. Fun making and using.harborfreight8x12, I like to make rather than by if possible, I have not made one yet and have a lot of bearings and even delrin, I like working with that stuff, like that tool post, did you turn the ball ends, good job, I did make a drop deck frame with locking casters to put a metal cabinet that I got at a yard sale, the cabinet was 27 inches tall by the time I would add the 3 inch caster it would be at the height I like so I made the drop deck frame, I will post a pick it was still stickey form the fresh paint job to handle, maybe to day I can get into towm and get the capisators tested.
Hi Joe. Yes I did make the ball ends for the tool post clamp. I made a ball turner, actually two of them, pics attached. Also made several M2 tapers, but I also bought some because they're so inexpensive. The M2 tapers with the 3/8" x 24 thread are perfect for recycling drill chucks and the 1/2" x 20 thread are perfect for recycling 1/2" drill chucks, the M2 are great for the tail stock. One of the ball turners is of the "yoke" type and the other is of the "over the top" type. Fun making and using.
No plans Joe. Just made from materials on hand and from searching YouTube for ideas. The "yoke" type is the simplest to make but very limited in size. The "over the top" can make varriable sizes but reqires a lot fiddling with the cutting tool to get the geometry right.harborfreight8x12
Nice work, I need to make me a ball turning tool, you had plans or just like I do sometimes, one step at the time trial and errow until I get it, I like you keep all the chucks to make such extra tooling, I built a tapper attachement for the 7X10 and might build one for this one, I will attach some pics I got a metal cabnet at a yard sale, perfect to store things for this lathe, It would have been to high with casters and 2X4 laying flat so I made this to set it low to the floor, I call it a low boy, next is to get the cabnet sanded and painted, thanks for the show and tell pics, Joe
Thanks, I am going to check on different designs, hope to get that cabnet painted this weekend and get it on the dolly, then start back on the lathe, again thanks so much for the wiring diaghram, nice and simple the way you drew it, JoeNo plans Joe. Just made from materials on hand and from searching YouTube for ideas. The "yoke" type is the simplest to make but very limited in size. The "over the top" can make varriable sizes but reqires a lot fiddling with the cutting tool to get the geometry right.
Regards, Al
Simpler to wire than a Cincinnati Tray Top. Bob in MaineThanks, I am going to check on different designs, hope to get that cabnet painted this weekend and get it on the dolly, then start back on the lathe, again thanks so much for the wiring diaghram, nice and simple the way you drew it, Joe
How are doing with the work on the Tray Top? BobYes your correct and also putting back together a 21" Southbend, fellow gave it to me and he took most of it apart and could not put it back together, got a bucket of wires and switches, keep all that for last and built the courage to takle it,
Enter your email address to join: