Half Scale Ford Quadricycle Engine

Home Model Engine Machinist Forum

Help Support Home Model Engine Machinist Forum:

This site may earn a commission from merchant affiliate links, including eBay, Amazon, and others.

vascon2196

Well-Known Member
Joined
Oct 2, 2009
Messages
1,026
Reaction score
312
Well here goes...while in the midst of building a full-scale Ford Quadricycle I have decided to move forward with a half-scale version of just the engine. I'm not sure which project will be completed first but since I am in no rush...it doesn't matter! I'm not finished with the half-scale plans yet because I stopped at the intake and exhaust valves...I'm hoping those will evolve during the engine build and I will document the progress along the way.

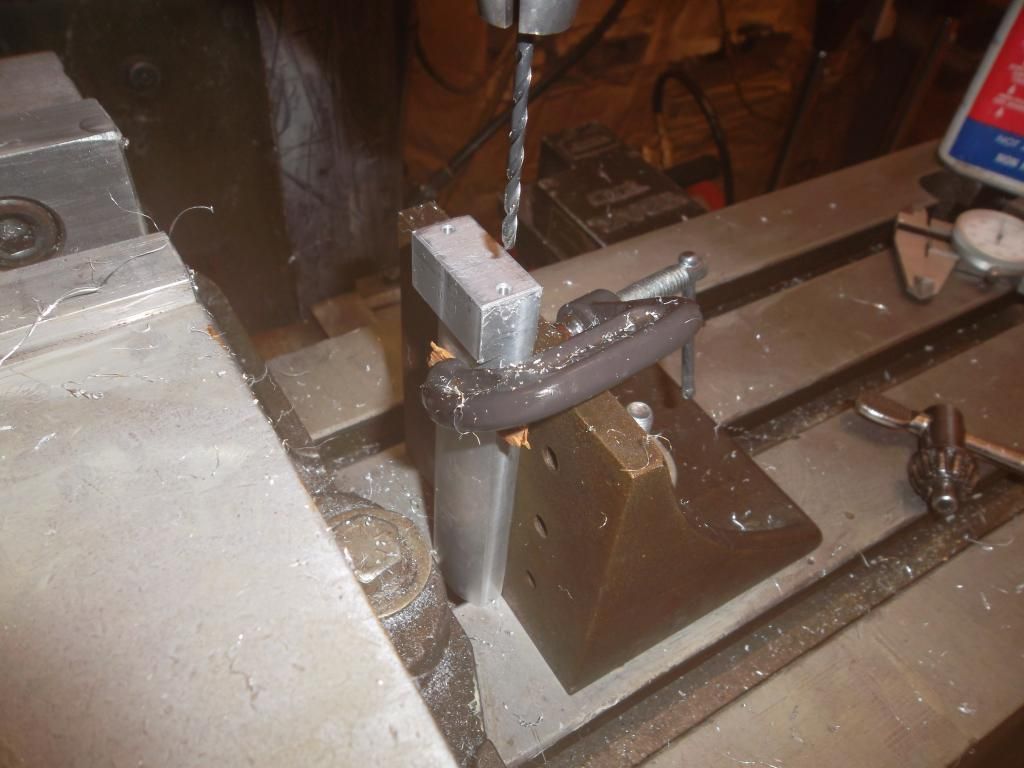
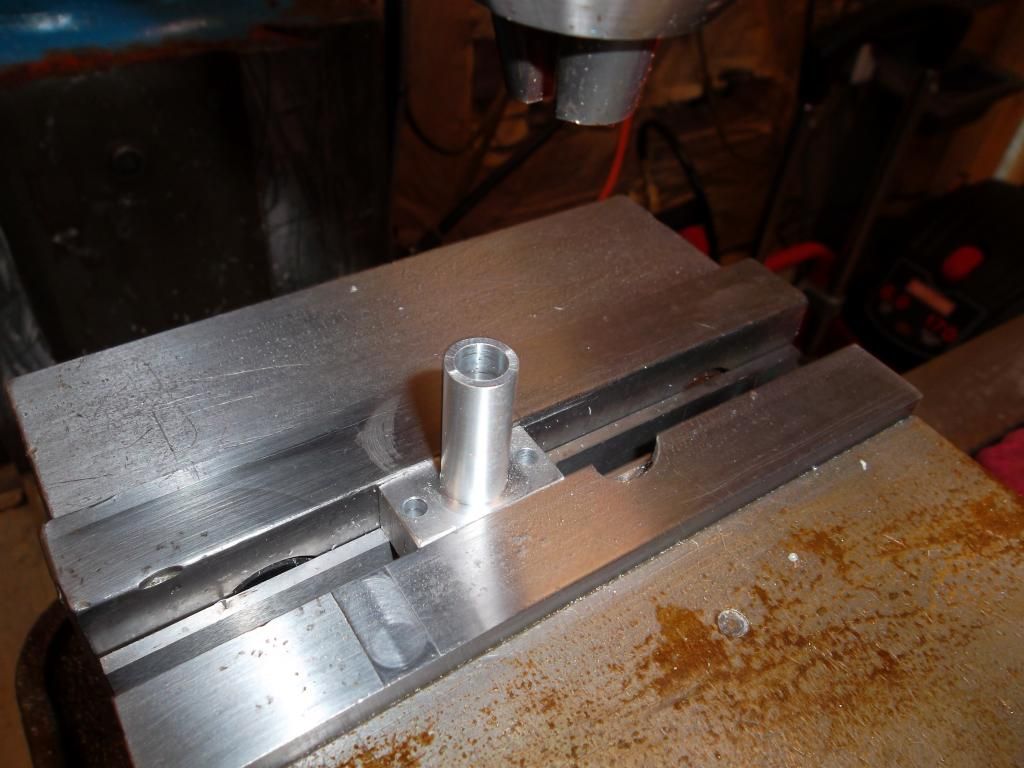
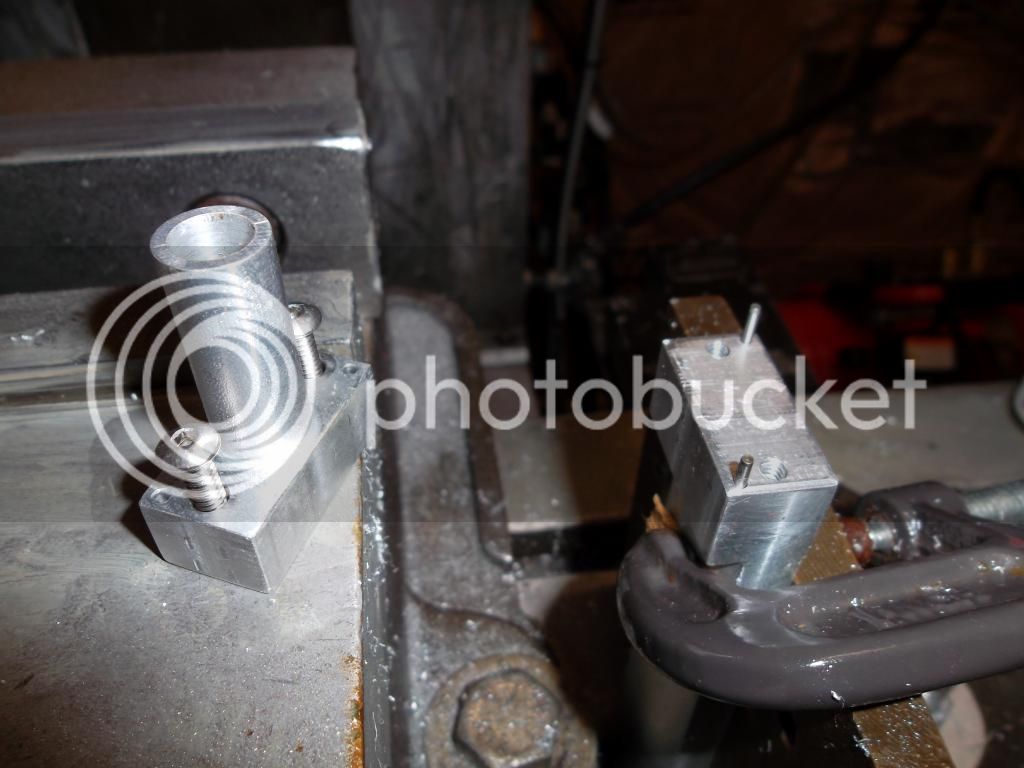
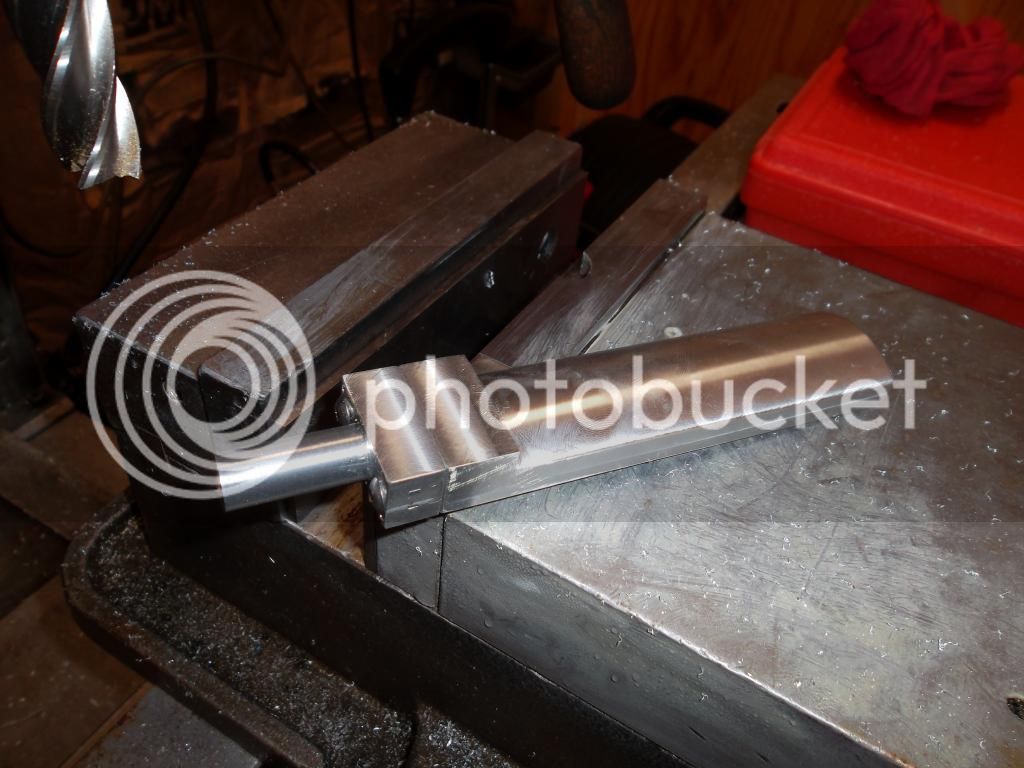
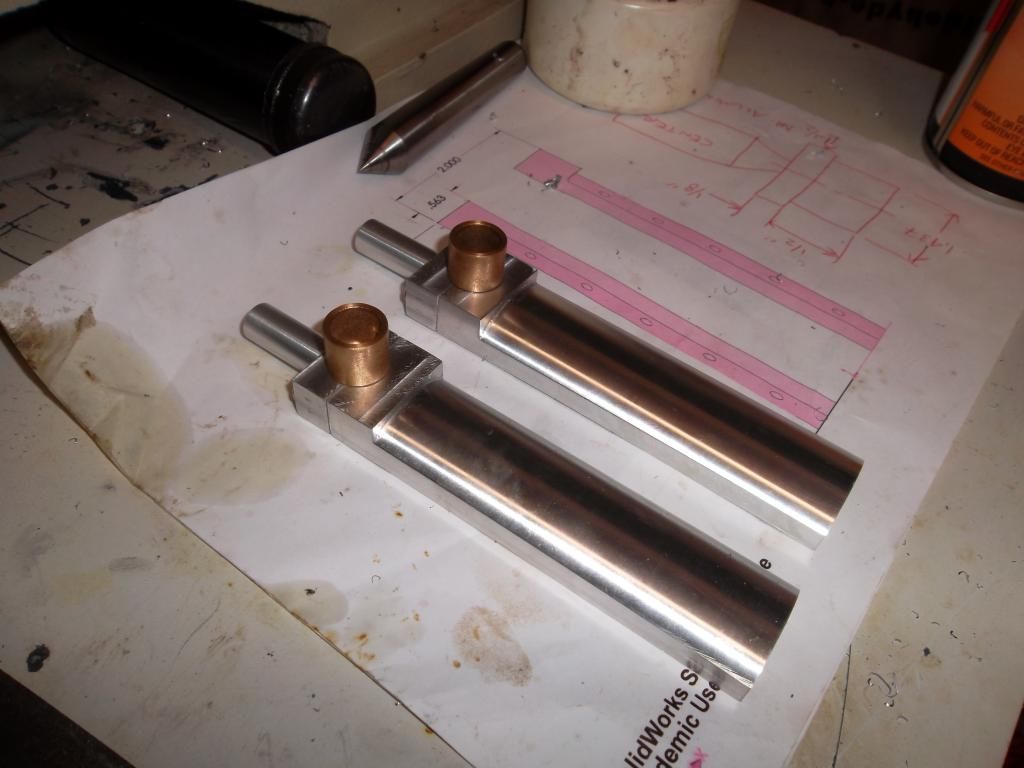
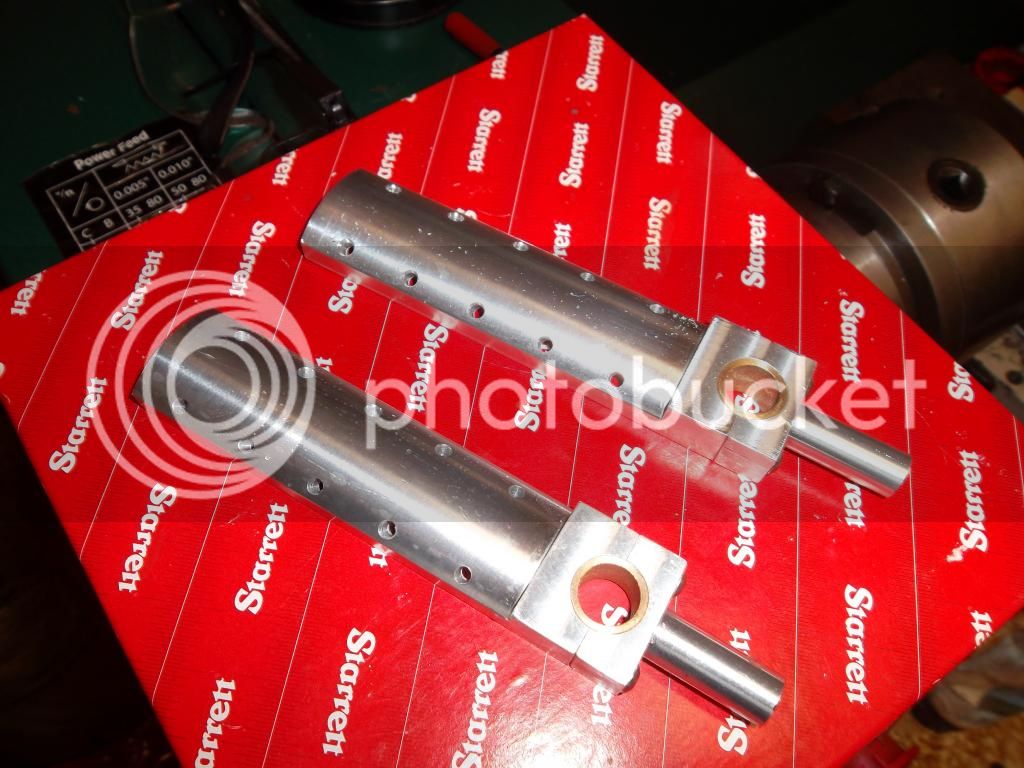
I decided to start with the "main bearings". Originally Ford made them out of cast Bronze (he made the pattern for them also), but I am machining them both from rectangular aluminum bar stock as shown in the pictures.

I had to make a custom boring tool that did not give me the nicest internal surface finish but those surfaces will be facing the cylinders so nobody will ever see them. My next step is to saw cut the part in half and then mill to the final thickness...resulting in two parts.

Then I plan on adding the mounting holes.

Much, much, much, more to come...hope you enjoy!


great work are you going to put your plans on the site with your other plans?
 

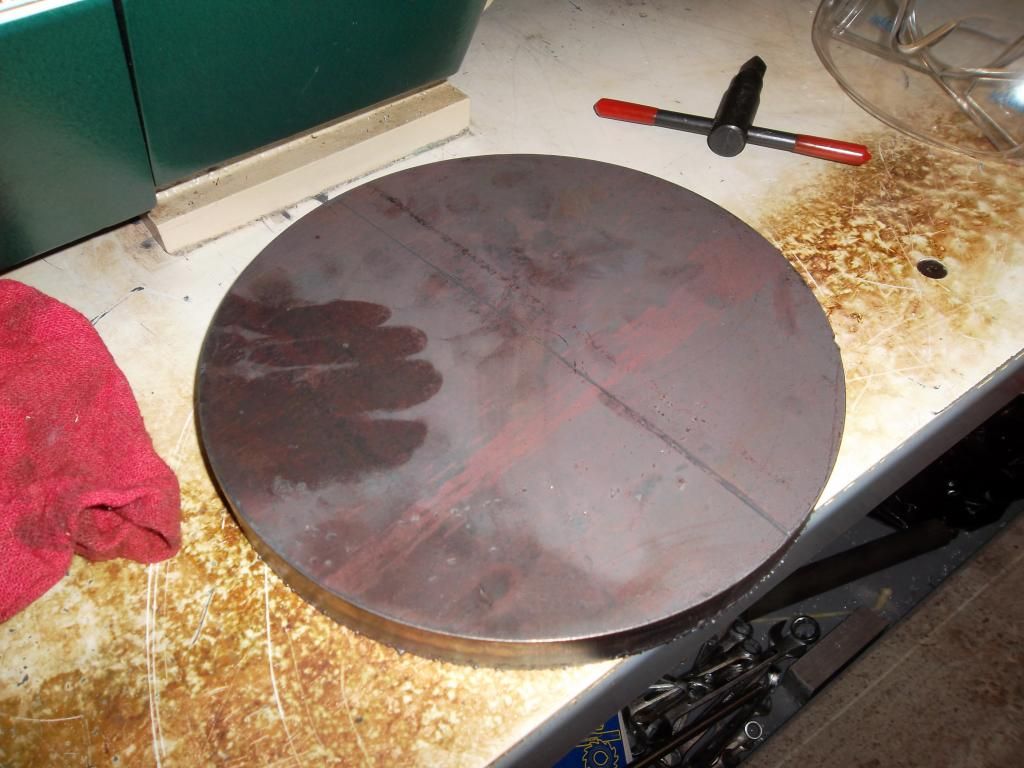
Flywheel Stock, flame cut to just over 9in in diameter. My lathe swing is 9-5/8"! This pushed the limits of what this little Grizzly lathe can do but I got her done.


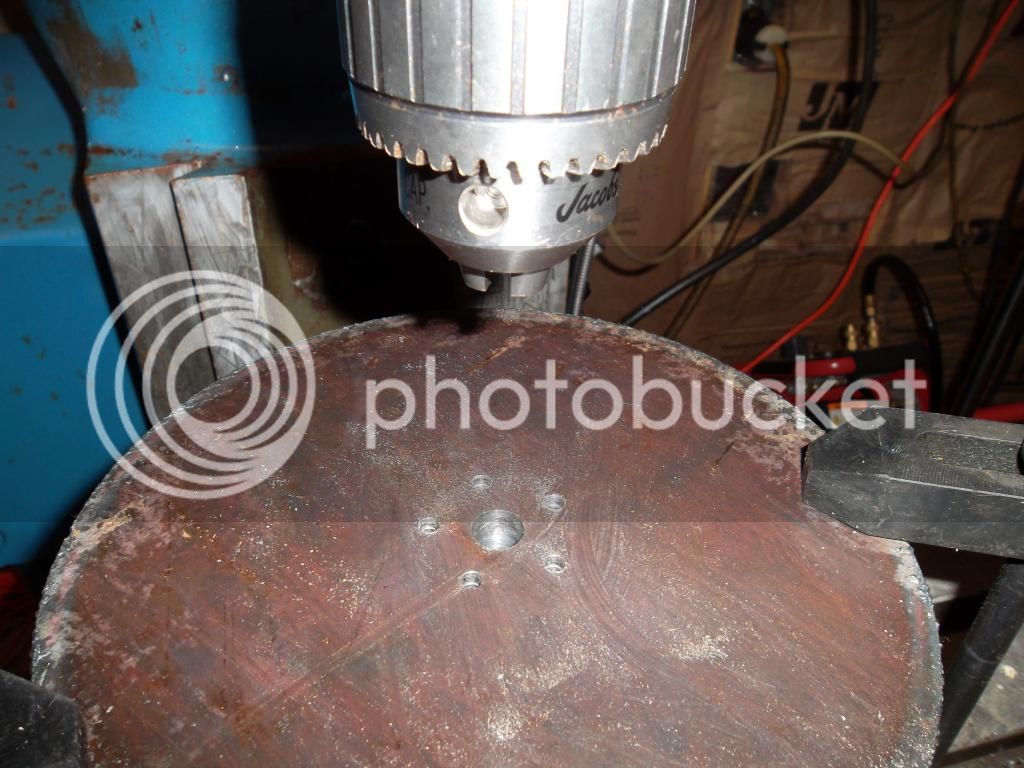
Drilling and boring the center hole and mounting holes for the pulley.


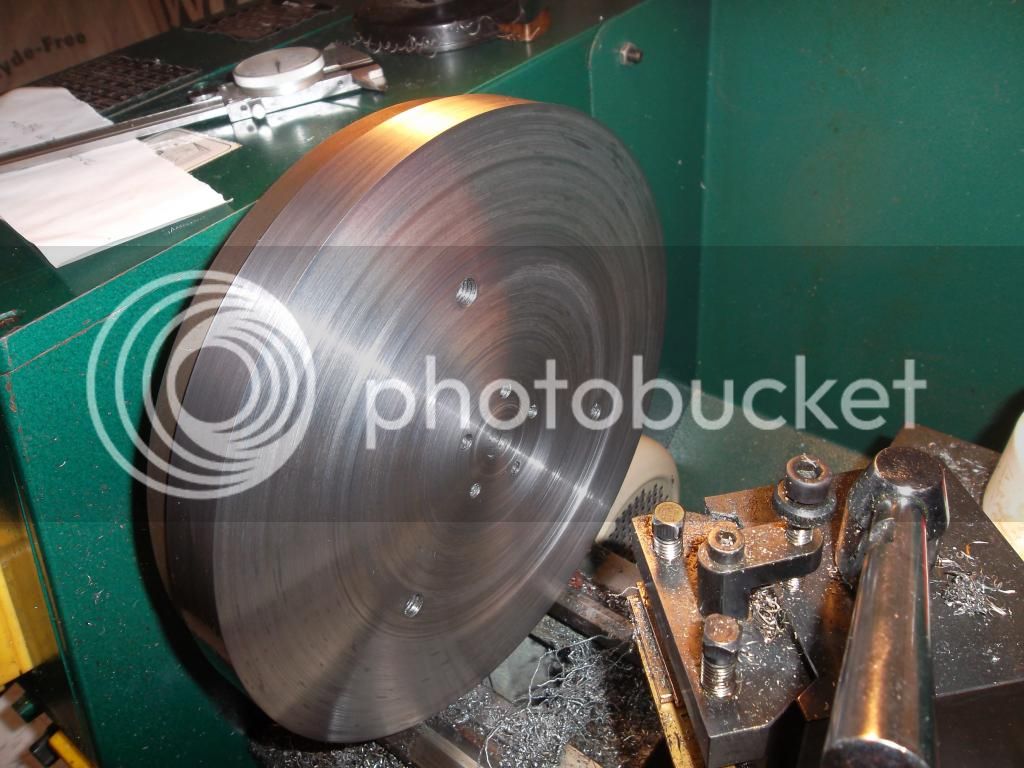
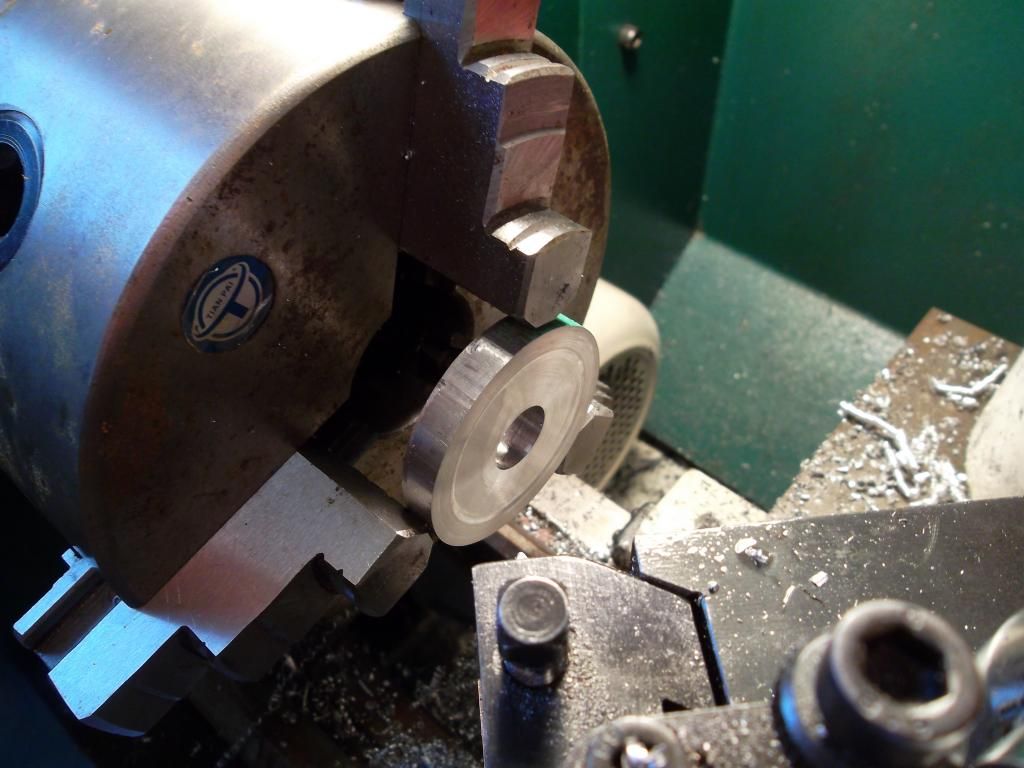
Turned and Faced....barely made it! The flywheel dwarfed my faceplate!


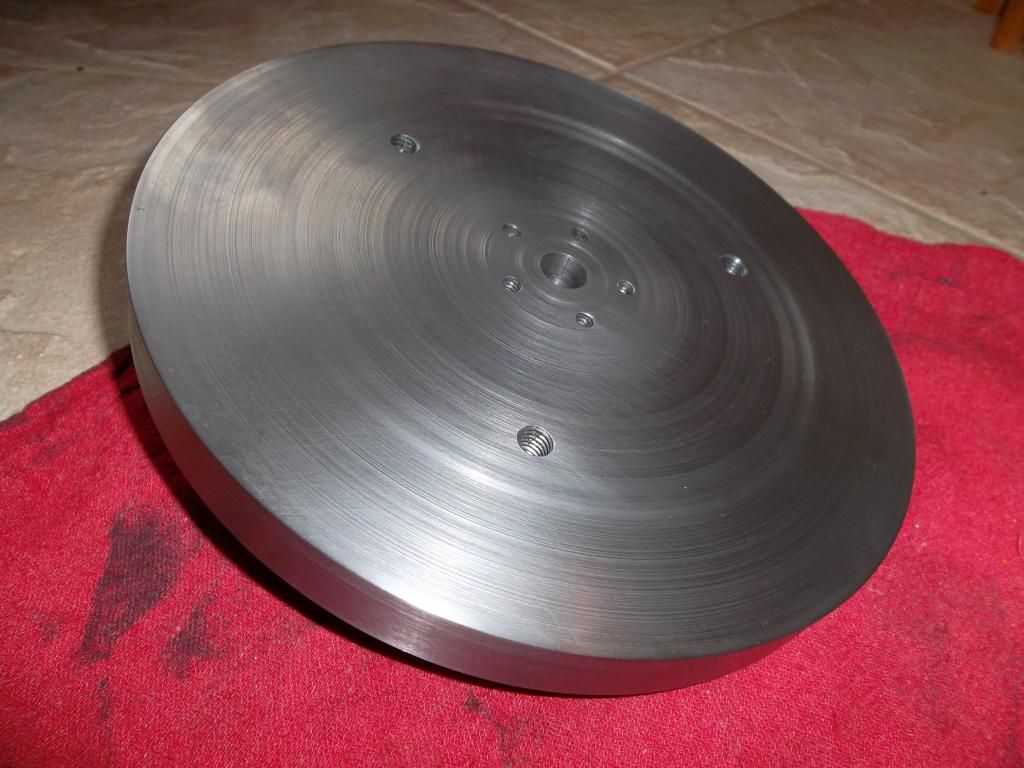
Completed flywheel. I was bummed that I had to add three mounting holes to fasten it to the faceplate but I could see no other way. I suppose I could have used an arbor or something but at the time I chose this method...maybe I'll plug the holes or something later.


Drilling and tapping main bearing mounting holes.


Main bearing clearance holes for the top piece.


Some drilling and pinning to ensure the top pieces always mate perfectly.


The top and bottom pieces of the main bearings are fastened together and marked.


The main bearings were milled clean once fastened together and are ready to drill and ream for the bronze bushings.


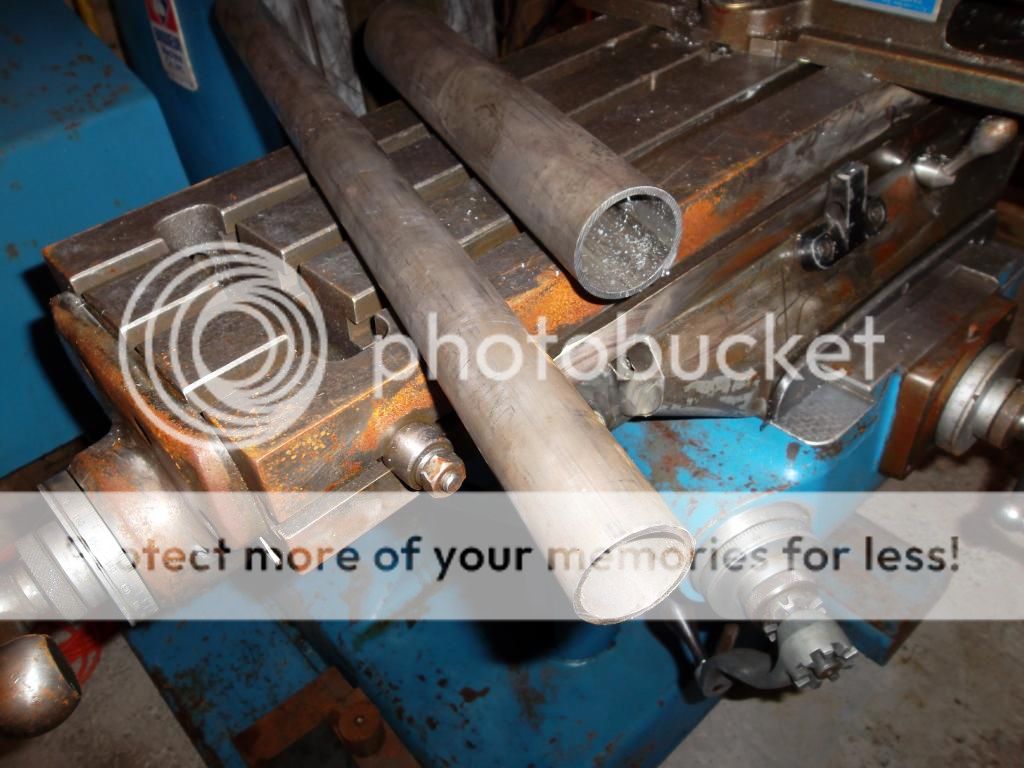
Cylinder and water jacket stock.
 
This will be an interesting build, Chris. I had once thought about building a smaller version of the Quadricycle engine. What is your bore and stroke going to be?

Chuck
 
I'm hoping it works when its done! Just taking it piece by piece....like eating an elephant.

The bore is 1.25" and the stroke is 3".

Take care chuck.
 
I'm hoping it works when its done! Just taking it piece by piece....like eating an elephant.

The bore is 1.25" and the stroke is 3".

Take care chuck.

Ahh, that'll be a nice size. You're definitely in for some challenges, but you're up for it! Gonna be an interesting engine. Hope you can post some fairly regular updates for it. :)

Chuck
 
Chris,
We are watching this build with great excitement.
I don't have room in my small yard to store a full size quadricycle, but I could find space for one of this size.
Keep us posted and thanks for sharing your work.
Mike
 
Thanks Chuck and Mike...I'm hoping to work on this as often as time permits. I'll post updates as often as I can.

Stay tuned!
 
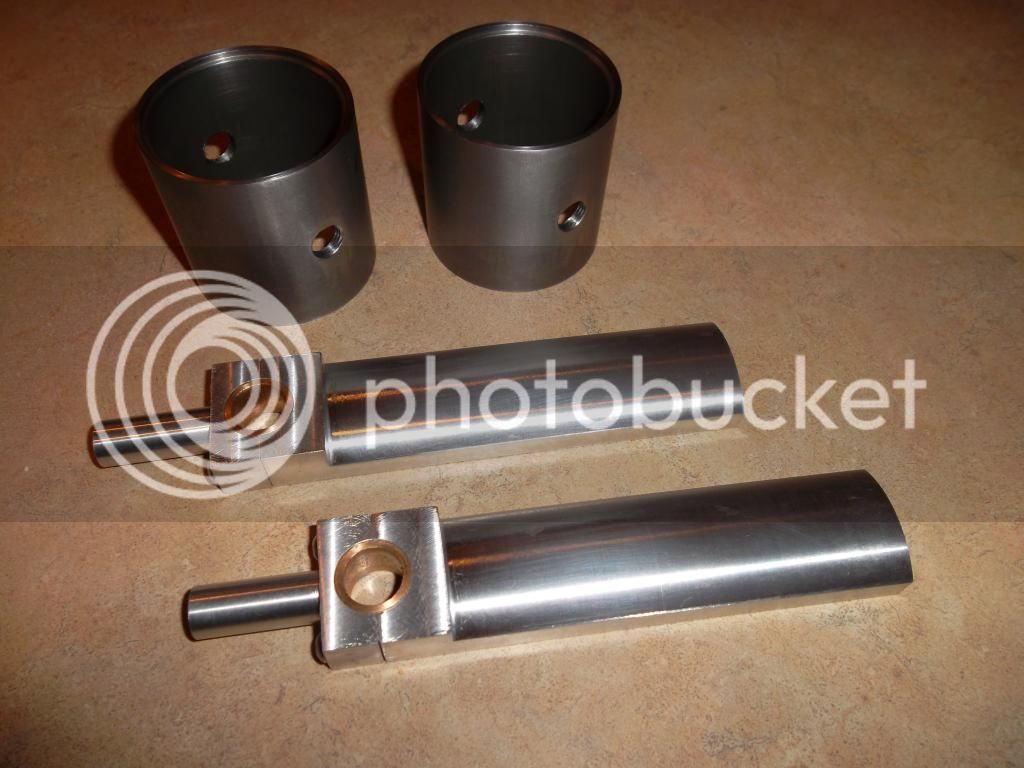
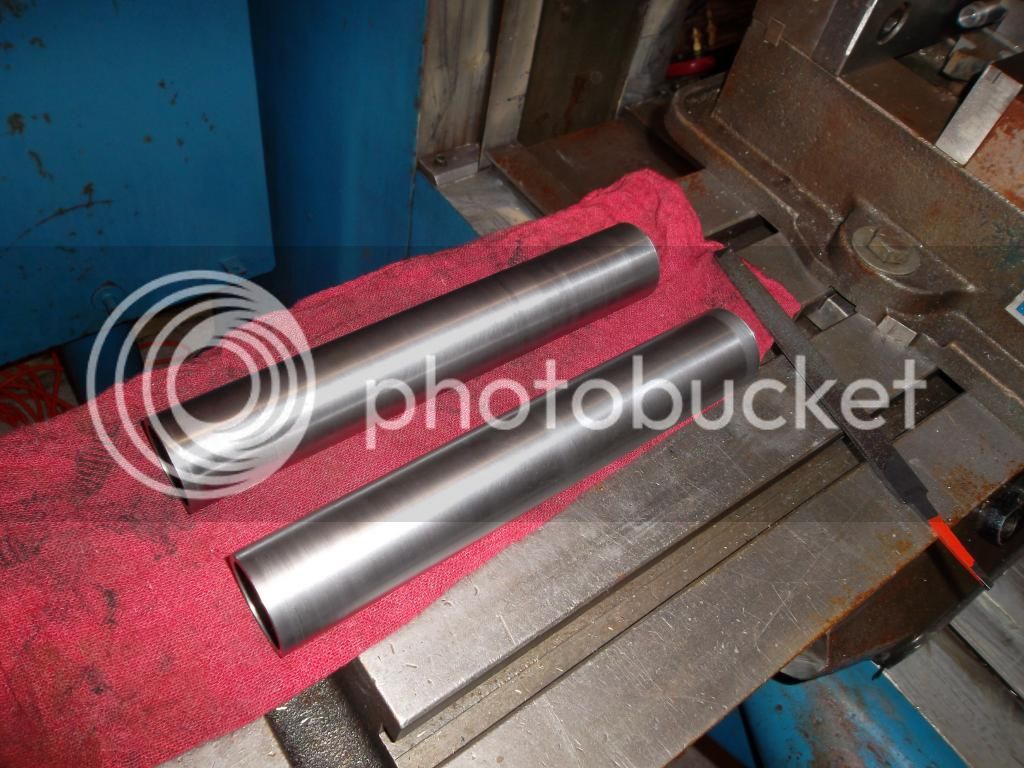
Here is a picture of the finished Water Jackets and the almost finished Main Bearings. The water jackets are 2" O.D. x 1/8" wall x 2" Long with a 1-7/8" diameter bore x 1/16" deep on each end for caps.

The main bearings are waiting to be slit at the 5/8" diameter and of course the mounting holes. I plan on machining the Cylinders next.

 
The main bearings are almost finished!!!


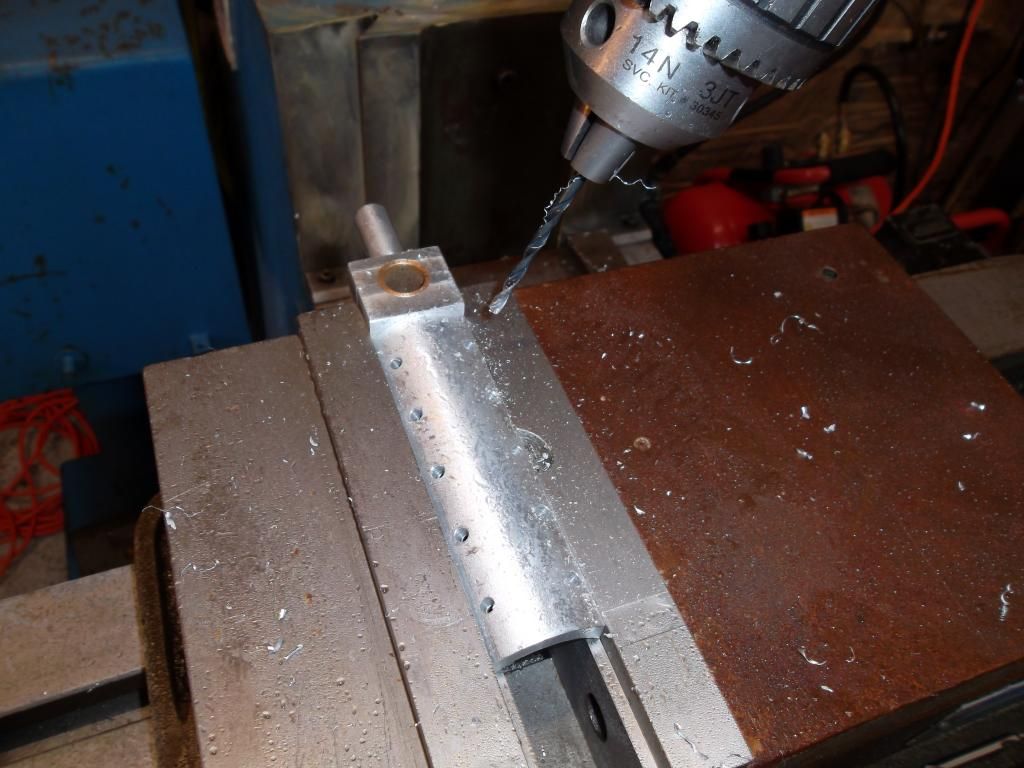
Adding the mounting holes by tilting the head 30-degrees in each direction. They are clearance for #6-32 fasteners.


Main bearings waiting to be slit on the ends and then they are finished.


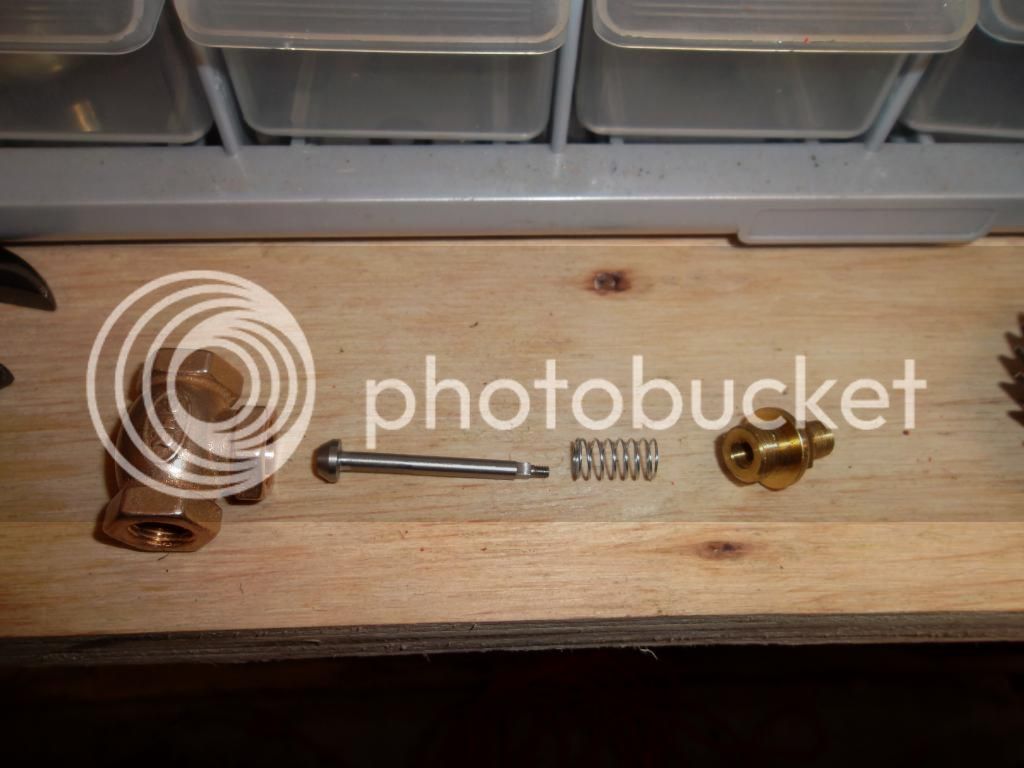
Here is the line up for the half-scale Quadricycle intake valves. I purchased (2) valves from PM Research to use as the intake valves. The threads are 1/8"-27 NPT. The only thing that needs to be modified is the valve stem. The threads have been turned off to leave a nice clean 1/8" diameter stem. The valve stem fits into the body and seats perfectly (thanks to PM Research), the spring on top, and then the top valve bonnet. This valve is going to work great.

When the pistons retract they will create a vacuum, sucking open the valve just enough to let the air/gas into the combustion chamber. That's the plan anyway....far away from that right now.
 
So I've had the week off because of February vacation and I have finally been able to make more than 1 part per week! Damn snow keeps falling though :(
Plus my propane heater broke and it has been cold at night :(

Anyway...here are some progress pictures of my half-scale Quadricycle engine!


My Bridgeport house!


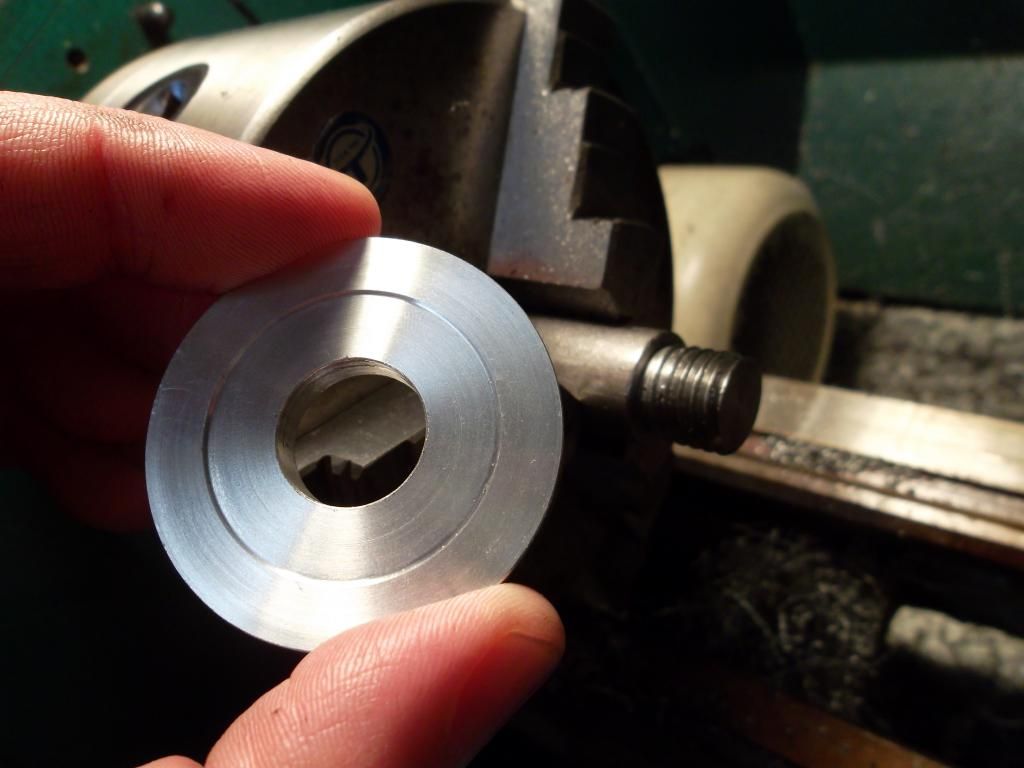
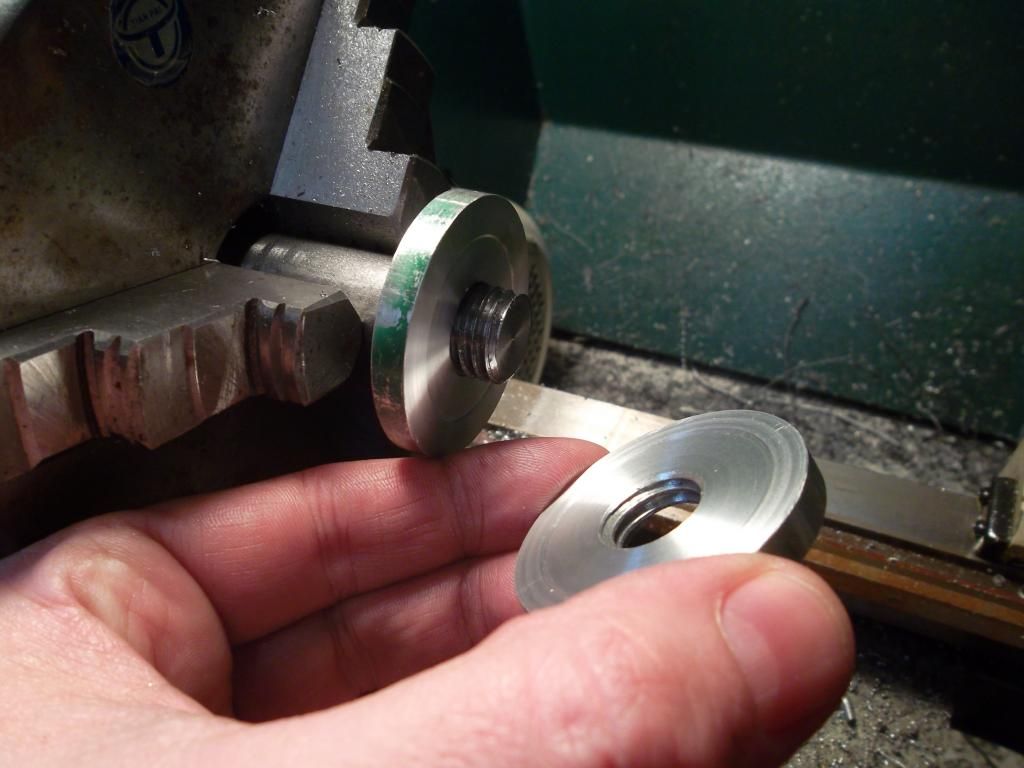
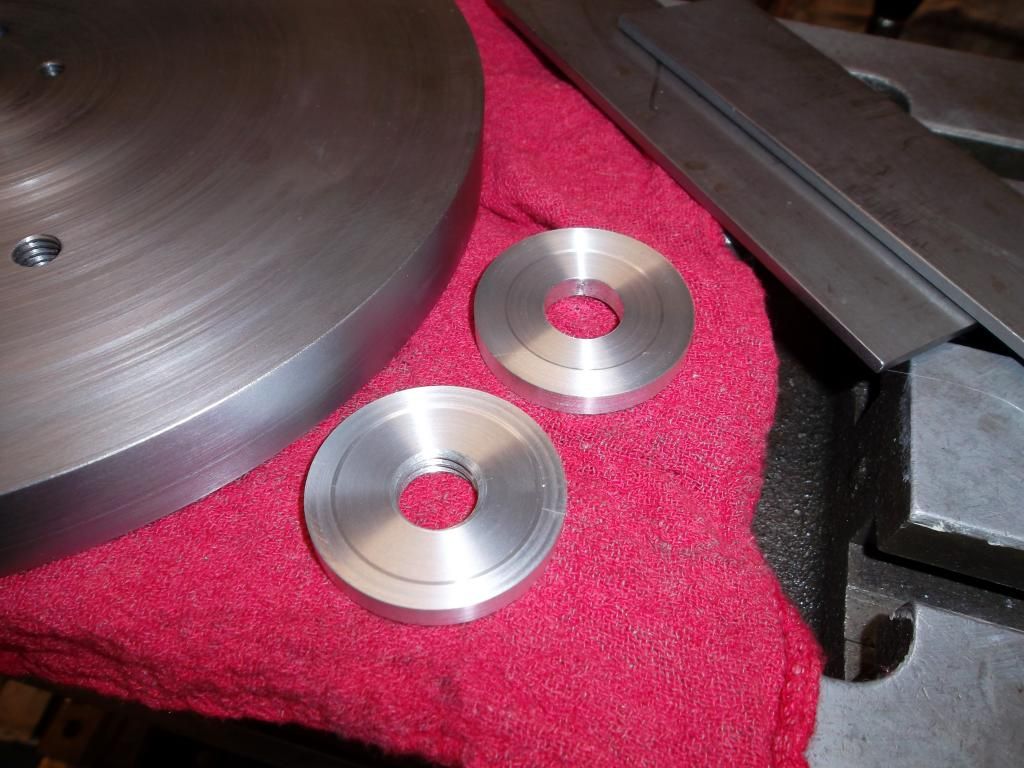
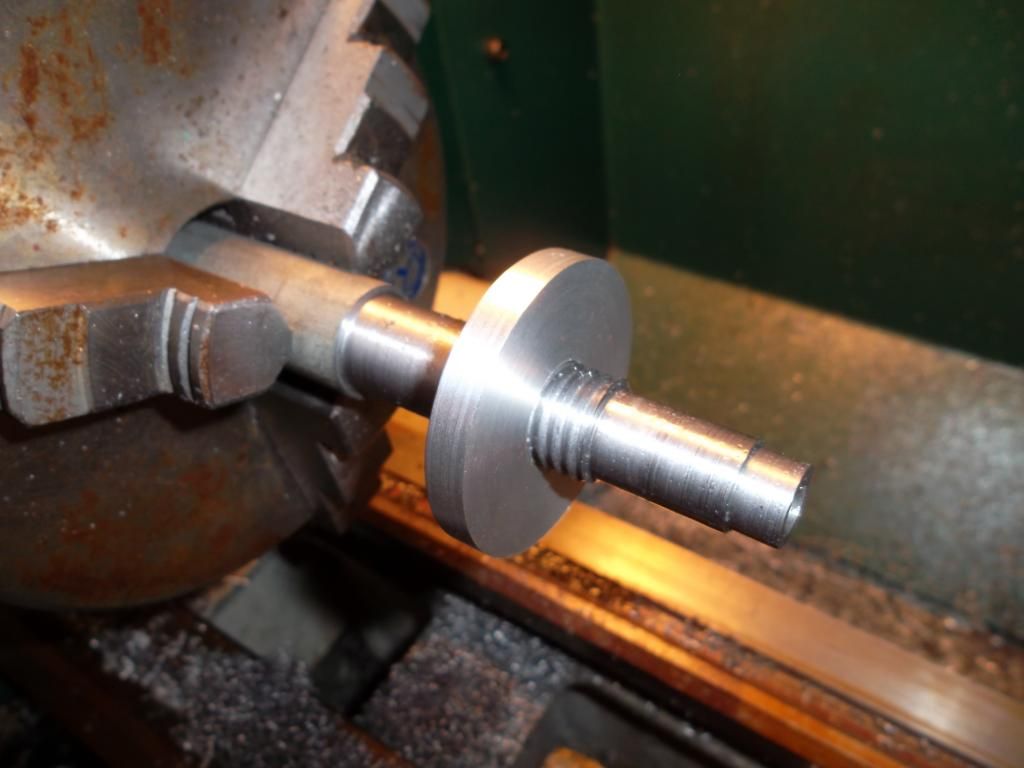
Custom flywheel washer


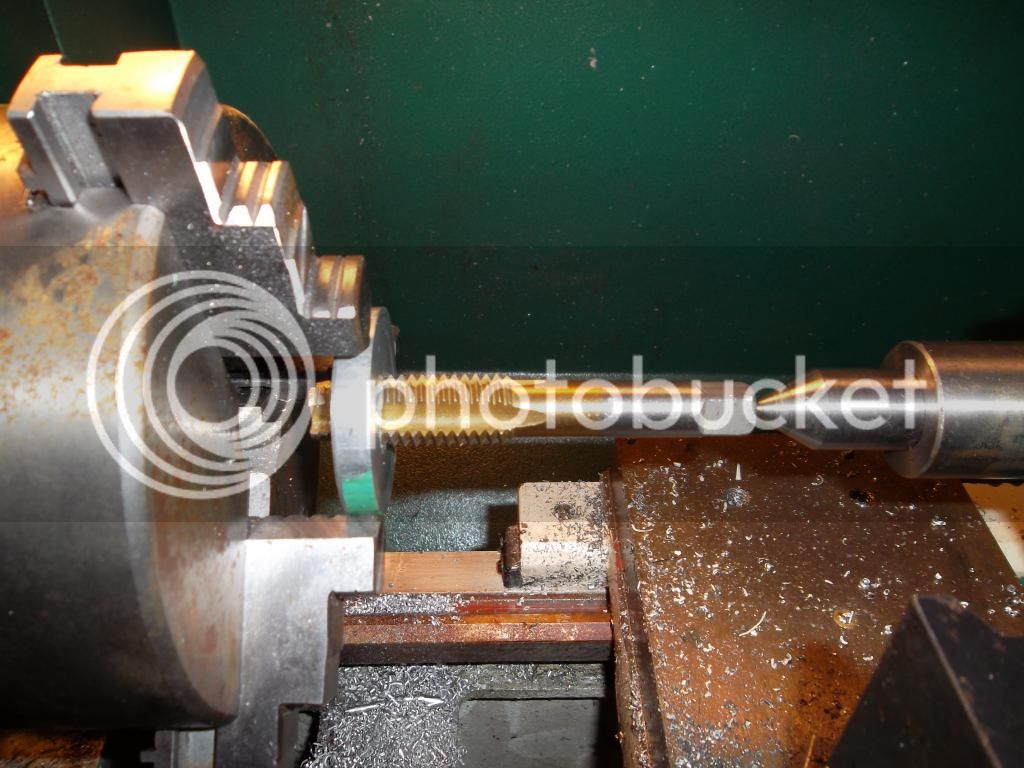
Tapping 5/8"-11 into the flywheel washer


Second flywheel washer with a clearance hole for 5/8 thread


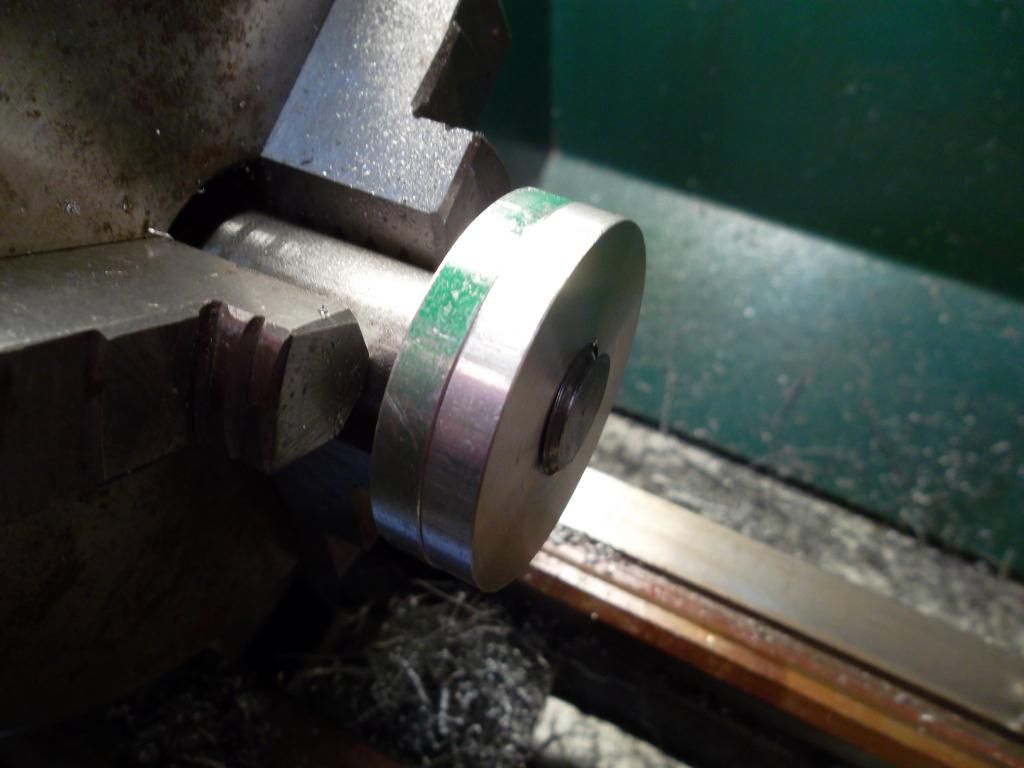
Made a custom arbor to hold both washers


Perfect fit for both of them


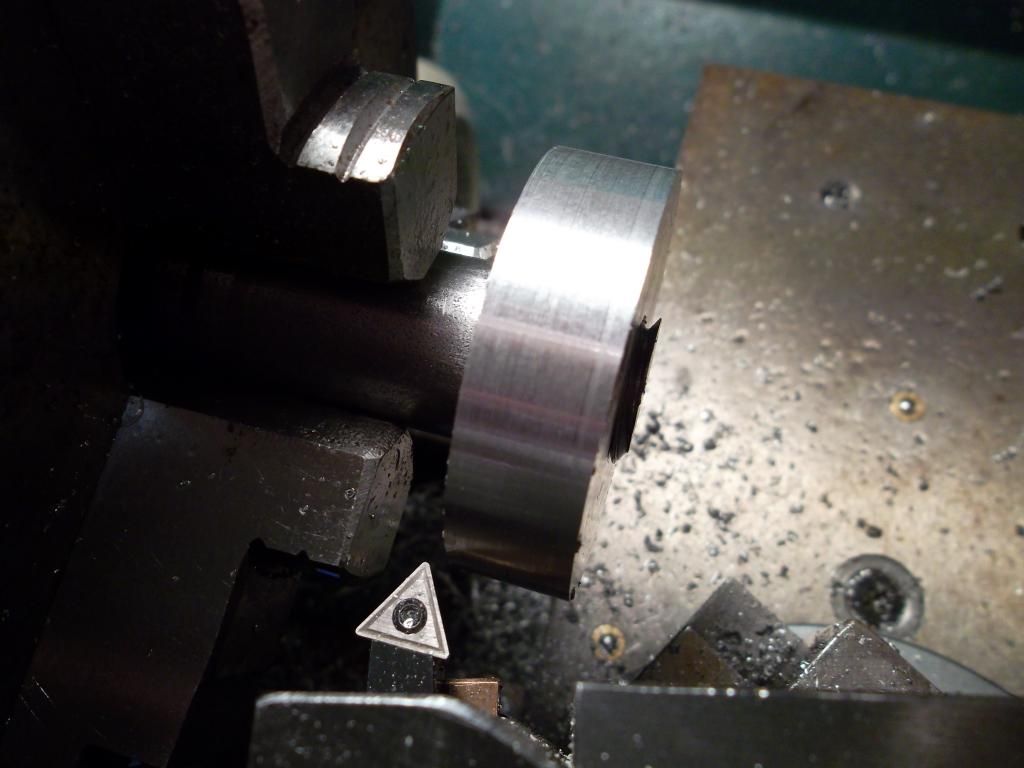
Lightly turned clean


Yaaaaay...they came apart easily!
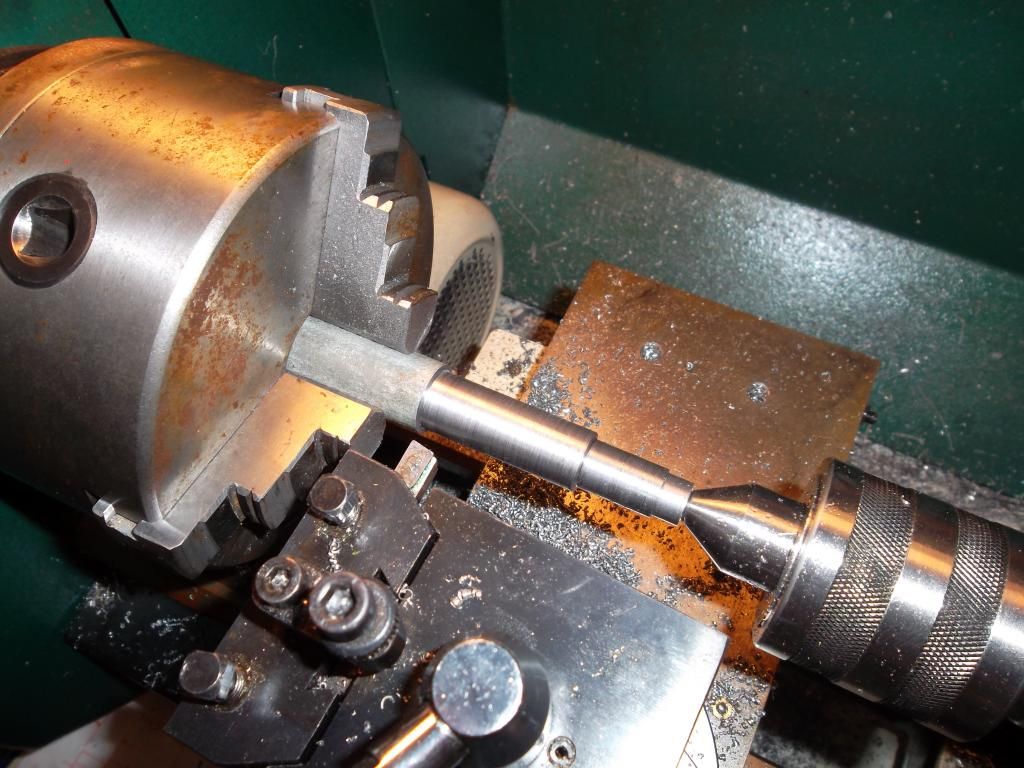

Finished washers


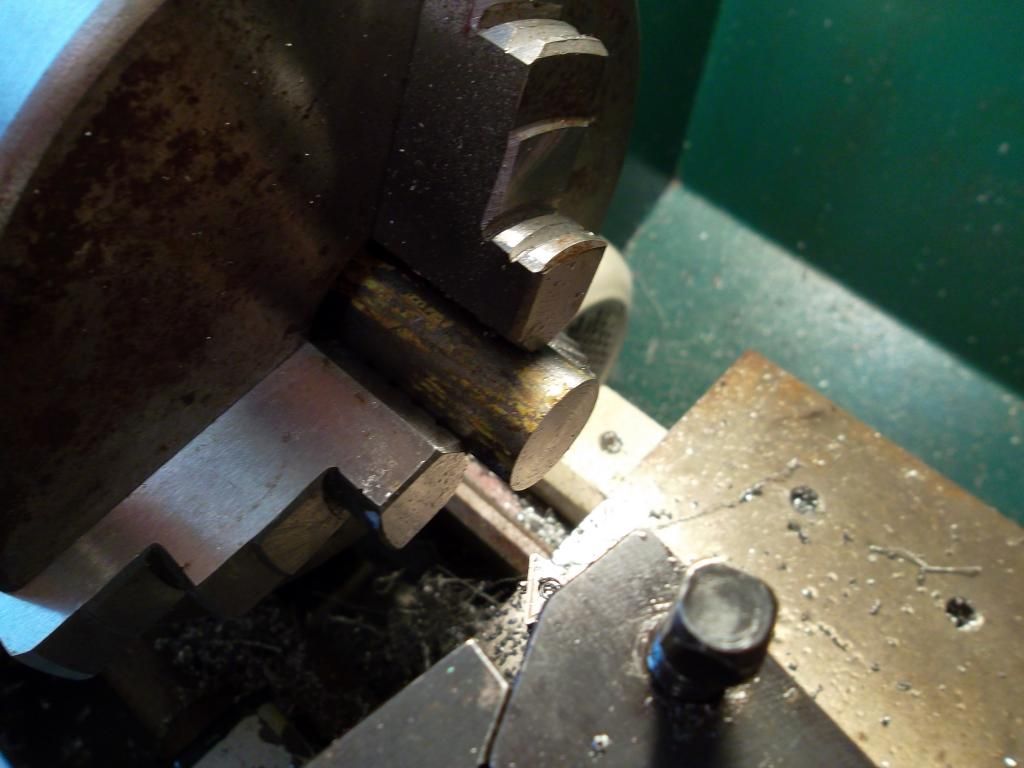
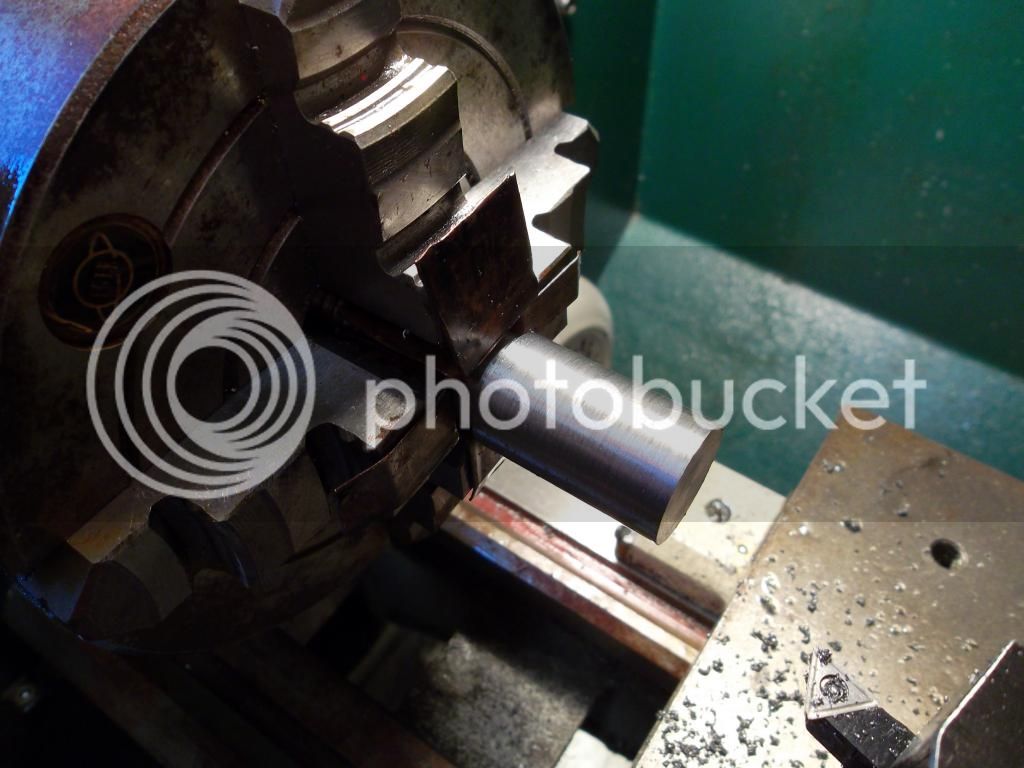
Starting the crankshaft


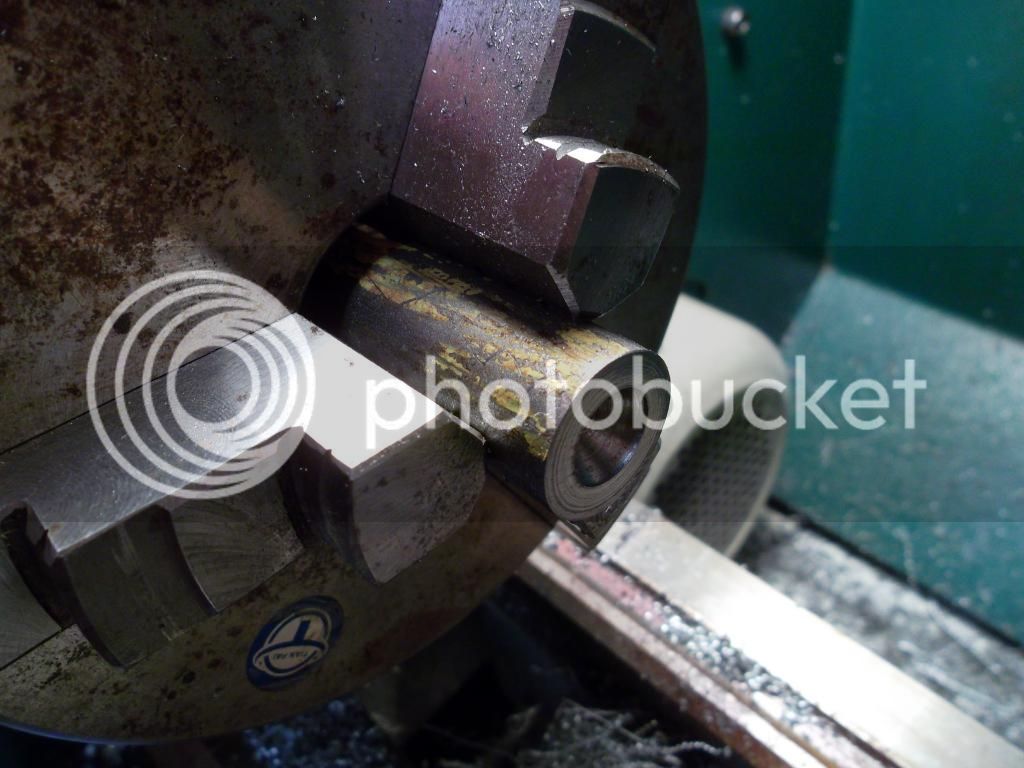
Center drill


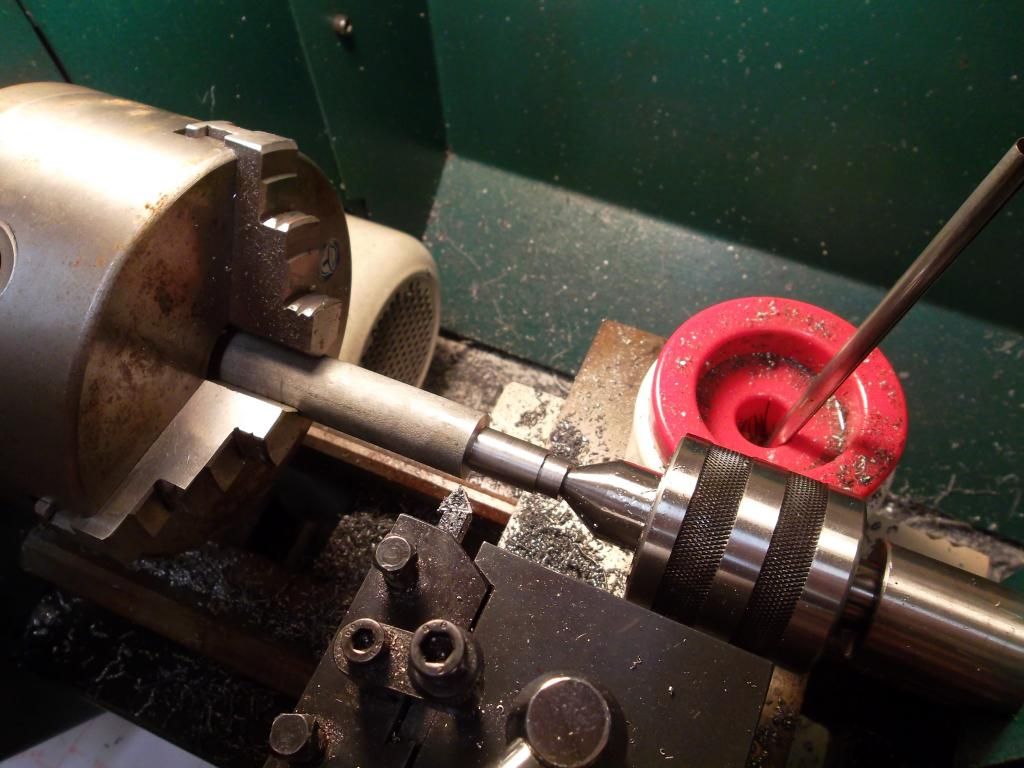
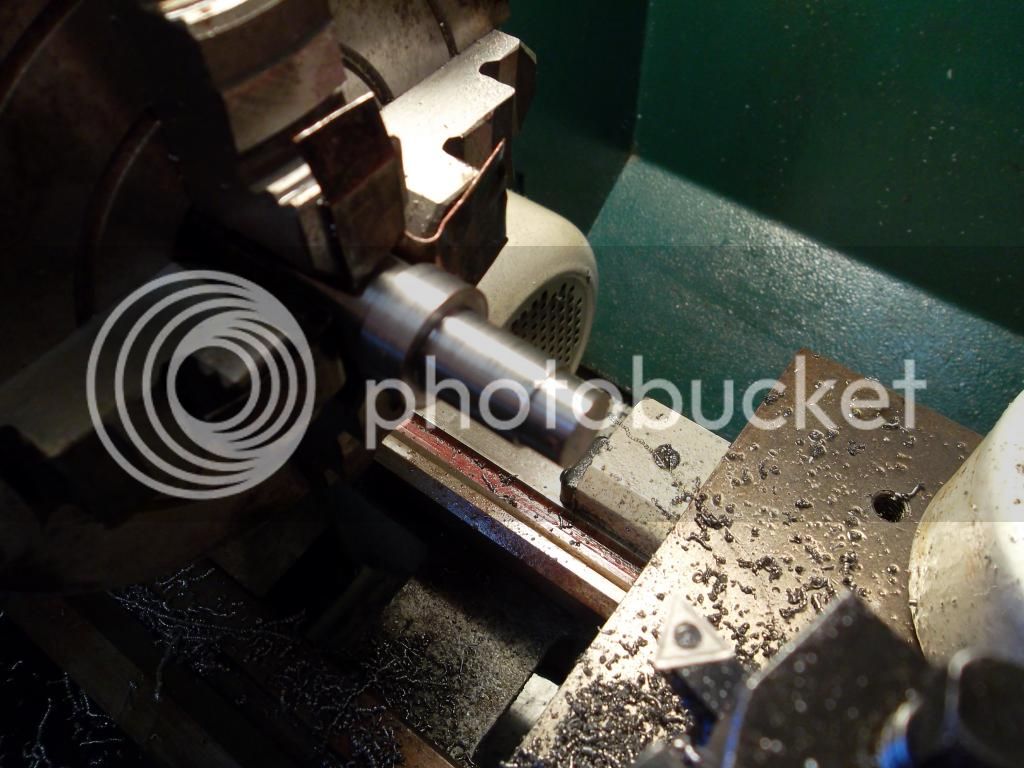
Turning


And more turning....


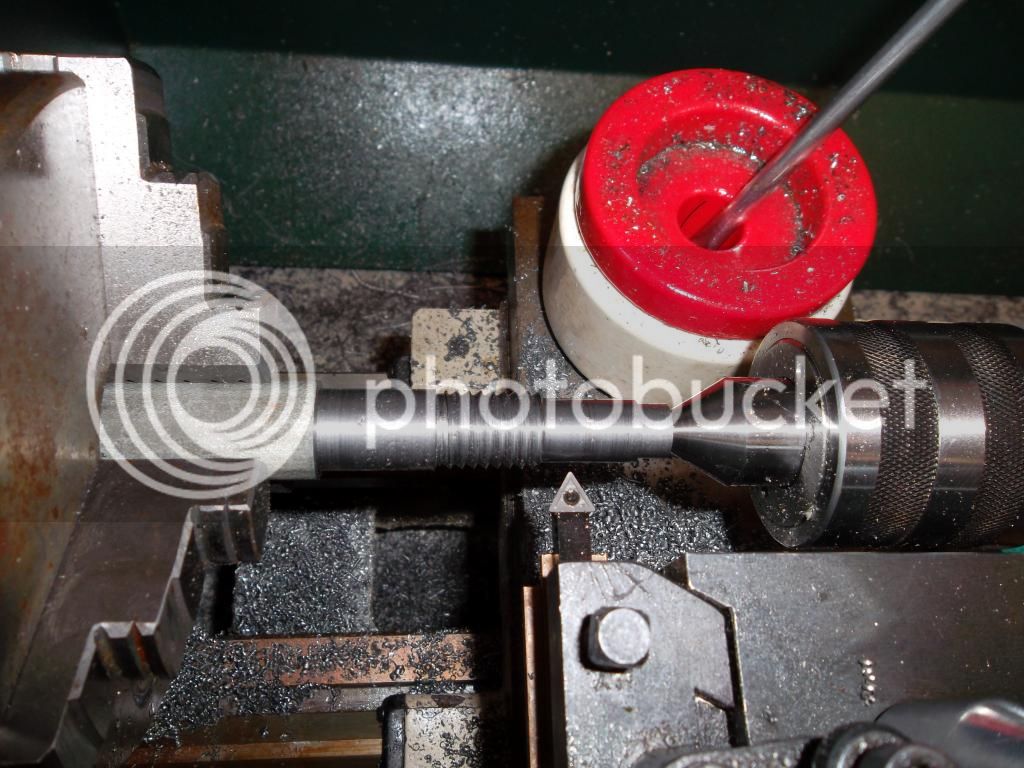
Thread pitch looking good...I had practice with the washer arbor!


Thread almost complete.


Yaaaay....it fits perfectly. Good thing too....cause the 5/8"-11 die did not fit over the first diameter!


Okay...now what?


Flip it and hold it in a 4-jaw (I don't have a collet chuck so I chose to use a 4-jaw to make sure it was centered the best I could).


Almost done....


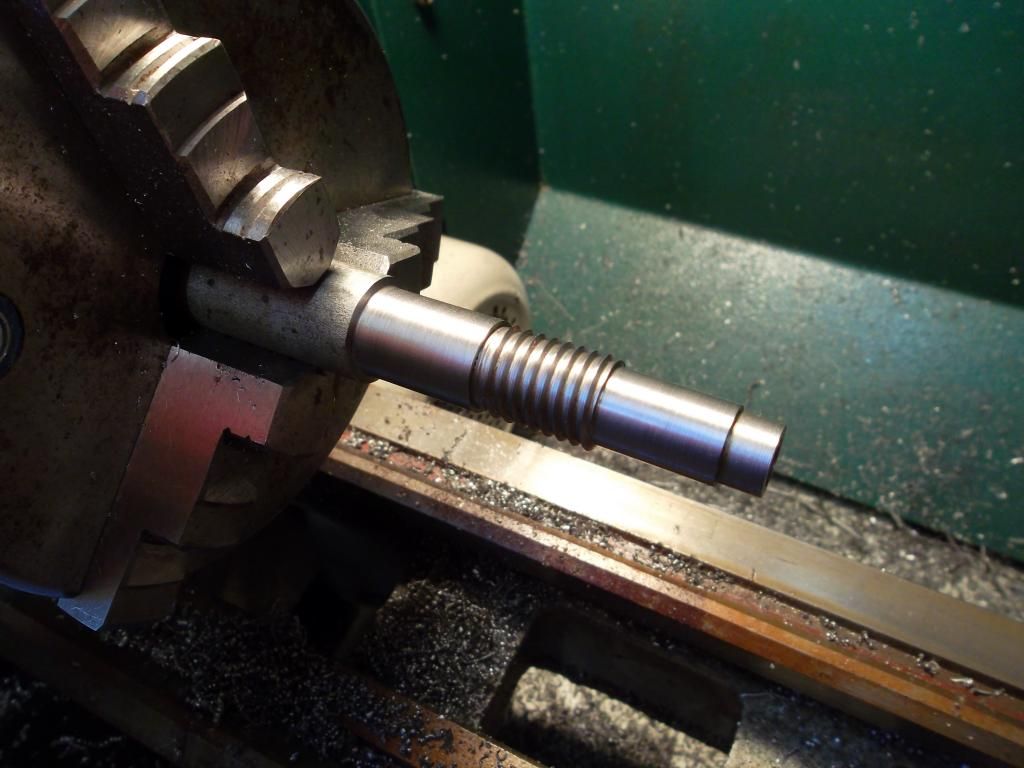
Completed crankshaft...very pleased with how it came out. It fits nicely into the flywheel and the washers sandwich it all together. This little part was extremely satisfying to make and I finally threaded correctly the first time on the lathe!

Not bad for only using a Harbor Freight dial caliper, some common sense, and a little bit of practice!

Next will be the cylinders....if I'm lucky.
 
Thanks guys...here is some more progress. Back to work tomorrow...back to machining on the weekends again!


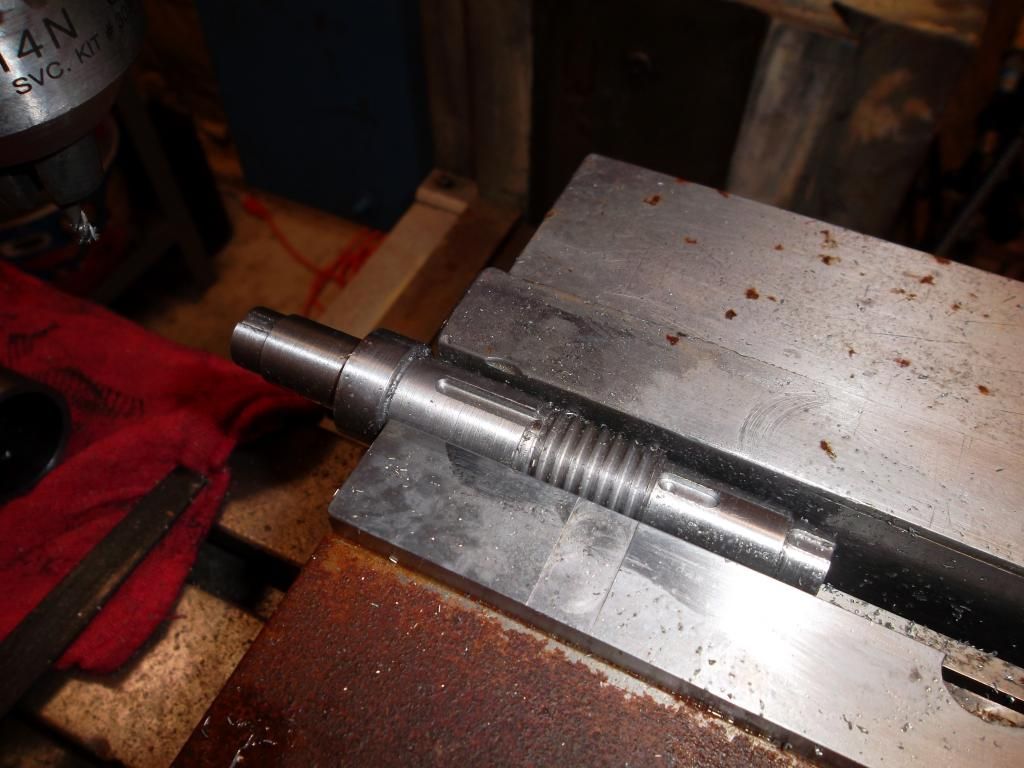
Milling the keyways on the crankshaft


Don't worry...the threads are not being gripped!


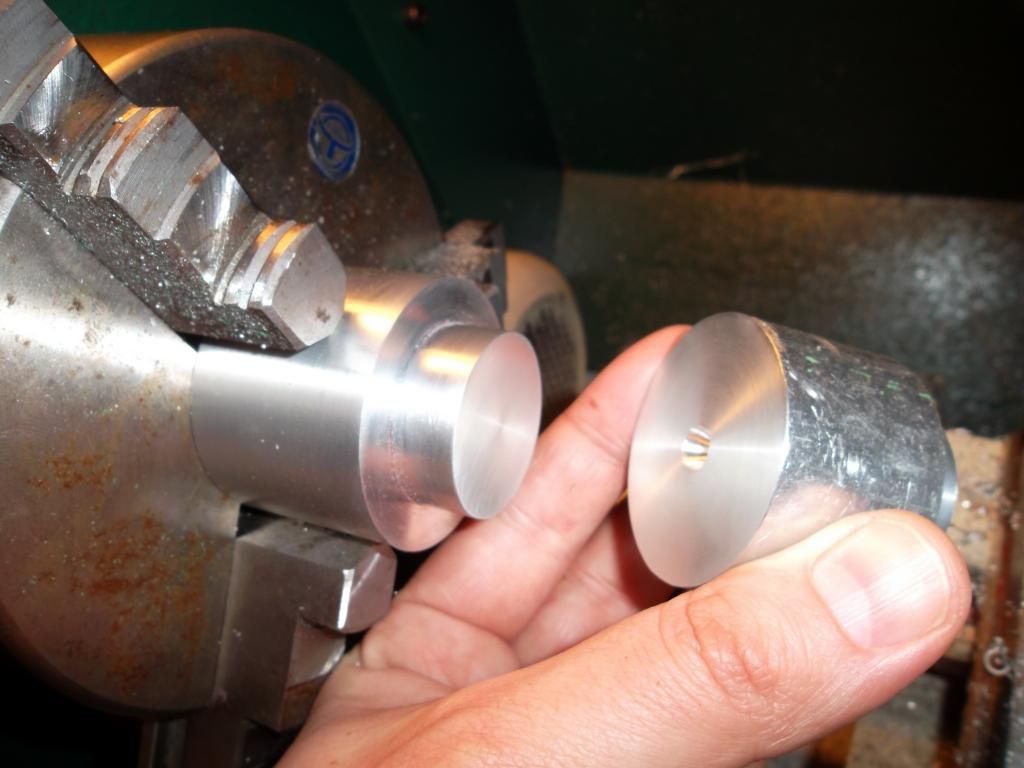
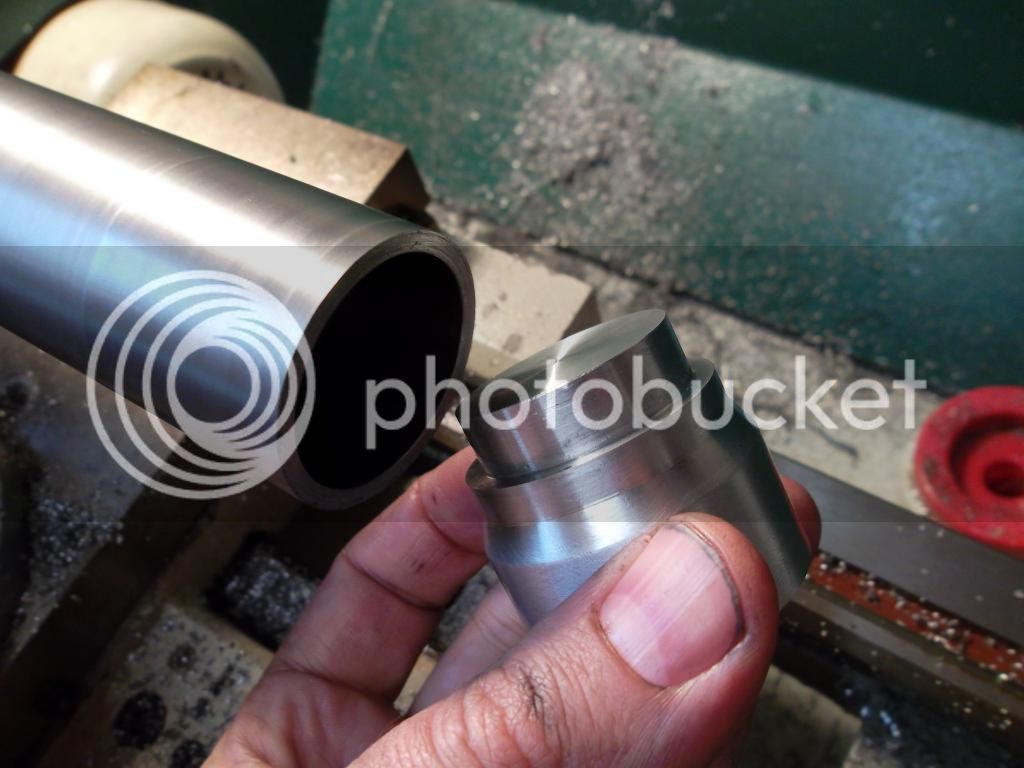
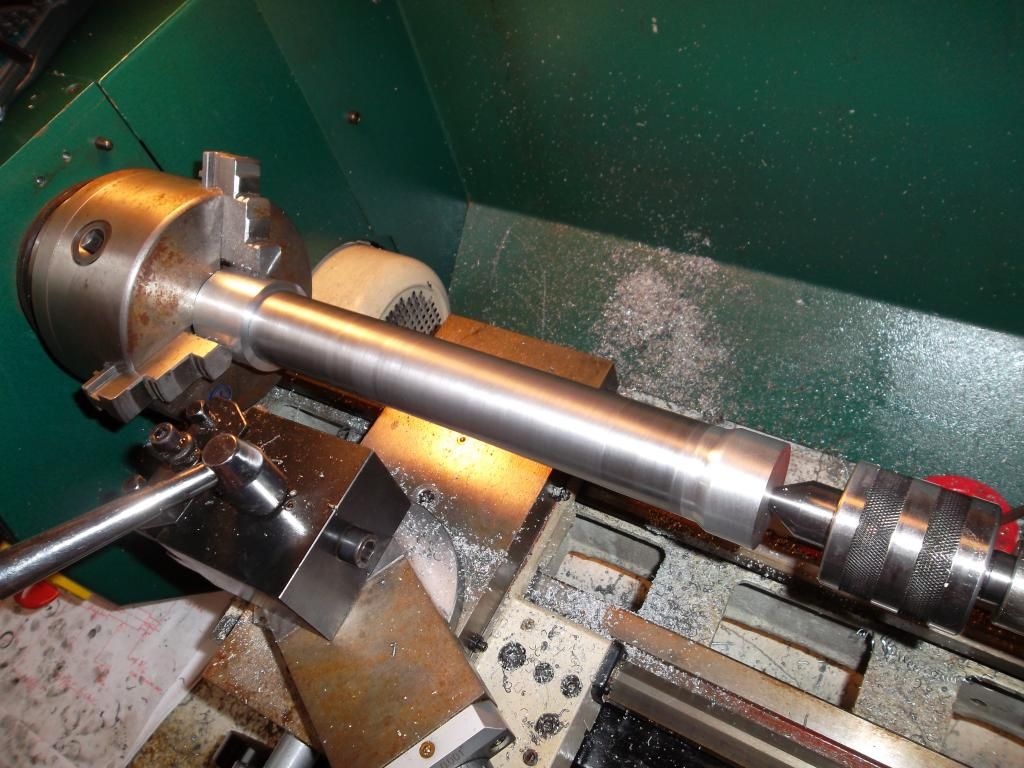
Turned up some plugs so I could turn the cylinders clean.


Got a fairly nice surface finish...I'm happy with it.


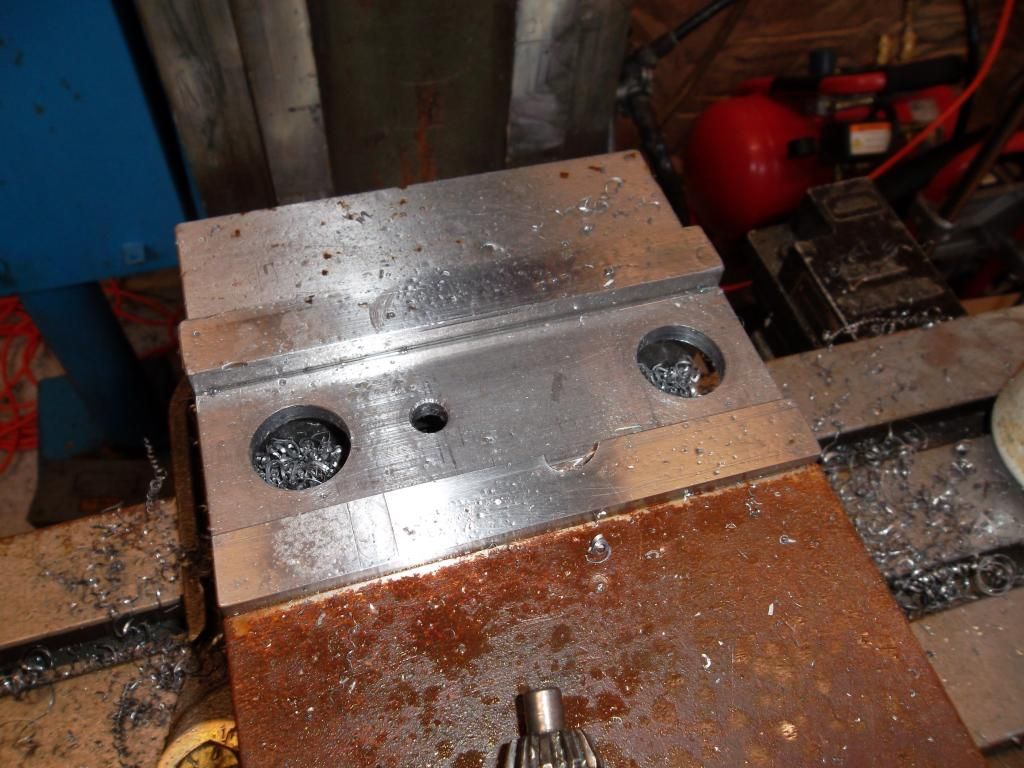
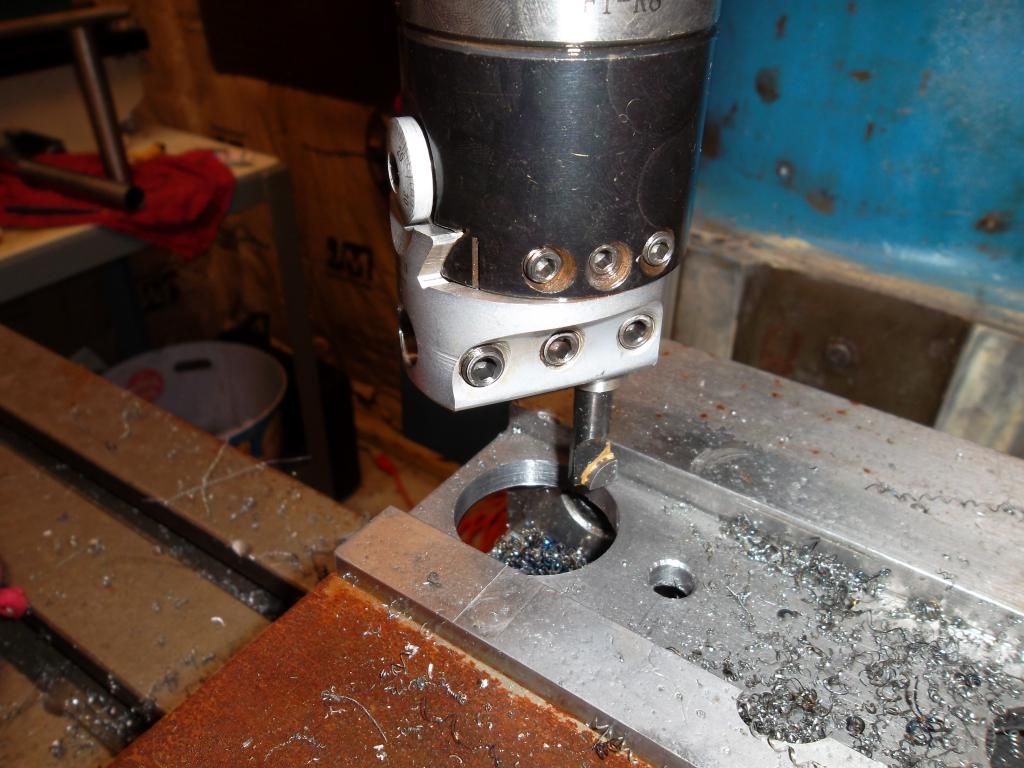
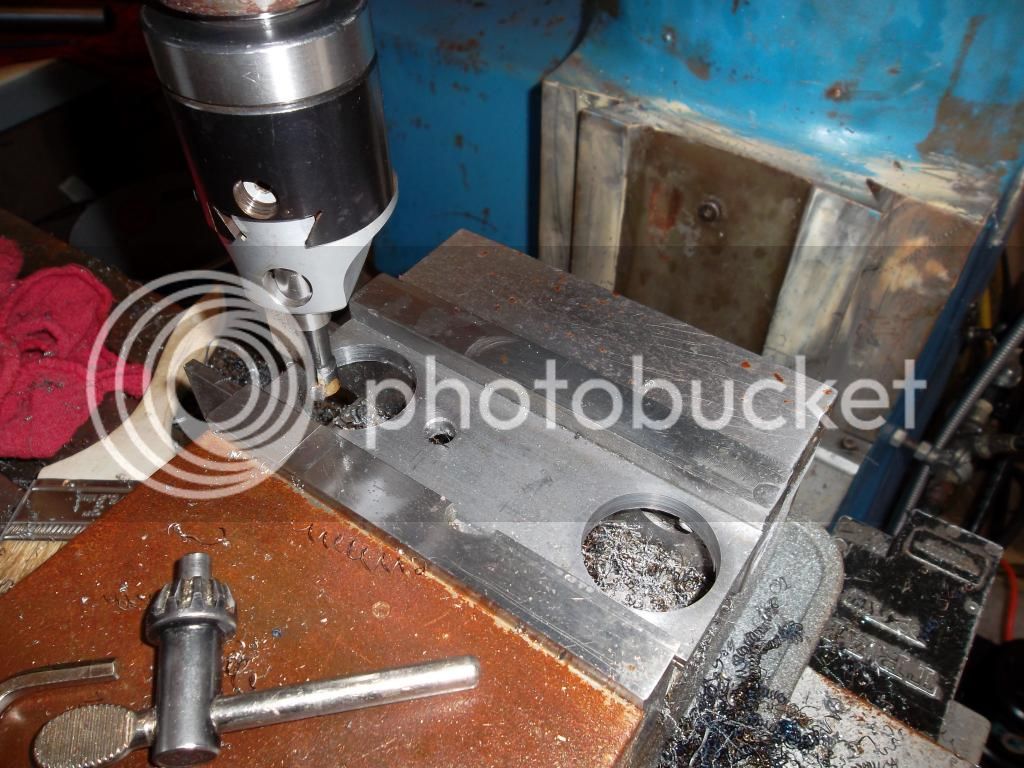
Drilling and boring the cylinder brackets as a pair.


Got to use my new boring head!


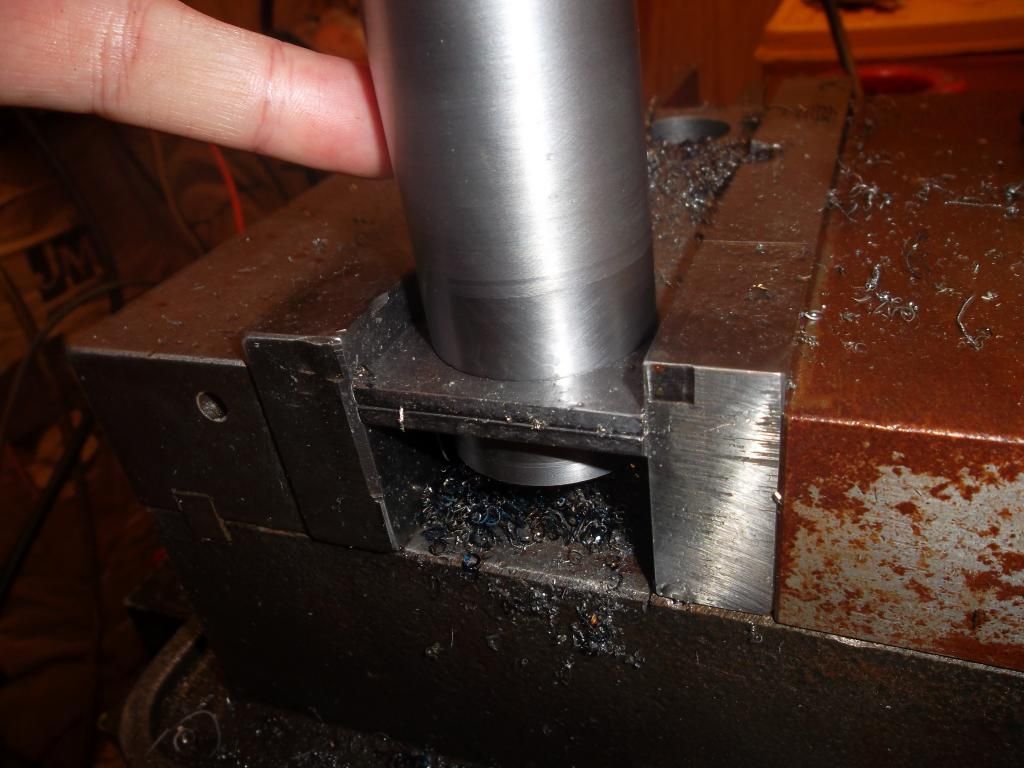
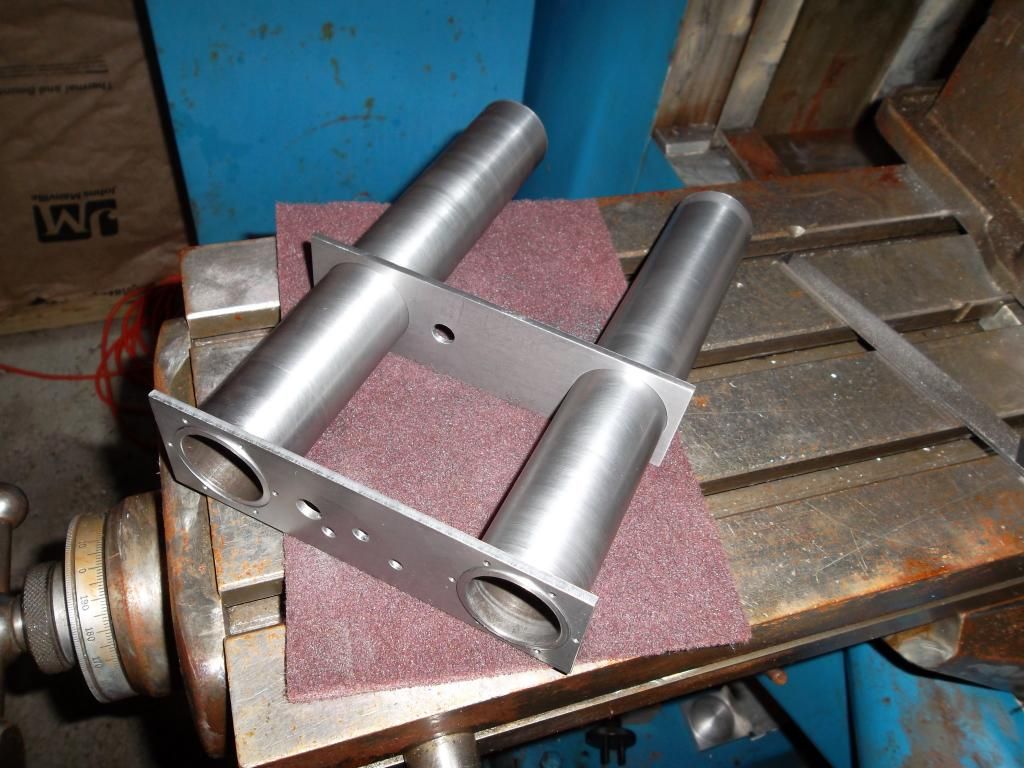
The cylinder fits nicely.


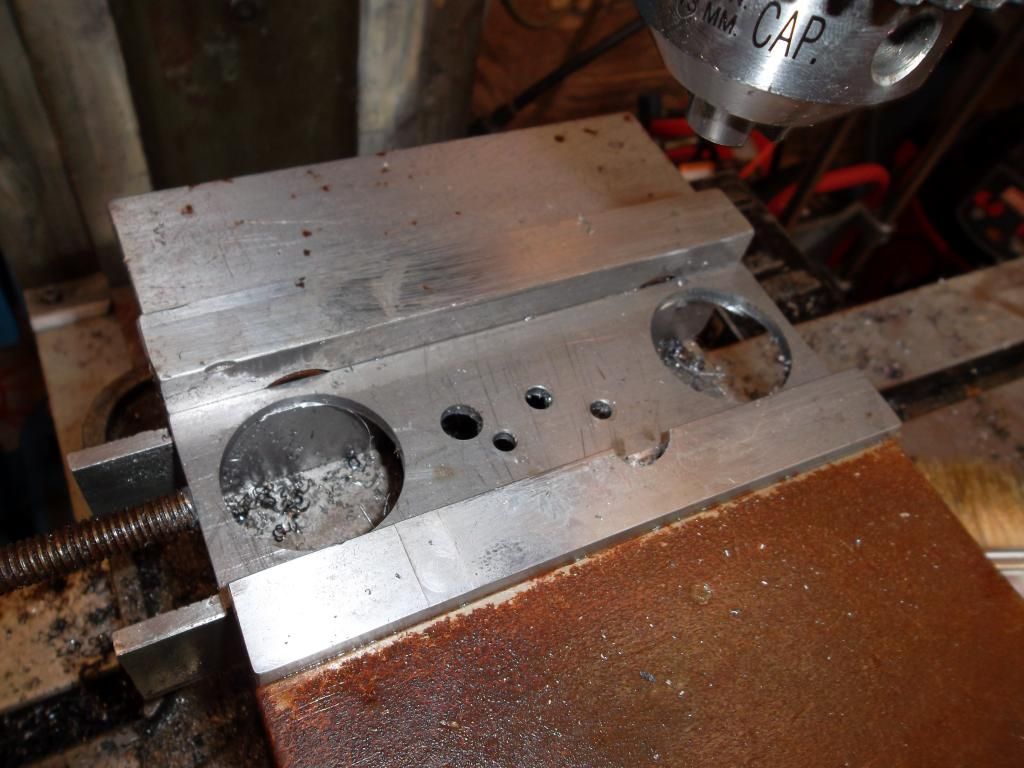
The top plate was removed so I could add the mounting holes and distributor bar hole to the bottom plate. I used a make-shift stop to make things easier. The one important thing about these brackets is that the cylinder holes are in line...hopefully this works.


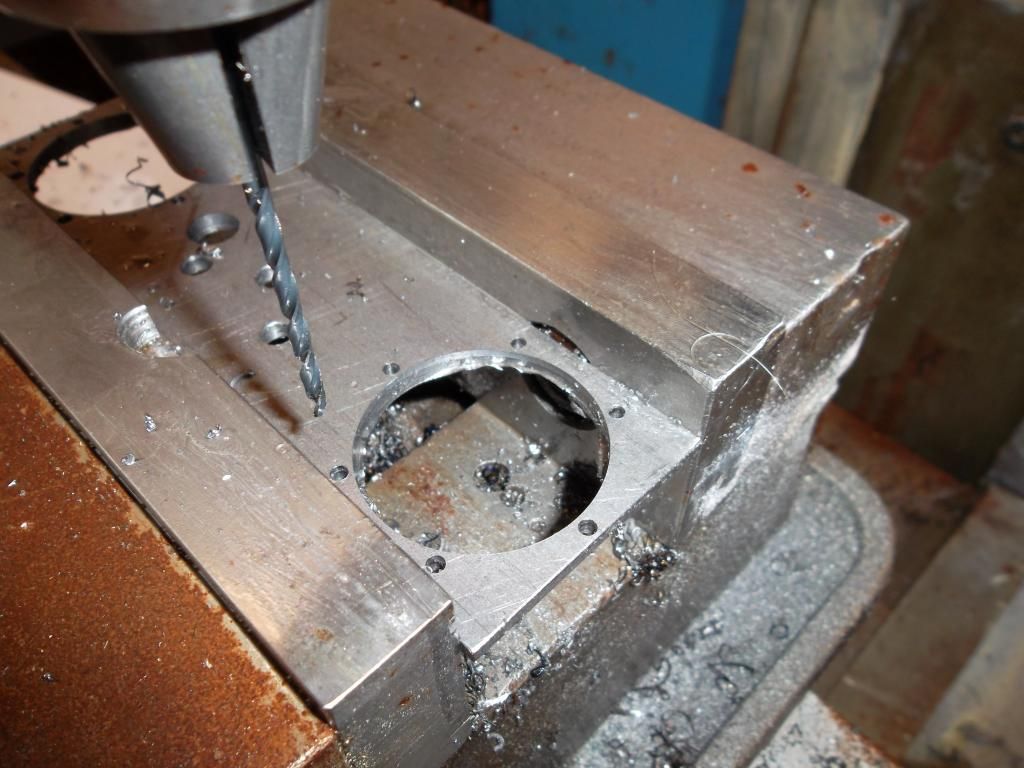
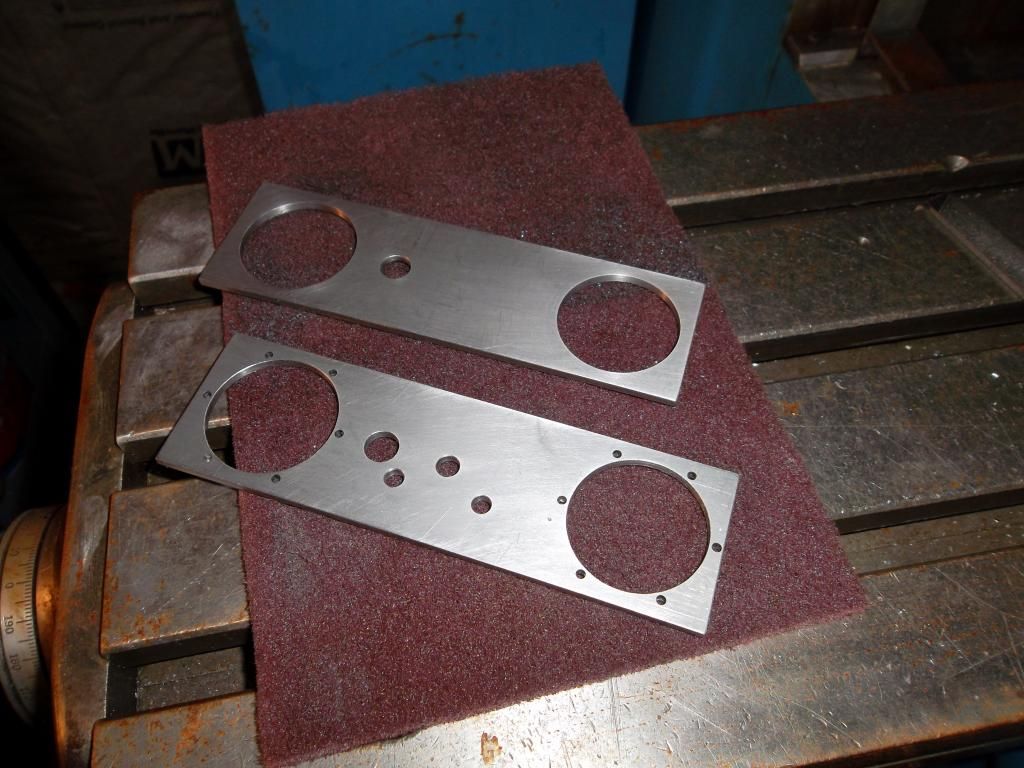
Adding the mounting holes for the exhaust heads....I'll tap the #5-40 holes later.


Completed brackets free of burrs and sharp edges.


Test fitting just for the hell of it....I plan on milling out the cylinders next.
 
I have to add my Wow too. Amazing progress. Can't wait to see more
Mike


Sent from my iPhone using Model Engines
 

Latest posts

Back
Top