Some new pictures on how I made the connecting rod end caps.
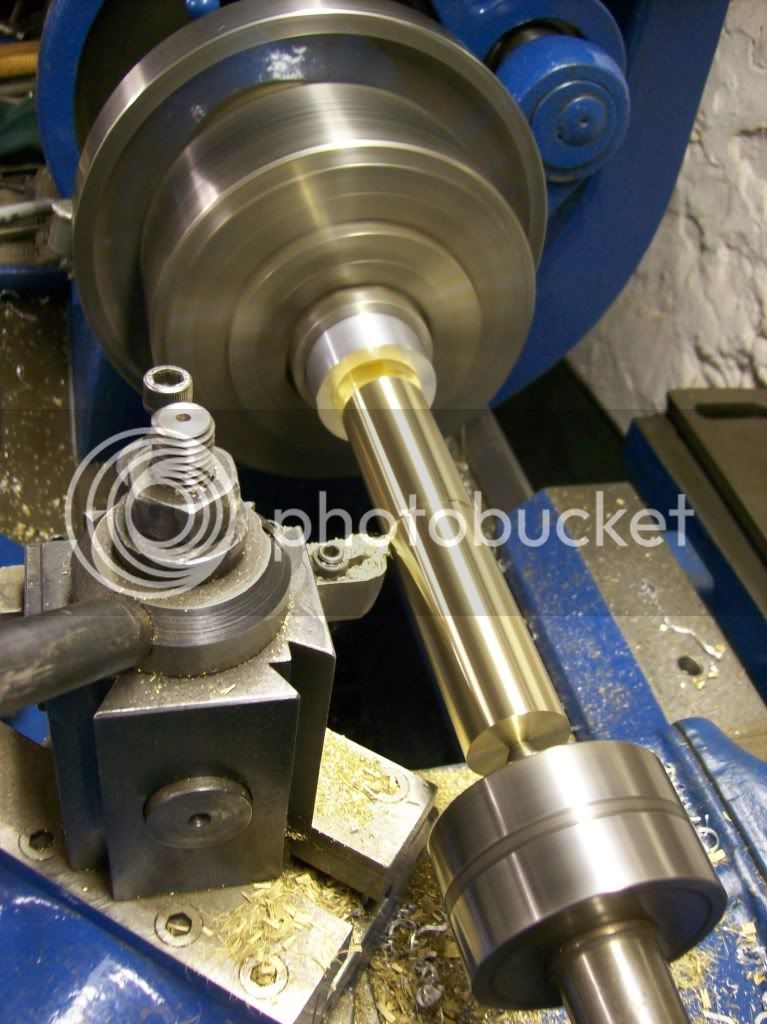
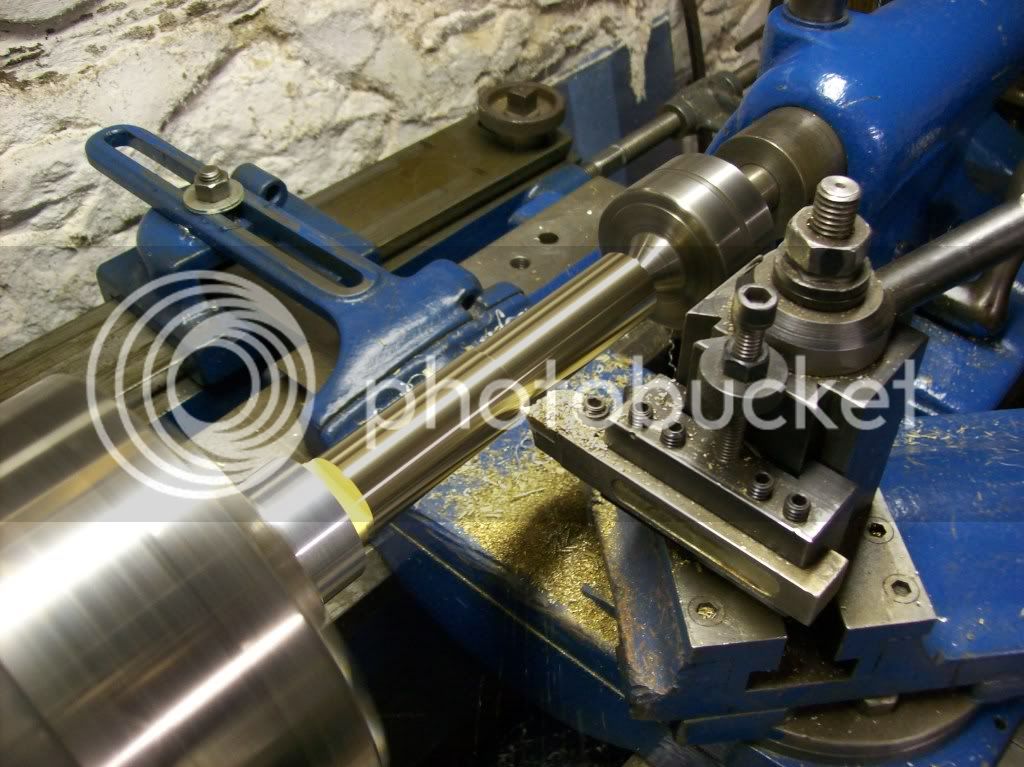
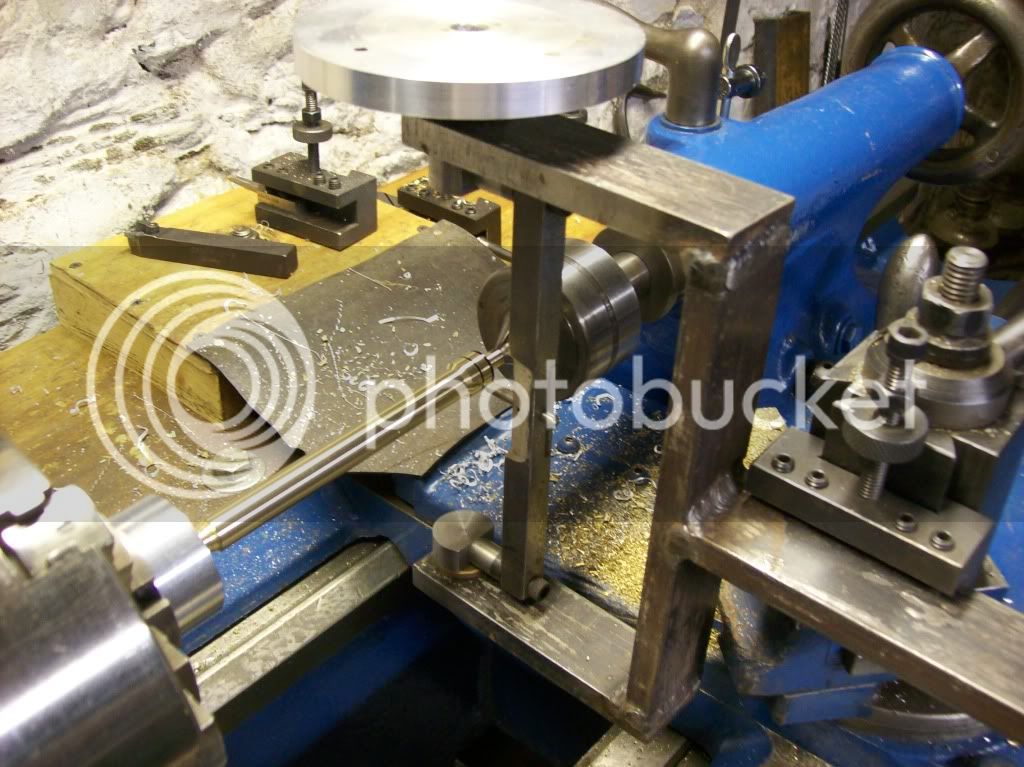
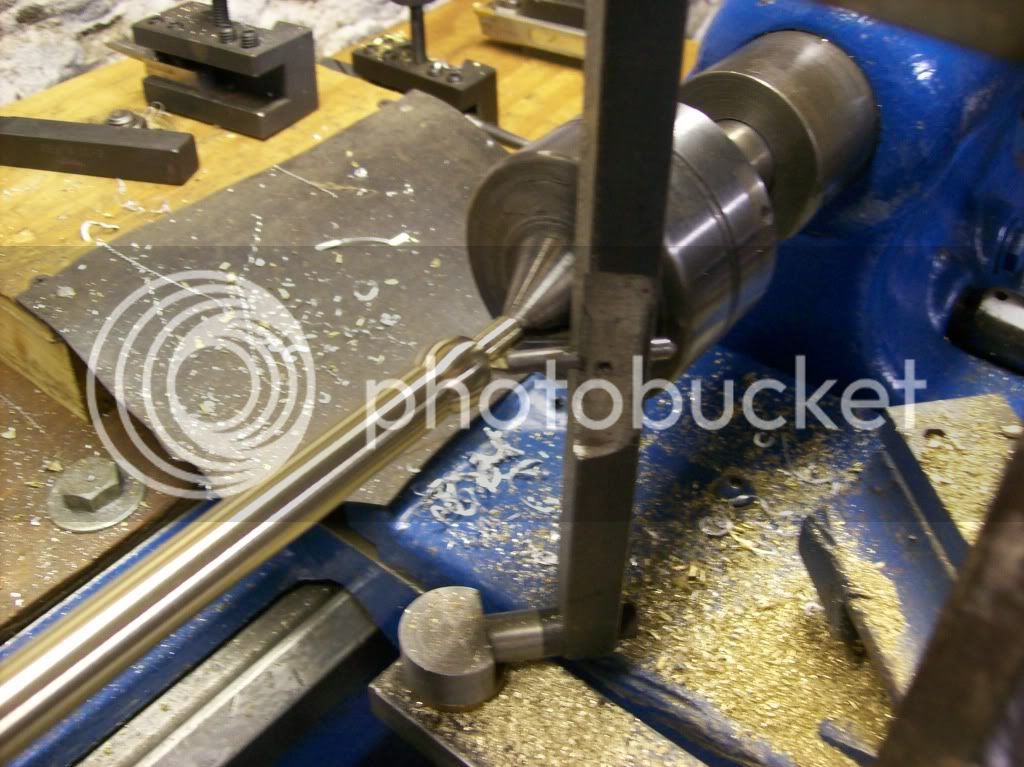
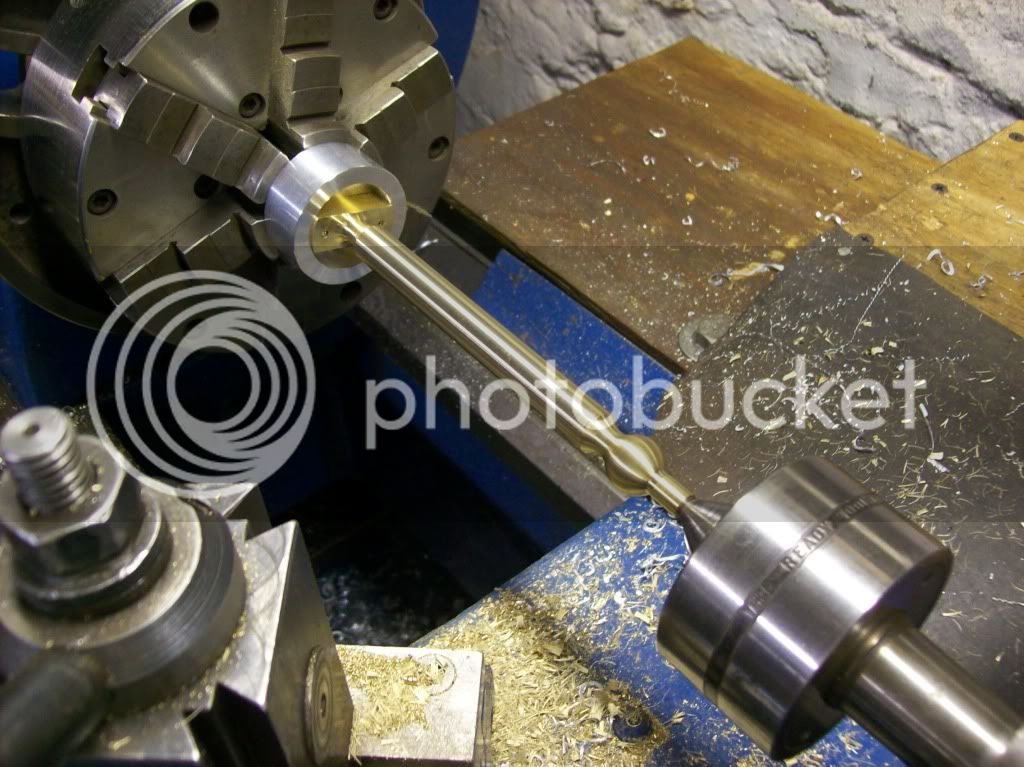
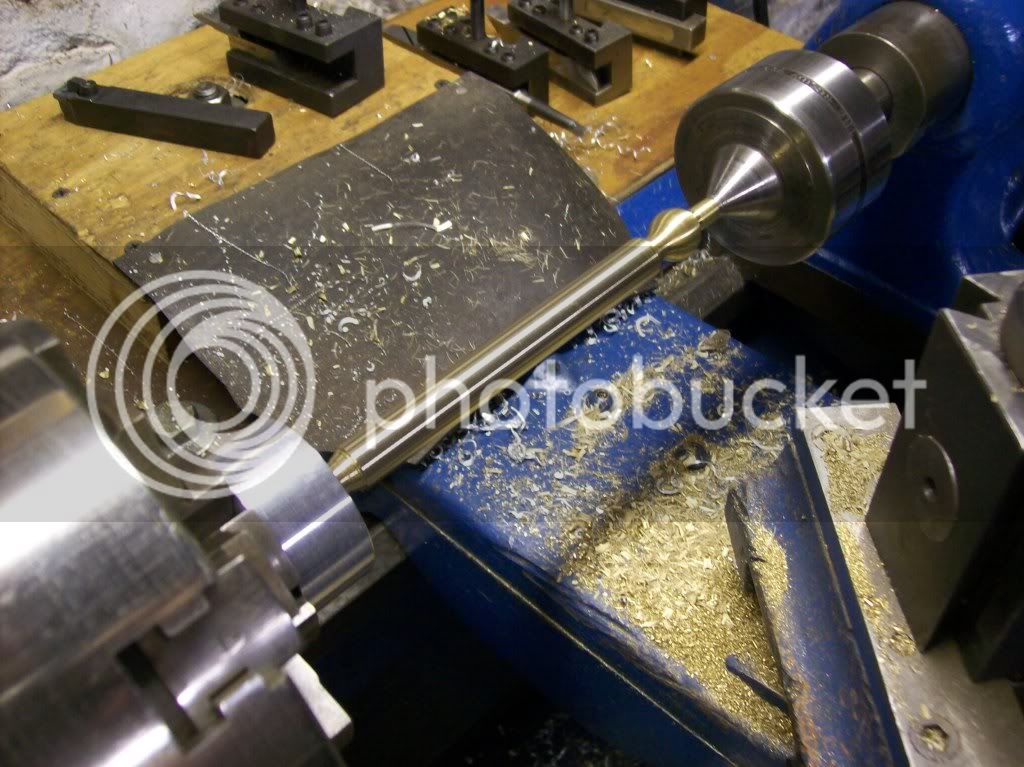
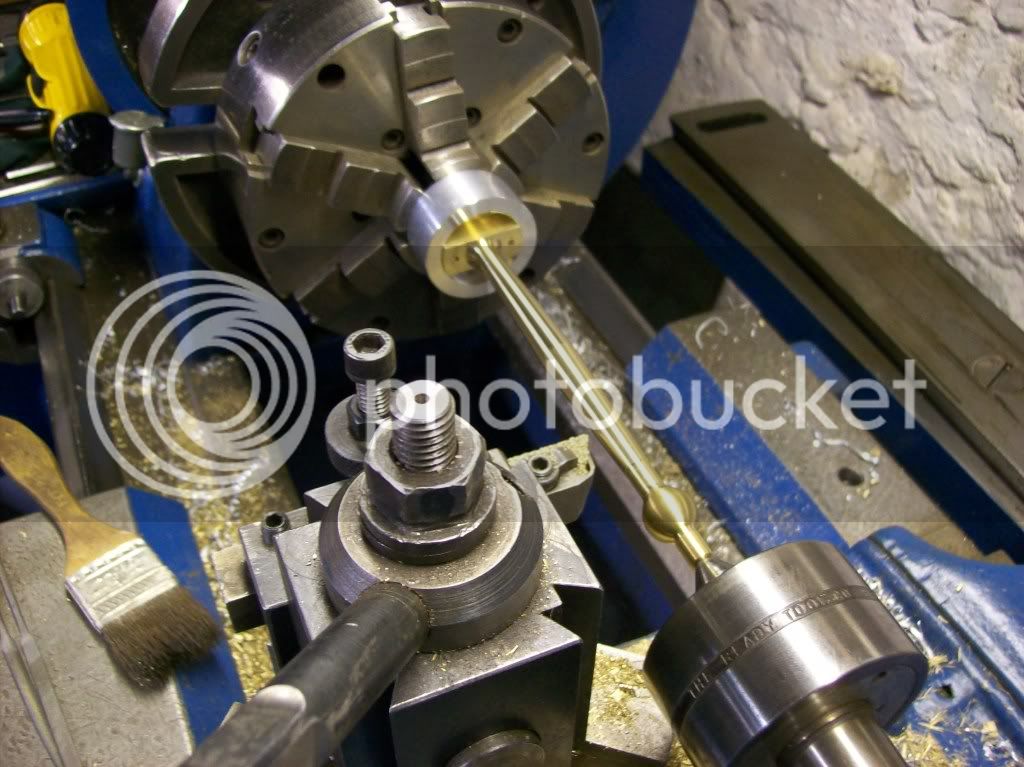
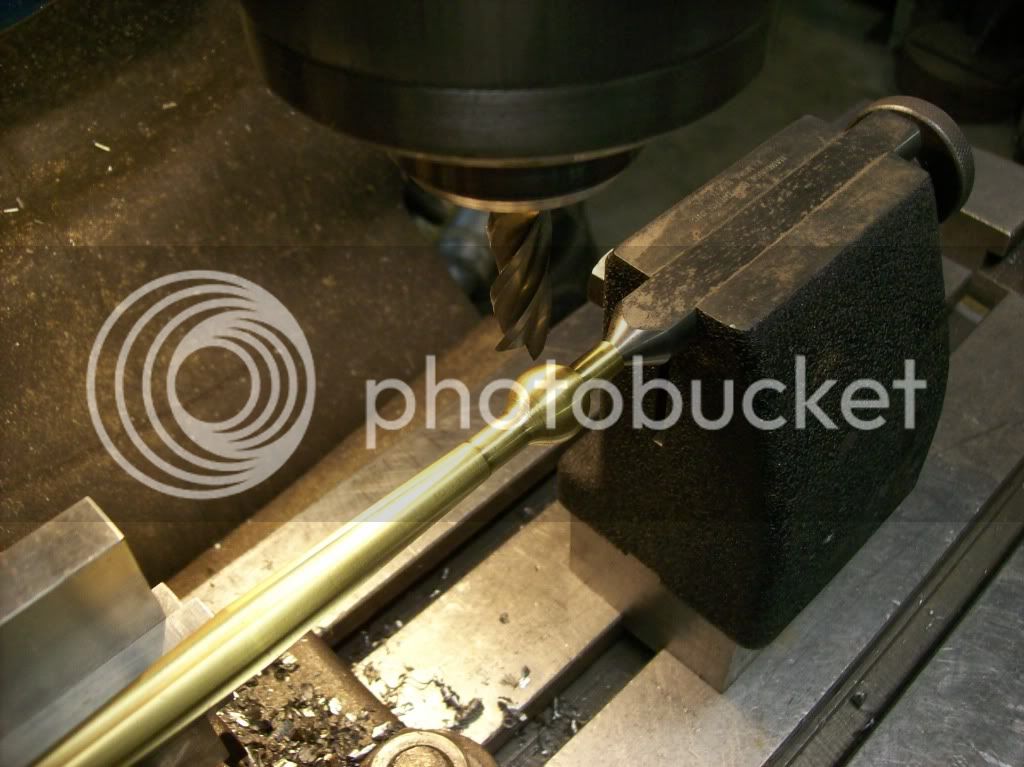
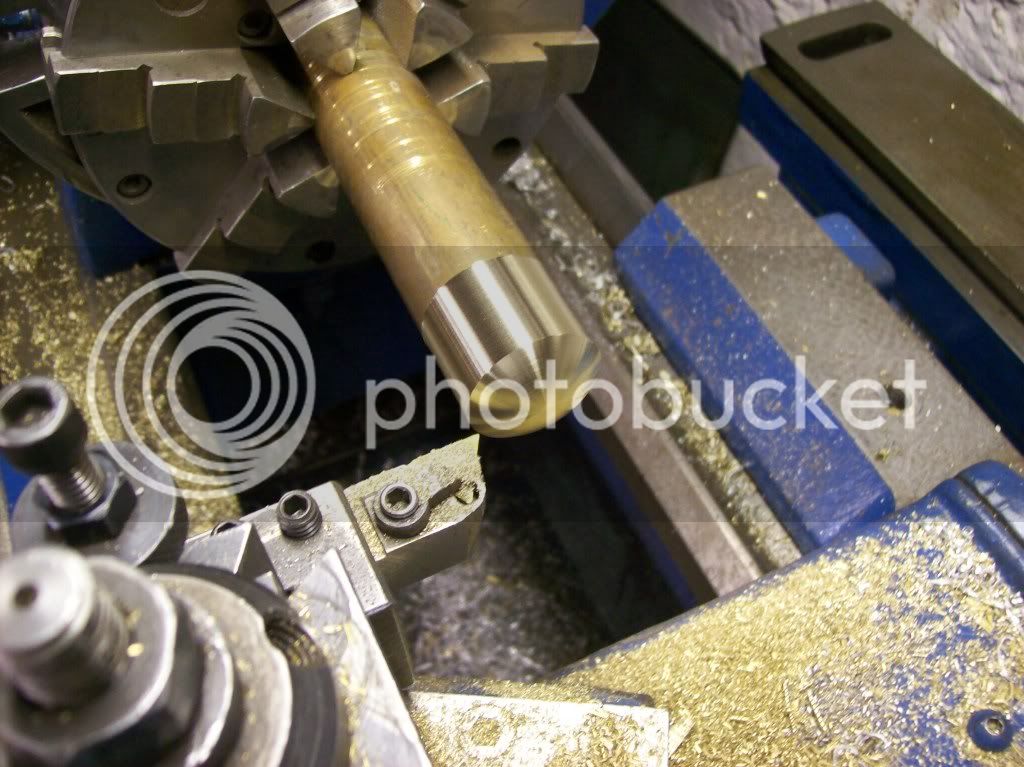
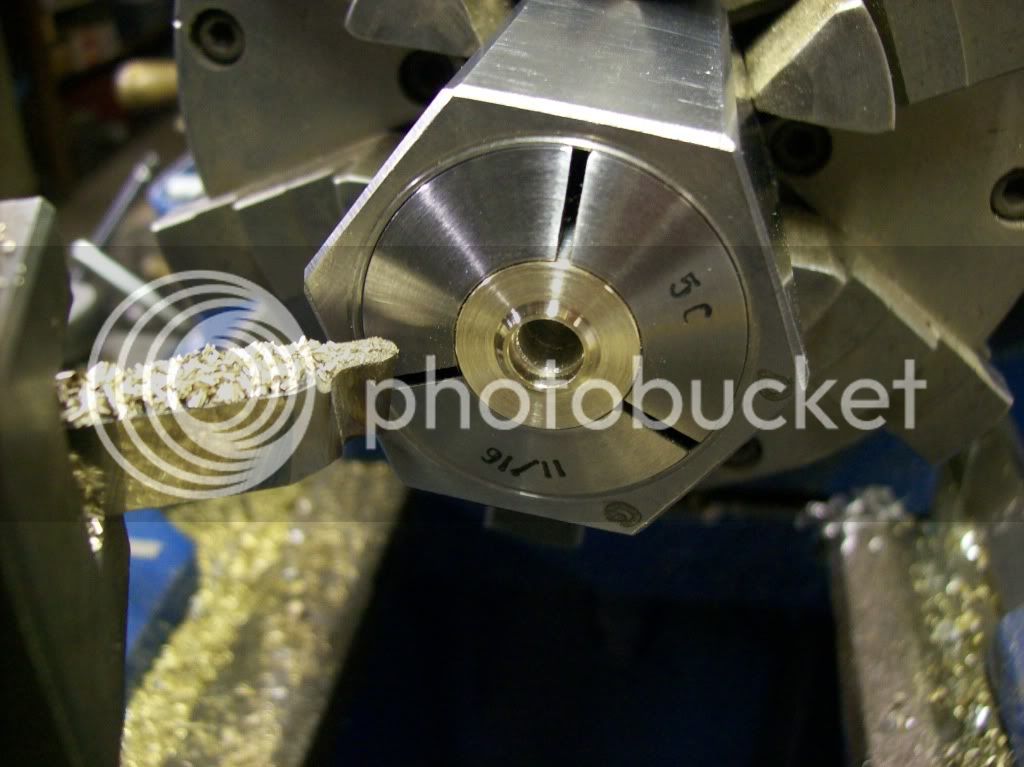
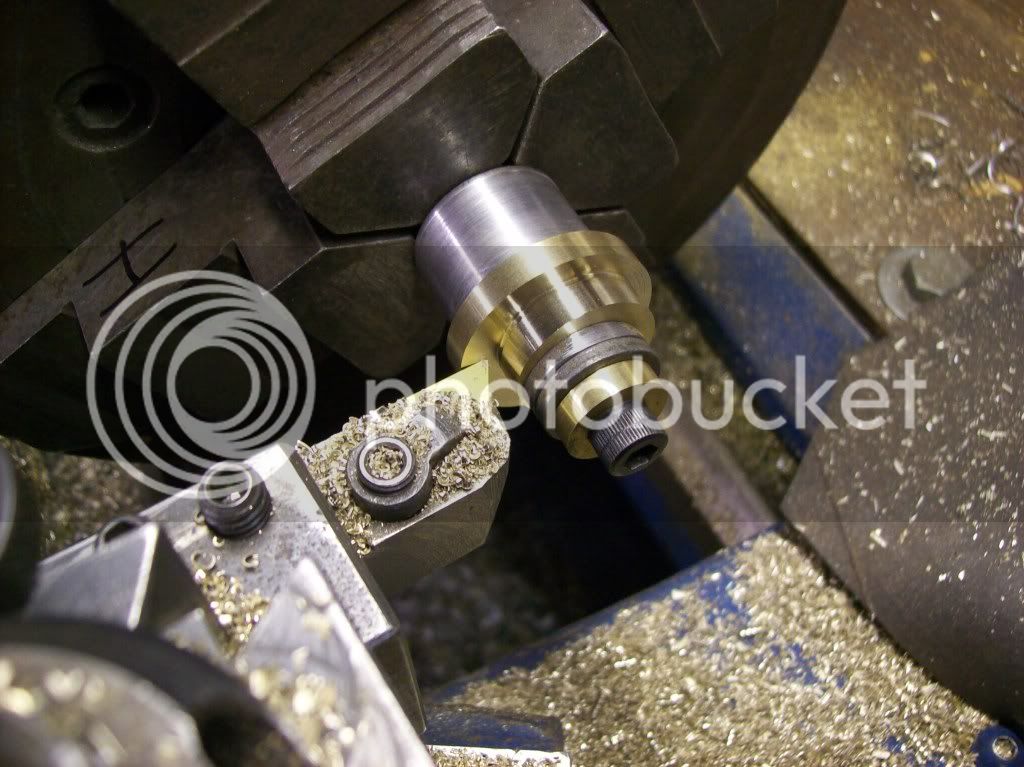
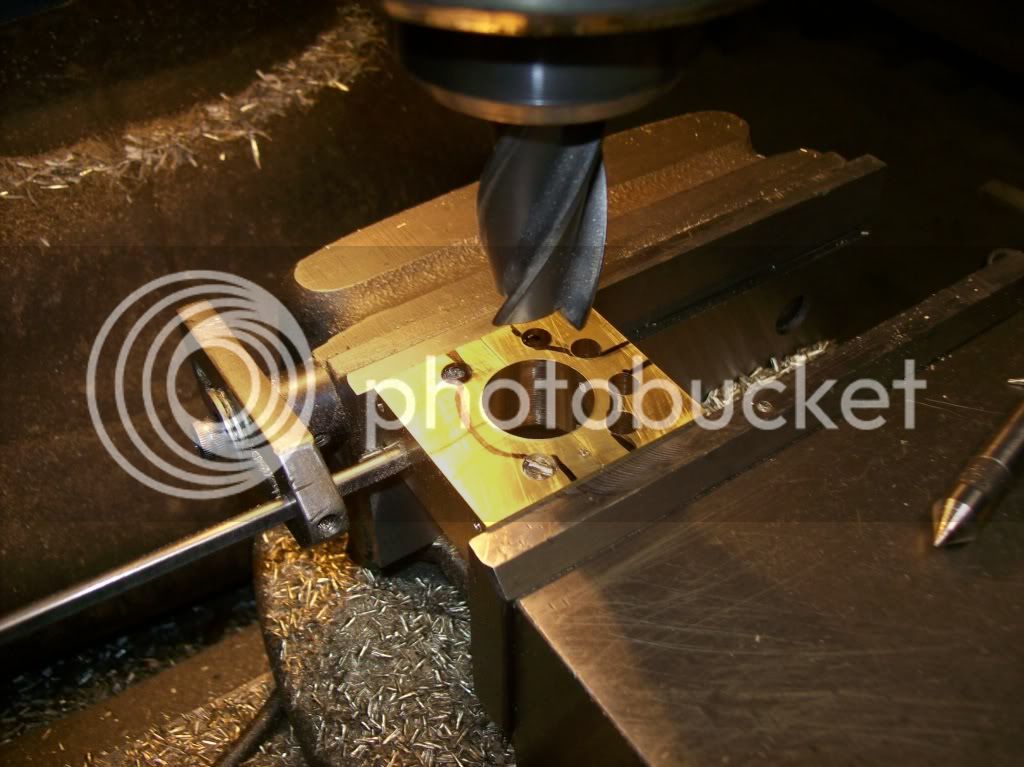
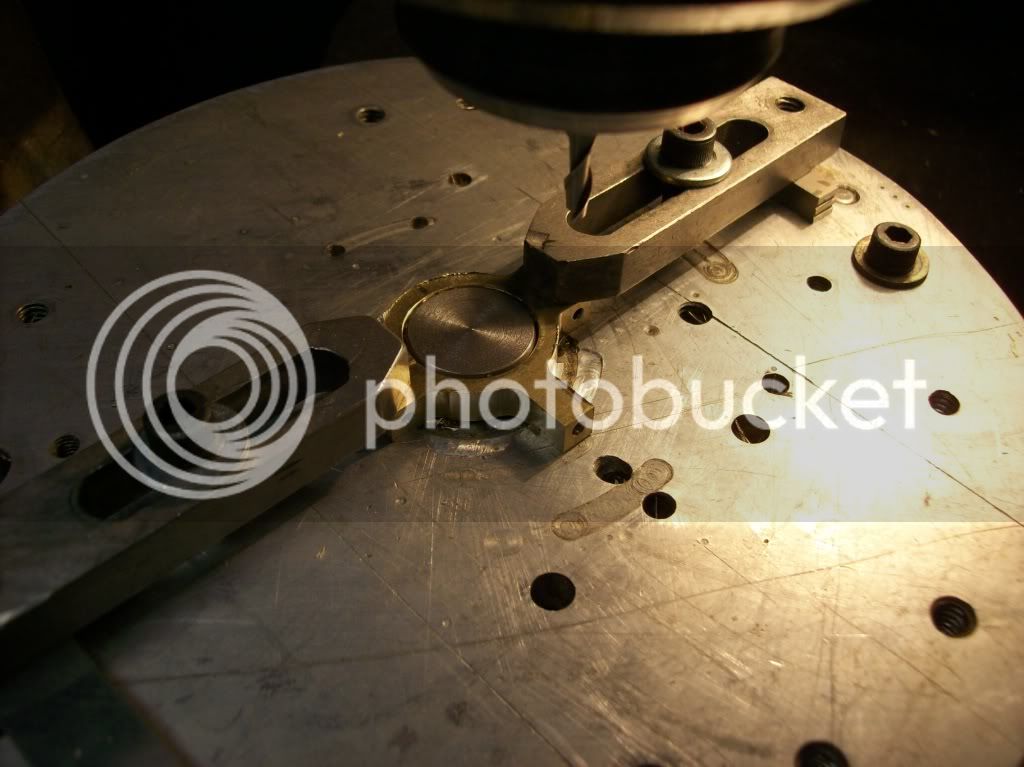
First I used my ball turning tool to cut the .750 rad on the end of the bar stock.
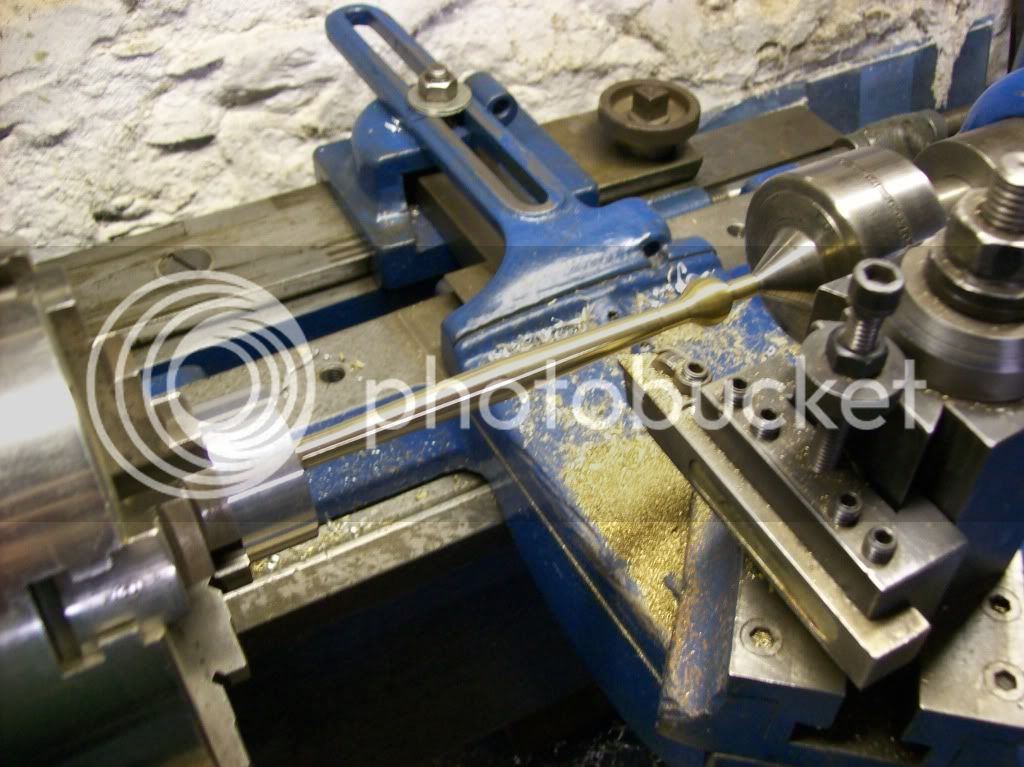
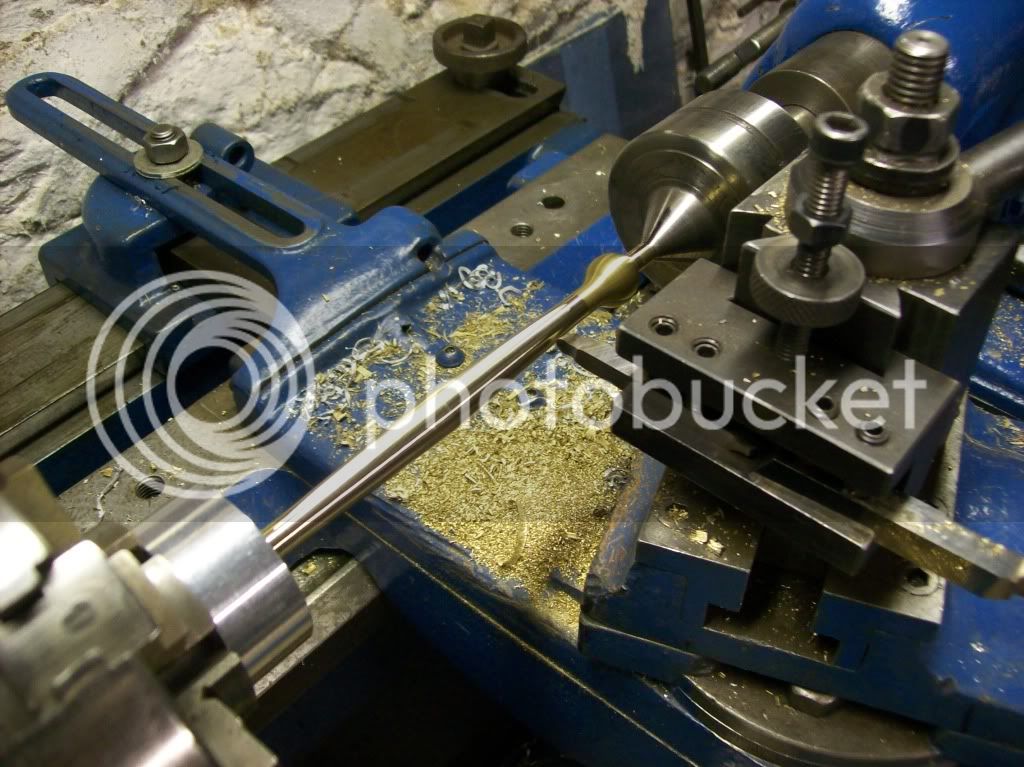
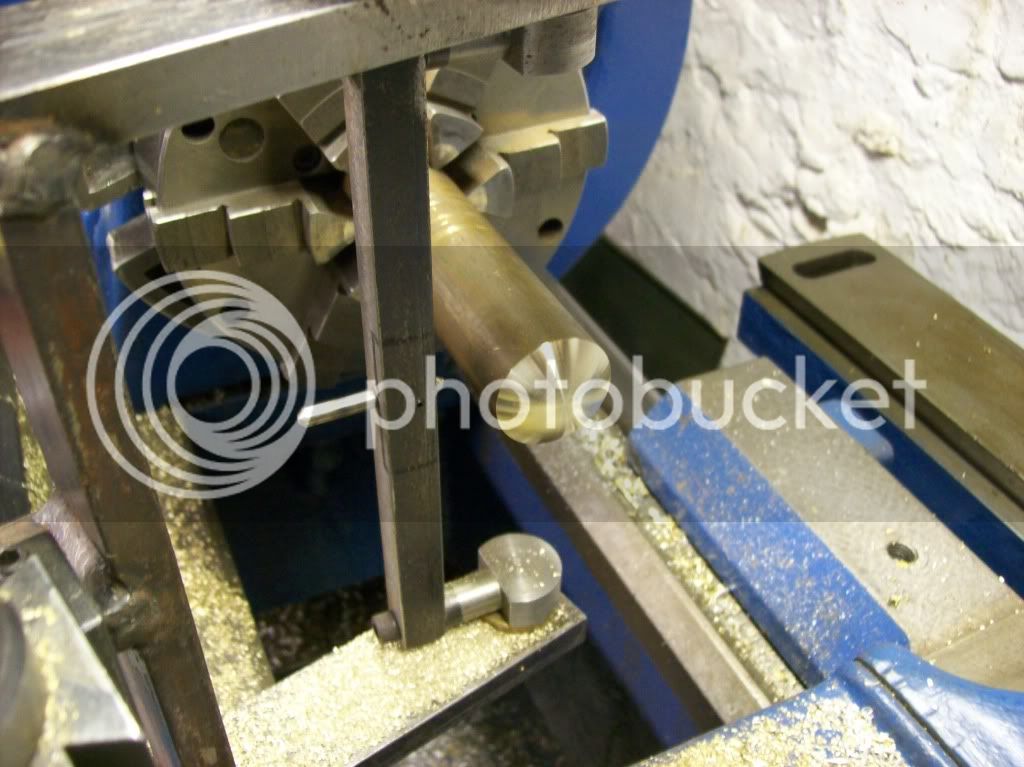
Then turn the 1.242 dia.
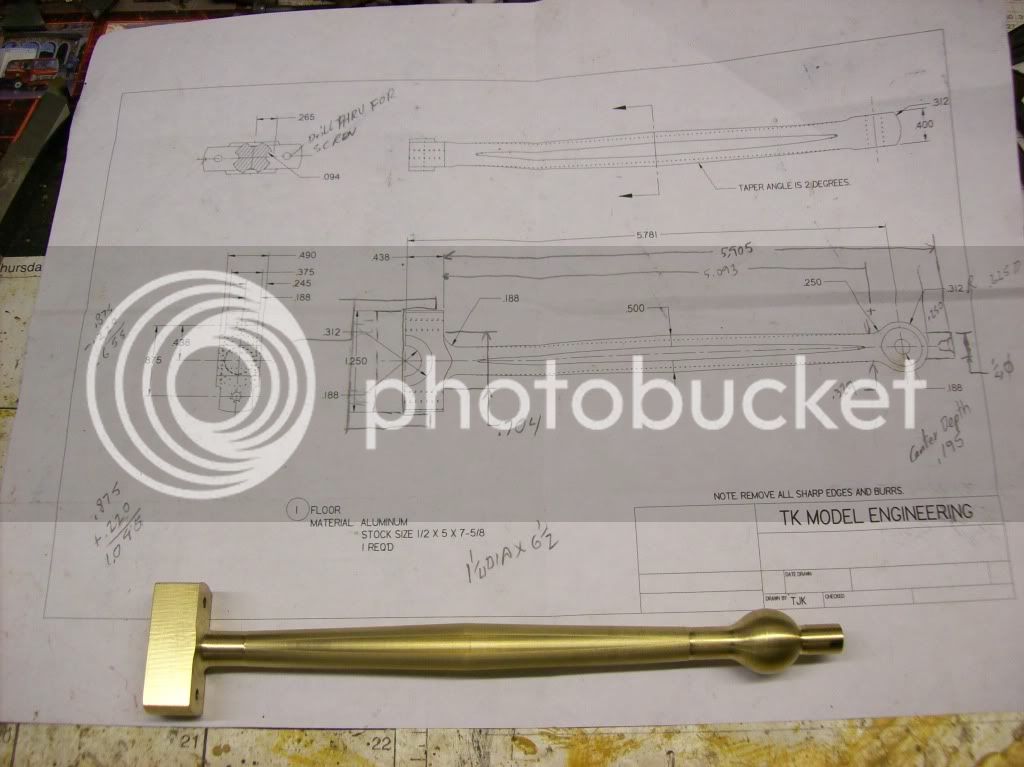
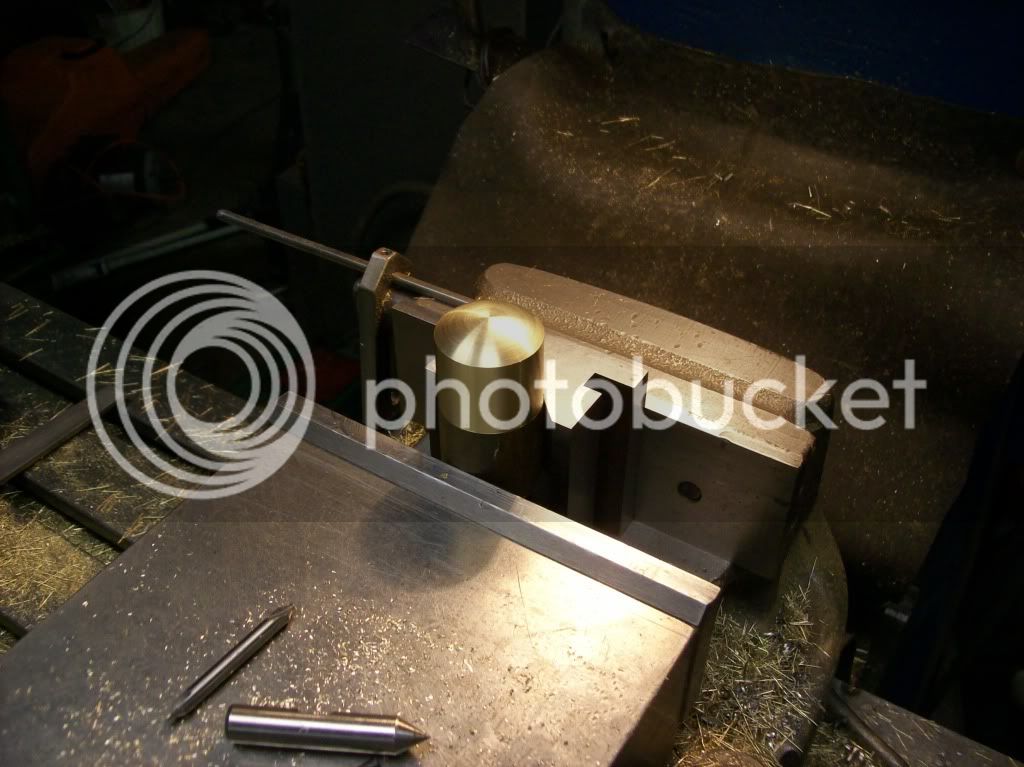
Cut off the end to mount in the v block.
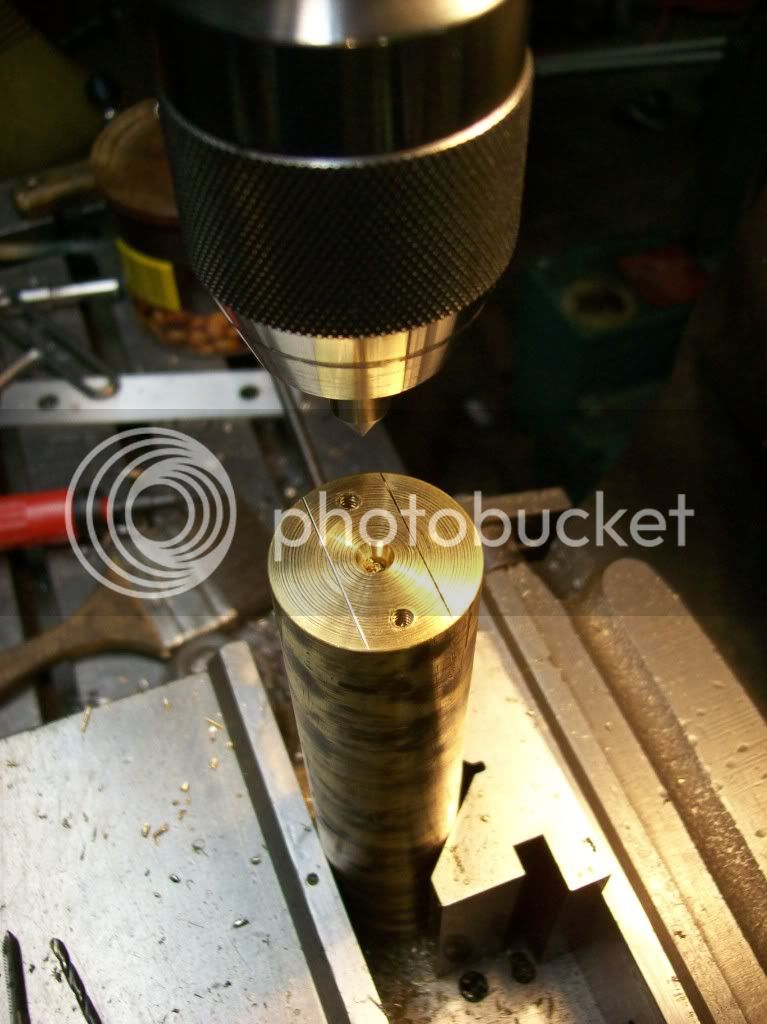
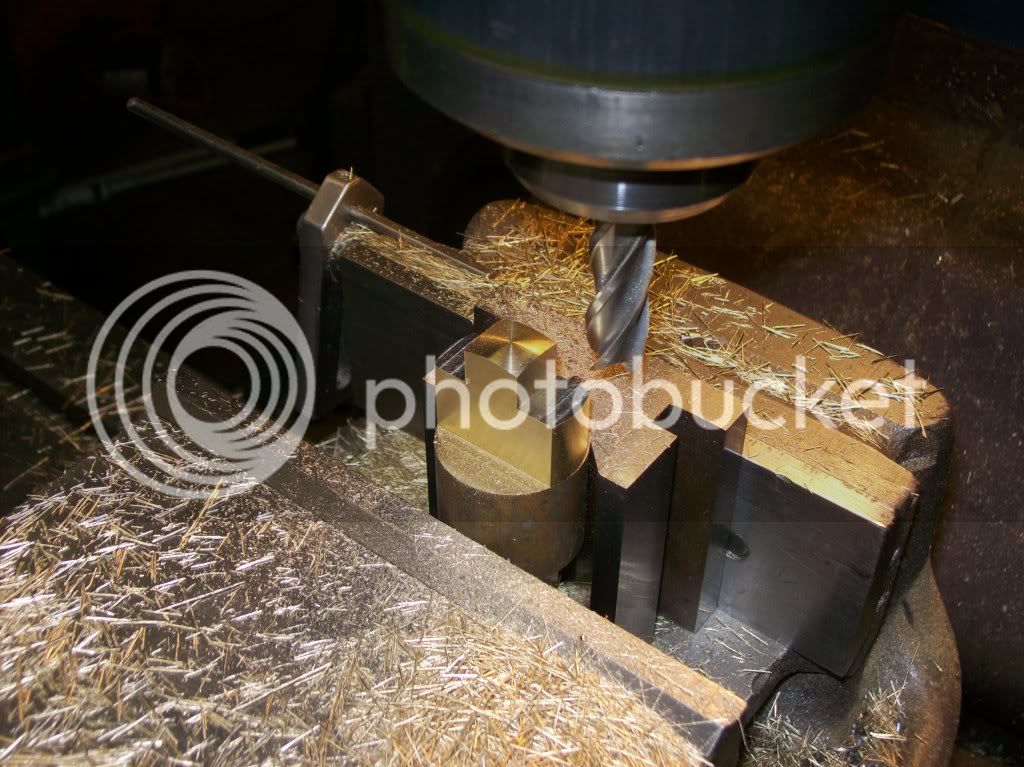
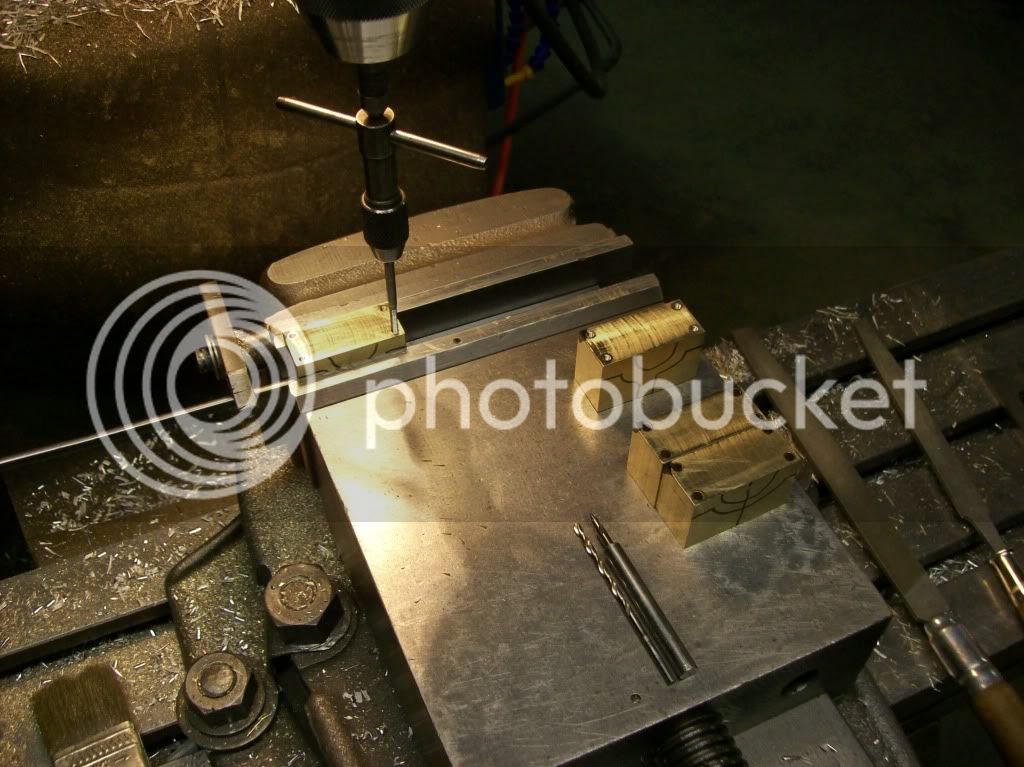
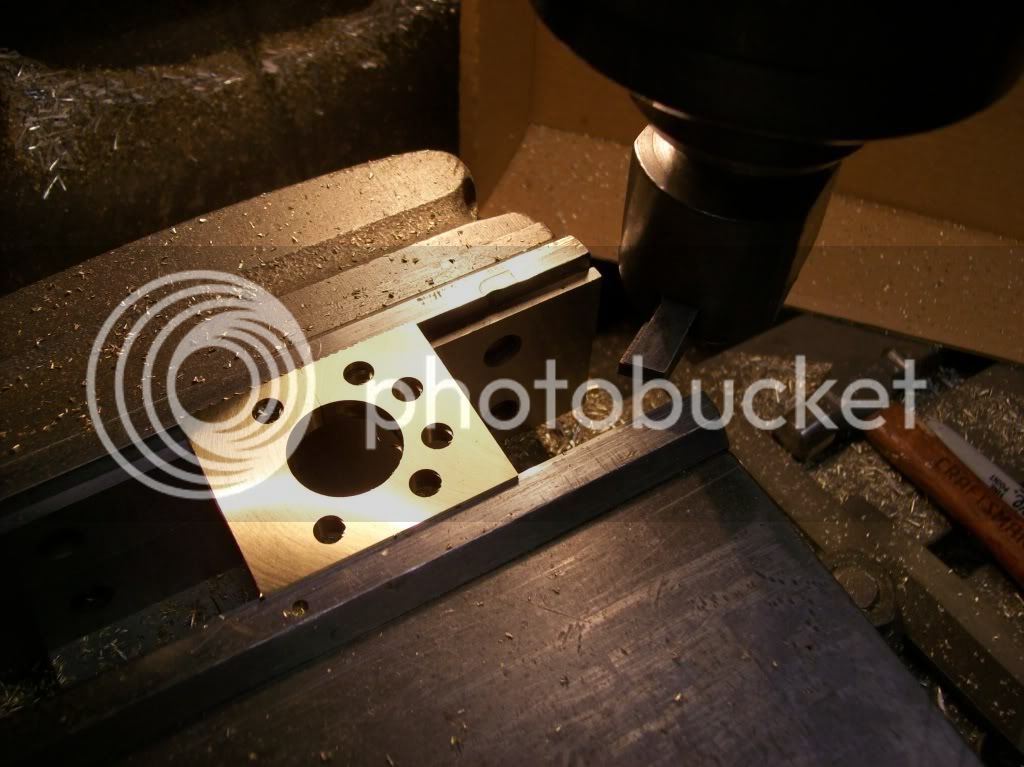
I then mill to width and flats for the bolts.
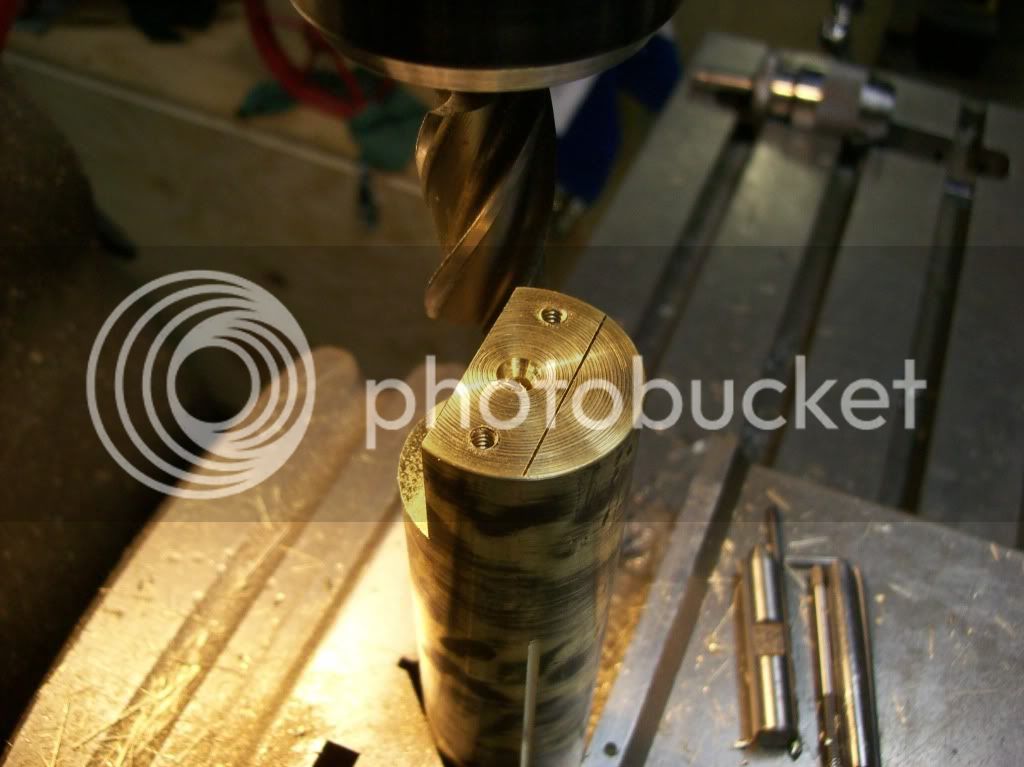
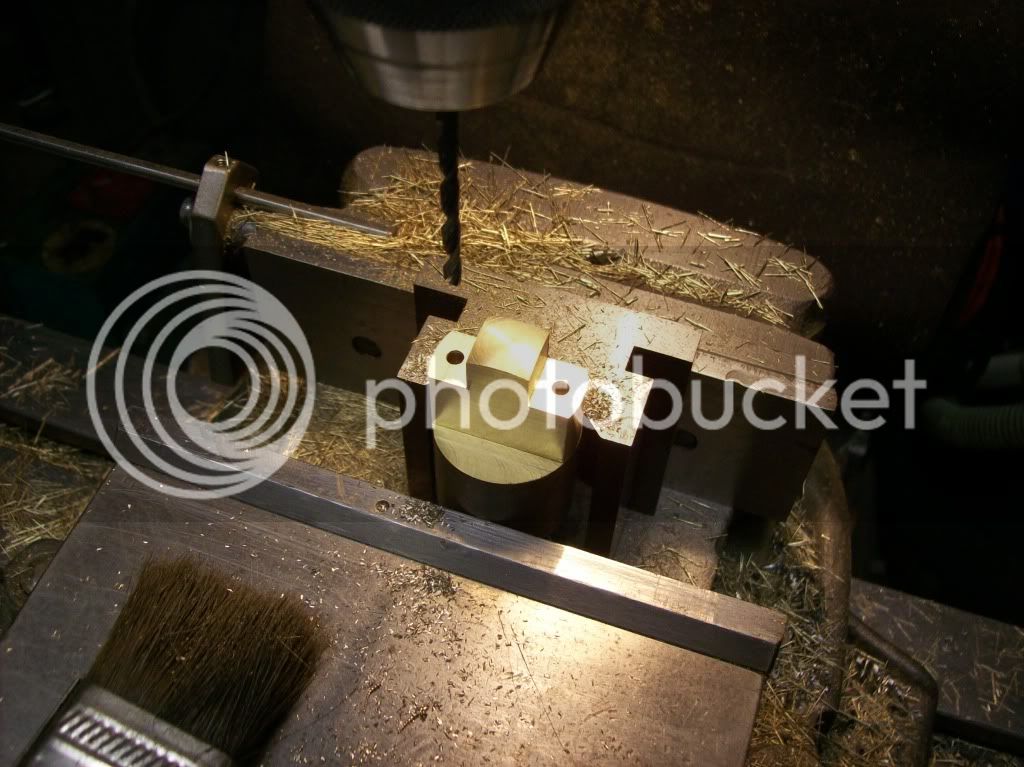
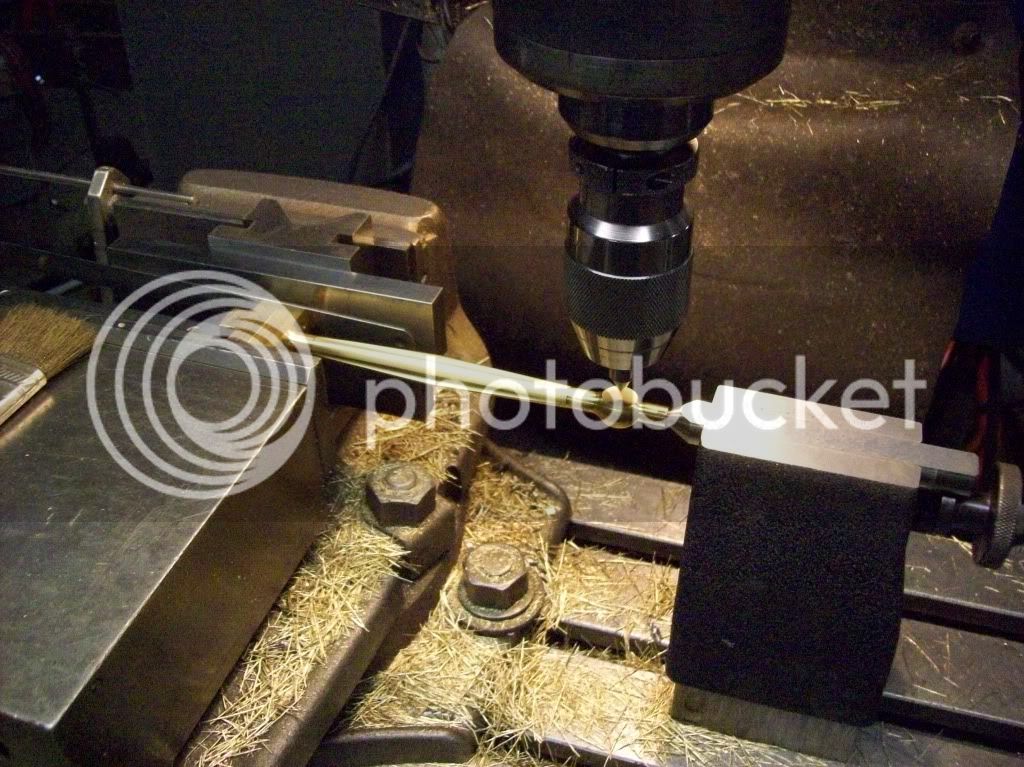
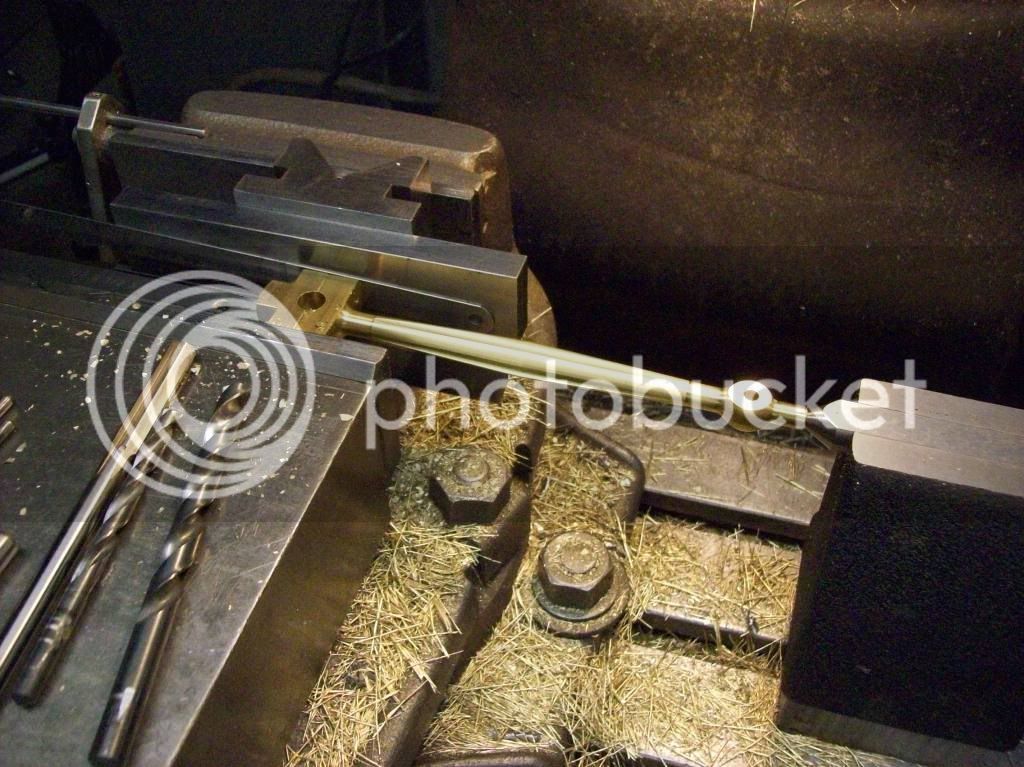
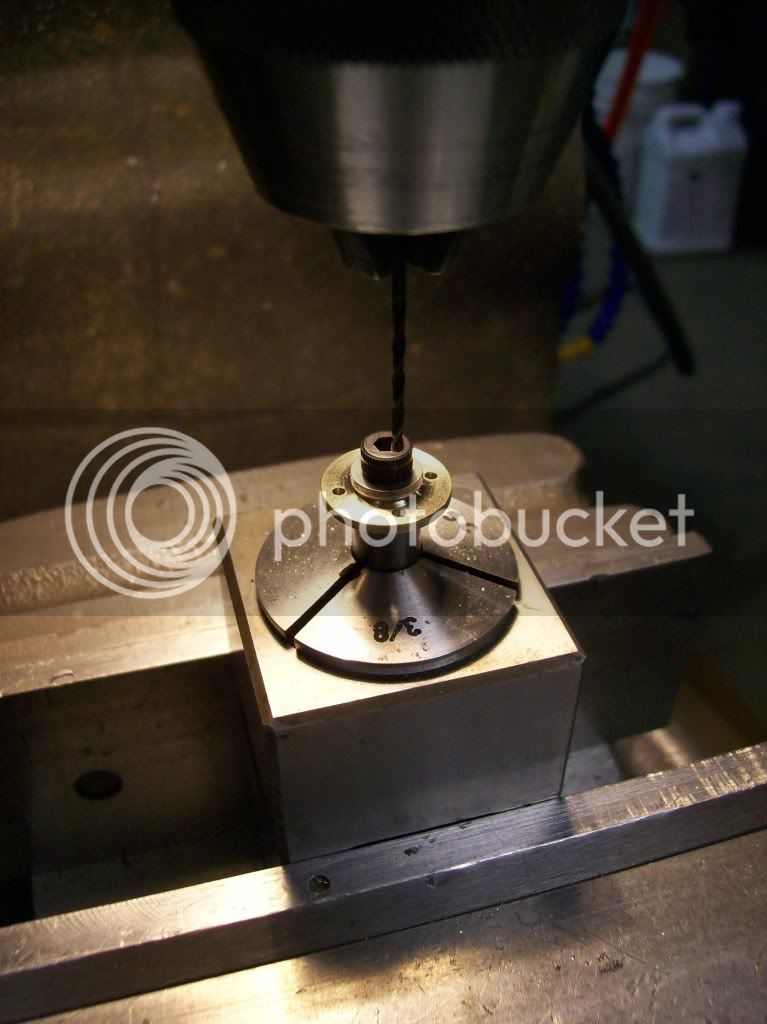
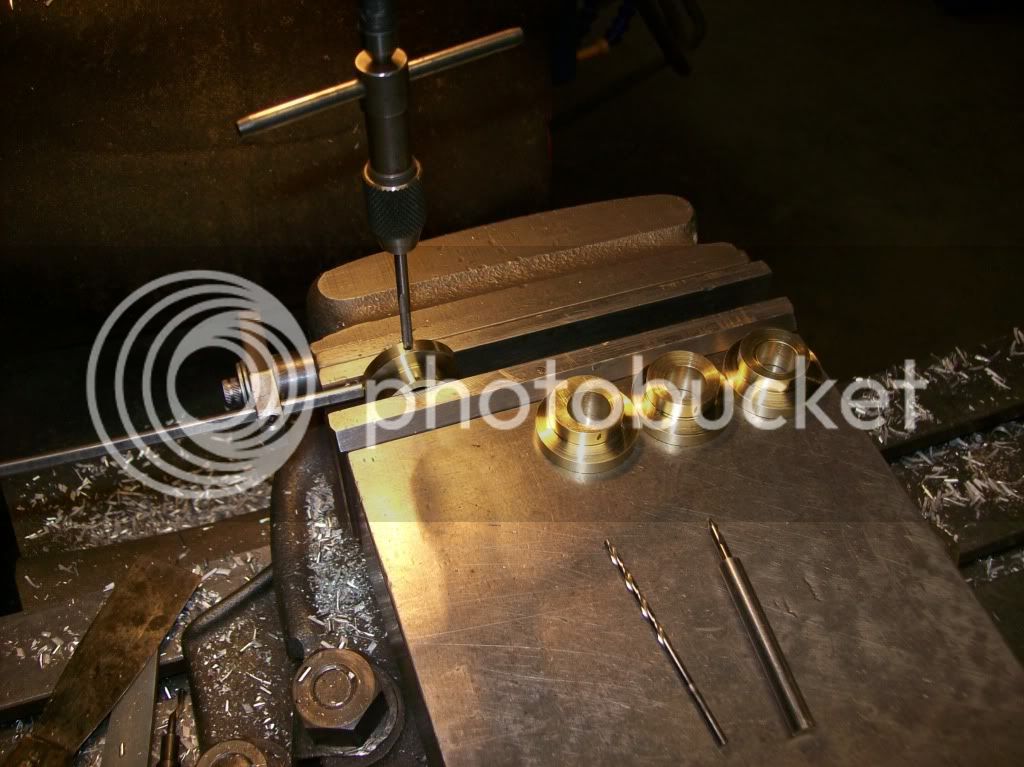
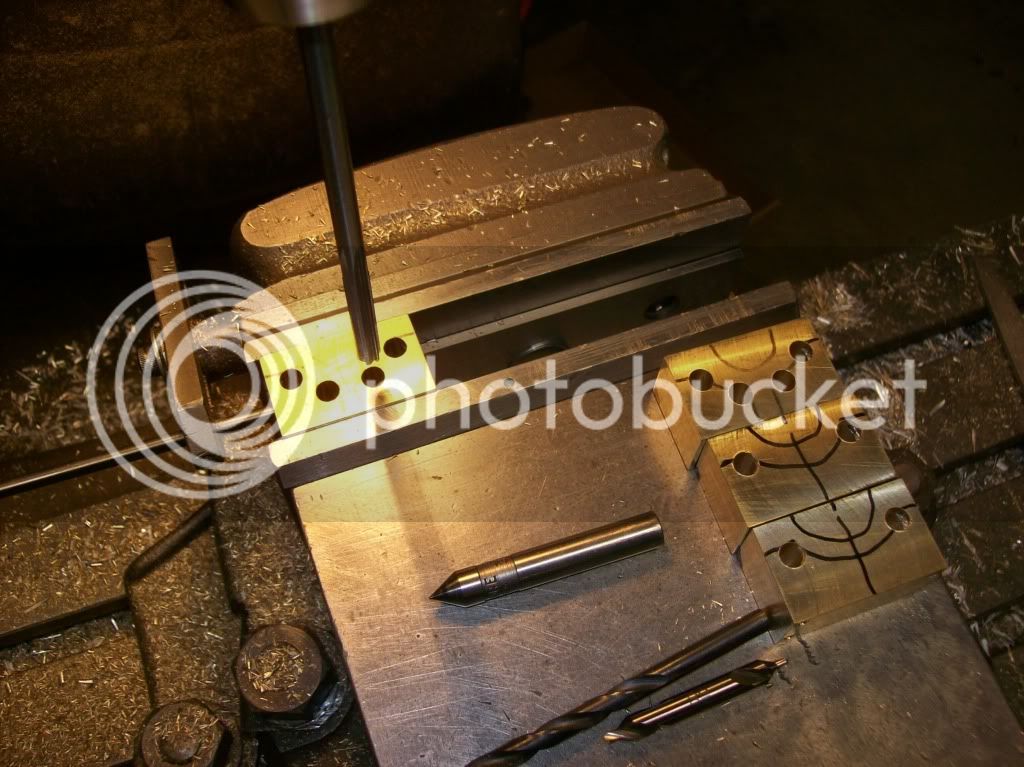
I then drilled the bolts holes.
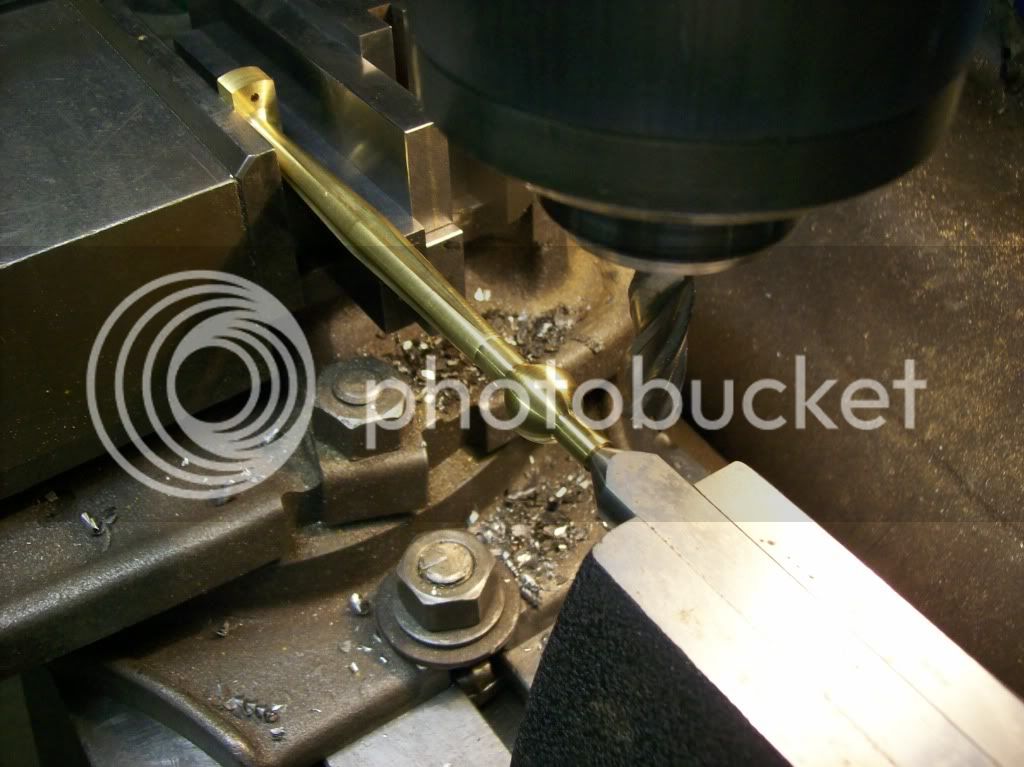
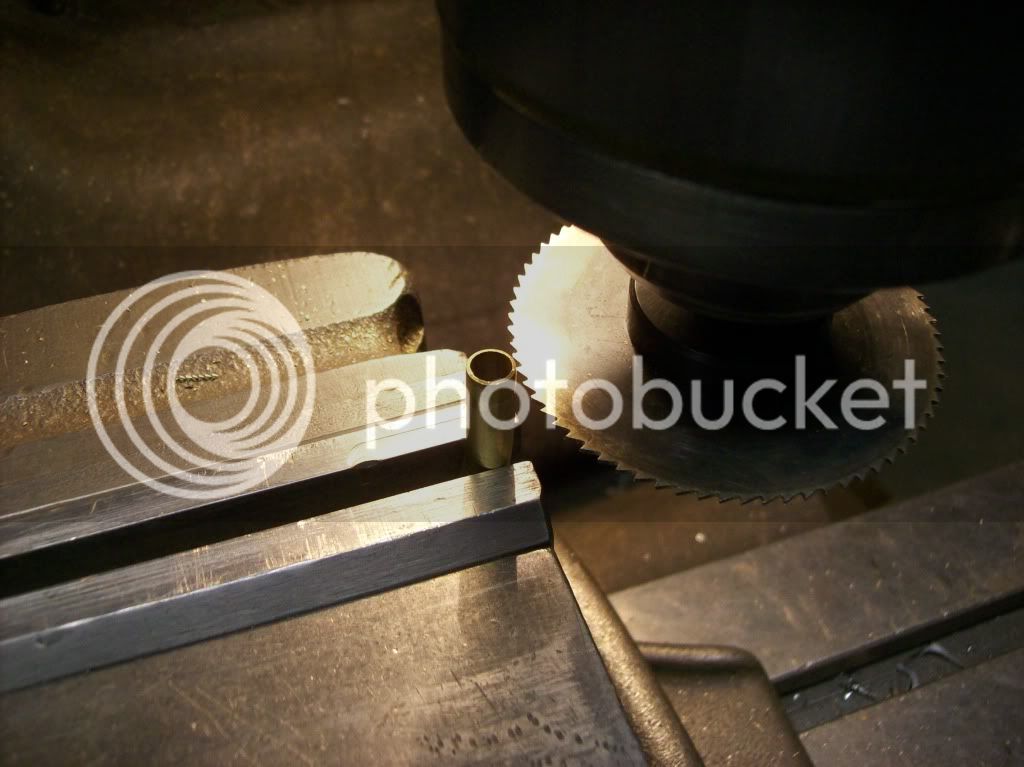
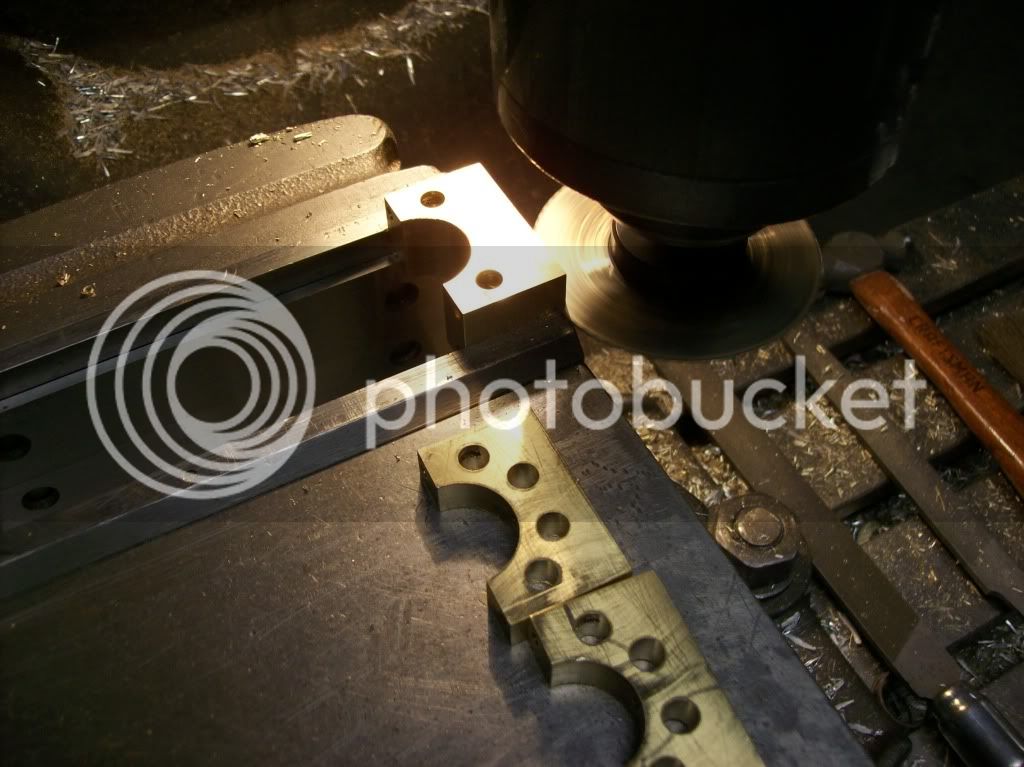
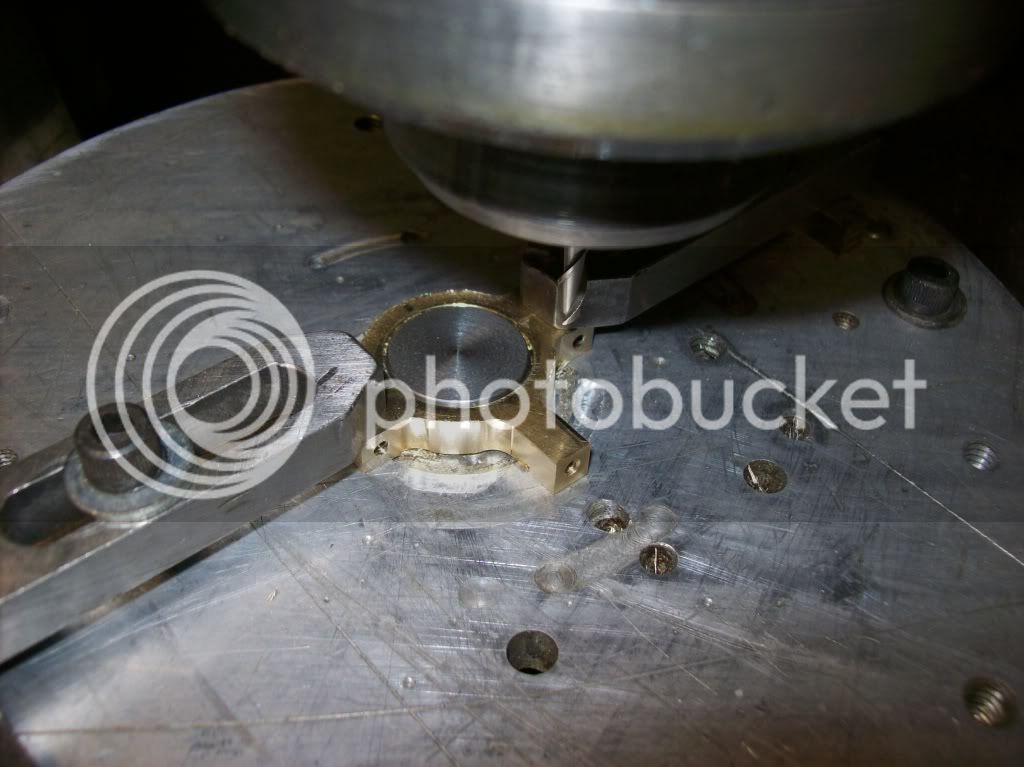
I then used a slitting saw to cut off the end cap. I will finish milling the end caps and mount to the connecting rod to ream the holes. More pics to follow.
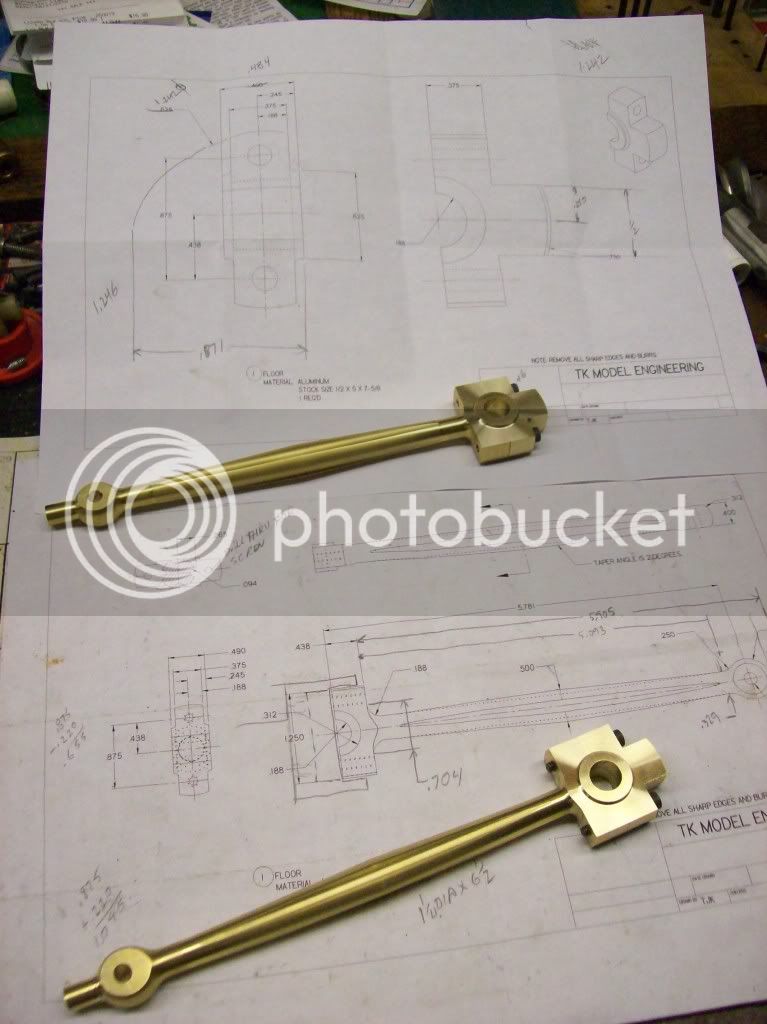
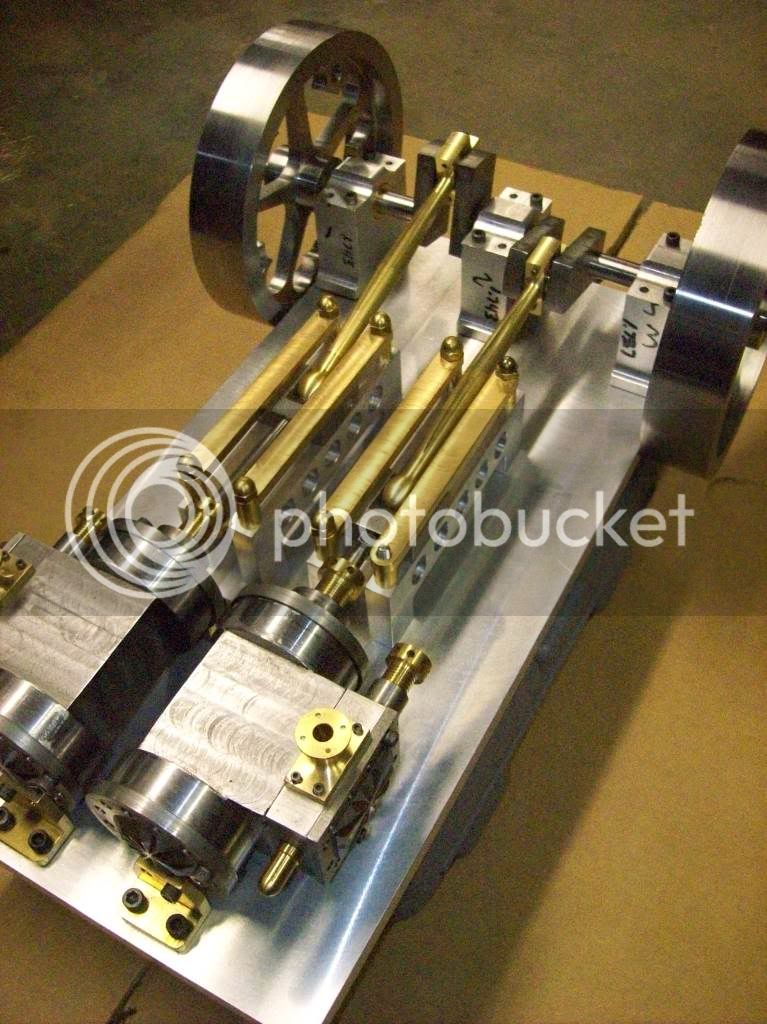
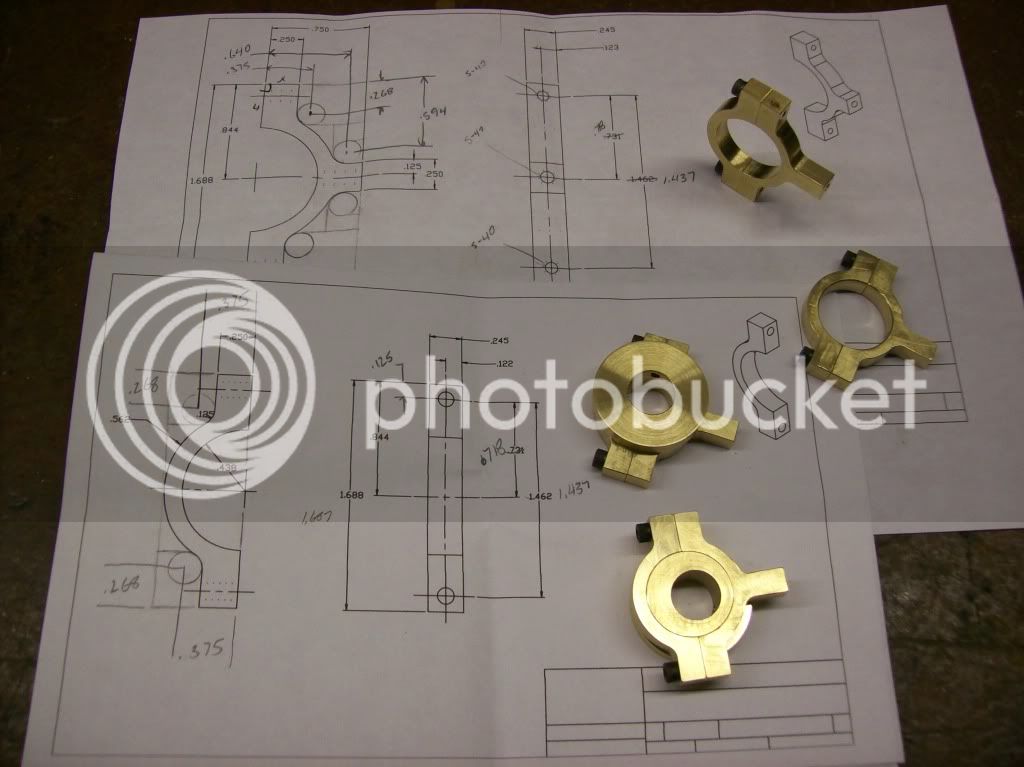
I finished my connecting rods today. They turned out ok. Some of the dimensions didnt work out like I planned. After installing them I found that I will need to cut a recess into the base plate to clear the corner of the end cap.
Tom
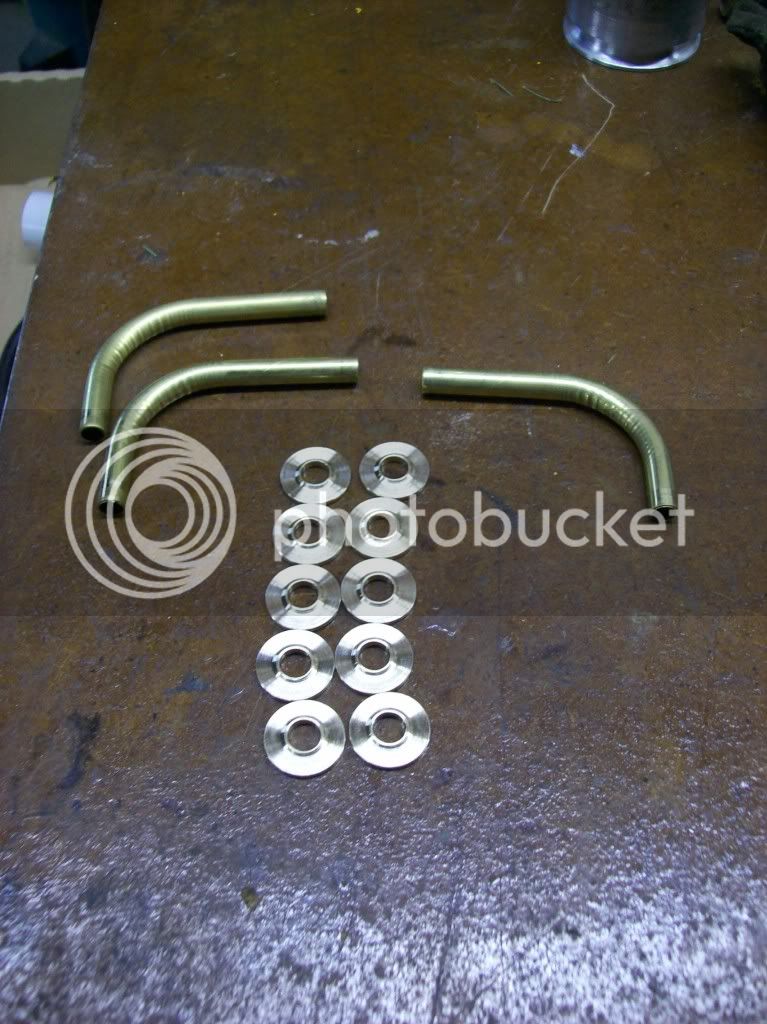
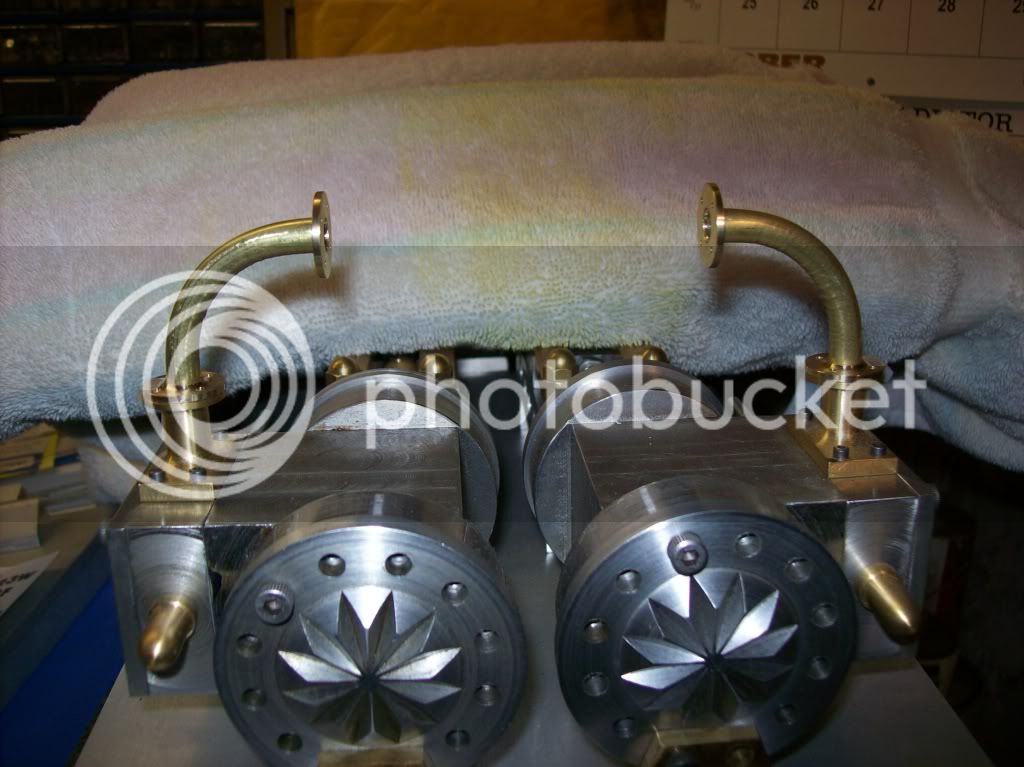
I'm sorry for not posting much progress on this engine. Work has been busy, then all the snow came to the northeast. The following pics show the some of the parts that I made for the tubing fitting that will connect the main steam line to the governor.
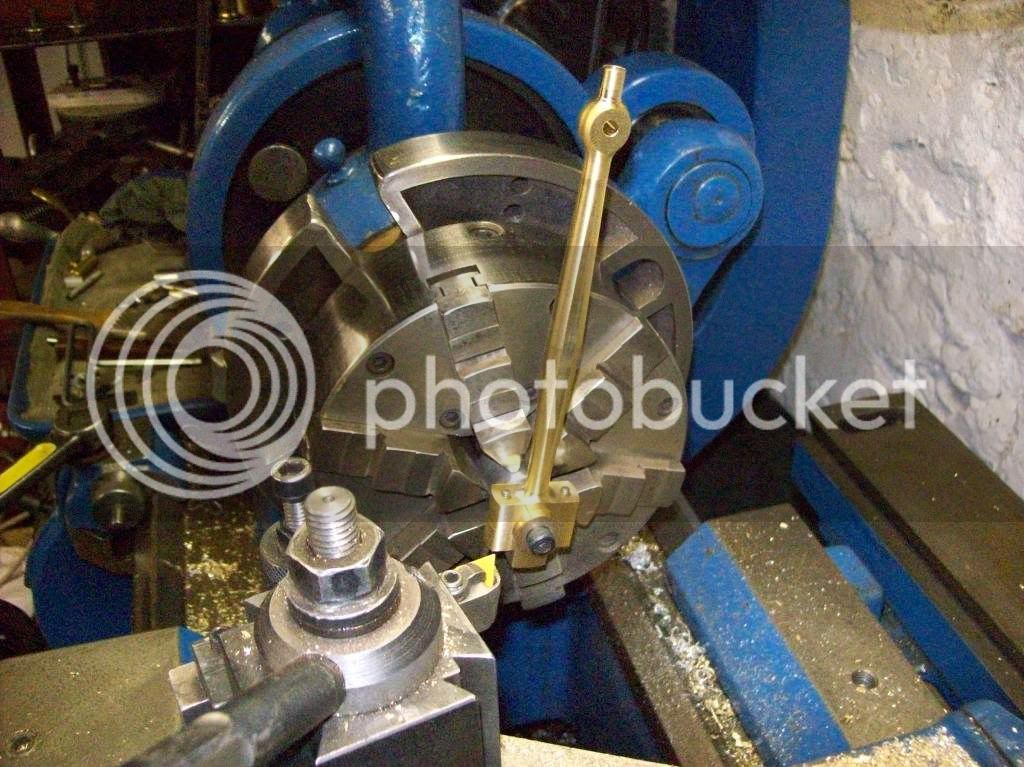
Pardon my ignorance. but I've never seen a 6jaw chuck before. are they independent or self centering? They would certainly have a good grip on the work!
Stew
Hi Stew,
The first ones I saw were made by Buck in the USA and Pratt/Bernerd in the UK. They are self-centering and typically have an "adjust-tru" feature so they can be clocked in at -0- runout for a given diameter of work. I usually keep mine dead-on for 1/2" diameter. They do grip the work well and some folks elect to spend the money on a 6-jaw rather than collets. I bought mine 25 years ago and they were never cheap and are far less so now. Imports can now be had at less painful prices.
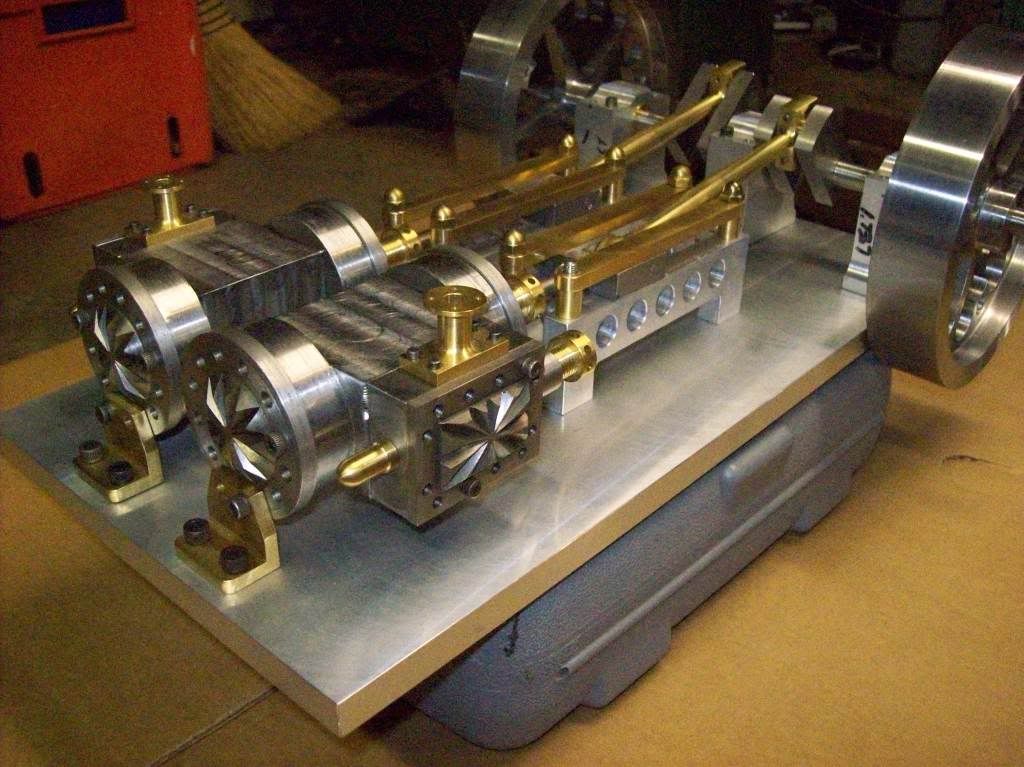
I did some work on my eccentrics and did some pics. I'm planning on using stevenson valve gear so I made four. next I need to spend some time on my CAD station to layout and draw the slide link. Hope to have it soon.
Tom
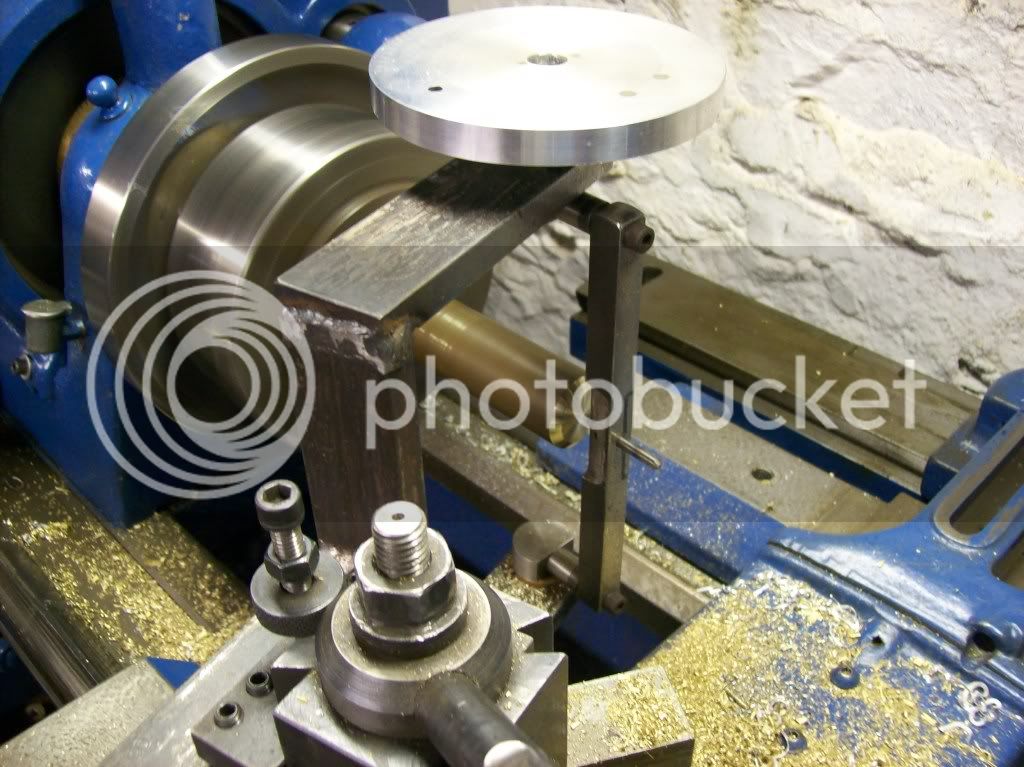
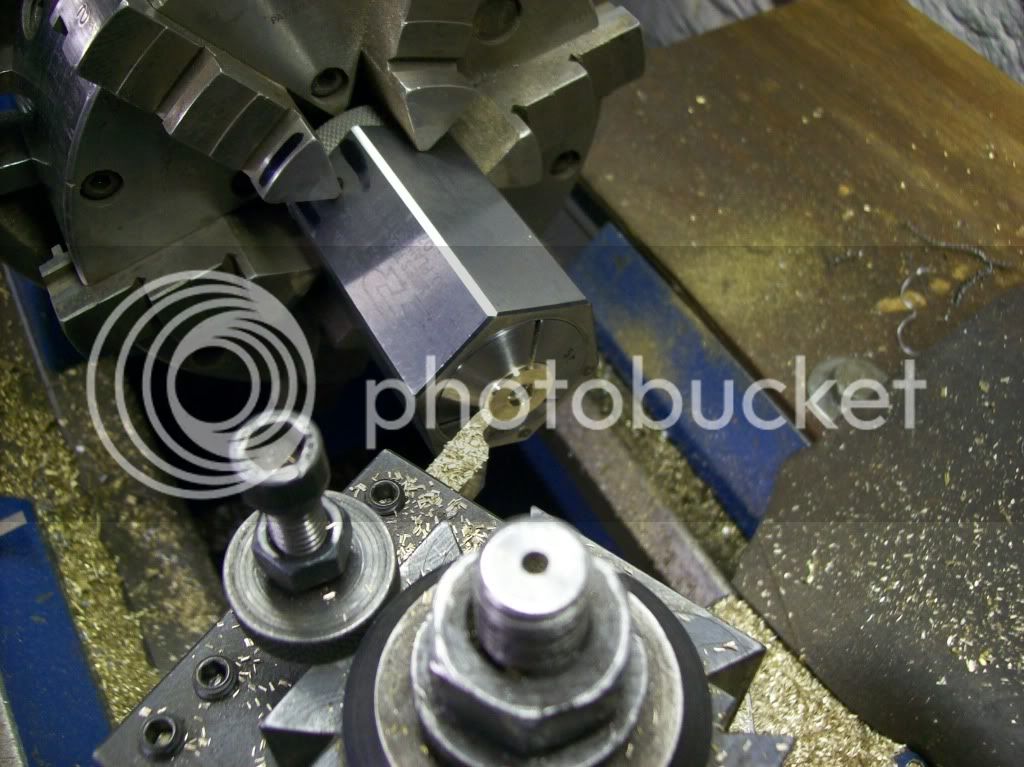
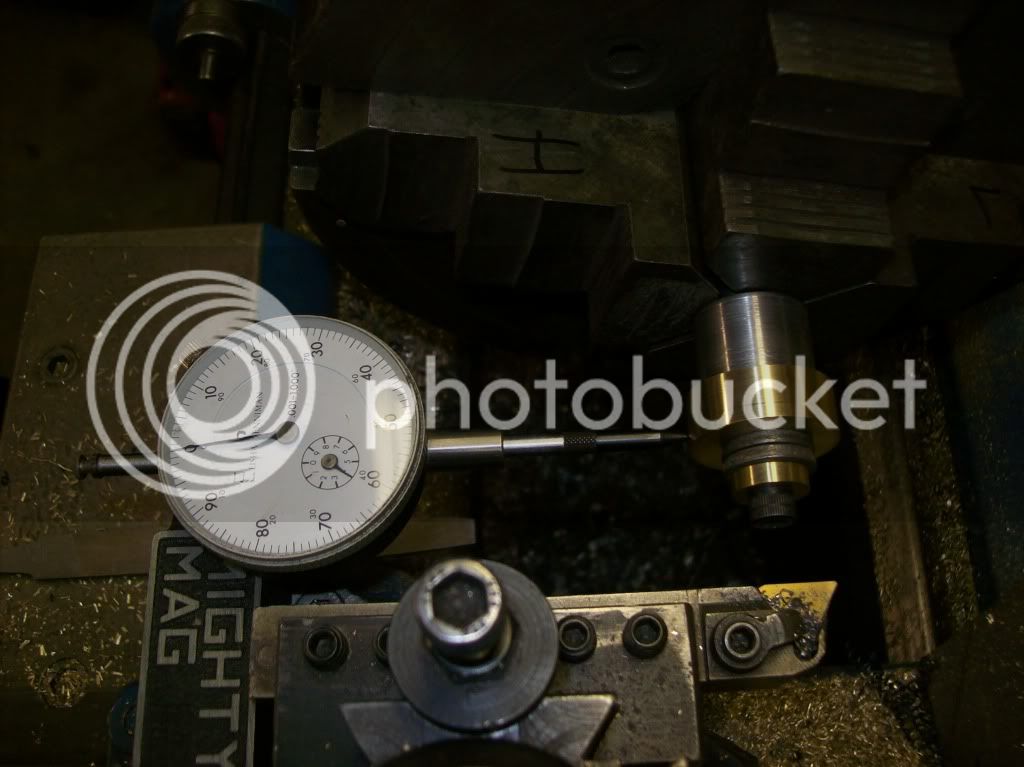
Mounted a arbor into four jaw chuck and set offset to .125.
I tried so many ways till I finally found one that work for me. The tubing diameter I use was 9/32. I had some long springs with just the right internal dimensions. I slipped it on then used a standard tubing bender to fit the OD of the spring.
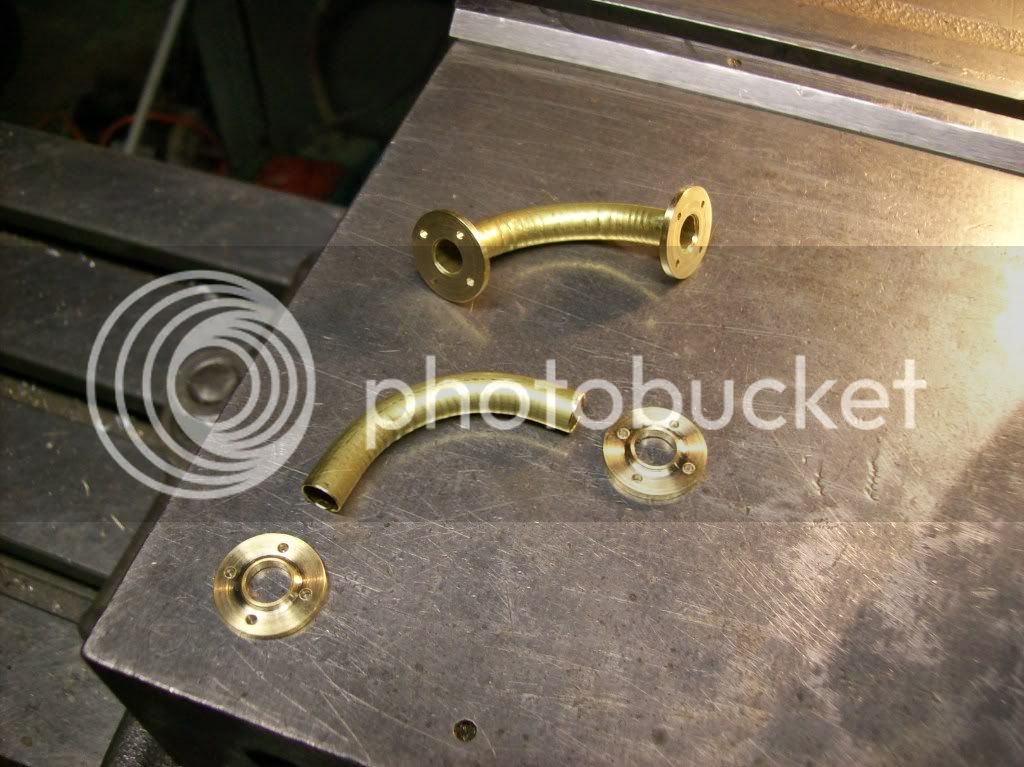
If you look at the picture above you can see the ripple from the spring on the inside of the tubing radius. I made three elbows and found no cracks.