


I got a Grizzly G0704 Mill in March and have been doing some mods to it, such as the 3 bolt head and the tramming blocks on the tilting head. I put Igaging digital read outs on the X and Y axis also.
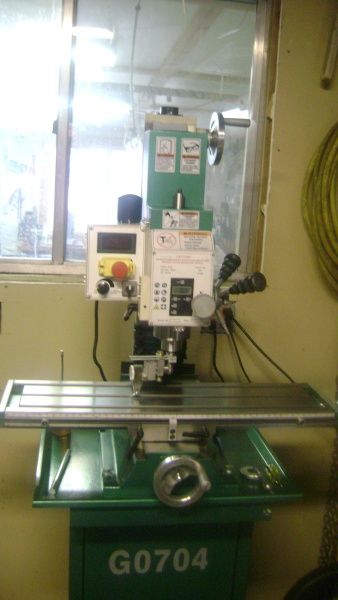
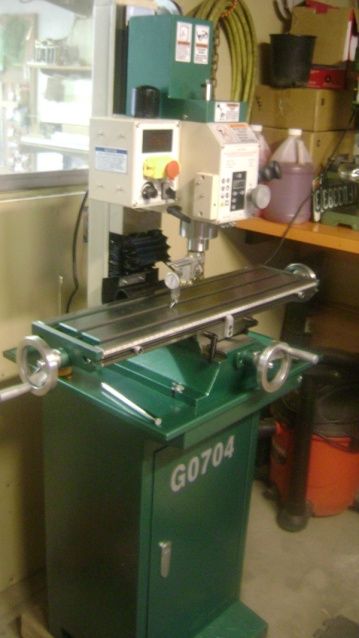
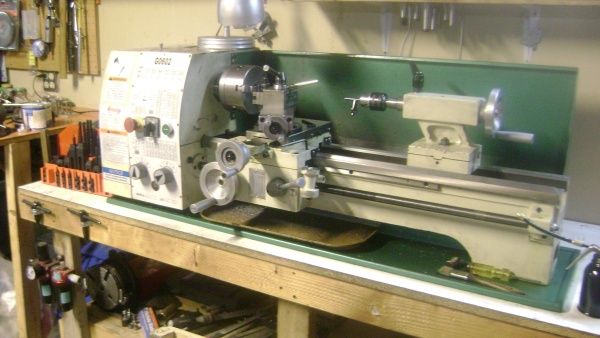
The mill compliments my Grizzly 10 x 22 Lathe.
Today I finished a DIY table Power Feed. I got my idea for the design from here
http://www.machinistblog.com/make-or-buy-a-power-feed-for-your-mini-mill/
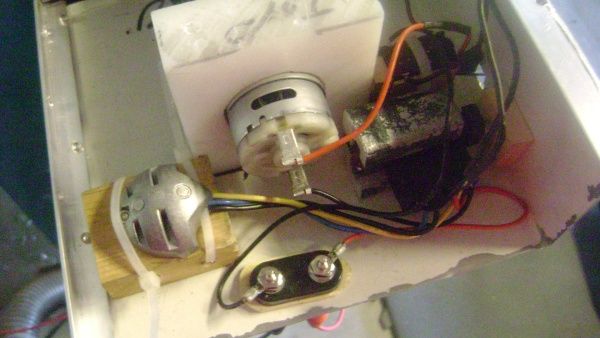
I took a 14V cordless Drill apart and made some holders for the motor and gear box unit.
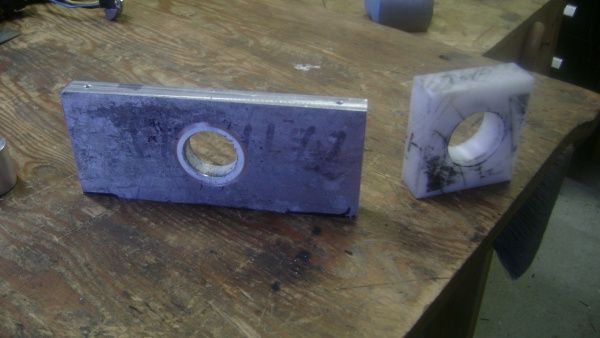
The plastic in the Aluminum block is whats left of a PVC plumbing fixture. I turned and bored it for a sliding fit on the "dog" I made for the drill motor assembly to take the place of the drill chuck.
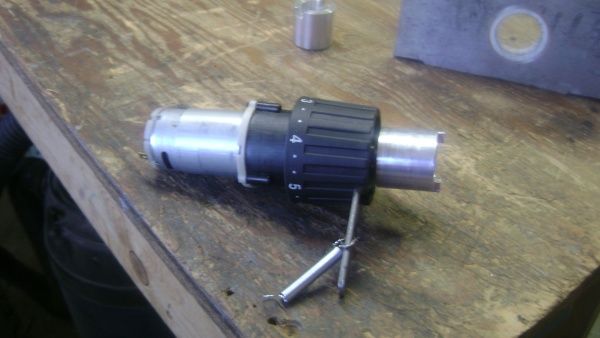
Heres how it fits together.
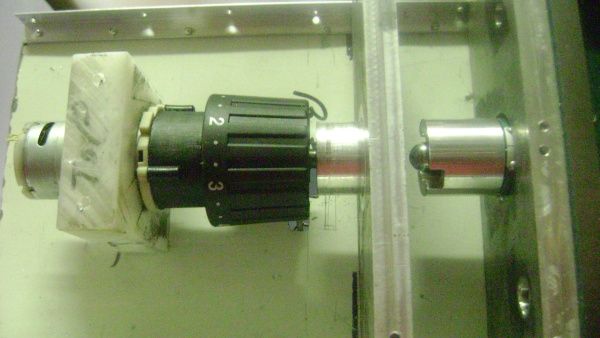
The white block on the motor end is some Nylon I had and bored it to be a sliding fit on the motor housing. The sheet metal is from a computer I tore aprt to salvage differtent items such as the power supply I hacked to make a 12V DC power supply.
I Googled "DIY Power Supply" and found some sites that tell you how to turn a computer power supply into a 12V DC bench pwer supply. The 12V powers the 14V DC Motor just fine.
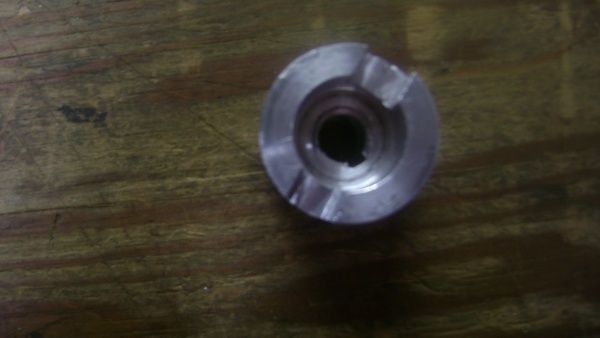
I removed the Hand wheel from the left end of the table and made the second part of the "dog clutch" to fit the lead srew. I filed the notch for the keyway and I got a very good fit,no play. Surprise surpise!
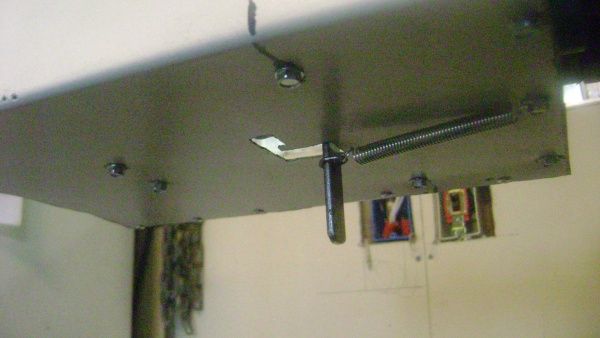
The sheet metal was slotted for the lever to engage and disengae the dog clutch, every thing mounted and a spring was added to keep the clutch engaged.
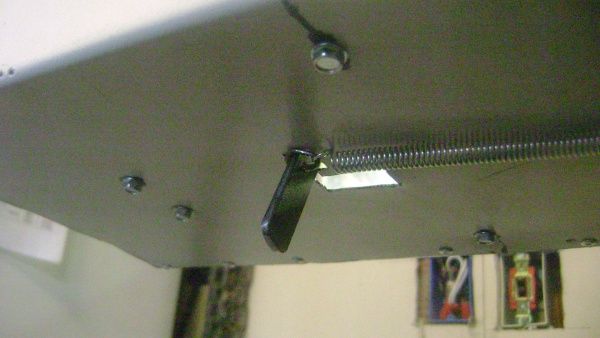
Everything that was in the drill I used, the trigger and the reversing switch, Heatsink included.
A 1/4-20 wing hold down block left over from a RC airplane was mounted on the inside of the sheet metal housing and a bolt threaded thru it to push against the modified trigger mechanism for variable speed. The forward/reverse switch was dismounted from the top of the trigger assy and mounted next to the 1/4-20 bolt for left/right feed.
Here is a video,

It sounds really noisy on the vid but its not that loud in actual use. With the mill running you can hardly hear it. The table is really free sliding with no shake so its not working that hard to move it even though it sounds like it.
It's an ugly looking contraption but it works ;D ;D.
Ron