Design and build side-shaft hit and miss engine from bar stock

Home Model Engine Machinist Forum

Help Support Home Model Engine Machinist Forum:

This site may earn a commission from merchant affiliate links, including eBay, Amazon, and others.
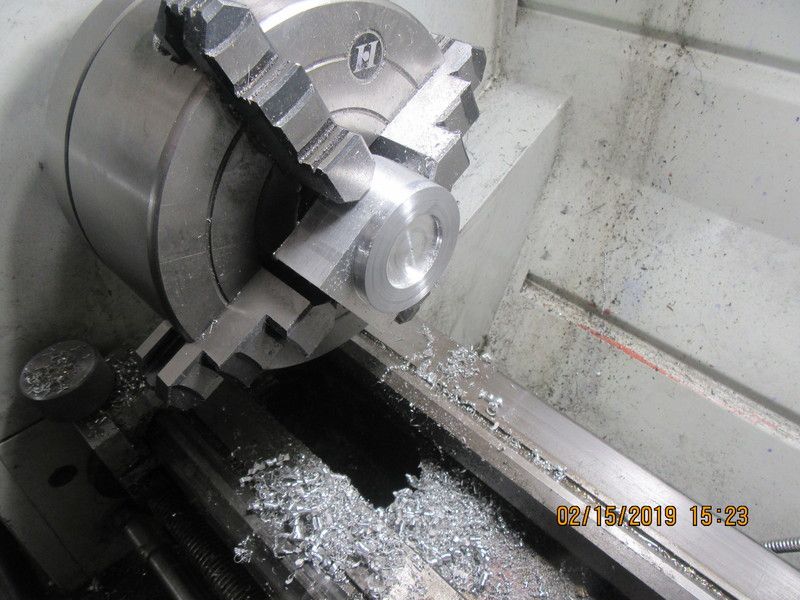
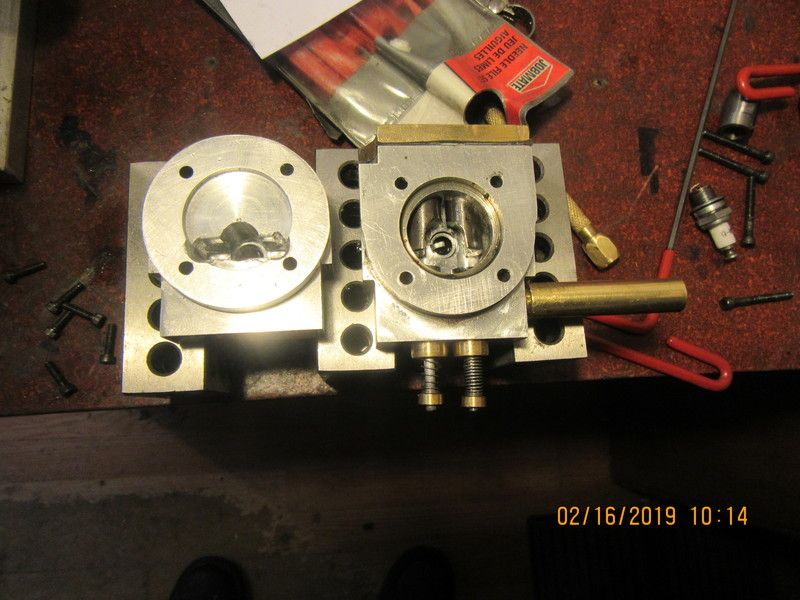
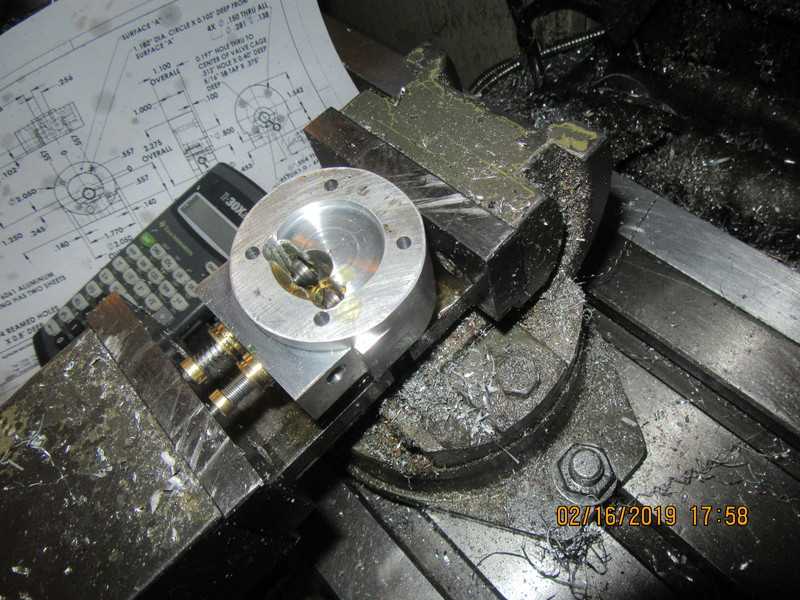
I can't get the engine to run on it's own. I have just about exhausted my bag full of "small engine tricks". The engine fires right up and runs along with the drill while I am cranking it, but slows down and quits as soon as the drill is disconnected. There are only about four things that can affect an engine like this. Ignition timing, valve timing, carburetor adjustment and shape of the cam itself. I have flogged all of these settings right to death, and I still don't have a running engine. It's a shame too, because this is such a neat design. I know that the carb is good, because I took it off one of my other 1" bore hit and miss engines. I have to leave this thing alone for a while now, and hope that I am struck by a new idea.-----Brian
 
FWIW, I'm skeptical about the changes when you went from the cam profile in post 304 to the one in post 308. They're about as different as I can imagine. 304 has broad lobe, almost 0.180 total while 308 isn't even .050. I can't see how they could have the same action. Since it ran much better on 304, I'd be really tempted to go back to that. Or go halfway back and see if it gets better.
 
The flywheels bounce back when you flip them over by hand. Compression is good. The piston fit is very good, and at one point I persuaded myself to put one Viton ring on it. The engine seems to lack power. When you start an engine with a drill, like I commonly do, you can feel it when the engine surges ahead and wants to outrun the drill. My engine doesn't do that. It fires right along with the drill very happily, but I don't feel that surge of power which makes you think that the engine wants to run on it's own. I know it's not a matter of ignition timing, valve timing, nor carburetor. I think I will revisit the cam itself, and make a cam with a longer dwell as I had originally planned on doing, and begin to open the exhaust about 40 degrees before bottom dead center, and have it close right at top dead center. I really like this design, and I don't want to abandon it.
 
Since the engine fires quite regularly while being driven by the drill motor, it heats itself up quite rapidly. This morning I got up and machined a different cam, reverting to the first cam I had before George Britnell suggested the one which I have been using. I didn't think it would make any difference, and it didn't. The engine still fires quite merrily along with the drill, but won't take off and run on it's own. I am at the point now where I am seriously thinking of a different head design. A "newbee" on one of the forums I post on suggested threading the outside diameter of the valve cages, fitting the valve, and then screwing the cages with installed valve into the head from the bottom. Something like that could work, and I know that a number of full size hit and miss engines were set up in a similar manner. I believe the problem I am having with my engine stems from having too large a burn chamber in the head. It is the only possible thing I can think of. I'm not exactly new at this business, this is my thirtieth engine. The outside diameter of my current valve cages is 0.394" (10 mm) and I don't think I could comfortably thread them and leave a thick enough wall, but if I do go for a new design they can be made larger.---Or they could be made to fit into a reamed hole in the cylinder head and held there by a retainer with a viton o-ring seal. A conclusion could be made that with a 1" bore, the engine just doesn't have enough power to run a sideshaft set of gears and a second set of gears which runs the governor, but obviously that's not correct because the engine did function quite well when I had the first cylinder head on it.
 
I'm not saying I will do this----BUT --If I did make the valve cages and valves and valve springs and keepers two discreet assemblies, and just pressed/Loctited them in from the bottom, I could cut down on a ton of "burn space" in the cylinder head.
EdECwt.jpg
 
Massive calculating and head scratching shows that in order for the new strange cylinder head to have the same cubic inch space as the first round cylinder head (with which the engine ran) it would have to be shaped like this. And even this would require the valve cages, valves, spring retainers and springs to be assembled as stand alone units and pressed/loctited in from the bottom of the cylinder head.---But---It's February, and I don't have anything else to do--- the current cylinder head which I have been trying to start the engine with (unsuccessfully) is about 4 times larger in terms of cubic inch space inside it.
rIj1O0.jpg
 
And I suppose that if I was afraid of the compression shooting out the entire valve cage, valve, and all the associated guts, I could groove the head of the valve cages and bolt on a retainer plate.--Although in reality, I've never had an engine do that.
L8Tp2p.jpg
 
Okay--more insomnia inspired ideas--Since the exhaust valve is operated by a cam and must have clearance overhead to lift fully (0.156") plus about 1/16" extra clearance , the cavity over the head of the exhaust valve must remain as I have shown it. However--The intake valve is atmospheric, and never raises more than about 0.080" off it's seat, so the overhead on the side above the intake valve can be lower as I have shown it here. What I am trying to do here is cut down as much space as I possibly can in the "burn chamber" to give the engine higher compression. My piston, at top dead center is 0.176" from the end of the cylinder. Since I have drilled and tapped the top of the cylinder for a "space filler", I can also put a 0.176" thick spacer on the end of the cylinder if I have to in order to drive the compression even higher.
AiyvAv.jpg
 
Hi Brian, I’m glad to see you are still having fun with this project.

While I am not a machinist, I am quite good mechanically. I am very good at getting things to run and run smoothly and slowly. Forgive me if I offer any already stale advice as I have not had a good look at your thread until this morning.

By the looks of things back around posts 227 and 237, you have more than enough compression.
These engines will run smoother and slower on lower compression and not the other way around. They also don’t seem to gain from valves overlapping each other or overlapping top or bottom dead center. (I think somewhere you mentioned opening an exhaust valve 40 degrees before bottom dead center. I think this might only help on a high speed high performance engine designed with tuned scavenging exhaust system) I am still not quite grasping why you pulled the head off a good running engine to replace it with something else….. Unless it was for the pure fun of it which is always important!

Another area to address is spring pressures. A common mistake is to use too much spring in multiple places. In the end of the day you want a system with a delicate balance, ie no excessive mechanical pressures making delicate adjustments and balances near unachievable. I have swapped in lower tension springs in multiple places on several engines to get them to run right. I once had a Galloway model that with the exception of the valve springs, all the others were way to stiff.

Most of my best running model engines have exhaust valves that remain closed until bottom dead center. They also have low compression which helps them run at a scale scale speed. The compression ratio in my Springfield model is 3 ½ to 1. Wayne Grenning did much experimenting to come up with that during the development phase of that project. My Callahan also has low compression as do several others. You can find some of these on my YouTube channel www.youtube.com/user/reddrryder/videos


Gil
 
Before I go ahead and scrounge the valve cages and valves out of the previous head and put them into the new head, I thought a "comparison shot" of the burn chamber in the two heads would be interesting. The new cylinder "burn chamber" is roughly 1/3 of the size of the old "burn chamber".
7DYAep.jpg
 
It's not just size that matters. Once ignited by the plug, the flame front needs to flow smoothly and fill the combustion chamber in order to burn the whole charge. If there is a lot of metal in its way, the flame can be extinguished early by its cooler surfaces resulting in an incomplete burn and only of fraction of the available energy in the fuel making it to the crankshaft. - Terry
 
For what I'm doing, it isn't imperative that I know the cubic inch displacement of the burn chamber in the head. I do know "smaller" from "bigger" without having to do a lot of measuring. The burn chamber in this new head is approximately 2/3 smaller than that of the previous head. And---On my engine the piston stops 0.176" short of the end of the cylinder when it is at top dead center. I have drilled and tapped the top of the piston so that if necessary I can add spacers to the end of it, up to a total of 0.170" in order to play with compression ratios. My whole family (all eleven of us) went out to a nice restaurant in Alliston this afternoon to celebrate oldest granddaughters 15th birthday and her younger brothers 8th birthday. Much cake was eaten and much fun was had. Then I came home, had my old mans nap for an hour, then finished the new cylinder head and pressed/loctited in the valve assemblies. This was a rather nasty experience, trying to get Loctite on the cages but not on the valves themselves. After everything was pressed into place I cleaned up the valve faces with Q-tips, and put the entire head in my mill vice with enough pressure to raise the valve faces away from the seats , and it can set up overnight. These valves were sealing very well against the seats in the previous head, and it is my fondest hope that they will seal as well in this new head. If not, I can take the springs and keepers off, grip the shank of the valve in my small hand chuck, and lap them a bit more.
rDDHFF.jpg
 
This is a diagnostic tool I have been meaning to build for some time. The metal piece of sparkplug can be whatever fits your particular engine.
pq03Ft.jpg
 
Some days you eat the bear, some days the bear eats you. I did finish the new head and put it on the engine. Everything fits, but no compression. So--I did make the new screw into the sparkplug hole compression tester. Put some air on it, and I had air leaks everywhere. I had attached a 1" diameter slug of aluminum to the top of the piston in the previous head incarnation, but it was too long for the newest head, so I took it off and made a new one which was only 0.170" long---worked fine as I have 0.176" from head of piston to end of cylinder at top dead center. Will pull the head off to see what the heck is going on. Think I'll go up north tomorrow and see my mother. She is 98 years old and not doing too well right now.
 

Latest posts

Back
Top