Building Fred

Home Model Engine Machinist Forum

Help Support Home Model Engine Machinist Forum:

This site may earn a commission from merchant affiliate links, including eBay, Amazon, and others.
Once again, thank you all for your inspiring and positive responses :)

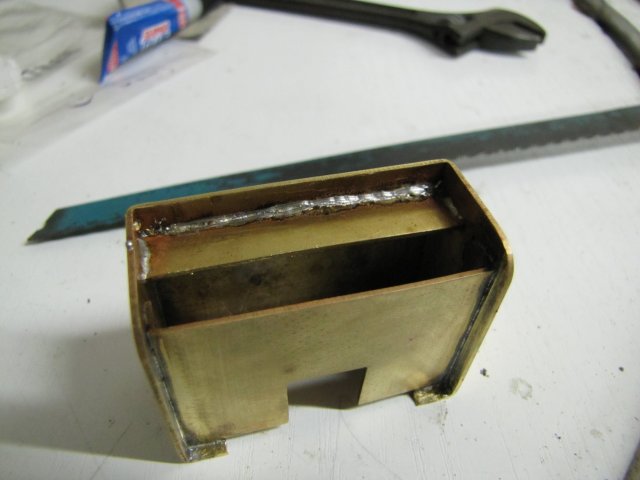
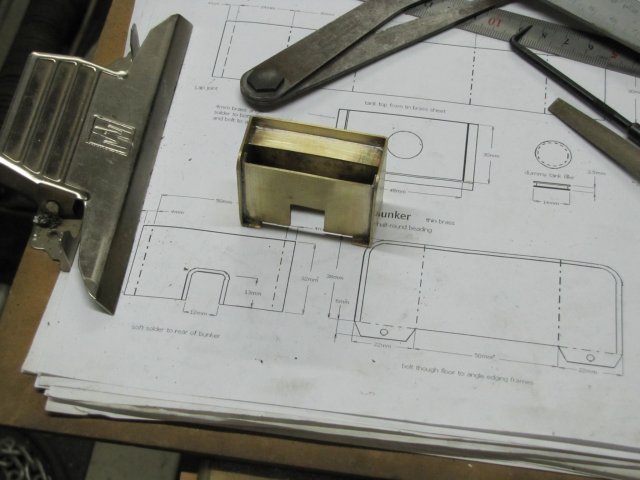
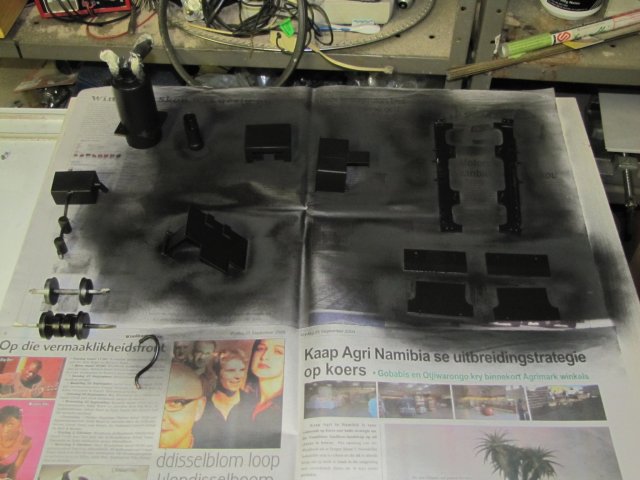
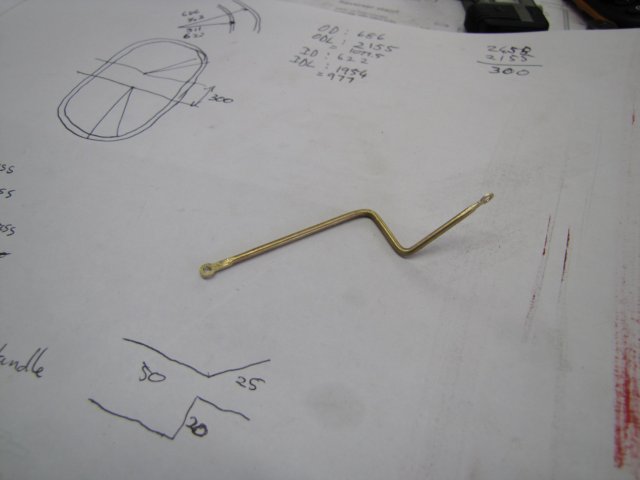
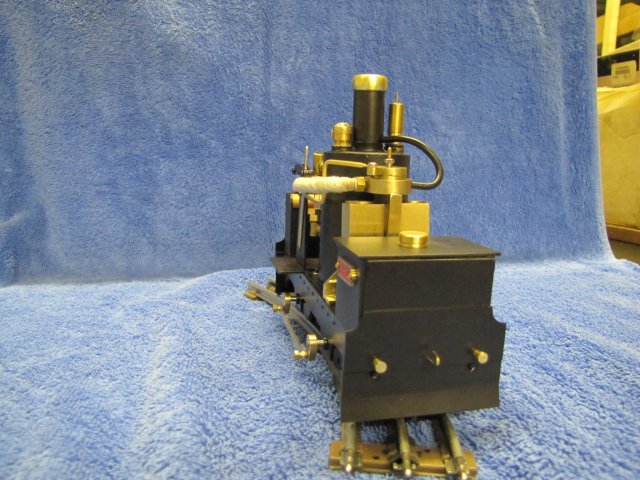
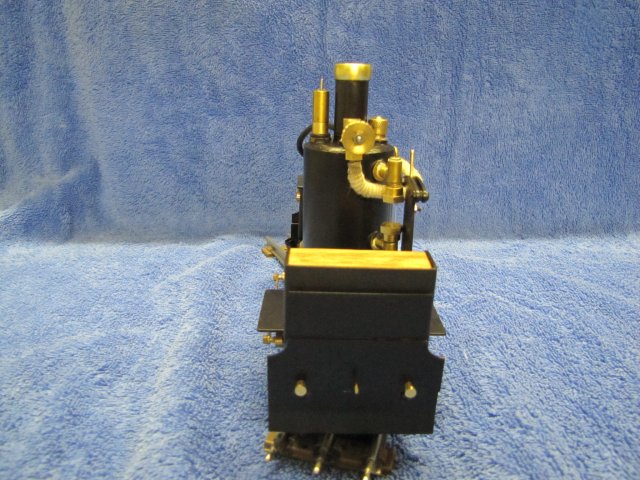
Yesterday evening I made the dummy water tank for Fred - here all soldered up with normal "flux core electronics" solder. As I didn't use any additional flux, I just cleaned all the surfaces that needed soldering well with a scouring pad. A gentle flame with the gas torch to heat things up, and the solder "takes" and wicks easily into the joints. Overheating would cause the solder's own flux to just burn off:
normal_IMG_0542.JPG

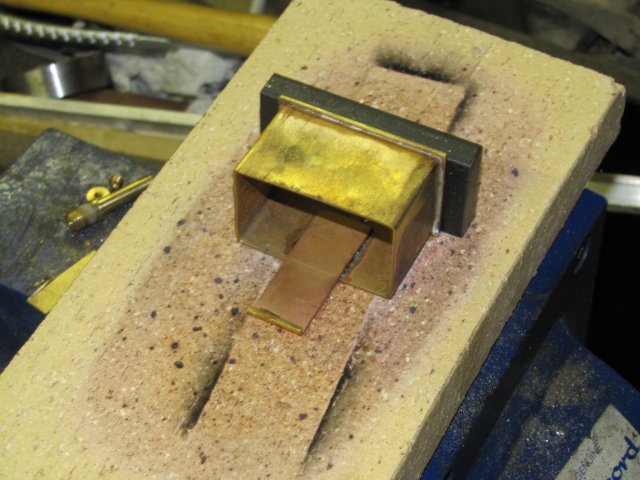
The extension on the bottom is actually the new burner reservoir mounting.

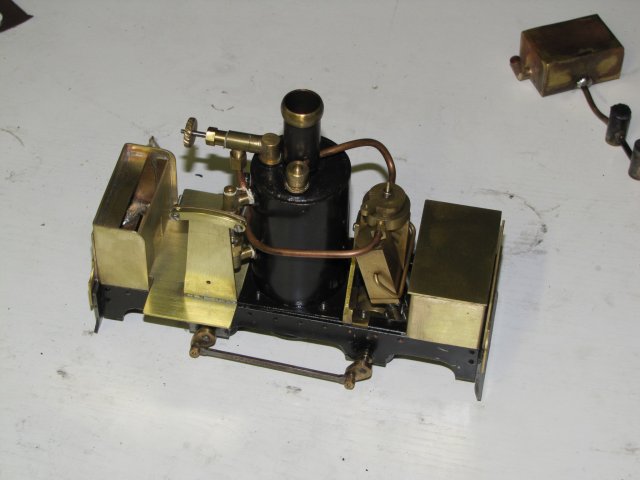
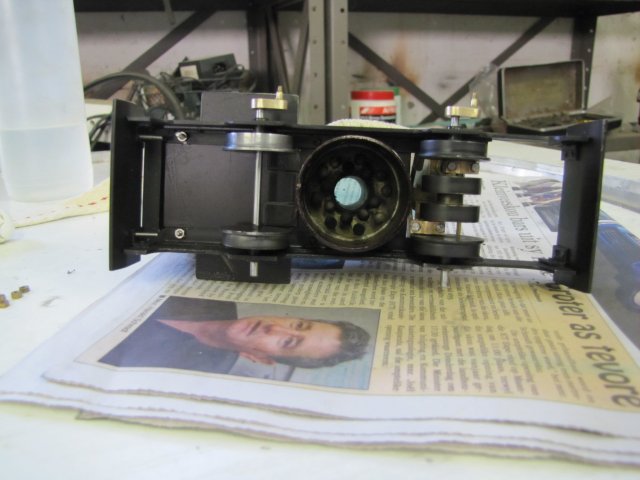
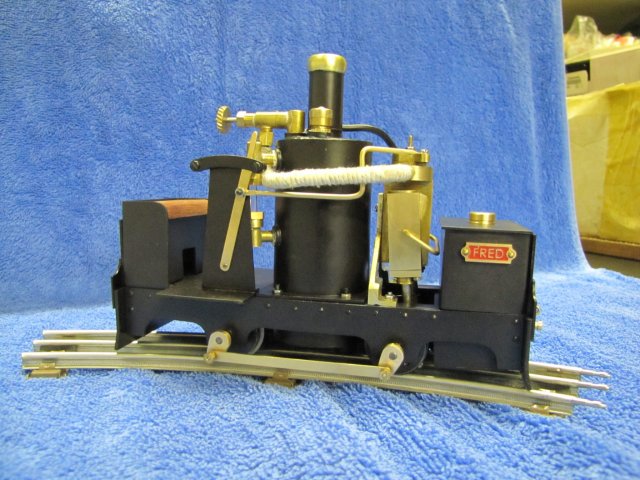
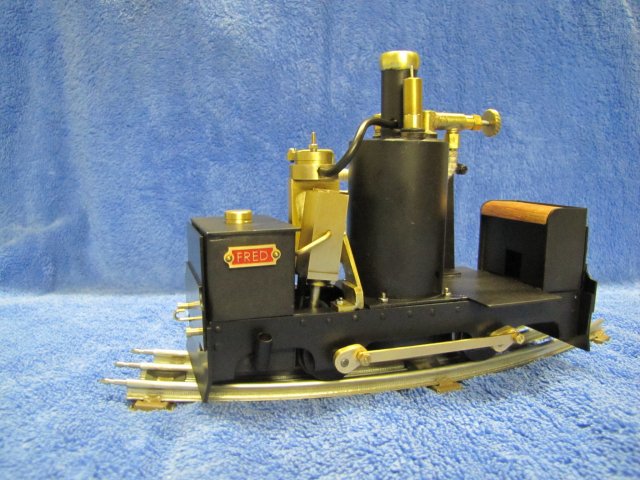
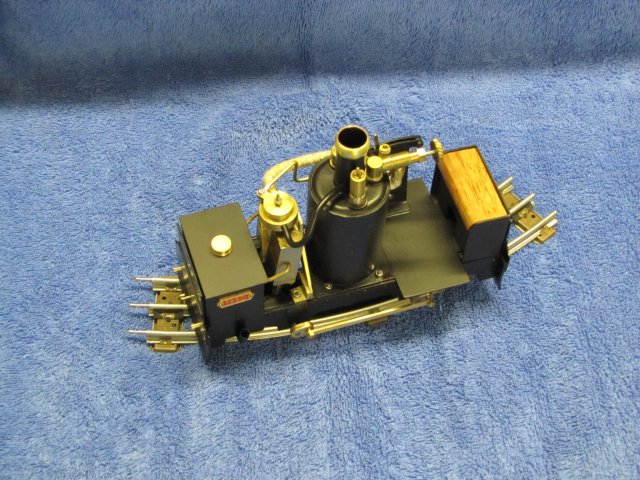
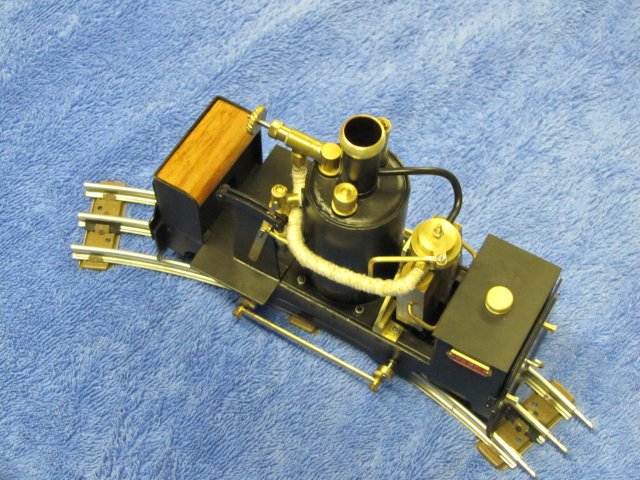
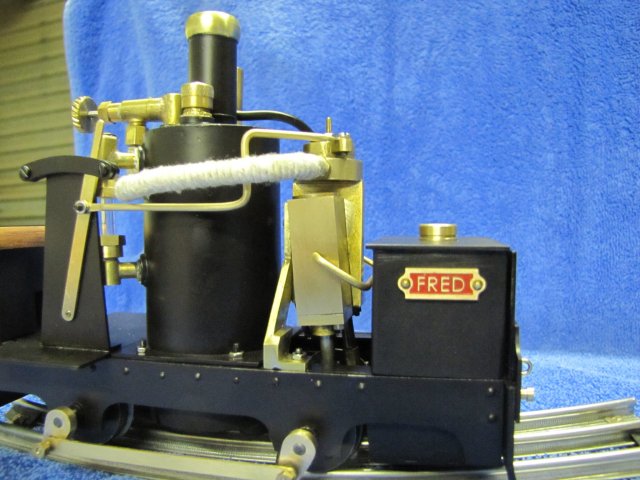
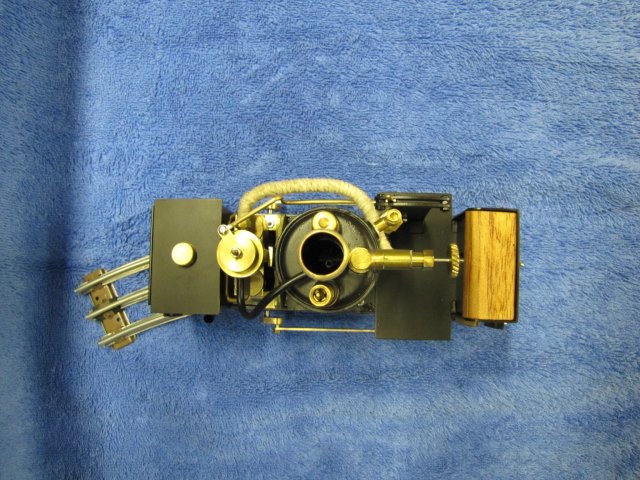
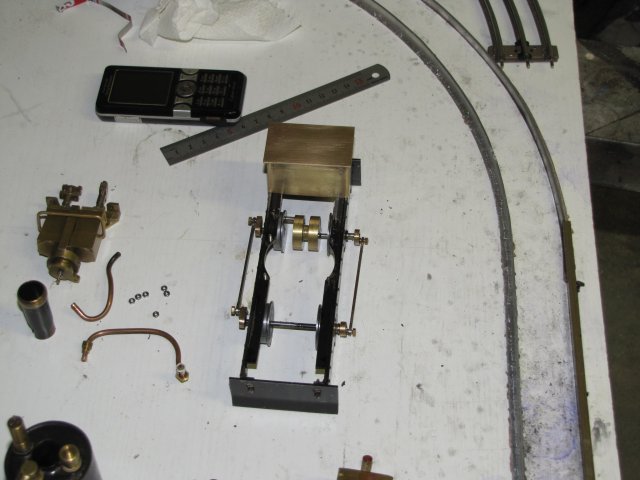
Water tank installed on the loco frames; nearly everything is disassembled for making the final bits and a good clean-up and repaint where needed:
normal_IMG_0543.JPG


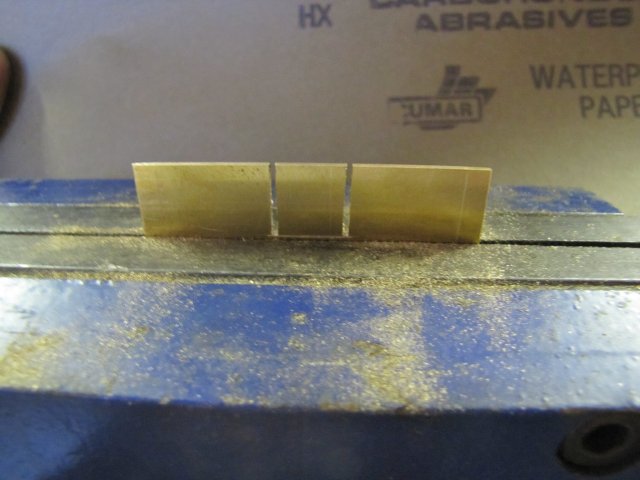
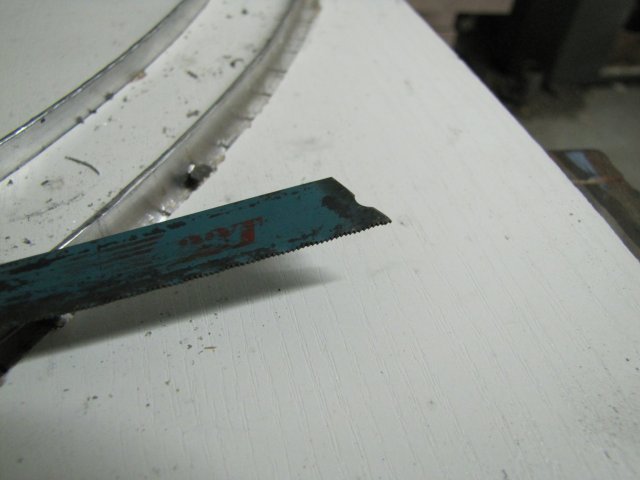
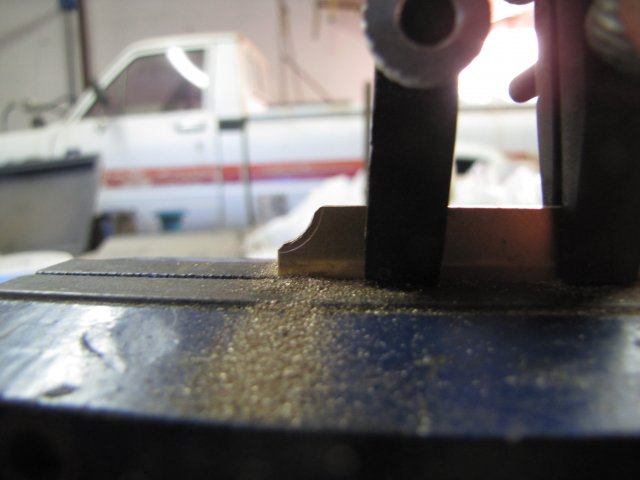
Today after work, I spent some more time on plate work making the "buffer plates" and "end plates"- and more filing. The buffer plates needed cosmetic rounding in the corners - here showing the curve needed, and the buffer plates clamped back-to-back for the job; I'd already done one side:
normal_IMG_0552.JPG


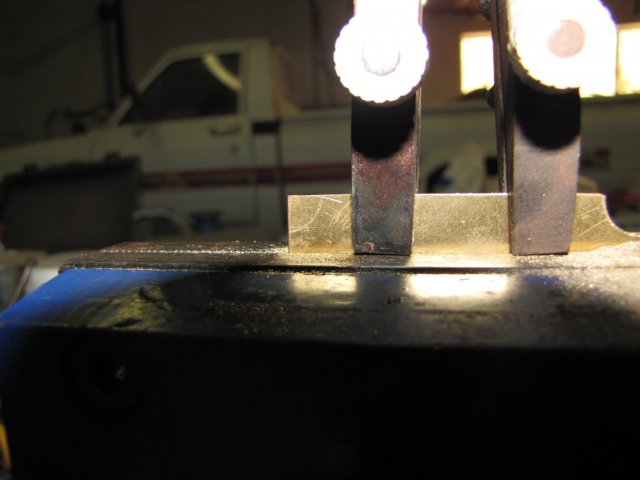
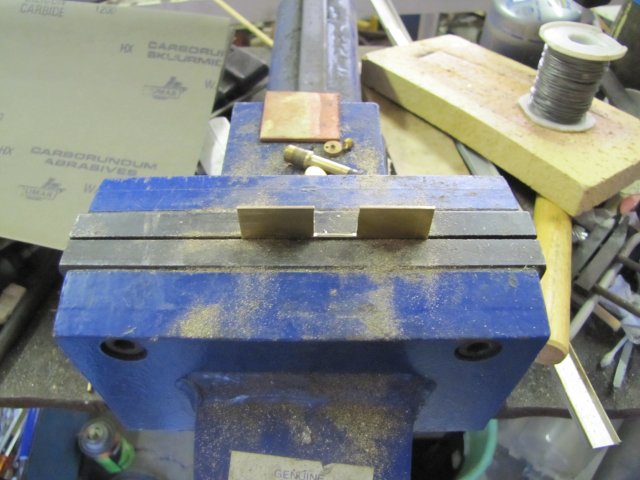
I just filed the corner off flat to close to the curve's end points:
normal_IMG_0556.JPG


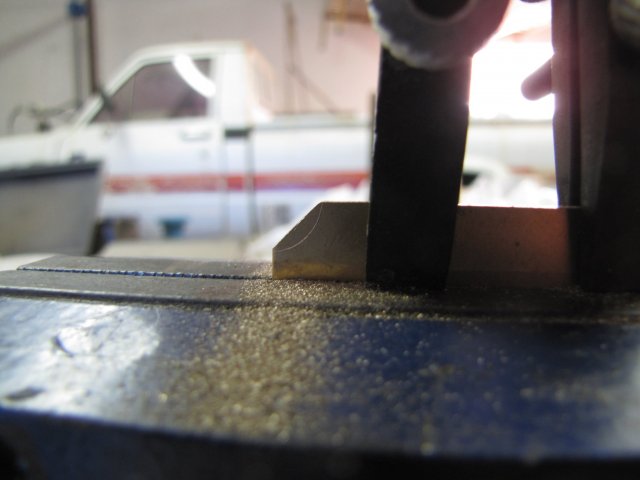
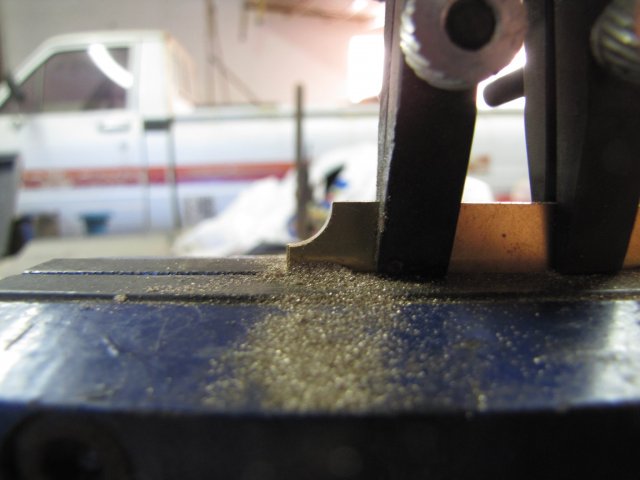
Then with a half-round file with a slightly smaller radius than the curve, started to file towards the line:
normal_IMG_0557.JPG


And done:
normal_IMG_0558.JPG


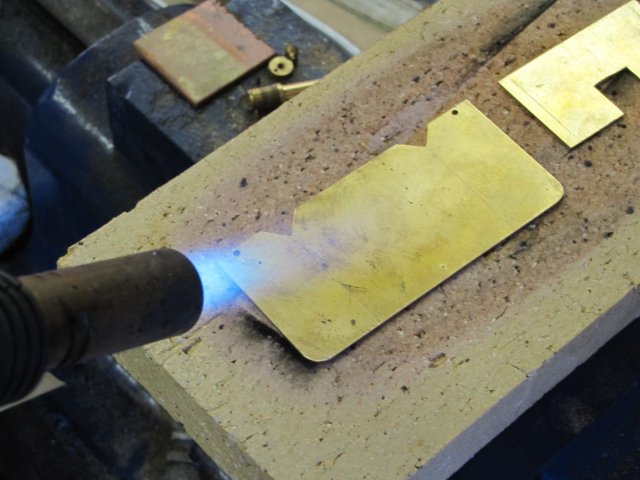
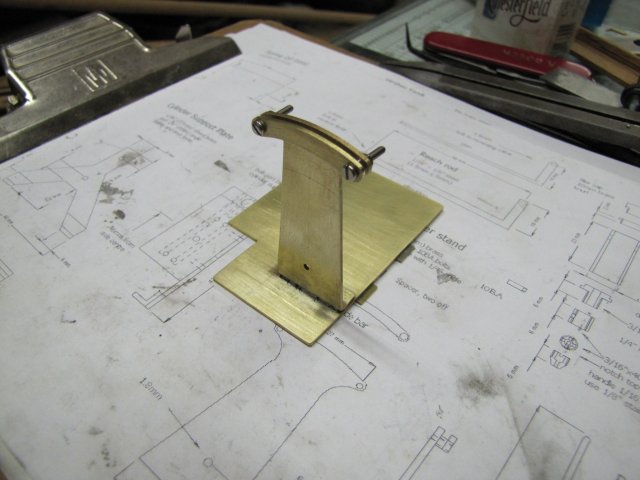
Then I made the end plates; just two pieces of rectangular brass plate, sawn & filed to shape, and soldered these to the buffer plates:
normal_IMG_0563.JPG


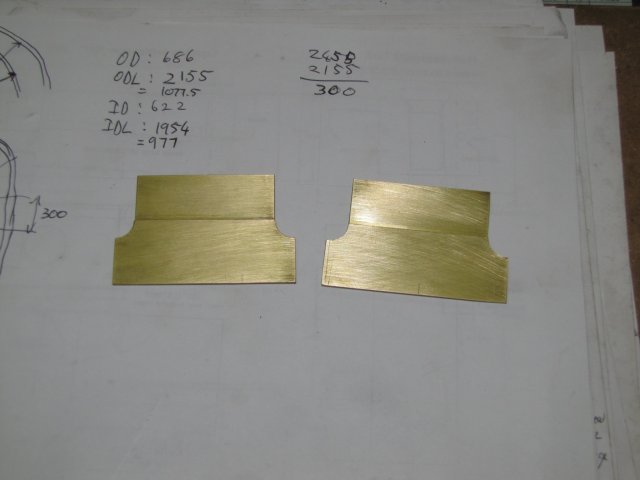
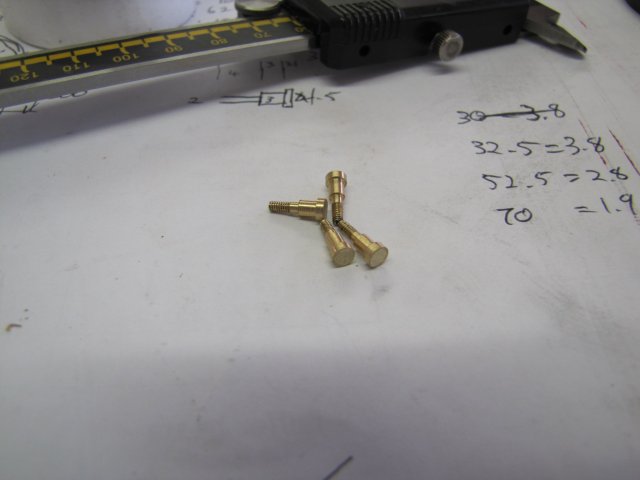
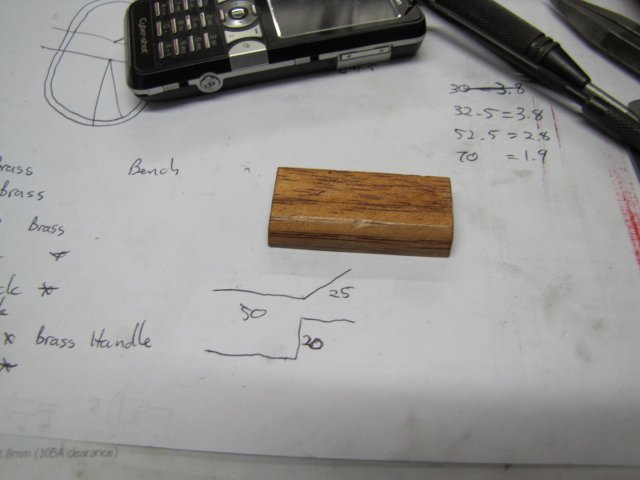
The plans are a bit vague on the buffer and end plate mounting. After having had a careful look at things, I'll mount the buffer plates using turned "buffers" rather than making a wooden buffer block like in the plans; the turned buffers will look more train-like anyway.
I stopped here for the evening, as I felt my concentration beginning to wander; that will just result in bodged parts.

Regards, Arnold
 
Arnold,
I admire your ability to control the flow of the soft solder. Your method of flux core solder with a gentle flame is one I'm going to remember.
Dennis
 
VERY VERY INSPIRATIONAL ARNOLD !! :bow: :bow:

Love all the ongoing pictures and descriptions !!

Mike
 
Thanks Dean :) - Yes, more filing ::) ;D - I barely used any electrical tools for the last couple of days; only the band saw up to this evening. I'm glad I have the band saw though, otherwise it would have been the hacksaw for the plate work :big:

Dennis, thank you ;D - Though my "control" isn't always spot on, as tonight's photos will demonstrate :hDe:

Thank you Mike; it's a pleasure ;D

This afternoon I started on the coal bunker. I'm trying to finish off all the bits that need painting as soon as possible.

The shovel hole in the face of the coal bunker is a rectangular cut-out. The brass plate I have is very hard, and I made use of this fact before annealing the plate to bend over the edges as required. I just sawed along the two sides where the cut-out was needed, and made a deepish score-line with the scriber between the two where the break was needed:
normal_IMG_0564.JPG


Then used a pair of pliers to snap out the bit:
normal_IMG_0565.JPG


The result; minimum clean-up needed; a couple of light touches with a smal file was all that was needed:
normal_IMG_0566.JPG


Next up, I made the main body of the bunker, with mounting holes pre-drilled in the tabs to bend over, as well as cut-outs so that everything would fit together when bending. Then I annealed both plates for bending:
normal_IMG_0567.JPG


All soldered up; and clearly showing where "control" failed a bit; I forgot the bench support plate I put in on the back didn't have bent-over tabs and needed very little solder; so I applied too much...:
normal_IMG_0568.JPG


This was the point where I wished I had old fashioned "solder wick" ; haven't seen that in many years; would have made clean-up a breeze. Fortunately, the solder is soft, so I settled on modifying an old saw blade to scrape out the excess - with a nice sharp point to get into the corners:
normal_IMG_0570.JPG


Final result of this evening's work:
normal_IMG_0571.JPG


Regards, Arnold
 
Today's update

I finished the kick-plate and reversing stand. The two tabs on the bottom of the kick-plate locates under the boiler mounting flange to hold down the kick plate on that side, and the other end fits in below the coal bunker, so the coal bunker's mounting screws holds that side in place.
Kick plate and reversing stand mounted on it:
normal_IMG_0575.JPG


And a quick mock-up of all the parts on the loco, so that I can get an idea about the final finishes needed:
normal_IMG_0572.JPG


Regards, Arnold
 
Arnold,
I'm still watching and learning. Keep it up.
Dennis
 
Radioshack and any electronic house worth its salt sells "solder wick".

Good job so far!
 
Hi Arnold

:bow: :bow: :bow: :bow: There is no stopping you , looking mighty fine :bow: :bow: :bow:

Regards Rob
 
It's really looking the part, Arnold. Thanks for the new assembly pic!

Dean
 
Dennis, thank you very much for watching :)

Thanks Bill :) - in my "corner" of the world there's no Radio Shack though; some things are a bit hard to come by. I must admit though; I didn't really go out and look for the wick; I just put it on my "to-get" list and carried on ;)

Rob, thank you very much Mate ;D

Thank you Dean ;D - I sometimes forget that the assembly pics are nice to have for other people to get a better idea of progress!

Now Fred's update...

I didn't post anything last night, as my Internet connection was down. Had a date with solvents and a spray can though :big::
normal_IMG_0577.JPG


While watching the paint dry, I insulated the main steam pipe; I raided my kitchen and used cotton rope that I normally use for binding up rib-rolls and such when I feel adventurous in culinary exploits:
normal_IMG_0581.JPG


This morning, I had to waste some shop time sorting out the Internet connection and attending to some domestic issues. Once finished with that lot, I started on the reverser arm. Sawed a strip of brass plate to rough shape, then filed down, drilled, tapped and installed M2 pivot pin and reversing arm connection:
normal_IMG_0583.JPG


Next up was the reversing linkage; I could not make this to the original plan, as quite a bit of the dimensions on my loco is now different from original. So I had to do some measuring and calculations to come up withe a linkage of usable shape and proportions. Fussing around with building it from brass plate seemed too much of a chore, so I opted for 2mm bronze brazing rod. I bent it to shape, and hammered the ends flat to make the links:
normal_IMG_0585.JPG


Some drilling and filing, and a serviceable linkage; not the most pretty, but it is effective:
normal_IMG_0586.JPG


I don't particularly like the wooden buffers from the original plans, so I opted for more train-like buffers for the loco. I just eyeballed the first one and wrote down the readings from the cross-slide so I could make the rest the same; that's the list of readings on the buffers in the photo. The 1.9 reading is for the 2mm threads; I found it is easier to cut the threads with the tailstock die holder for my M2 die if the blank is just under-size:
normal_IMG_0587.JPG


With things coming together, I took this photo of the underside of the loco:
normal_IMG_0588.JPG


Having to comply with "HSE" standards :big: - I was "forced" to provide the engineer with a seat. Miser that I am, he's not getting a padded leather seat; a bit of meranti wood shaped to size would do:
normal_IMG_0589.JPG


I also made wagon couplings from "brass" chain - it turned out to be steel with a brass coating :mad:, and a dummy water tank filler cap; screwed to the "water tank" with a 2mm screw.

Having made and installed all of the above, the loco was pretty much done, so I gave it a once-over to see if I missed anything...

I didn't miss anything (except for better finishes, polishing and so on!), from what I could see, so I the last bit. Earlier this week, I used a syringe needle to "fill" the paint in on the name tags. I wiped excess paint off with some kitchen paper wrapped around a rule, and when the paint was tacky, I rubbed the name plates over paper (you might have noticed red streaks on paper in earlier shots!) to clean them up:
normal_IMG_0576.JPG


When I made the water tank, I pre-marked and punched the hole locations for the name tags. As a last operation, I drilled these for a press-fit for some brass nails I have, and very very carefully hammered the nails in through the name tags through the holes in the tank.

I left the name tags till very last... Fred is now Officially FRED ;D ;D ;D ;D ;D

More photos below, but first:

A very SPECIAL THANK YOU to the following people:

Rob (RobWilson) Thanks Mate :bow: - I don't know how I can make up for how much you helped me :bow: - I'll have to make a plan though ;D

Dave Watkins (Not a member of HMEM as far as I'm aware) - for sharing the plans of this locomotive for everyone to build; I hope I did a worthy job.

Rich (firebird) - Thank you for sharing your builds; It left myself as a novice a clear guideline on how to build and test a boiler in a safe fashion!

Bob (Maryak) - Bob, you sent me a simple PM, but an oh-so-important one; Thank you, besides for influencing how the loco runs, you also got my grey matter working as to the "why's" of it, and that is a very important lesson!

Marv (mklotz) - You introduced me to HMEM, and I have some unfinished programming business left that you hinted at in Zee's DRO thread; I haven't forgotten! Aside from that - thank you for the POM nomination, and the positive way you introduced it.

Then thank you to all the other responders to this build thread: Dean, Zee, Jim (BC1), Dennis, Nick, Vernon, Stew, Ariz, Chuck, Joe, gbritnell, Wesley, Shred, Ron (ozzie64), CC, Hans (BentProp), Martin(eskimobob), nkalbrr, Jim (JimM), Gerald, Tel, Gail, kvom, tonitd1490, twmaster, groewrs, jared, Ian (Seagar), Tony (cobra428), Kevin (kustomkb), SaminLA, Jeff (Slick95), Rick (Rake60), Don (Dsquire), Paolo, wm460, charlesfitton, Mike (choochoomike), Billh ;D

As far as I'm concerned, Fred's build is now complete. I'm waiting till tomorrow for a full steam run, as there is a lot of loctite that has to set overnight, and then I'll also make a video ( :big: maybe even do a dance :big:). This build was a LOT of fun, and I think I learned an enormous amount from it.

Best of all, I now have 4 weeks of leave, and during that time will be able to go and show the real Fred (my grandfather) the loco I built named after him!

Kind regards, Arnold

More photos - though the blue towel under fluorescent lighting makes the colours go a bit wrong...:

normal_IMG_0592.JPG


normal_IMG_0593.JPG


normal_IMG_0594.JPG


normal_IMG_0595.JPG


normal_IMG_0596.JPG


normal_IMG_0597.JPG


normal_IMG_0598.JPG


normal_IMG_0599.JPG
 
Beautiful build Arnold. And nice photos.
I'm looking forward to the run.

Thank you for the ride. I hope to build a loco someday and your thread has meant a lot to me.
 
Arnold,

Fred is something else!

I have enjoyed following your build and I hope Fred's namesake is equally impressed.

Does Fred have any plans for a family?

SAM
 
Arnold,

Thanks for the honourable mention. :bow:

A wonderful project successfully completed - again CONGRATULATIONS. :bow: :bow:

Best Regards
Bob
 
It's great seeing Fred in full running trim, Arnold.
He's simply grand!

It was really a fine thing watching your build from start to finish, too.
Bravo!

Dean
 
Oh bloody well done Arnold! BRAVO!! What a handsome looking end result, your grandfather will be proud as well as tickled to no end seeing such a masterpiece built in his honor and carrying his name. BRAVO! Practice up on your dance steps tonight :big: :big:


BC1
Jim
 
Great looking engine Arnold. Just a tremendous amount of fine detailed work on it. :bow: :bow: :bow:
 
Arnold

Following along was a pleasure, seeing the fine end result even more so!

Bravo

Joe
 
Back
Top