Brian's Donkey Engine

Home Model Engine Machinist Forum

Help Support Home Model Engine Machinist Forum:

This site may earn a commission from merchant affiliate links, including eBay, Amazon, and others.

You will likely also have to turn up some nutted unions....

.... or flanged joints, thus, which might be more in keeping.

 
Tel its an American engine they all use screw fittings ;D Allows more leeway to get things lined up ;)

J
 
;D Fair enough, and a big 'ammer to make sure they do?
 
All is well! I called PM Research and explained my dilemma, and they are going to ship me out a "stick" of 45 degree cast elbows.
 
That's good news Brian. I ahve always found the PM folks to be good in the customer service area. I wish they didn't have th $25.00 minimum at times, but I can understand their side of that. The winch test looks great btw !!

Bill
 
Ah but then you will have to change to flanged bends to go with them ;) ;D

DSC04343.jpg
 
Nothing new build wise, as I have been seriously side-lined by some "real" work. However, I do have a question for those more knowledgeable than I am about these donkey steam winches. Obviously these winch drums had lots of cable on them, and it wouldn't always be in use. So---What did they do with the hook or whatever was on the end of the cable when it wasn't being used, but the engine was being run. They couldn't just let it flop and clatter around. Did they have a way to anchor the hook to the winch itself (which wants to turn even when the clutch is not engaged) or did they anchor the hook to something solid that wasn't part of the winch.---Which would seem pretty dangerous to me in case somebody engaged the clutch and pulled the machine apart. I'm curious, and since I don't plan on doing any real serious winching with my model, I may just lay up one complete wrap of rope and varnish it in place---but I'm not sure what to do with the hook at the end.----Brian
 
Brian
Some of the old steam driven boat winches I've seen just had a hole the size of the cable towards one end of the barrel, the cable was inserted into then wound round the barrel with the only hook being on the end. The only problem with this is that if the cable was run out all the way it would just come off the spool.

tom
 
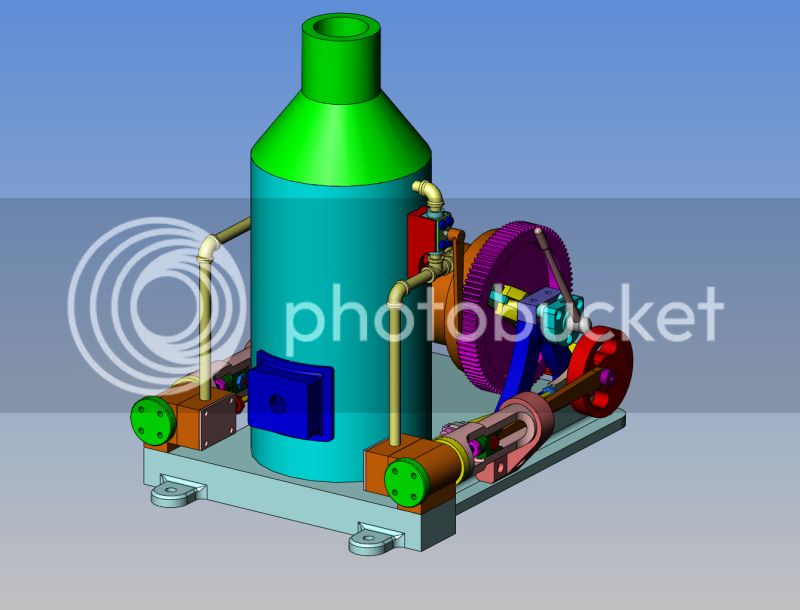
The biggest problem with these or any drum winch is called over wrap, which happens when the line goes slack and forms some loose wraps that overlay the working end. When the clutch is engaged and the line goes tight, the overwraps capture the working line and bind it tight. It often happens when a line is paid out from a free wheeling drum. The operator has to control that with the brake when paying out. The first time you went fishing, you learned to keep your thumb on the reel.

Another point worth mentioning is that these engines have no governor. The operator has to throttle back or stop the engine as he de-clutches or otherwise releases the load. That is why the throttle or steam control valve is handy to the operator position. On any application that includes a boom, the weight of the hook should keep the line tight. If the end of the boom is very high, it is possible that the weight of the line on the inhaul side of the boom can exceed the weight of the hook so if you pull the hook up to the boom tip, it can't fall back under its own weight, so an extra weight, called an "overhaul ball" is added to the end of the line.

But, to answer your question about a simple winch with no boom, I don't know, but I think I would weld a hook somewhere on the front of the frame. You still have the problem of the line going slack when the engine is stopped with the clutch is disengaged. Ratchet pawls would help or some way to lock the brake.

Jerry
 
Brian Rupnow said:
Did they have a way to anchor the hook to the winch itself (which wants to turn even when the clutch is not engaged)

I think you will find on the full size that the drum won't turn when the engine is ticking over as there is far more weight in the drum, running resistance, resistance from the cable etc. than the lightly loaded model drum and string. Put some steel cable onto yours and it won't freewheel, I know the model traction engines with their winding drum behind the nearside wheel take quite a bit of winding and thats still quite light cable - 1/16 on the one in my avitar and 1/8" on teh Fowler I'm building.

J
 
I had a bit of spare time today, and I've been thinking about firebox doors---Well, not the door itself, which will be brass, but rather the door frame which will probably be made from aluminum and painted "chassis black" to match the rest of the firebox/boiler. It is beyond my capabilities to make an oval one like the one on Jerrys Donkey. It may even be beyond my capabilities to make a rectangular one. I can plainly see some lathe face-plate work here to turn the 2" radius on the side that fits against my existing 4" diameter firebox. I see plenty of ball nosed cutter work forming all of the radii. One counterbored 1/4" bolt will hold it in place (Remember, its not functional). It should certainly be a challenge, at any rate!!!
DONKEYWITHFIREBOXDOOR.jpg

FIREBOXDOORFRAME.jpg
 
Looks more like a case for fabrication to me - a curved plate with the central block let through it and silver soldered together.
 
Tel--I agree with you. However, I don't have any curved plate. I don't have any way to curve plate if I had flat plate. I have all kinds of aluminum "chunks" laying around but it can't be soldered with anything I have. Besides---I've had that 10" faceplate ever since I bought the lathe and I don't think I've ever used it. If I screw it up, all I will have lost is a bit of my time.
 
;D Cut a bit out of the side of a hunk of pipe.
 
Bend a bit of copper around your existing boiler barrel, you could virtually do it by hand. Then just solder a block of brass to it that has been cut to the curve, could even just be filed to a rough curve and stuck on to the copper with JB Weld as its only a show item.

Using these methods its only one step further to file the two parts to an oval shape.

I find the challenge of finding new ways and methods to make things one of the main things with model engineering, why limit yourself to what you are comfortable with, the satisfaction at the end of the day with a part that looks like it should is worth the effort trying new things out.

J
 
I find the challenge of finding new ways and methods to make things one of the main things with model engineering, why limit yourself to what you are comfortable with, the satisfaction at the end of the day with a part that looks like it should is worth the effort trying new things out.

Yer got my vote there - every day a new skill!
 
Well, for me, doing just about anything on a faceplate is learning a new skill!!! I'm not sure that what I am going to attemp will work, but nothing ventured, nothing gained.
faceplate003.jpg
 
Well There!!! That wasn't too bad at all. Other than a lot of handle turning, I didn't see any real problem with turning an interupted cut on a faceplate. I'm sure it would have went even better if I had taken the time to sharpen that carbide boring tool, but right now, with all the house renovation going on, I can't get to my grinder. I have a lot more work to do before I dismount the part from the faceplate, but so far, so good.----And yes, I did drill and tap two #10-24 holes in the faceplate to hold the part on there.
faceplateturning001.jpg
 

Latest posts

Back
Top