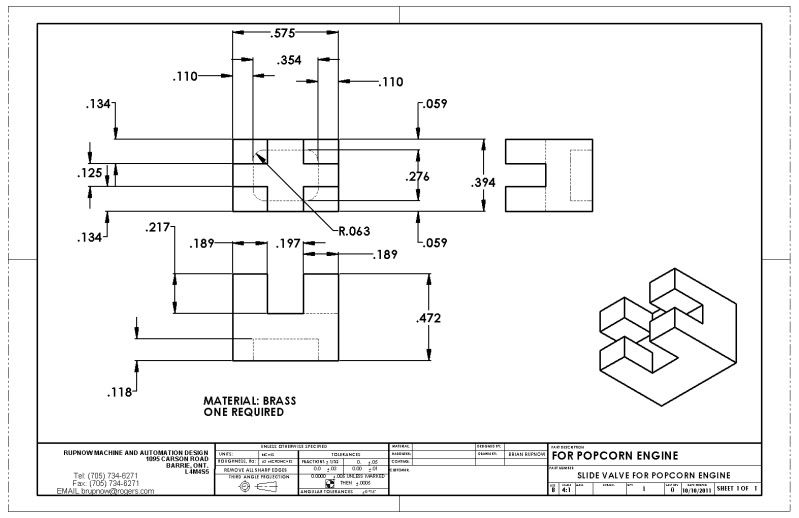
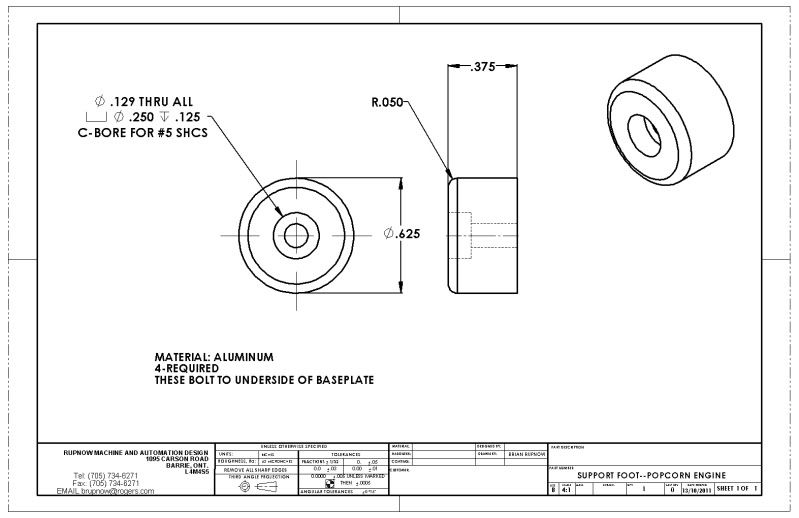
Great set of drawing Brian:- I've PM you about them
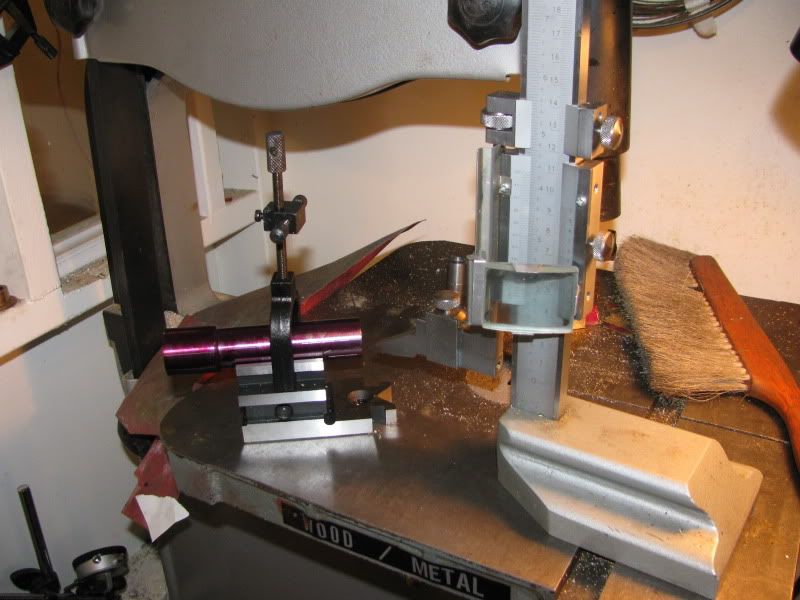
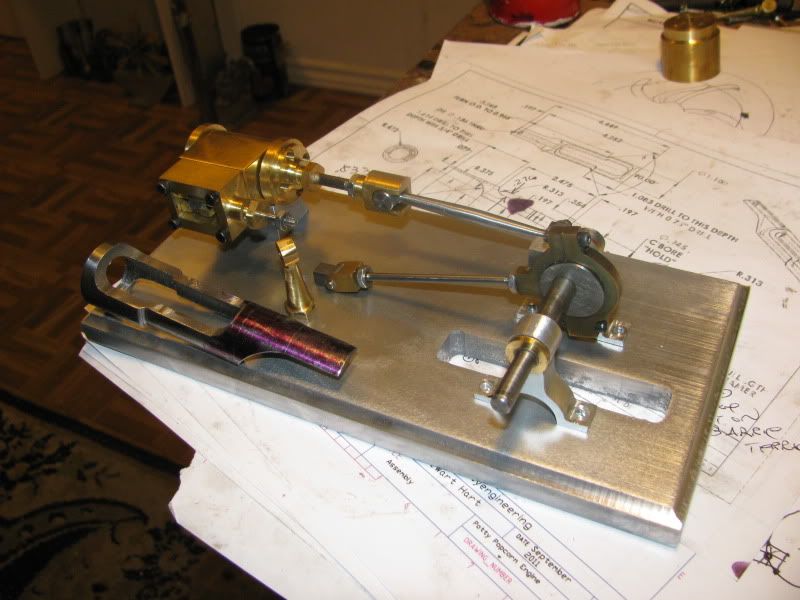
I don't know how your planning to do the cross head guide but if you're going to use the fixed steady method i used just a word of warning, check out the steady that it bolts down secure to the lathe bed, the steady that was suplied with my Chines lathe was a load of crap as suplied, in fact I would say it would have been dangerouse to use. I modified mine by bolting a chunk of ally across the base to make a wider more positive base with tapered pull ups, that fixed it securly to the lathe bed, can't post pictures of it at the moment.
Stew