You are using an out of date browser. It may not display this or other websites correctly.
You should upgrade or use an alternative browser.
You should upgrade or use an alternative browser.
Brian Builds the Kerzel Hit and Miss I.C.
- Thread starter Brian Rupnow
- Start date

Help Support Home Model Engine Machinist Forum:
This site may earn a commission from merchant affiliate
links, including eBay, Amazon, and others.
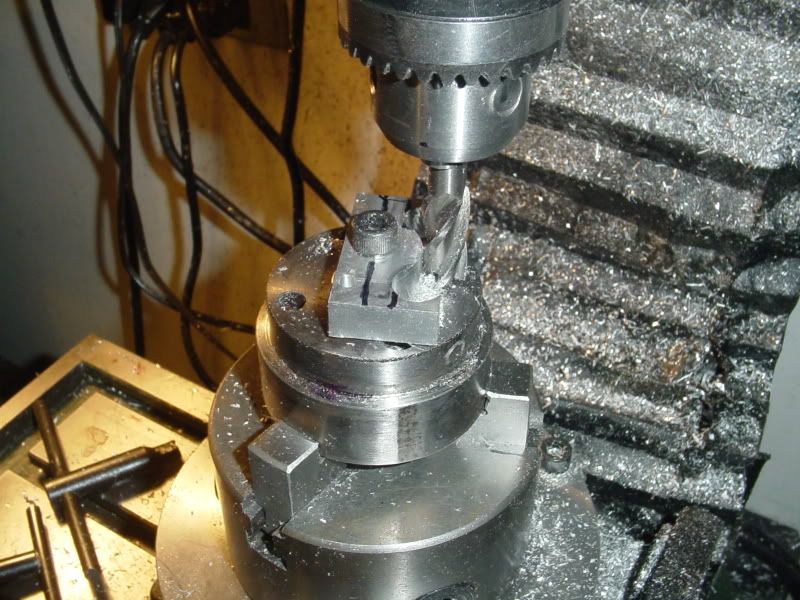
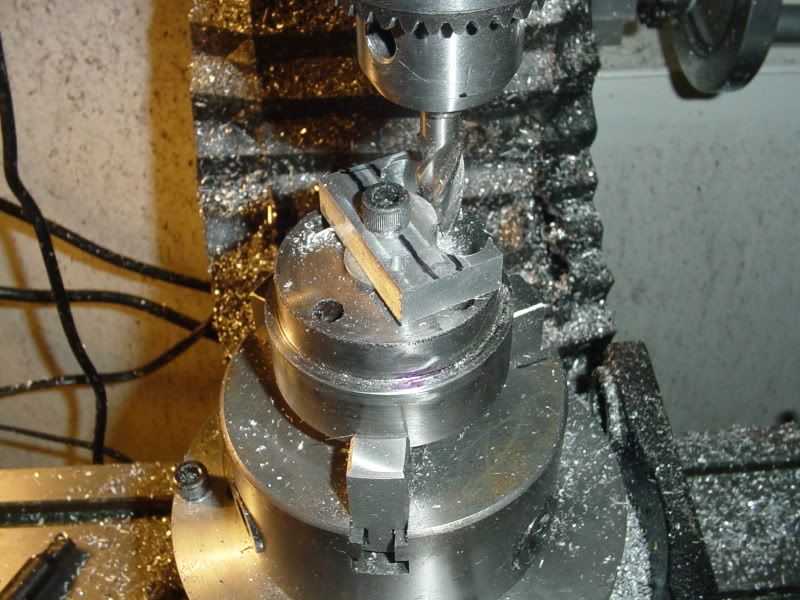
Without getting into it too deeply, here are a couple of shots of the bearing caps being machined on my rotary table. I am using the same fixture I used yesterday to machine the bearing stands, with the 3/16" diameter pin acting as a drive key to keep the part oriented to the chuck. The peice of plate has a 3/8" hole drilled and reamed in what will eventually become the 9/16" diameter hole for the crankshaft bearing, and a 3/16" hole drilled and reamed in an area that will be eventually cut away for the 3/16" drive pin in the fixture to fit into. I started with a 2 flute 3/8" dia. endmill and cut all around the radius shown in a series of 0.020 plunge cuts, cranking the rotary table through the pre calculated degree range. After I was all the way thru the plate, I switched out to a 4 flute end mill and repeated the process, all in aid of getting that nice rounded top on the bearing cap and that nifty 1/4" radius where the cap transitions from the round top into the flat surface under the bolt heads. This is the first time I have used the set of reversed jaws that came with the 3 jaw rotary table chuck when I purchased it. In fact, I couldn't remember if it had came with a set of reverse jaws, but luckily I found them right away, otherwise it wouldn't have opened wide enough to hold my fixture.


cfellows said:Brian, I thought those little windows were deliberately done to add a little decorative bling to the side of the engine...
Chuck
Great Idea Chuck!!! Thats what I'll tell anybody who asks about them.---Either that or "Oh, they're for added ventilation, to keep from a build up of pressure from the journal lubrication!!!" ;D ;D ;D
- Joined
- Aug 25, 2007
- Messages
- 3,890
- Reaction score
- 715
Brian Rupnow said:Great Idea Chuck!!! Thats what I'll tell anybody who asks about them.---Either that or "Oh, they're for added ventilation, to keep from a build up of pressure from the journal lubrication!!!" ;D ;D ;D
I like that even better! ;D
Chuck
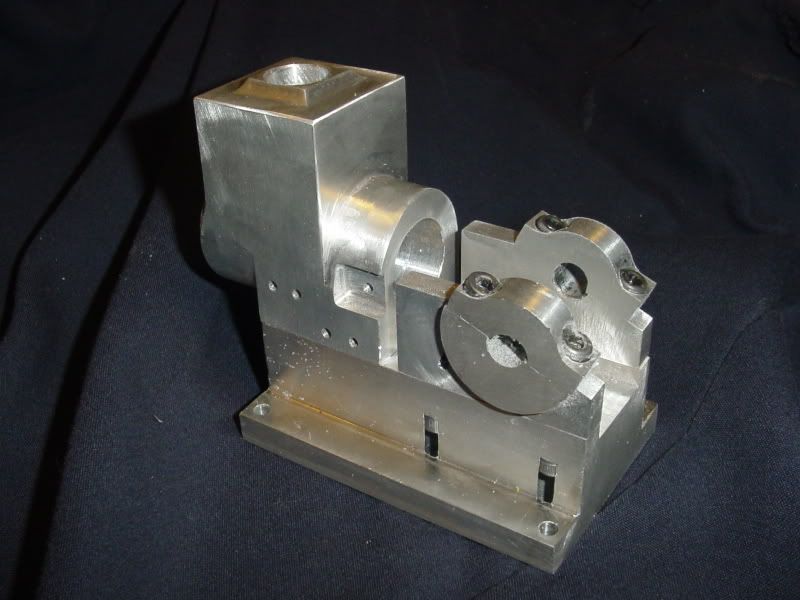
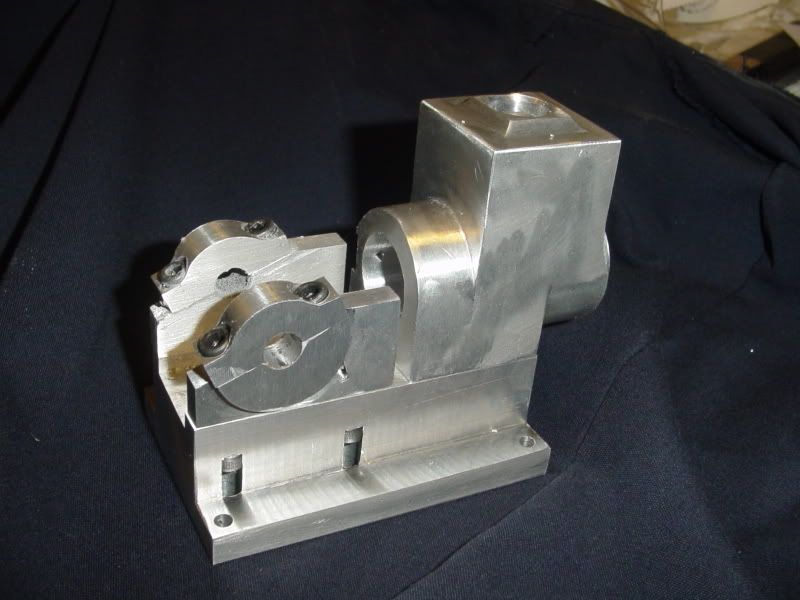
And there we have it---Two beautifull bearing caps finished. Now you see why I left the hole for the crankshaft bearing at 3/8" diameter. I have found, invariably, that the holes never line up the way they need to when I make the bearing rest and the bearing cap in two seperate operations. The fix???----Make the bore undersize, assemble everything, bolt the engine down soundly to an angle plate, and line bore or at least line drill and ream when everything is together. Thats it for today---grandkids are coming over for dinner and grandpas going to be in deep do-do if he doesn't get upstairs and held grandma clean up the house.


This is a great build Brian. The design is a good one from what I can see....complicated enough for interest and adventure, but unreasonably so. And bar stock!
I already downloaded the plans for review over libation.. ;D
Dave
I already downloaded the plans for review over libation.. ;D
Dave
cfellows said:I don't understand, Brian, they lined up in the drawing... ???
Chuck
I have never yet figured out how the heck that happens. Rather than torture myself overly much about the fact that it DOES happen, I have come up with a plethora of work arounds, so that by the time I'm finished, nobody knows but me that it happened!!!!
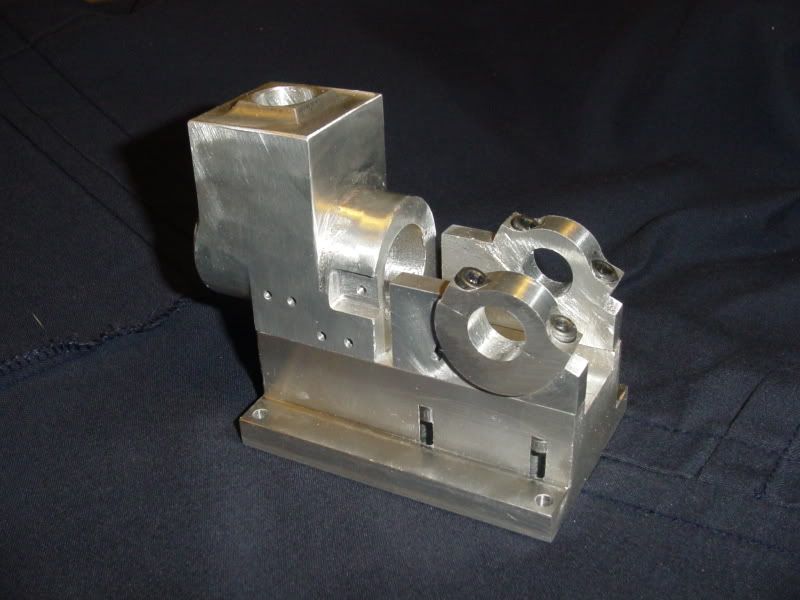
And there we have it---Nicely "align-bored" to the finished 0.562" diameter. I didn't take any "in process" shots, because the method I use is ugly, nasty, involves an angle plate bolted to my mill table, an old C-clamp, and a great big honkin old vice-grip style welding clamp. I didn't want to make any of the senior machinists on this forum weep, so just lets say "I got it done". Not sure when I'll do more, but probably sooner rather than later. Just not sure what yet.----Brian

- Joined
- Aug 25, 2007
- Messages
- 3,890
- Reaction score
- 715
Brian Rupnow said:I have never yet figured out how the heck that happens. Rather than torture myself overly much about the fact that it DOES happen, I have come up with a plethora of work arounds, so that by the time I'm finished, nobody knows but me that it happened!!!!
I'm with you, Brian. Drilling holes exactly where and how I want them is not my strong suit. So, I tend to use the brute force method, much like yours.
Chuck
briankenyn
Active Member
- Joined
- Jul 11, 2010
- Messages
- 33
- Reaction score
- 0
A beautiful job, Brian, and I clearly see your point- in fact, it brings back memories!
Thanks,
Brian
Thanks,
Brian
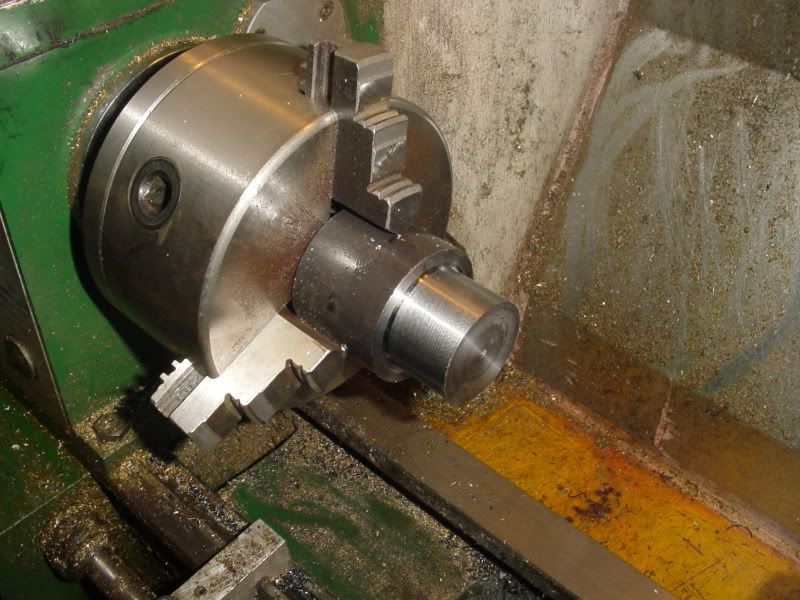
In the interest of doing at least one thing each day, so as not to lose momentum, tonight I tackled the cylinder head. Looking around my junk boxes of "free stuff" I discovered a gnarly old chunk of 2" diameter hotrolled steel shaft about 4" long. I'm pretty sure its just 1018-1020 mild steel, but my poor lathe groaned and squealed and shuddered, getting it turned down to 1 1/2" diameter, but I triumphed in the end. I think I have to either go and buy 3 or 4 new brazed carbide tools, or at least take the 3 or 4 that I do have somewhere to have them sharpened. Lord, but its nasty, turning steel when I'm so used to working with aluminum and brass. I think I will try and find a peice of 316 stainless to make the cylinder liner from, because contrary to what I said at the beginning of this thread, the water in the reservoir does come in contact with the cylinder liner, and I don't want it to rust. Maybe someone who has a knowledgeable opinion can speak up about that. I am going to use Viton o-rings for cylinder rings, same as I did on the Webster, so I don't really need to use cast iron like Kerzel calls for. I'm thinking either stainless or even just mild steel for the cylinder liner, and aluminum for the piston and con rod.

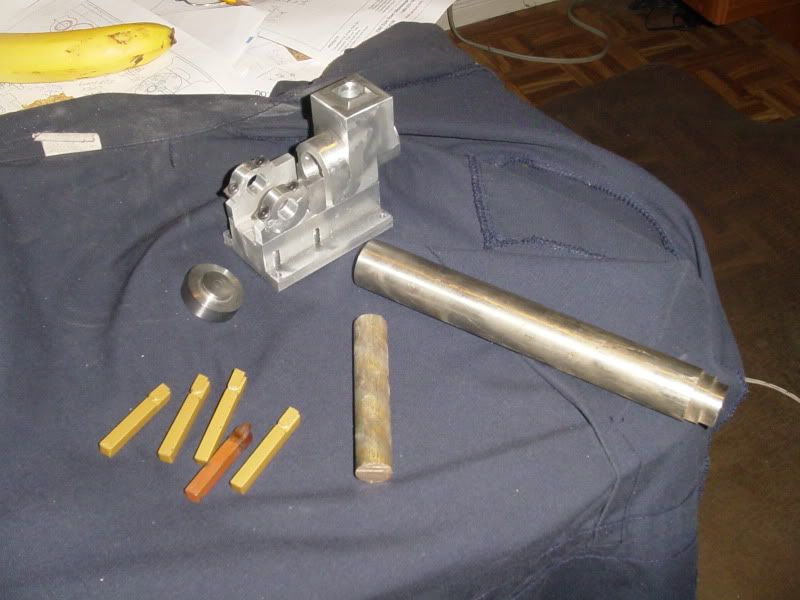
No machining content tonight, as I just finished off a bottle of Australian Shiraz wine with the salesman who sold me my new natural gas furnace 3 weeks ago. He brought it here about 2 hours ago with best wishes and a thank you for purchasing my furnace through his company!!! A very nice man from Sri Lanka by way of England. However, lots of new stuff to report on. I had to go across to the south end today to take a disc to a customer, so I bought 5 new carbides for my lathe form my favourite tooling supplier. Four conventional tools and one which may be for threading, but I will use it for the occasional reverse shoulder that a conventional carbide won't reach to. I stopped by one of my machine shops that builds a lot of the bakery machinery I design, and begged a remnant of 316 stainless (1.25" dia.) to make my cylinder liner from. I then stopped by another shop and purchased (I hate that word) a length of 3/4" bearing bronze for my main bearings. Kerzel calls for sintered bronze, but since the plans call for oilers on each journal, I'm sure standard bearing bronze will work just as well. Also, in the picture, you can see the cylinder head which I parted off last night. (That was such a harrowing experience, that I accomplished nothing else the entire evening.) I have found a secret to parting off mild steel with HSS tooling---Plunge cut about 0.100". then move the tool over about half the width of itself towards the off-cut side and plundge 0.100 plus another 0.100. Keep moving the tool back and forth and plunge cutting---This seems to give sufficient chip clearance that the lathe doesn't bind up, break the tool, and scare me to death in the process!!! Tomorrow evening, when I can take a more SOBER approach to machining, I will make the main bearings and install them, and get a start on my cylinder liner (Thats what the carbides are for.) I asked some senior machinists today if there were any secrets to machining 316 stainless, and they said "Lower than normal RPM and lots of coolant. Its okay to drill and ream with HSS tooling." I have never machined 316 stainless before, but I am willing to give it a try. Thanks for looking, will post more tomorrow night.----Brian----- and yes, the banana and the cookie (whch you can see the corner of) are my supper!!!

TaDa!!!! We have a 316 stainless steel cylinder liner!! I used one of my new carbides to hog it down from 1 1/4" diameter to 1", then cut the rest of the way down to 0.955 with one of my HSS toolbits, because they give a far superior finish. I ran the lathe at 550 RPM for the heavy cuts and then jacked it up to 950 RPM for the light finishing cuts. It machined very well. I took my time and used lots of spray on lubricant as I went along. To do the bore, I drilled through with a 1/4" drill in the tailstock chuck, then went up 1/16" at a time untill I got to my largest drill, an 11/16" monster. Since the tailstock travel on my lathe has only about 1 3/8" travel, I had to go through all the steps twice to get through the liner, which is 2.28" long. After I had drilled all the way through at 11/16" diameter, I used a carbide boring tool mounted on the toolpost to take it up to 23/32" dia., then finished it all off with a 3/4" reamer mounted in the tailstock chuck,and used lots of cutting oil at 250 RPM. for my first time ever machining stainless steel, it went very well.
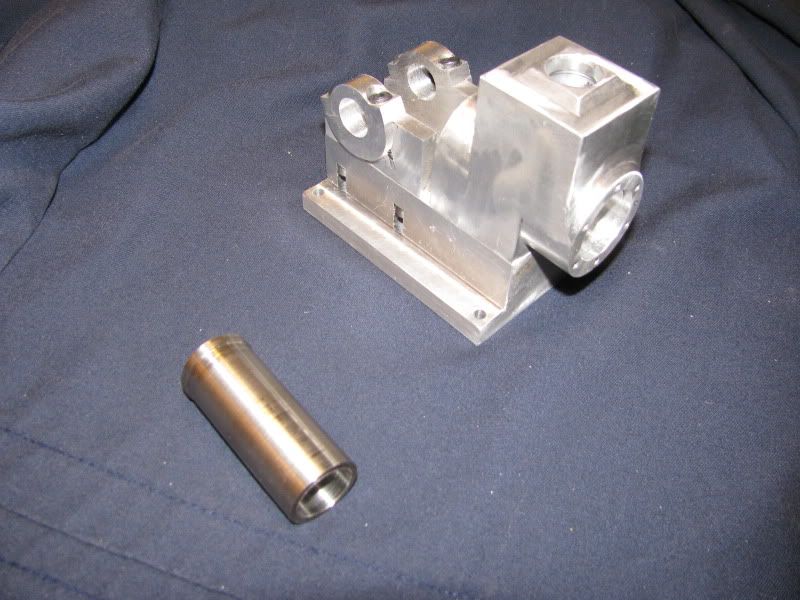
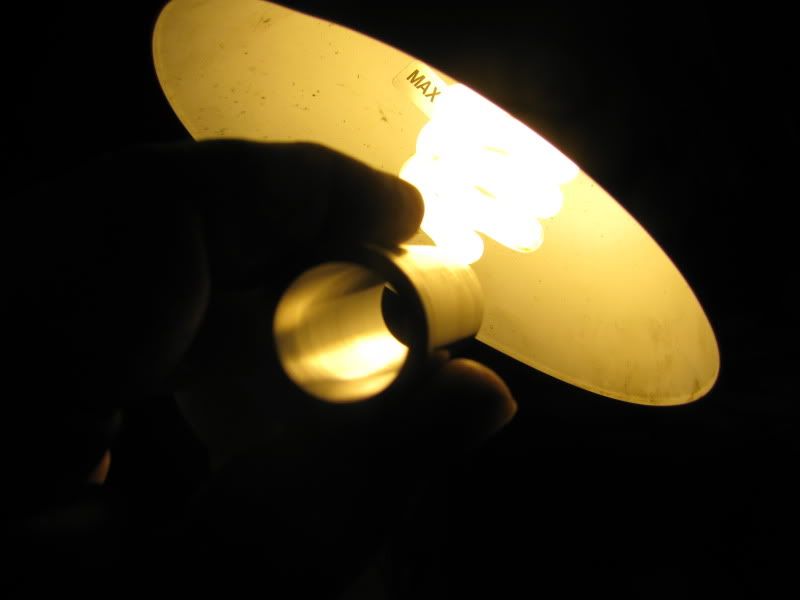


Kc---Thats just a reamed finish with an HSS reamer and lots of oil at 250RPM.
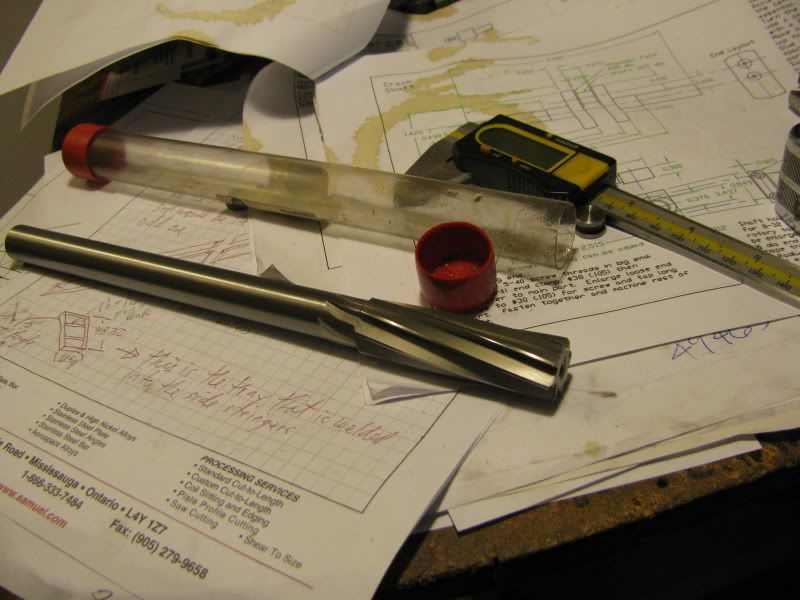
Chuck---all my HSS reamers look like this. I buy them at BusyBee tools generally. They work extremely well and leave a very good finish at relatively low RPM and lots of cutting oil.

fcheslop
Well-Known Member
Hi Brian,for the spark plugs I use 20mm ceramic elect fuses just remove the ends and you have a nice insulator I think you can also use TIG welding insulators but have never tried them myself.The rust you mention on the liner Iv never had any problems with my Little Angle in fact it runs so cool I don't use water any longer.
best wishes Frazer
best wishes Frazer
- Joined
- Aug 25, 2007
- Messages
- 3,890
- Reaction score
- 715
Brian Rupnow said:Chuck---all my HSS reamers look like this. I buy them at BusyBee tools generally. They work extremely well and leave a very good finish at relatively low RPM and lots of cutting oil.
Sorry, Brian, I misread your post. I thought I read that you used a hss steel cutter in your boring bar, but you were talking about the outside. What kind of carbide insert do you use on your boring bar? I'm asking because I have a difficult time getting a good finish with my collection of boring bars.
Chuck
Similar threads
- Replies
- 413
- Views
- 38K
- Replies
- 356
- Views
- 54K


