- Joined
- Jun 4, 2008
- Messages
- 3,285
- Reaction score
- 630
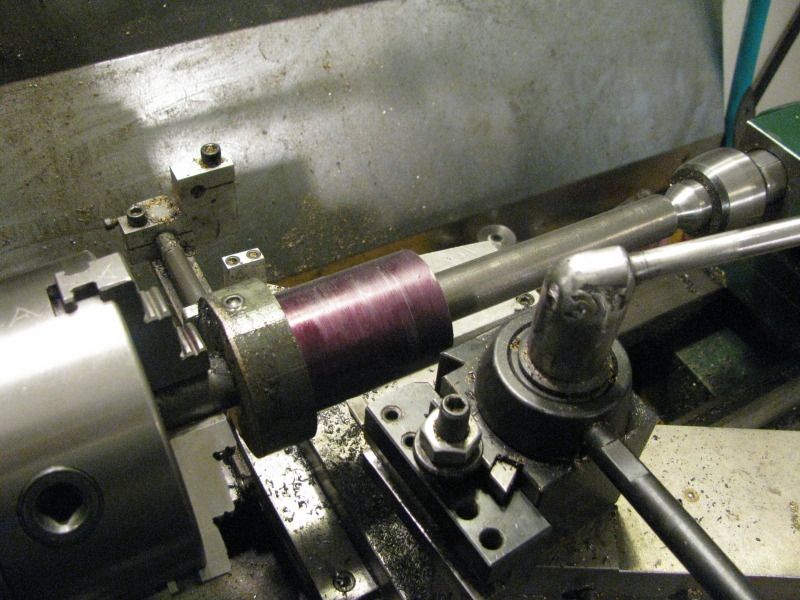
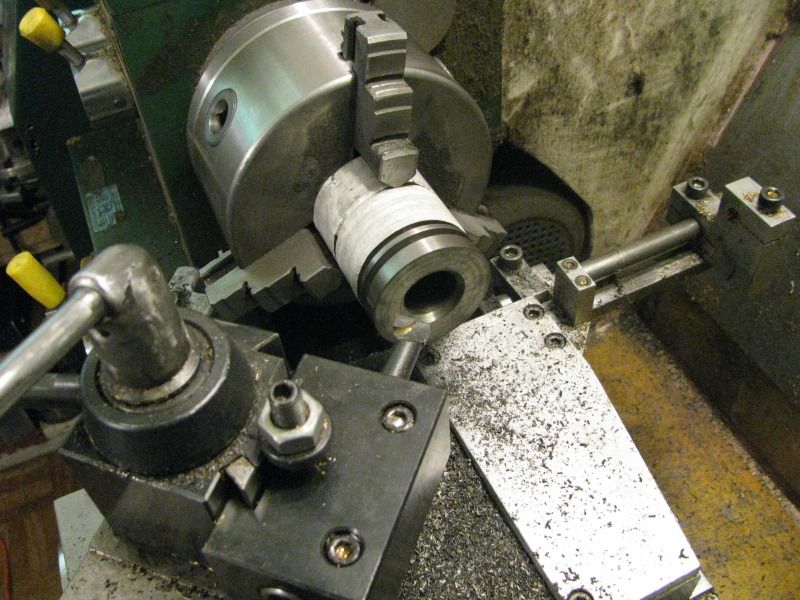
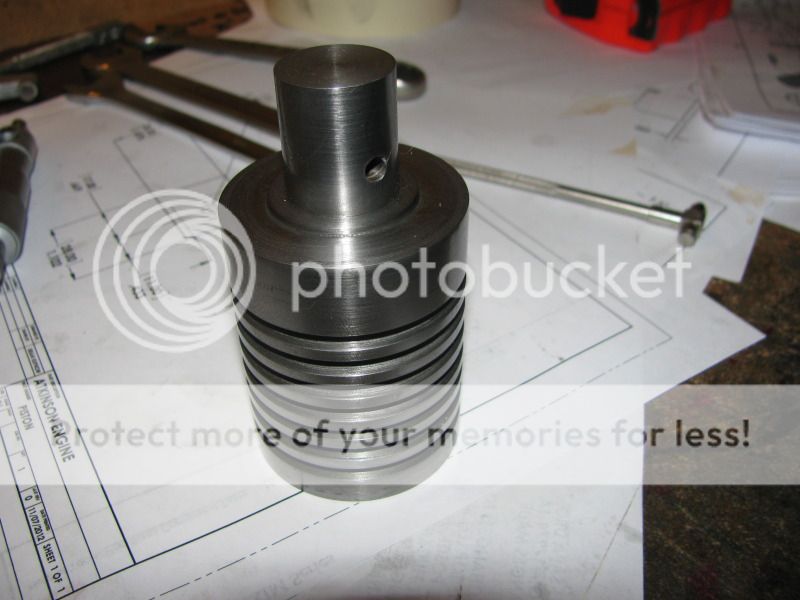
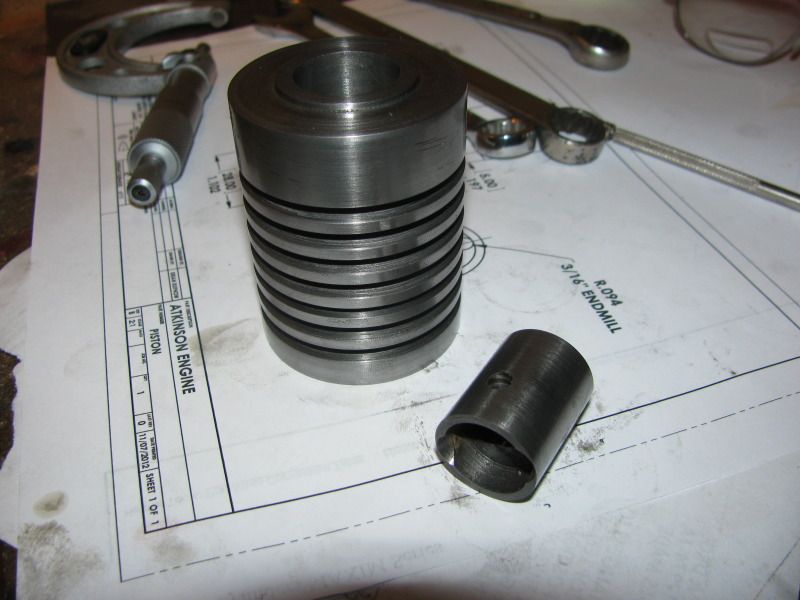
.53" removed at .01/pass would have strained my patience level ;D
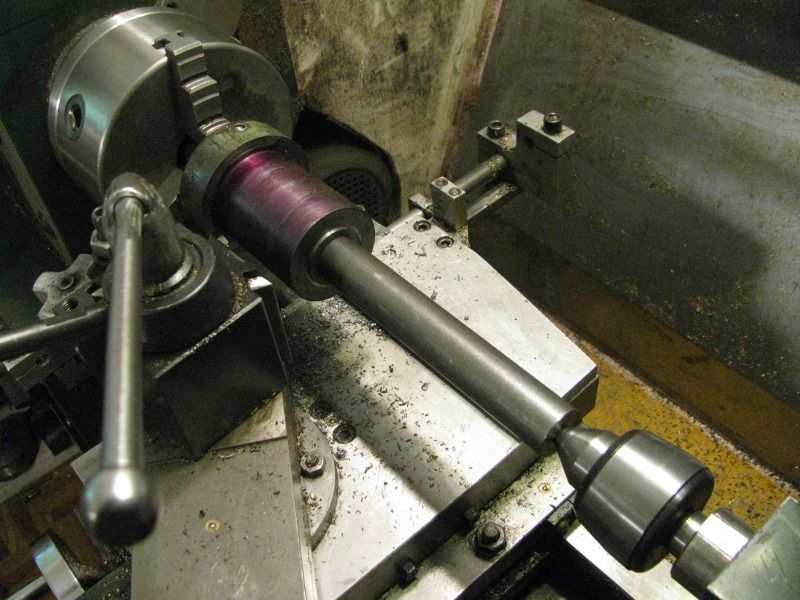
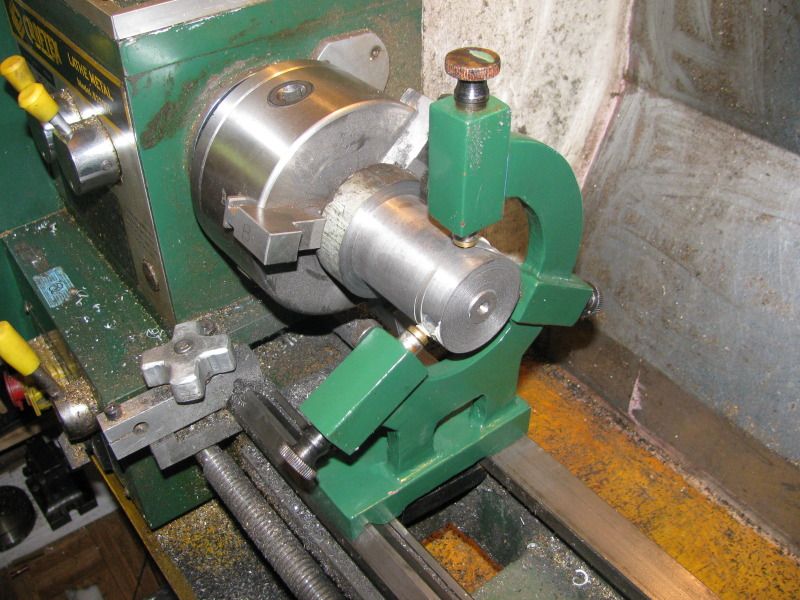
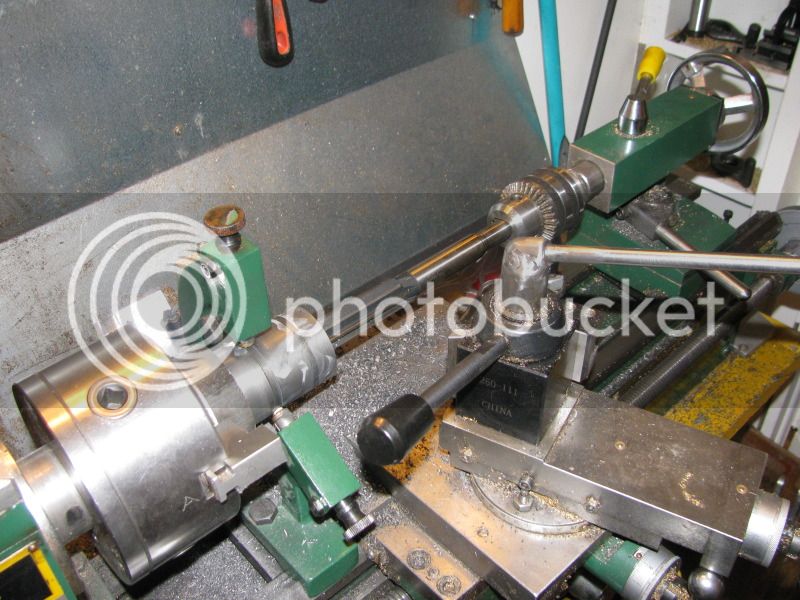
Now that one end is down to 2", I'd think you could reverse the direction and use the normal jaw for drilling/boring/reaming. If you can drill out to the largest size you can and then bore with small cuts, you should get a straight hole.
Now that one end is down to 2", I'd think you could reverse the direction and use the normal jaw for drilling/boring/reaming. If you can drill out to the largest size you can and then bore with small cuts, you should get a straight hole.

 oh:
oh: