I am curious and would like some direction to another thread if appropriate so as not to detract from this one. When making a flywheel such as is intended in this build, with separate parts, axle, spokes and rim, how is that all assembled to maintain concentricity and balance?

You are using an out of date browser. It may not display this or other websites correctly.
You should upgrade or use an alternative browser.
You should upgrade or use an alternative browser.
Brian builds a Corliss
- Thread starter Brian Rupnow
- Start date


Help Support Home Model Engine Machinist Forum:
This site may earn a commission from merchant affiliate
links, including eBay, Amazon, and others.
Good question.... I can only guess, never having done it.... that it is "the wheel builder's art" (skill). How about using a jig? With a shaft in the centre, and calipers/gauge from the centre to bring the rim to concentricity? Or use spacers all exactly the same length, equal to the hub-rim gap? I too want to know how.... as there must be a simple method?
K2
K2
Today I hope to work on my own flywheel. I will take pictures as I progress.---Brian
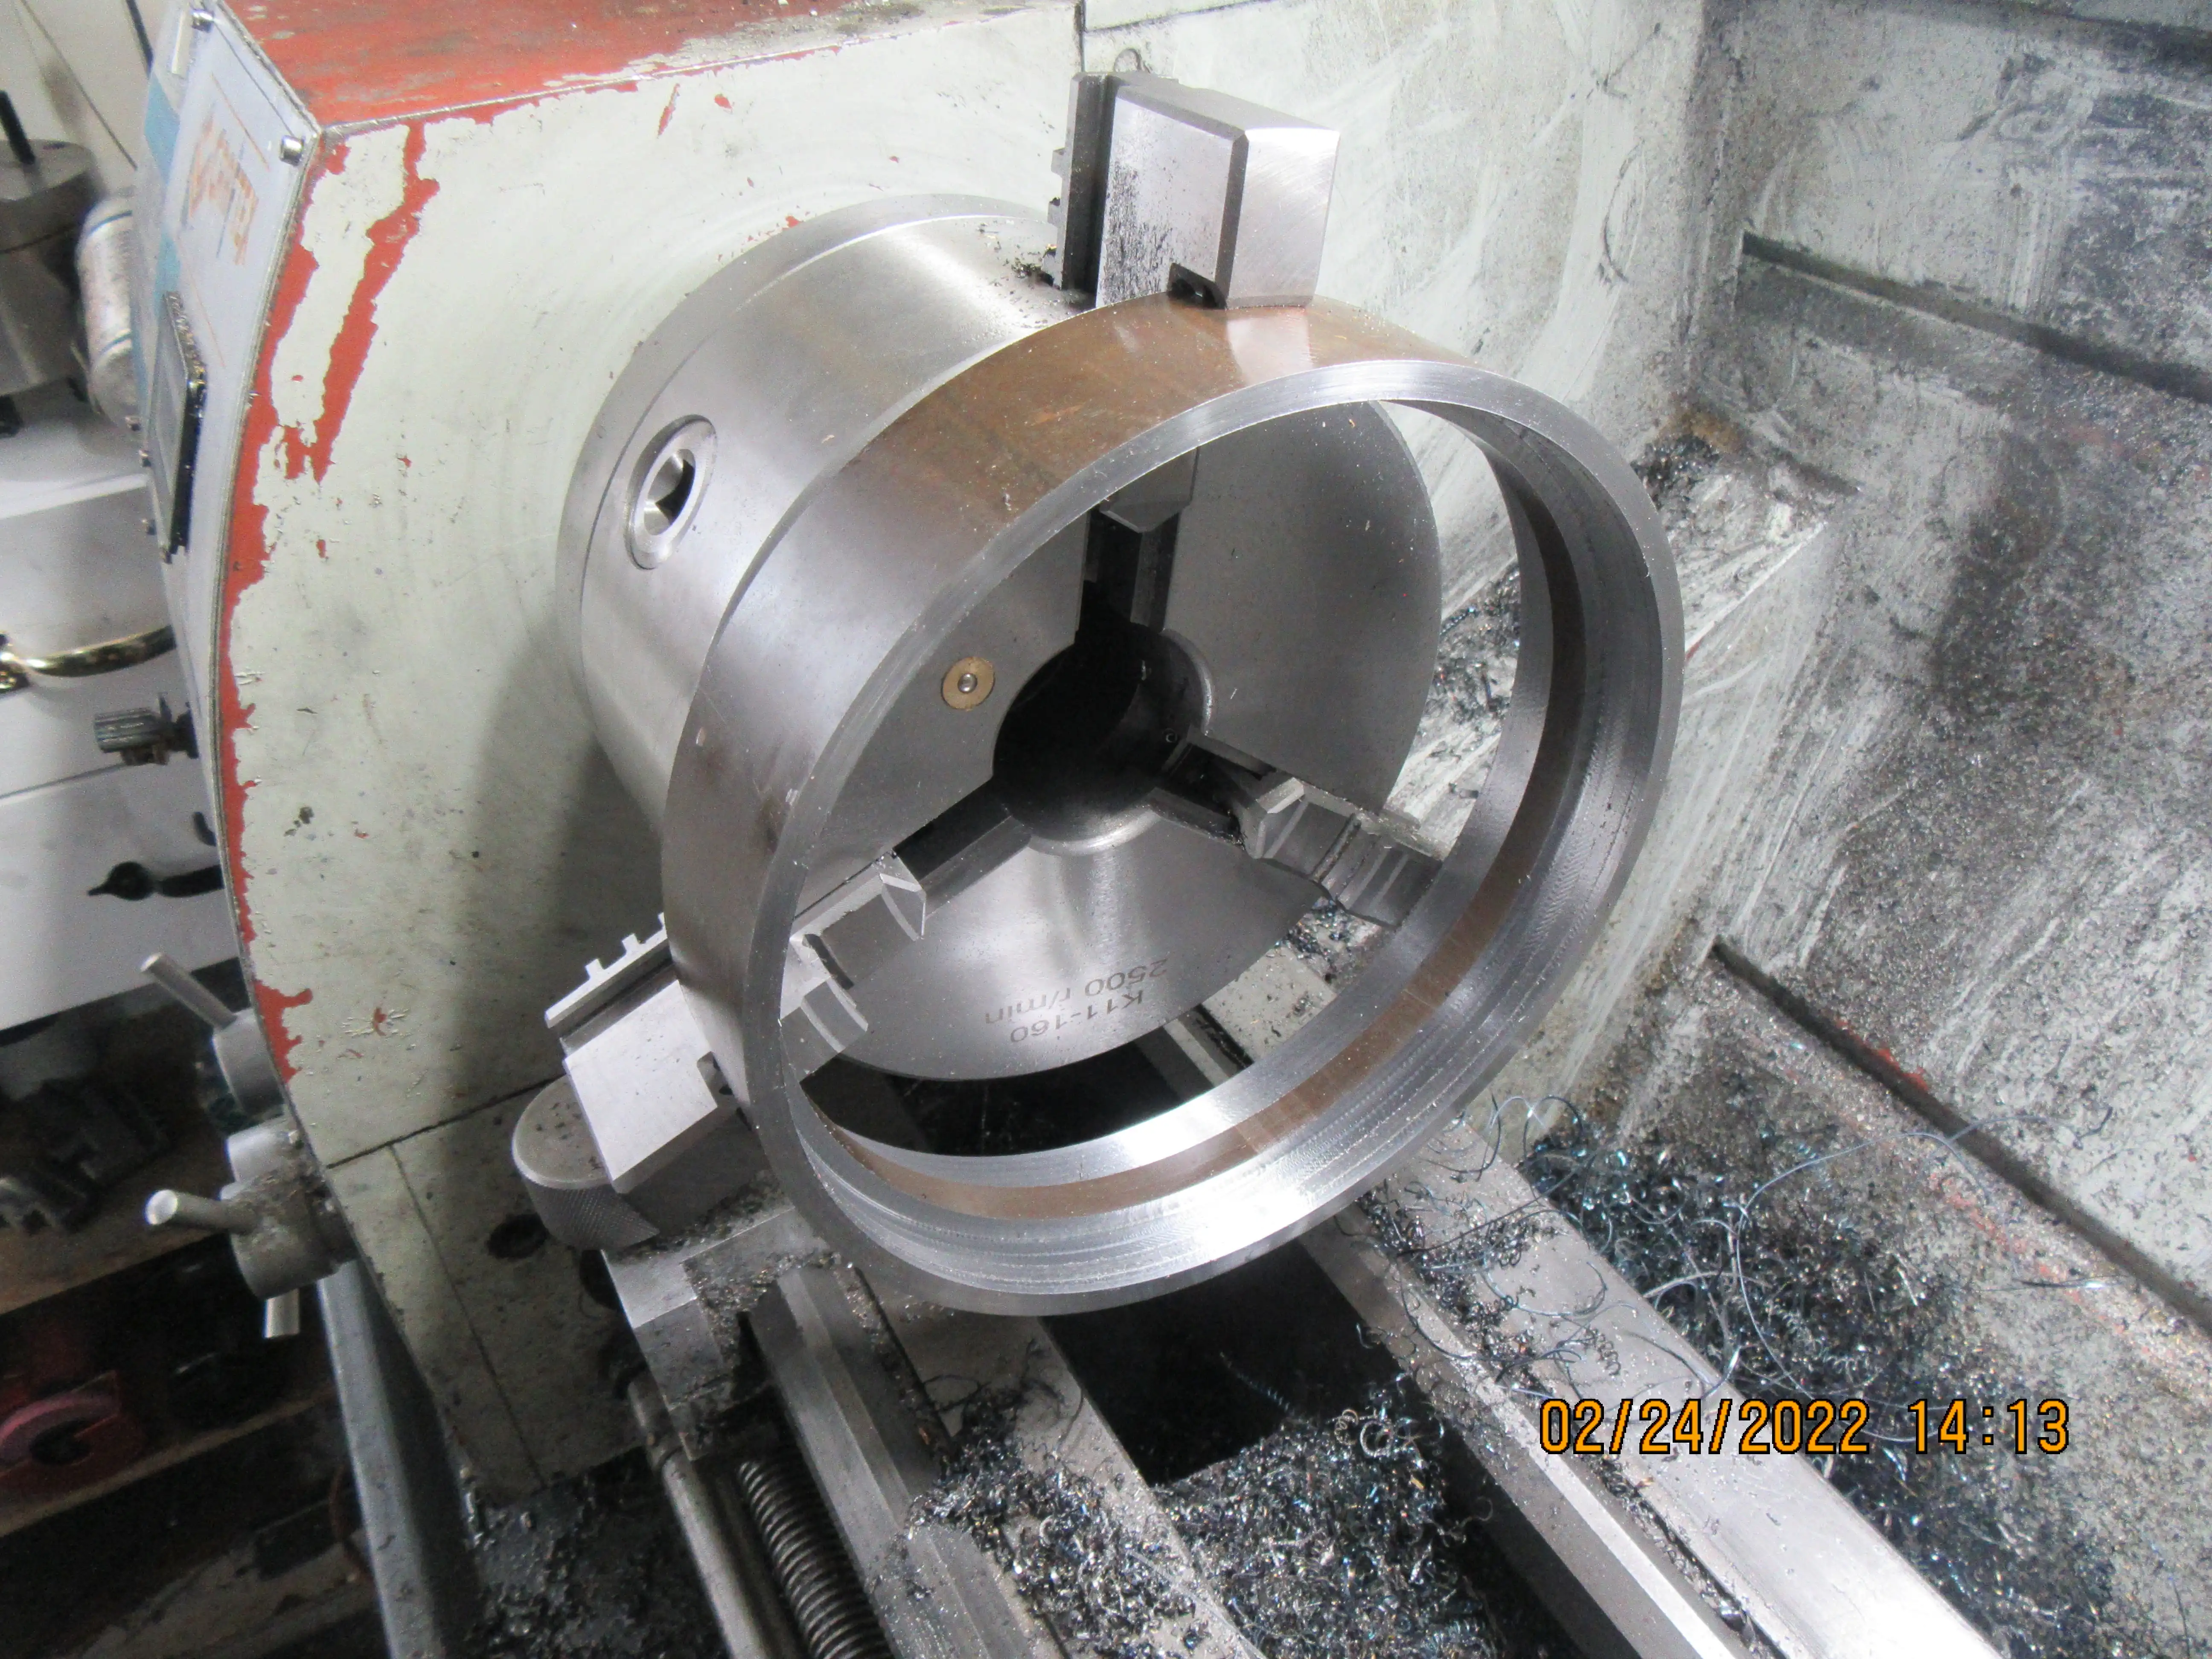
Today was flywheel day. The man where I buy my material must have had a short end of tubing he wanted to get rid of. I asked for it to be 1 3/4" long, but when I got to looking at it a bit closer, he gave me a piece 2 1/2" long.--and the finished dimension is 1 1/2" long.
Seven inches diameter seems to be the largest piece I can hold with my reverse chuck jaws, and even that was a very close thing. All three jaws were engaged, but not by very darned much. I proceeded to machine 1/2" off both ends, and then turned the inner diameter steps as required. On the last pass I let the magic smoke out of the switch, and it looks like my lathe gets another truck ride to Toronto. Damn, Damn, Damn!!!
Seven inches diameter seems to be the largest piece I can hold with my reverse chuck jaws, and even that was a very close thing. All three jaws were engaged, but not by very darned much. I proceeded to machine 1/2" off both ends, and then turned the inner diameter steps as required. On the last pass I let the magic smoke out of the switch, and it looks like my lathe gets another truck ride to Toronto. Damn, Damn, Damn!!!
- Joined
- Jan 4, 2011
- Messages
- 1,332
- Reaction score
- 343
Don't you have some electrical guru near by who can look at it before you try to snake it through your office again. I think that last time it was just some minor issue. You are going to pay someone in any case and someone may be able to take a look at it on the way home at night. Maybe a couple of six packs to someone would solve the problem.
On the last pass, smoke began coming out around the on/off switch and the motor cut in and out and I hit the e-stop button immediately. Let it cool off for an hour, hit the start button and it started right up, ran for 10 seconds, then died. Took the cover plate off, looked down inside, and was confronted by an amazing array of wires and one or two which had the ends burned off. I can wire a house, I can wire a car, but I have neither the test equipment nor the technical knowledge to start messing about in the electrical guts of my lathe. The last time I took it to Toronto, I made some fairly specialized hoisting equipment to help me lift and maneuver the lathe. I kept that equipment together for the "next time" I needed it. This gives me something to do tomorrow.
Hi Brian, Sorry to hear the smoke escaped from the electrics... but being "burnt wires" I guess it may not be too expensive to fix? I wish I was closer to come and help...
The dealer where I bought my lathe a decade ago, has an engineer I can ring anytime for free advice. So far he has explained how to fix my lathe for 2 separate faults. - For the price of a phone call.
My guess, is that if you can find a guru for your lathe, you will be able to simply test a couple of things and re-fix the damaged wires... unless it is more major.
When my speed control lost all the smoke, I took that and the motor to my "local" engineer (found on-line) who was incredibly helpful. Repaired the electronics, made a new brush holder for the motor and has since given me buckets of advice over other things that needed re-adjusting/replacing after my smoke-escaping event (BIG blue flashes and fuses blowing for me!!). Shifting the motor and electronics was way easier than a couple of hundredweight of lathe!
So far, my dumb fingers and thumbs have removed replaced the motor, On-Off/Em.stop buttons, Variable speed board, power supply smoothing choke, fuse holder, added a cooling fan for the motor (increases draught at low motor speed when it's fan is too slow), and added a louvre to ventilate the electronic "chamber". - just DISCONNECT THE MAINS SAFELY - before removing any covers/parts.
Can you show us photos of the area where the smoke leaked out? Maybe someone can advise what may have lost the smoke?
Enjoy?
K2
To paraphrase: Grant me the skills to fix what I am comfortable fixing, the serenity to let an expert fix what I am not comfortable fixing and the wisdom to know the difference. There are things we all "might' be able to fix or do but it is often wiser to pay a few bucks to let an expert do the job when not comfortable. I hope whichever course you take you are able to get back up and running soon because I am anxious to see how you approach that flywheel assembly.
I have a number of pieces to machine that don't require a lathe to finish them. There is no sense loading my lathe onto my truck today (which is a fairly major enterprise) because the place in Toronto that will fix it will be closed over the weekend.
GWRdriver
Senior Member
- Joined
- Jan 22, 2009
- Messages
- 721
- Reaction score
- 109
Almega & Steamchick,
I've written a description of one way to do it . . . see Building Up a Flywheel - One Way to Do It
I've written a description of one way to do it . . . see Building Up a Flywheel - One Way to Do It
I am curious and would like some direction to another thread if appropriate so as not to detract from this one. When making a flywheel such as is intended in this build, with separate parts, axle, spokes and rim, how is that all assembled to maintain concentricity and balance?
Thanks GWRdriver. Do you do anything to secure the spokes into the hub other than the fit of the rim?
Okay. Not a bad day.--Worked 6 hours, made five parts. Not horribly difficult parts, but a lot of set up and a lot of manual milling. I still have two or three days work before I need the lathe, so it's working out all right.

Nice looking "structural looking" components.
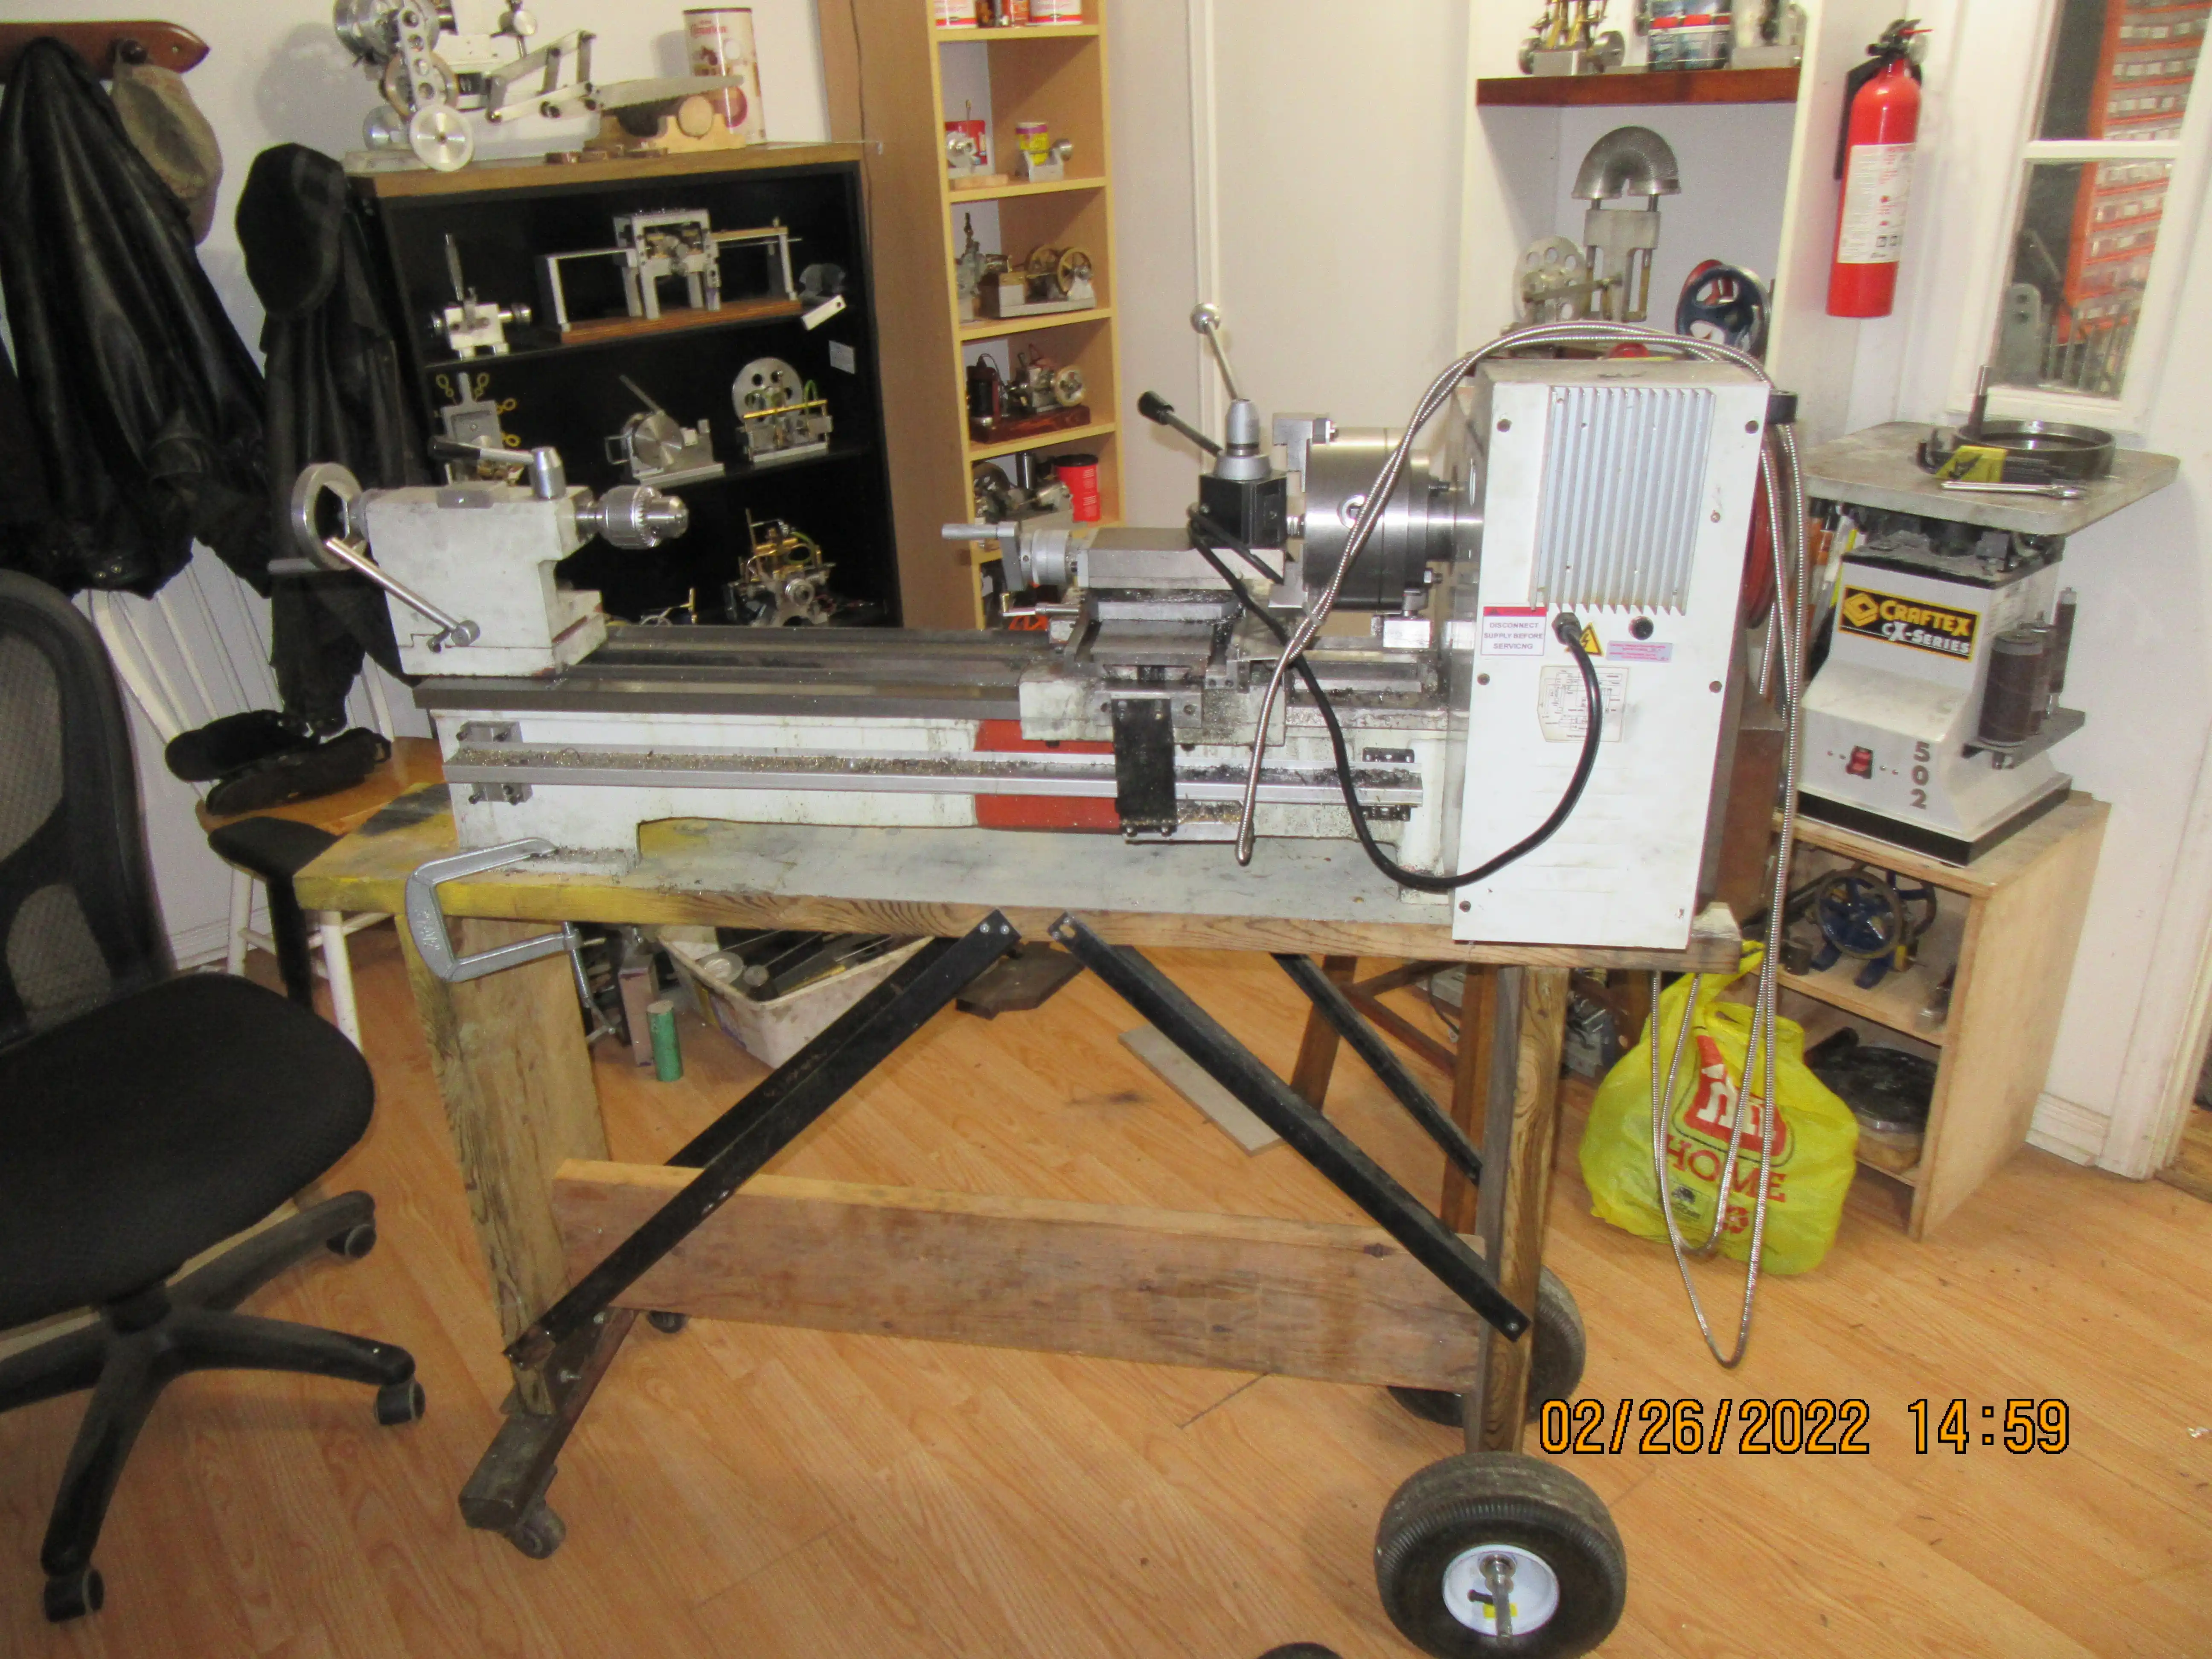
Today's topic is "How one old man moves his lathe". You can see some new timber in the picture. One vertical 2 x 6 behind the lathe, one vertical 2 x 6 in front of the mill, and two 2 x 4 r's bolted to them parallel to the floor. A pair of bed angles bolted to the top of the 2 x 4s and a rolling dolly made up from some old bearings and scrap plate. A threaded rod passes down thru the moveable dolly and connects to a plate setting below the lathe bed. The lathe is unbolted from the cabinets that support it and as the nut on the top of the threaded rod is tightened, the lathe gets lifted vertically about 2".
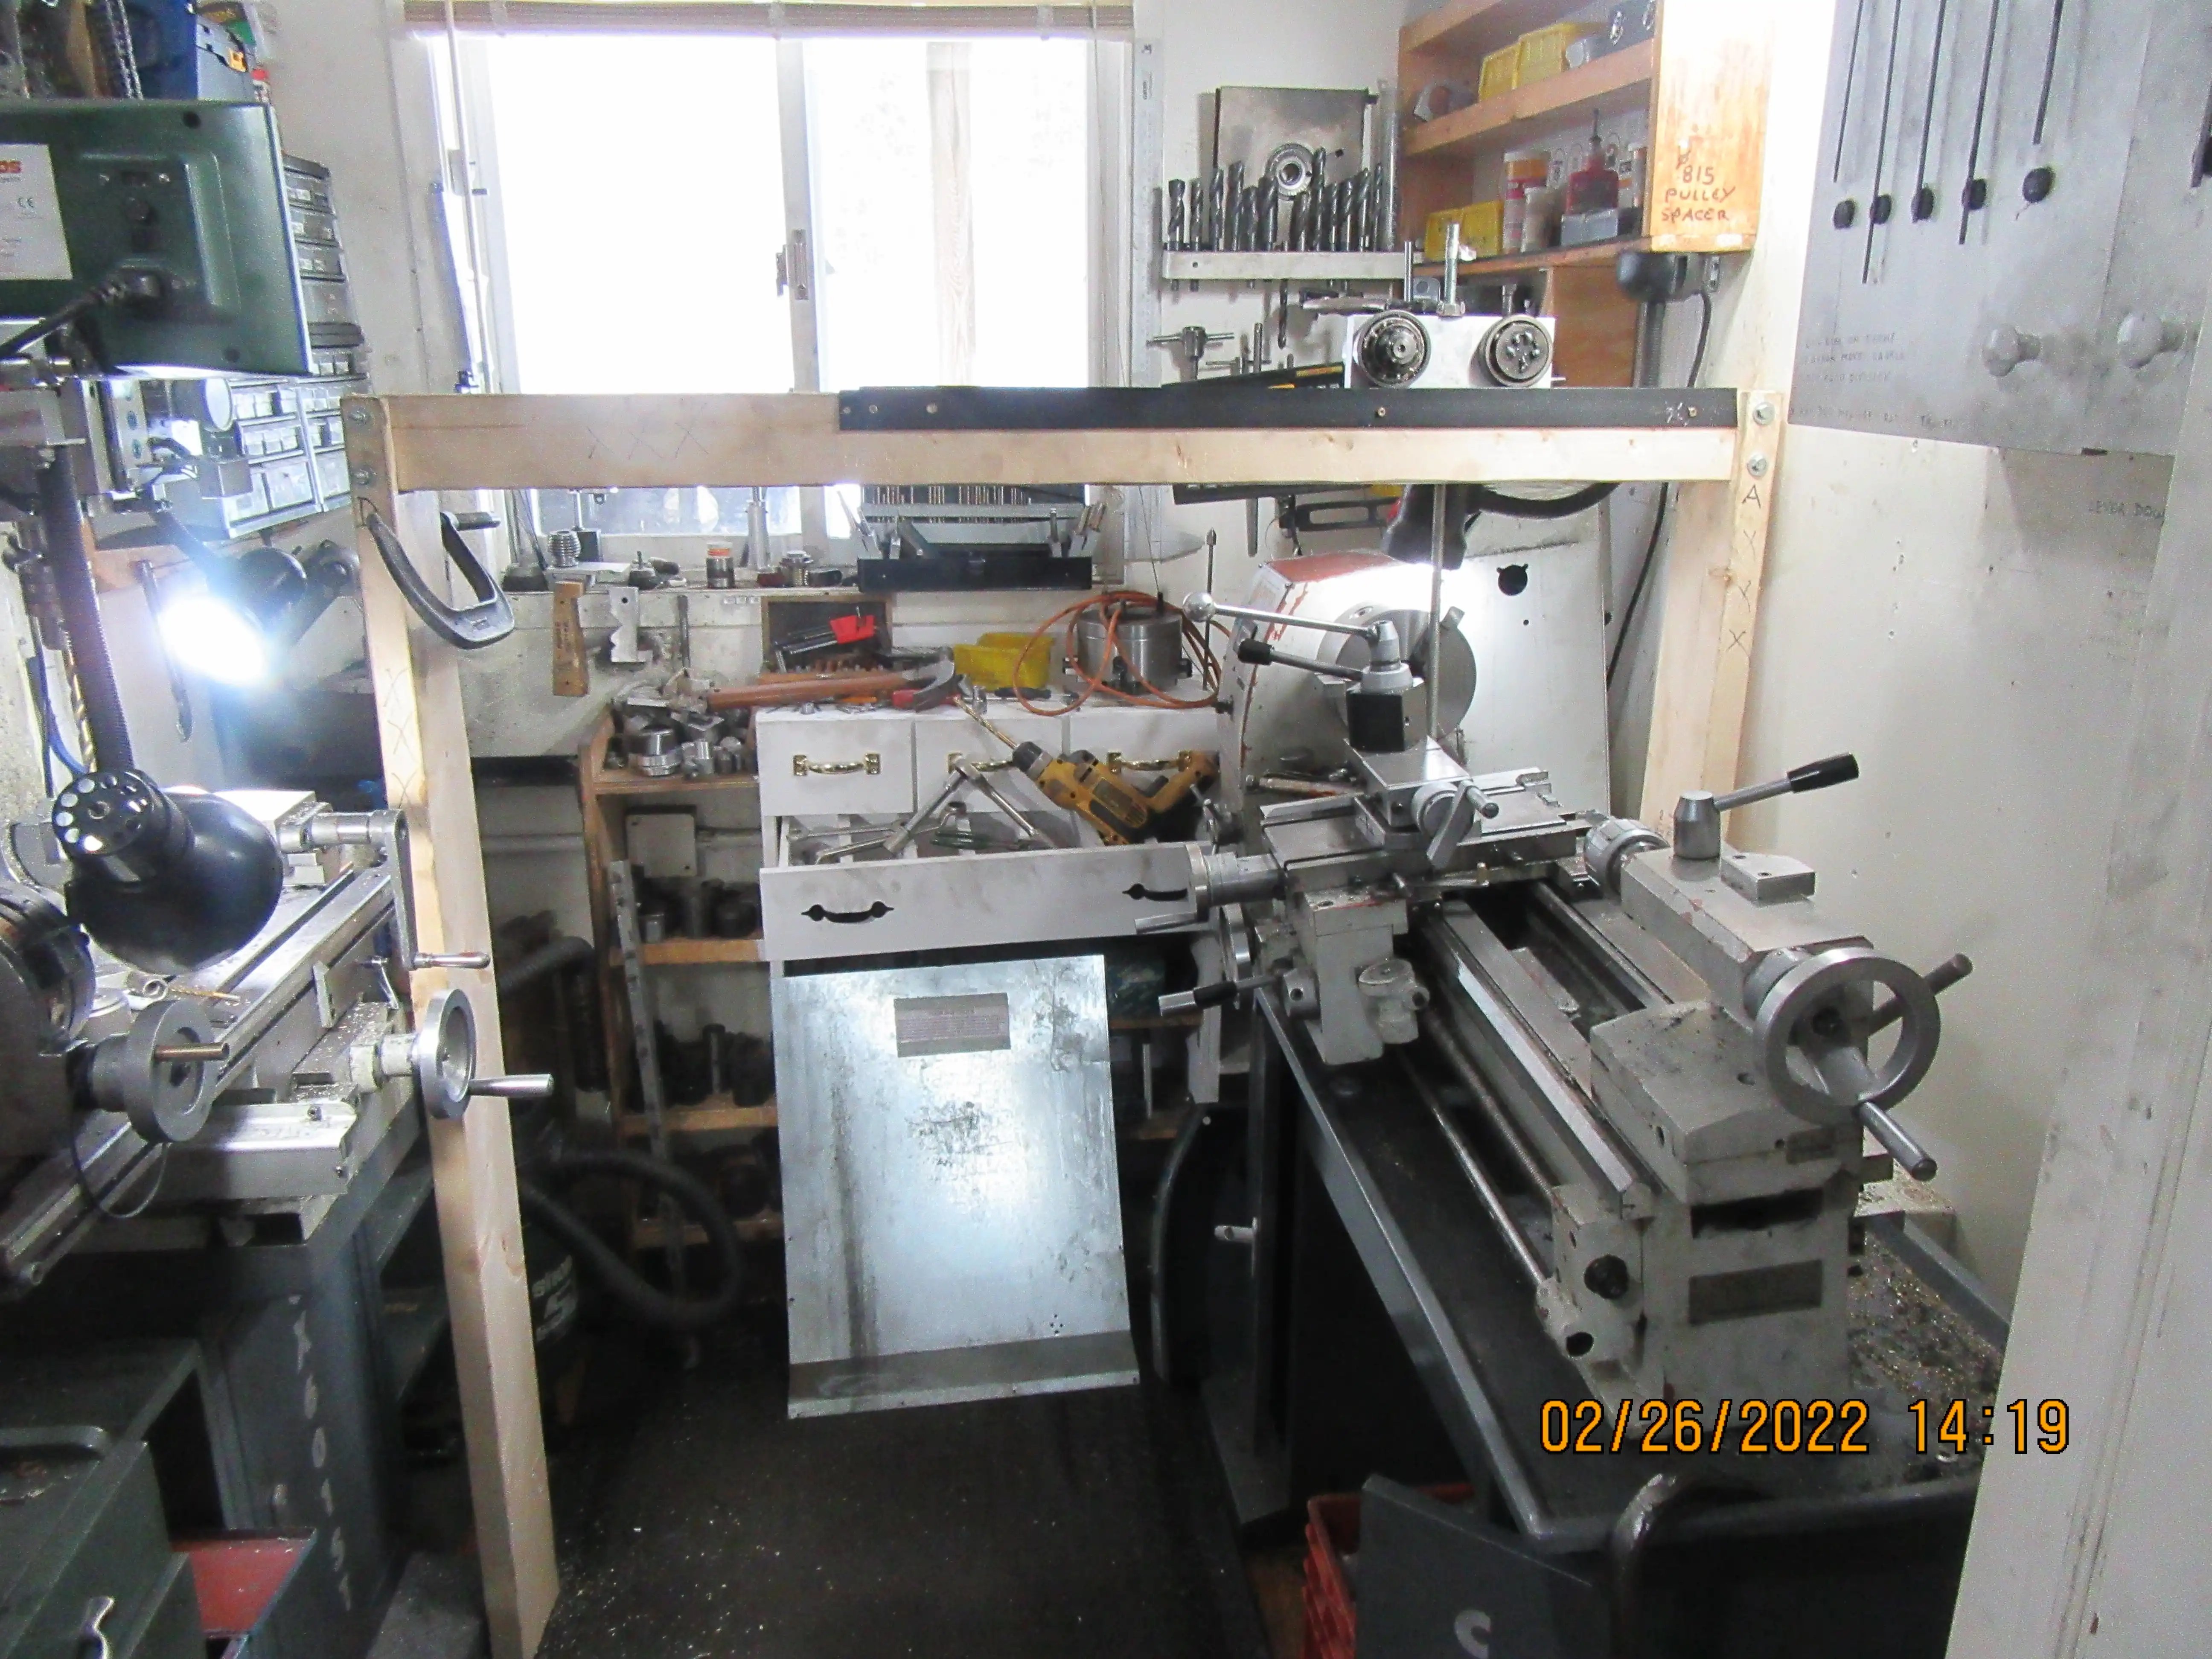
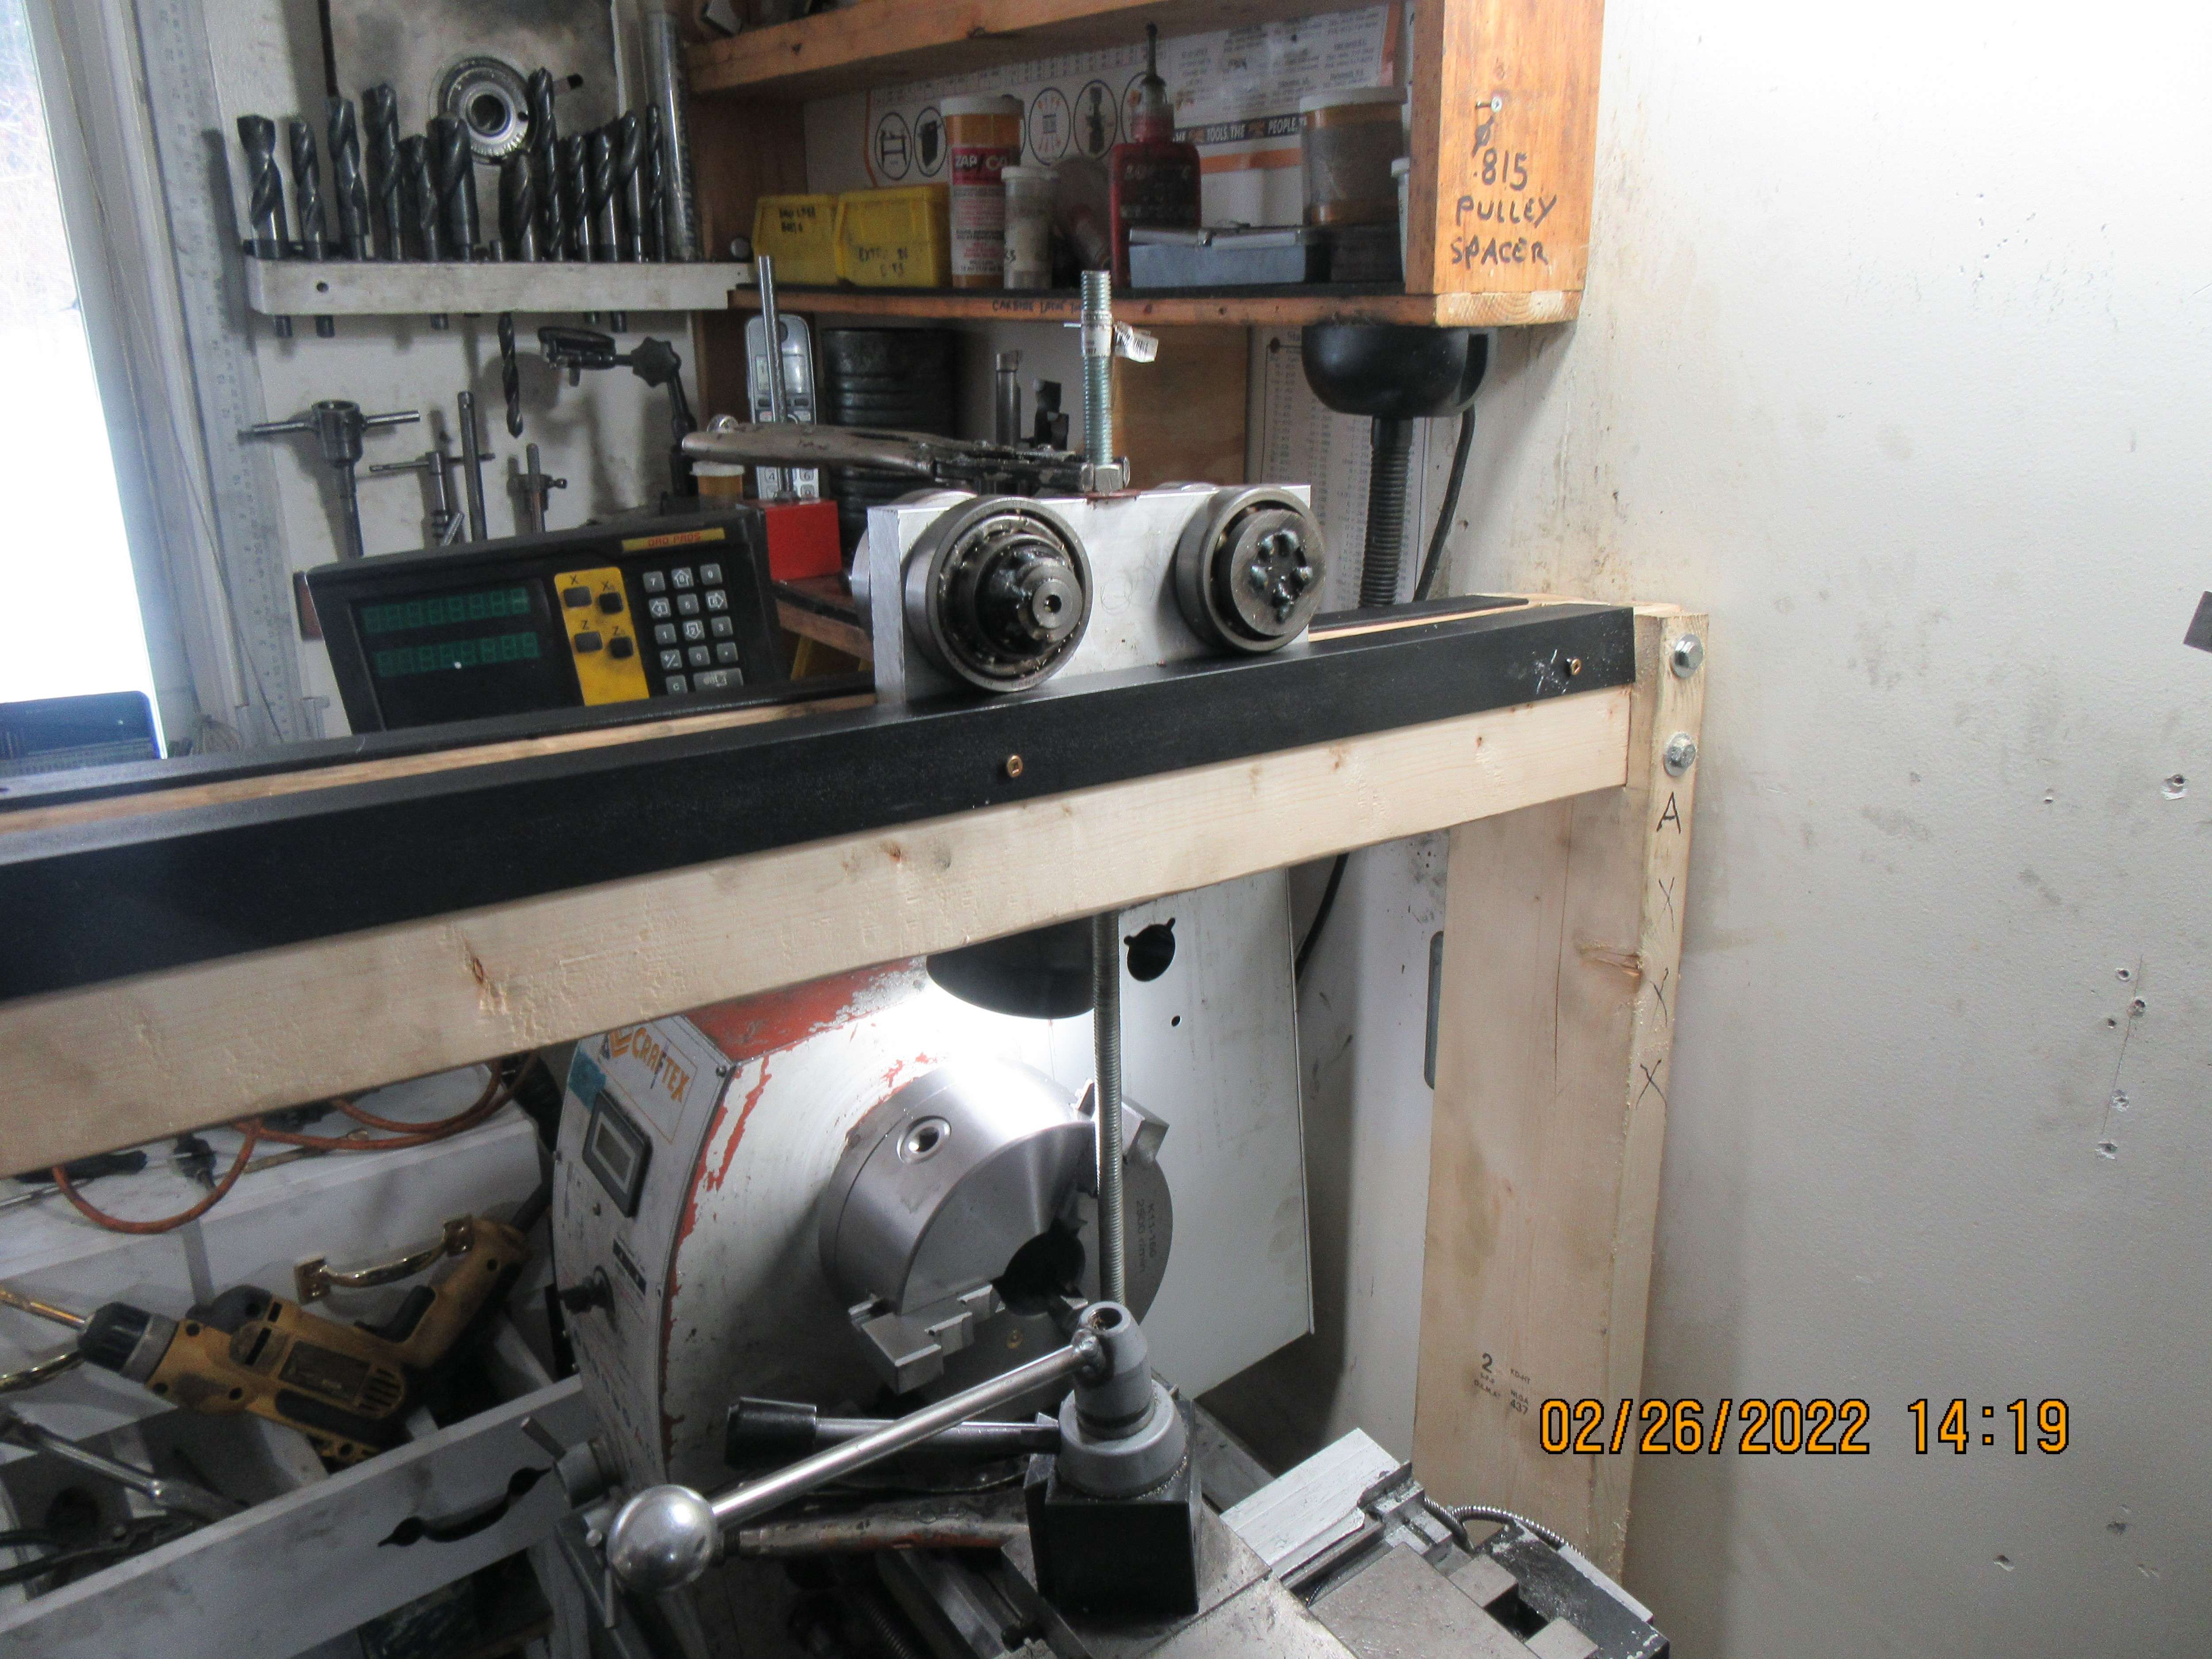
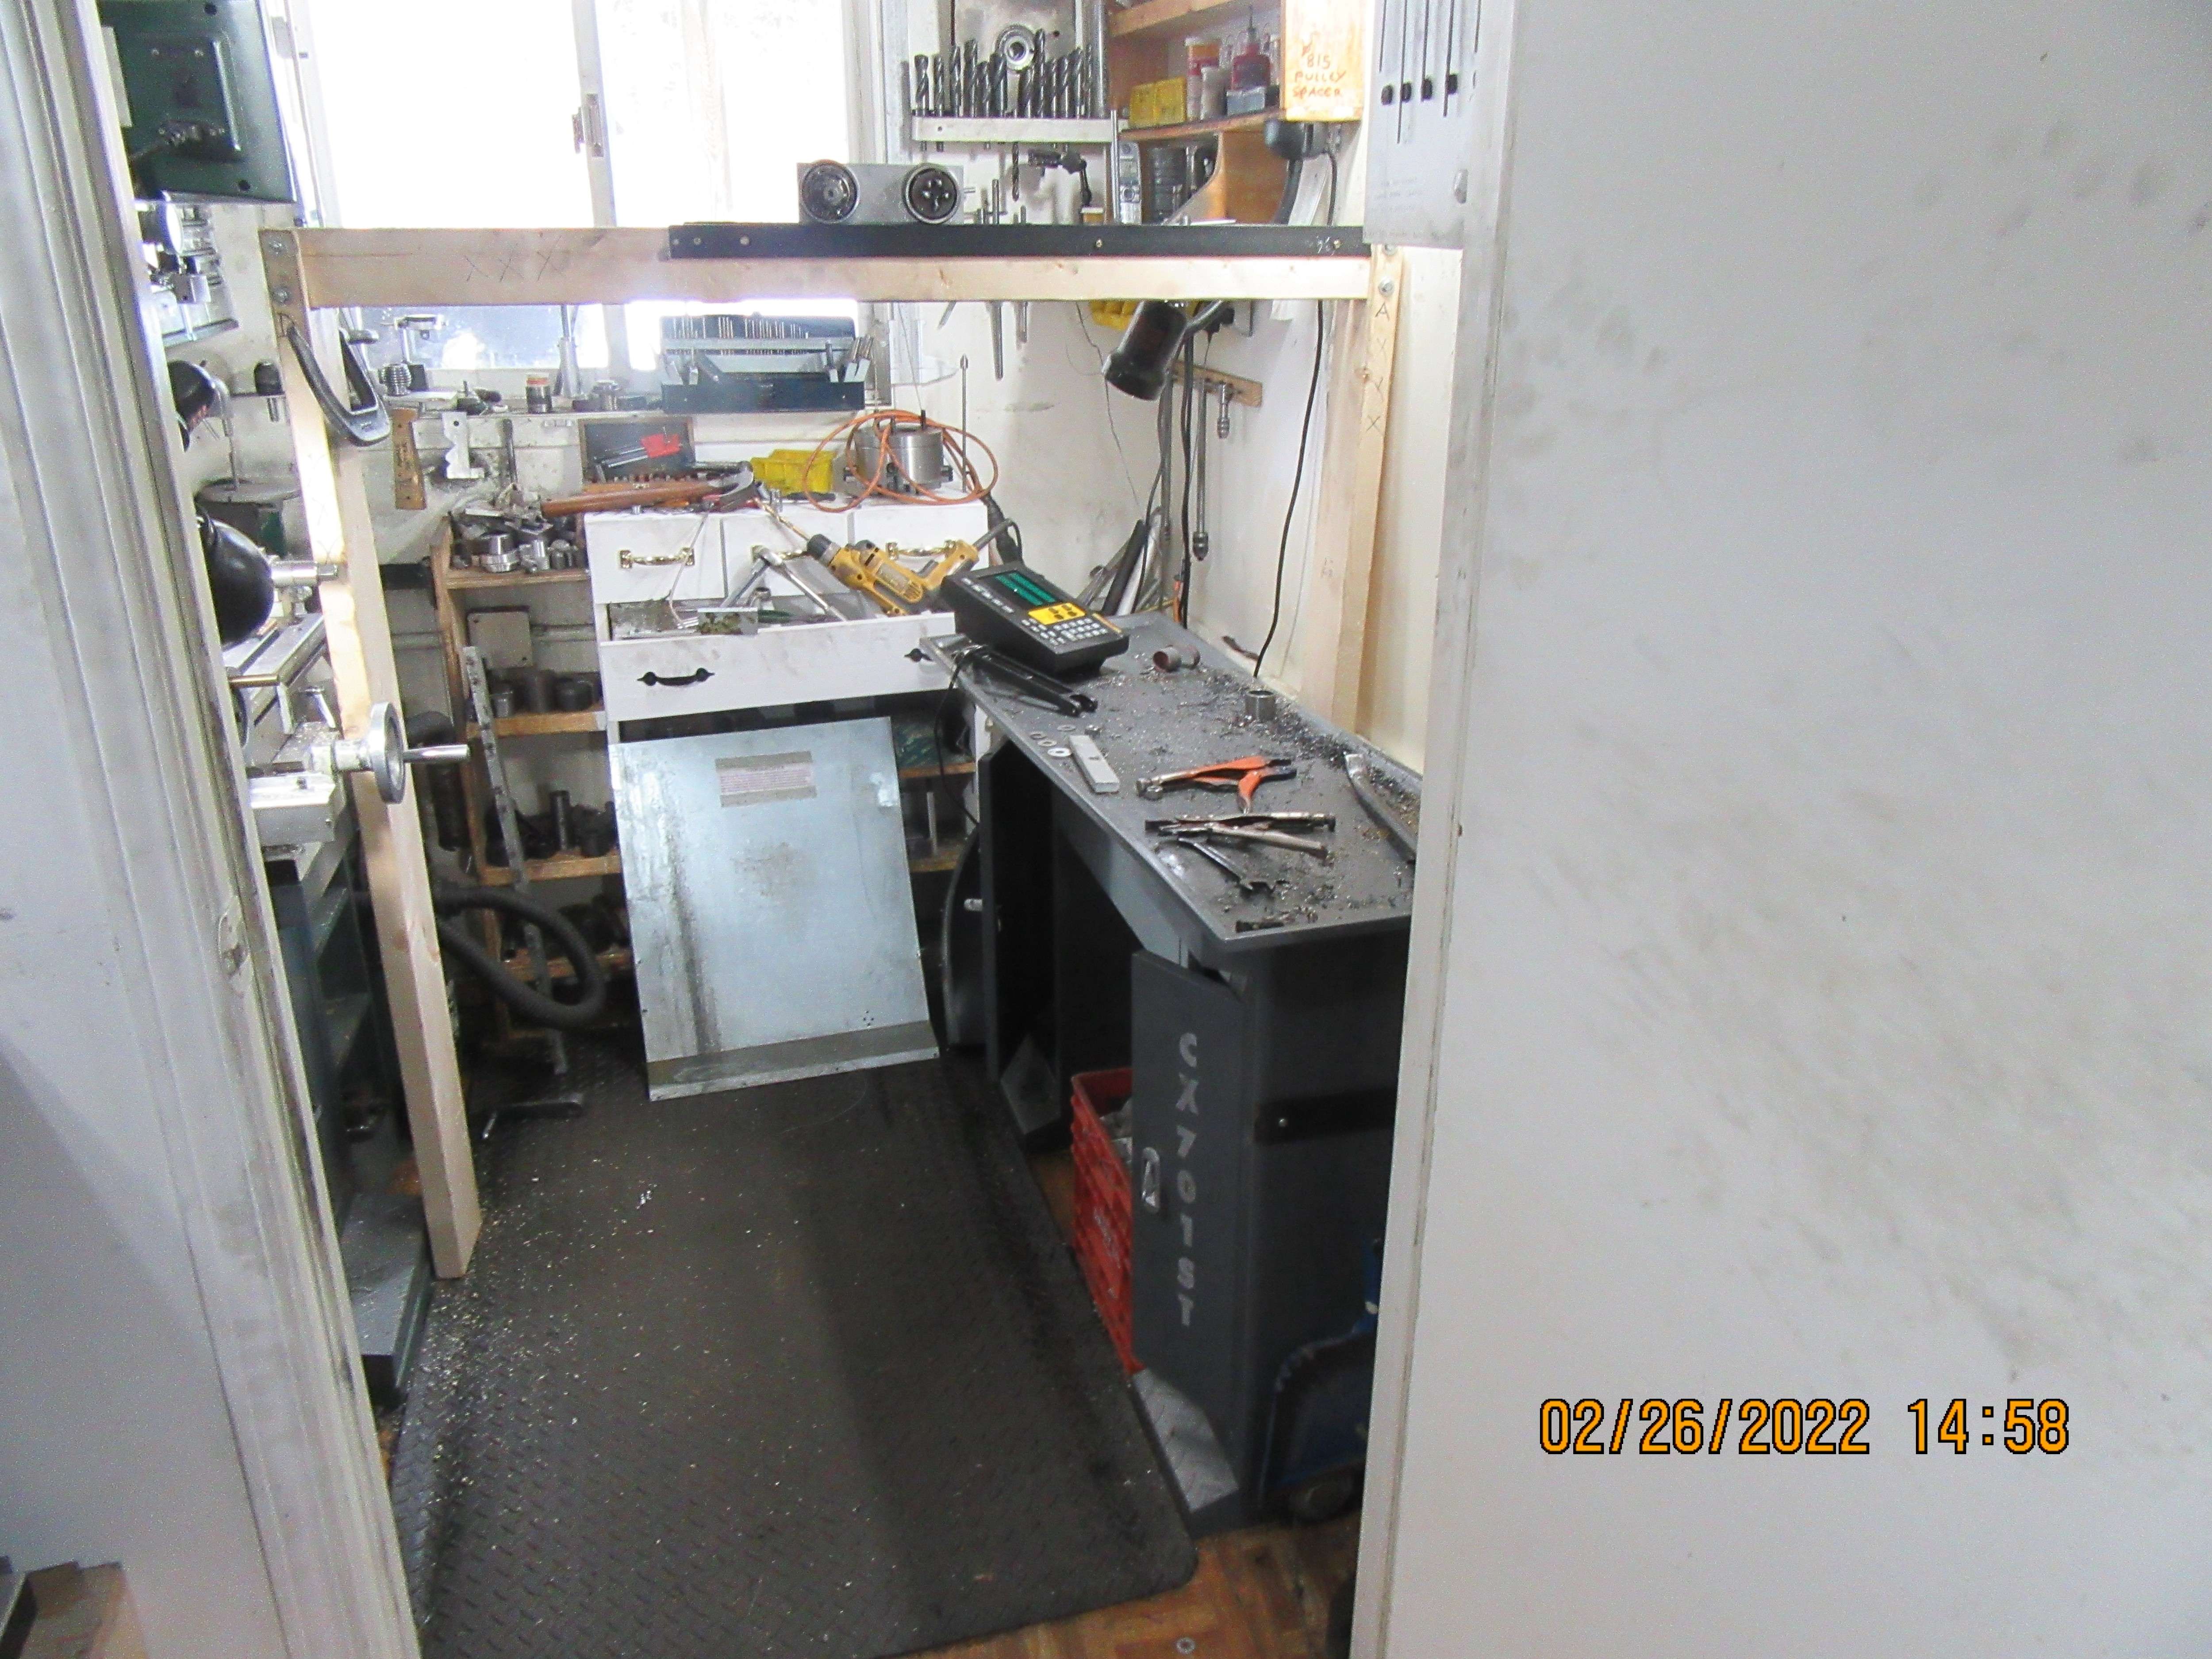
After the lathe is lifted 2", the wheeled cart is pushed in beside the lathe and with much groaning and grunting the moveable dolly is pulled over about 18" and the lathe comes with it and is lowered onto the wheeled cart. Then the top nut on the threaded rod is loosened and the lathe sets down onto the cart. Lathe is clamped with c-clamps to the cart, and pushed out the door into my office. It will set in my office until Monday, then be loaded into my pickup truck with my engine hoist and carried away to Toronto.
And to all of you who suggested that I fix the problem myself----Do you really think I would go thru this if there was a remote chance that I might be able to fix the electrics on my lathe? In one of my previous lives I tried to fix something like this that I didn't really understand---and it didn't work---and finally when I took it to the people who really did know what they were doing, I was told that my "fixing things" burned out various components and was going to cost twice as much to replace all the crap that my "fix" caused. Old I am--Stupid I'm not!!!
Brian,
You fix what you can, and you send out to get fixed what you can't. I always do the same. Good thing about it, you get to give the back of the lathe a good clean down.
Cheers
Andrew
You fix what you can, and you send out to get fixed what you can't. I always do the same. Good thing about it, you get to give the back of the lathe a good clean down.
Cheers
Andrew
Hi Brian, Looking at your lathe I have exactly the same machine from China except mine has a brand name of "WEISS" I had about 2 years ago an electric problem where my lathe would only turn very slow. Like you looked at the circuit boards all looked good. took the motor to a motor specialist and first he said it was OK he skimmed the commutator and free running on the bench seemed to run at top speed. On installation same problem. photo graphed the wiring to the circuit boards and then order two and fitted same still the problem. Motor guy said no problem after a second check with the motor but said he could rewind same for $350. I checked the price of a new motor and purchase one for $230 after fitting problem solved. The original motor winding on one pole was shorted out to the armature. core wings badly burned. Best thing you can do is what you have planned. johwen.Today was flywheel day. The man where I buy my material must have had a short end of tubing he wanted to get rid of. I asked for it to be 1 3/4" long, but when I got to looking at it a bit closer, he gave me a piece 2 1/2" long.--and the finished dimension is 1 1/2" long.
Seven inches diameter seems to be the largest piece I can hold with my reverse chuck jaws, and even that was a very close thing. All three jaws were engaged, but not by very darned much. I proceeded to machine 1/2" off both ends, and then turned the inner diameter steps as required. On the last pass I let the magic smoke out of the switch, and it looks like my lathe gets another truck ride to Toronto. Damn, Damn, Damn!!!
Wow! Brian, you continue to amaze me with the stuff you do.
Just take care of yourself in the process, as we want many more threads from you.
Having dislocated my pelvis when installing my miller, and had a couple of months of disability and pain, and I have also lost a few 3-month spells in the past 40-odd years with slipped discs and other back problems, I stress caution from bad experience that I don't want you to experience! Remember, it isn't always the weight lifted that damages the body, but the inertia being moved.
That said, I damaged my back moving a welder (pushing it sideways into a corner), another time trying to putt on a sock that was too small, and another time reaching for a document across 2 desks at work! The pelvis dislocated when I was lifting 50 lbs or so onto the top of the mill, and needed another inch of reach... the muscles worked, but had to stretch a tendon and dislocate the pelvic girdle to lift the spine above the hip-point... or so the physical terrorist explained! My body wasn't made tall enough... obviously because that was the length of bone in the odd-bin of bones when I was made...
I'll look forward to hearing of the successful (safe) completion of this lathe saga.
K2
mikelkie
Well-Known Member
I know you can't wait till August when i'll be visiting my kids in Toronto, will be glad to help out. I happened to be in machine repair business. Hope you come right soon. Regards mikeOn the last pass, smoke began coming out around the on/off switch and the motor cut in and out and I hit the e-stop button immediately. Let it cool off for an hour, hit the start button and it started right up, ran for 10 seconds, then died. Took the cover plate off, looked down inside, and was confronted by an amazing array of wires and one or two which had the ends burned off. I can wire a house, I can wire a car, but I have neither the test equipment nor the technical knowledge to start messing about in the electrical guts of my lathe. The last time I took it to Toronto, I made some fairly specialized hoisting equipment to help me lift and maneuver the lathe. I kept that equipment together for the "next time" I needed it. This gives me something to do tomorrow.
Similar threads
- Replies
- 6
- Views
- 3K