Brian builds a Corliss

Home Model Engine Machinist Forum

Help Support Home Model Engine Machinist Forum:

This site may earn a commission from merchant affiliate links, including eBay, Amazon, and others.
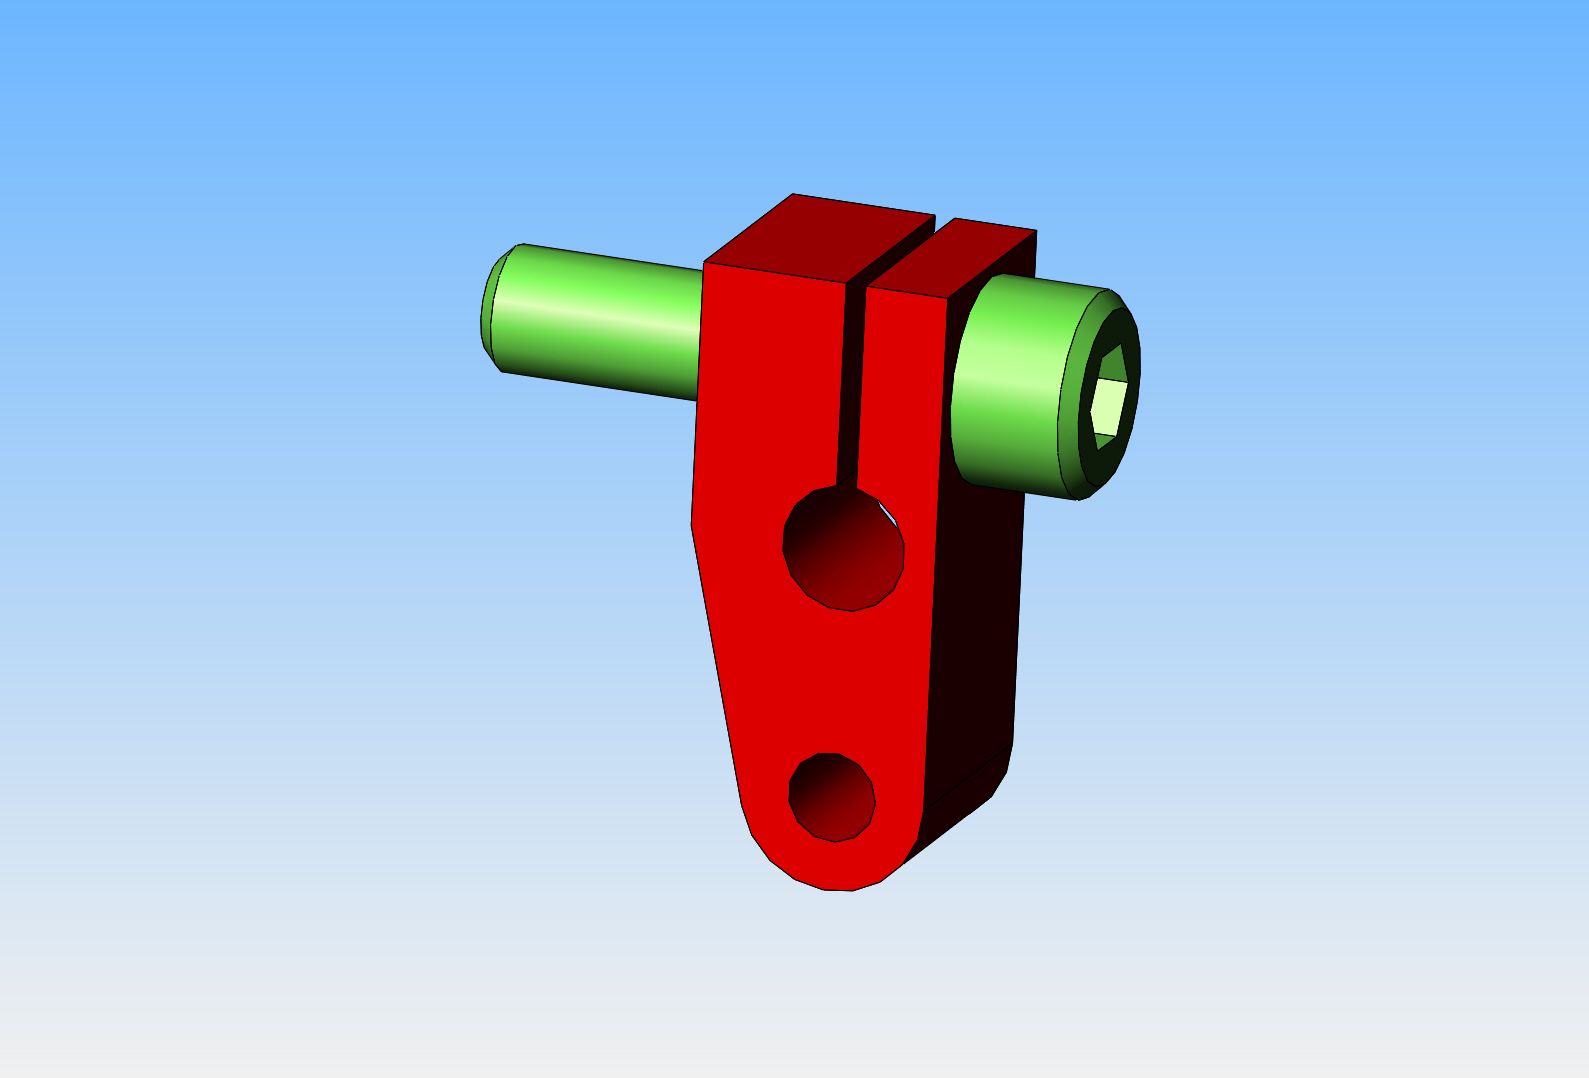
Yes that is the solid part, also see my additional reply on MEM

It's just like any other slide valve equiped steam engine, when the valve is in mid position both passages to the ends of the cylinder are closed by the valve
 
Well, no good news to report. I never did get my cad system to print 1:1 templates to make gaskets. A friend with the same system as I have will print 1:1 templates for me this week. I have not been able to get the engine to run in it's current state with no gaskets, too many air leaks. I didn't have a correct size o-ring for the piston, but for the moment have stretched a 1" o-ring over my 1 1/8" piston----this is never a good idea, but sometimes you just work with what you've got. I have dismantled the cylinder and cross-head assembly from the base and flywheel and when I get gaskets made I will adjust the valves until moving the wobble-plate from side to side make the piston and rod travel back and forth. I may remove the packing gland as well until I get things sorted. Reassembly of all parts is not a big deal----takes about 15 minutes. Our snow is almost gone from the front and back yard and one more day above freezing should get rid of the last of it. Yesterday the biggest fox I have seen in my life walked down the side of our lot. We've been here 22 years now, and have seen almost every kind of Ontario animal in our yard except for a bear and a moose.
 
Hi Brian, I'm glad to be in the UK. After 4 days when it dropped below freezing (-2 C!) overnight.... That was enough winter for me! I did get to shovel snow off the step one day.... 1 shovel full cleared 7 steps so my Missus didn't slip on her way down. Well, maybe the shovel was half full... But the 1/2 inch of snow on the lawn lasted nearly an hour. Not sure what the Geraniums thought of the weather? - Maybe I put them out too soon? The daffodils and other early bulbs are putting on a good display though, and won't be troubled by an odd night of frost.
Expecting warmer (between 7 & 10 degrees C) here today... so maybe I won't need a heater in the garage...
Ever thought of living in warmer climes?
K2
 
I think every Canadian thinks of living in warmer climes at some point during our winter. We love our country and our way of life, but by the end of March we are all getting tired of winter. This wasn't really a bad winter that we just went through, with no extremes of snowfall or below 0 Celcius weather, but we are all looking forward to spring.
 
The CFL in my identifier is local talk for Central Florida. I obviously can't speak for anyone except myself, but living in the same weather every day of the year is boring. I've lived in Florida since I was three, so about as close to native as I could be. I've long thought about moving someplace with seasons. I shared an office with a guy from Boston for a couple of years. Every time we had a cold day he was ready to move farther south. I thought it was a break.

We had a mild winter in terms of overall weather. No record lows or anything like that, but had our first couple of days with frost in several years. I enjoyed the changes. I especially enjoy not having to run the air conditioner all day every day. That's money that can buy some parts for projects. From about mid-May until mid-October, they could just photocopy the forecast and tell us the same thing every day. It wouldn't be wrong by far. Every afternoon there are going to be thunderstorms the only question is which way they're going to blow. It gets old.

In my first job, nearly 50 years ago, I noticed that customers from the northern tier would always have their executives visit to see how our company was doing right around February. Years later, the company I worked for had its headquarters in Cedar Rapids, Iowa. The President and his entourage would always come down for their annual State of the Company talk in February, too. Everyone has a period when they want to get out of their weather.
 
Oh!!!--Be still, my racing heart!!!--it works. Not the engine itself yet, but with a full compliment of necessary gaskets, I can make the piston move back and forth in the cylinder by moving that front wobble plate back and forth. Oh Joy!!!
 
It's a great day in Barrie!!! My Corliss engine ran today for it's very first time. I have a lot of adjustments and tweaks to do before this engine is running as good as some I have seen on the internet, but it makes my heart sing to see the engine setting there huffing away. I am very, very pleased with this and a big thank you to all the folks on the forum who offered advice or help while the project was being machined and put together. I still have cosmetic work to do, and a base to be built, but this first milestone is met and I can't get the smile off my face.---Brian
 
A few things I've discovered along the way--The brass bushings that the valve extensions run thru, on the linkage side, do need o-rings and gaskets. They are reamed to an exact fit on the valve extensions, but if you tighten down the bolts holding them to the cylinder they bind badly and the valves don't want to turn. If you leave them loose so as not to bind the valves, then a lot of air escapes around them. I think that the fix here is to open up the bushing bore by 0.005" or 0.006", and counterbore the side closest to the cylinder to accept a 1/8" i.d. rubber o-ring, to a depth that puts about 20% "squeeze" on the o-rings when the bolts are tightened to prevent air leaks. The brass cover plates on the other side of the cylinder do need gaskets under them. The lever arms which clamp to the valve extensions use a #2-56 bolt to tighten them in place. Great in theory, but they slip--and if you tighten them enough that they don't slip, then it soon strips the thread in one side of the slit that the bolt tightens into.--Learning as I go here, but these are what showed up as I fettled the engine this afternoon.
 
It's a great day in Barrie!!! My Corliss engine ran today for it's very first time. I have a lot of adjustments and tweaks to do before this engine is running as good as some I have seen on the internet, but it makes my heart sing to see the engine setting there huffing away. I am very, very pleased with this and a big thank you to all the folks on the forum who offered advice or help while the project was being machined and put together. I still have cosmetic work to do, and a base to be built, but this first milestone is met and I can't get the smile off my face.---Brian


A thing of beauty and a work of art, IMO.
 
Hi Brian, I'm glad to be in the UK. After 4 days when it dropped below freezing (-2 C!) overnight.... That was enough winter for me! I did get to shovel snow off the step one day.... 1 shovel full cleared 7 steps so my Missus didn't slip on her way down. Well, maybe the shovel was half full... But the 1/2 inch of snow on the lawn lasted nearly an hour. Not sure what the Geraniums thought of the weather? - Maybe I put them out too soon? The daffodils and other early bulbs are putting on a good display though, and won't be troubled by an odd night of frost.
Expecting warmer (between 7 & 10 degrees C) here today... so maybe I won't need a heater in the garage...
Ever thought of living in warmer climes?
K2
I could use some of that snow here in the Philippines. It's too hot here--have to stay in bed where there is air conditioning. I am crying by the cubic meter, so get out your umbrellas. Boo hoo.
 
Congratulations Brian!

I'm happy to see it running and I'm sure you'll get the tweaks in.

I am especially interested to see if your plan for adding O-rings to the bushings will work as I've faced that problem myself.

Very, Very Nice,

--ShopShoe
 
Shopshoe--I'm pretty sure that in the original build of this engine, there were o-rings in the bushings. Then somebody else built the engine and discovered it didn't need them and they were left out of the plans. A lot of it comes down to how accurate the machining was, how good the finish and positioning of the parts was, and some luck.---Brian
 
Brian, if you need i have a cnc 3018 with 15w diode laser, it will cut that sheet gasket material, cardboard and thin wood sheets pretty easily. ill be happy to laser cut them for you if you want and snail mail them back to you. would just need the cad file for them to do it. if that helps. the build is looking great btw
 
Yes the original drawings on MEM have O ring seals
 
I made all my gaskets yesterday, the old fashioned way---lay the part on a sheet of gasket material, trace around it with pencil, mark thru where all the bolt holes are with pencil, then cut out with scissors and leather-punch for the holes. Thanks for the offer Werowance.
 
One thing that I have to redesign and build----The lever which turns the rotary valves. The previous ones were too wimpy, with only a #2-56 bolt providing the "squeeze" to tighten them onto the valve shaft, and this bolt was threaded into a part of the lever which was only about 1/16" thick. This allowed for tightening and readjusting about three times , and then stripped the threads out of the lever. The previous levers were only 1/8" thick. The new design which you see here is 1/4" thick and the squeeze bolt is a #5-40 socket head capscrew, and the part of the lever with threads in it has been bumped up to be thicker so it won't strip out.
NUtp4f.jpg
 
Well done Brian. So glad it runs... but as we said when I did a "proper job"... "the first 80% of the development build takes 20% of the time, but the finishing 20% takes 80% of the time!".
So we'll enjoy the rest of the story as it unfolds.
Keep up the good work.
Thanks for all the time you spend posting the build, "warts 'n all!"
K2
 
Brain, you have done it again, another very fine work of art, not an Engine but they are both the same in your case, when you do have the final plans done to your satisfaction I would love to purchase a set, course they have to be hand signed, that would be nice, that brings back child hood memories of the one I ran, thanks for building it and the most important parts was sharing with us, the pictures and the wright up also which took a lot of your time, thanks again, Joe "going to give us an idea what is next"
 
The valves were not tight until I added gaskets under the brass bolt on bushings and cinched down the bolts which hold the bushings in place. So---this morning I made up a special weapon to loosen things up a bit. This consisted of a piece of 1/4" cold rolled steel with about 3/8" of a 1/8" drill extending beyond the end of it. (Drill was loctited into drilled center of rod). The rod was an exact fit for the valve holes thru the cylinder and the 1/8" drill got rid of any interferance from gasket or bushing body. I chucked this up in my electric drill and it made short work of any interferance with the valves. I reset the valves to what I think is the correct position, and added the gaskets and brass cover plates on the far side of the cylinder. so now all of my gaskets are in place everywhere. Instead of making new levers to operate the valves, I simply ran a #2-56 nut up the bolts and tightened the bolts into the nuts, and it seems to be holding adequately. I have disassembled the cylinder from the engine base and am back to turning the "wobble plate" by hand to see the cylinder rod extend and retract. Might have a problem here. If I rotate the wobble plate one direction, the cylinder retracts like a rifle bullet. When I turn the wobble plate the opposite direction, the piston rod is very wimpy about extending--in fact it doesn't until I give it a bit of help to get it started, then it extends fully. I'm not really sure what's going on here, but since there doesn't appear to be any binding of the cylinder rod, I'm assuming it has something to do with this rotary valve set-up.
abYOoz.jpg
 
Back
Top