Blower for The Demon V8

Home Model Engine Machinist Forum

Help Support Home Model Engine Machinist Forum:

This site may earn a commission from merchant affiliate links, including eBay, Amazon, and others.

stevehuckss396

Model Engineer
Project of the Month Winner
HMEM Supporting Member
Joined
Nov 19, 2008
Messages
4,932
Reaction score
1,680
Location
Sterling Heights, MI
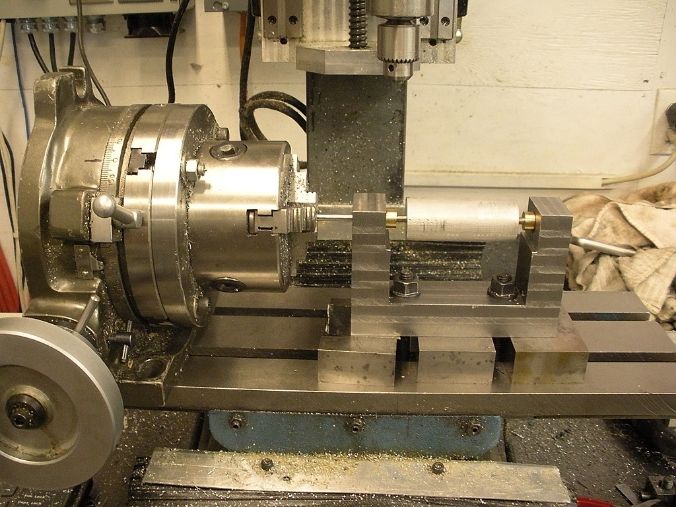
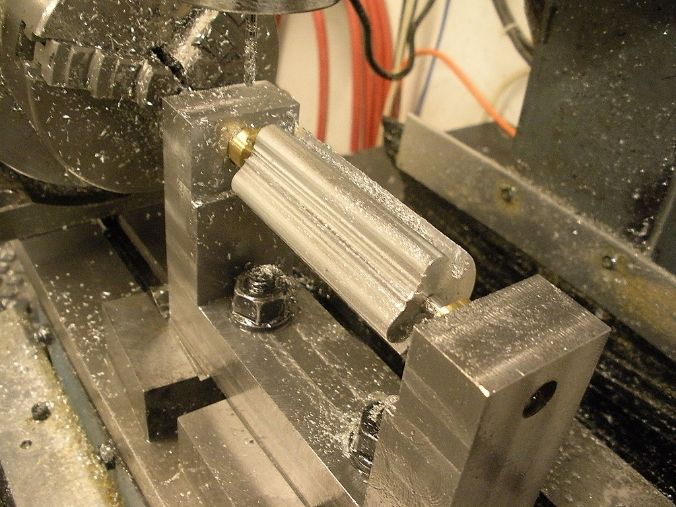
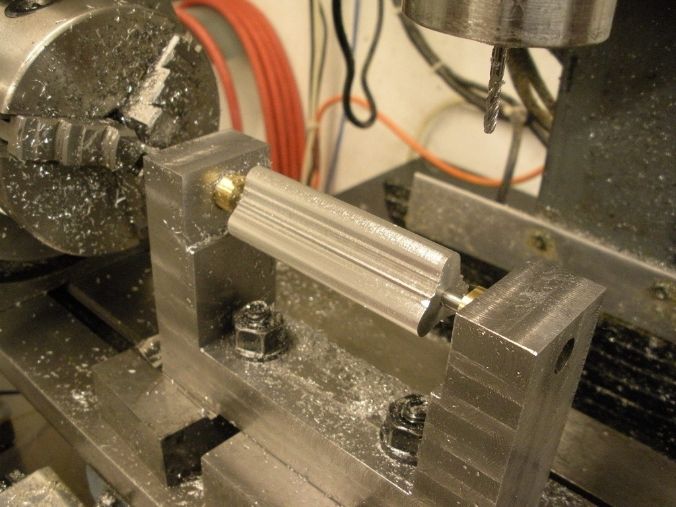
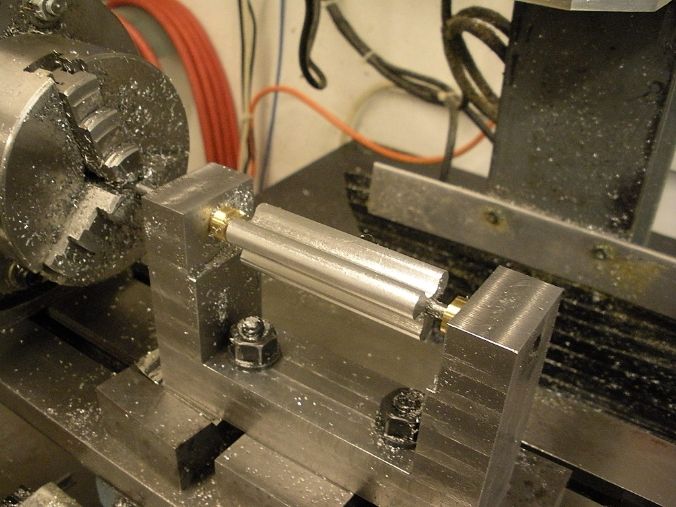
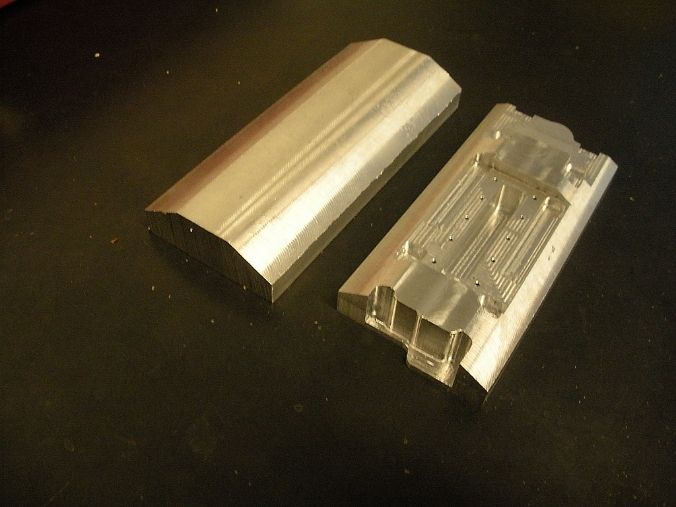
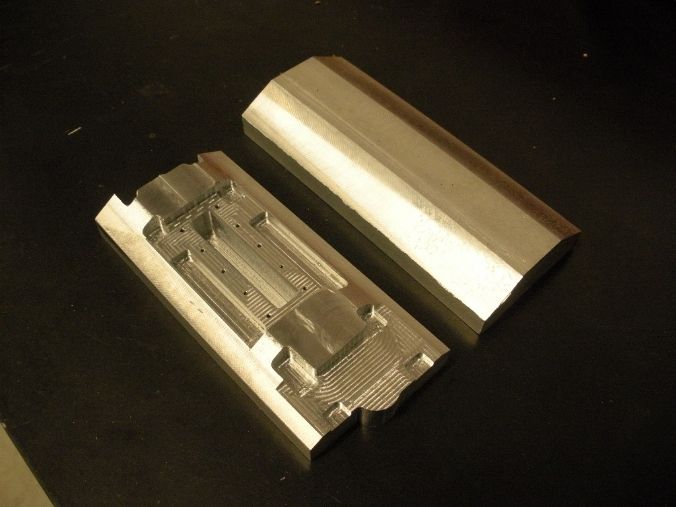
I got the bug to make a few parts for the Demon blower. I have a lot of prototype parts but have never built one so I decided to make the intake manifold and go up from there. I used the manual mill to rough out the basic shape of the intake and then the CNC mill to start shaping things. It took 3 tools and about an hour and a half to get to this point.


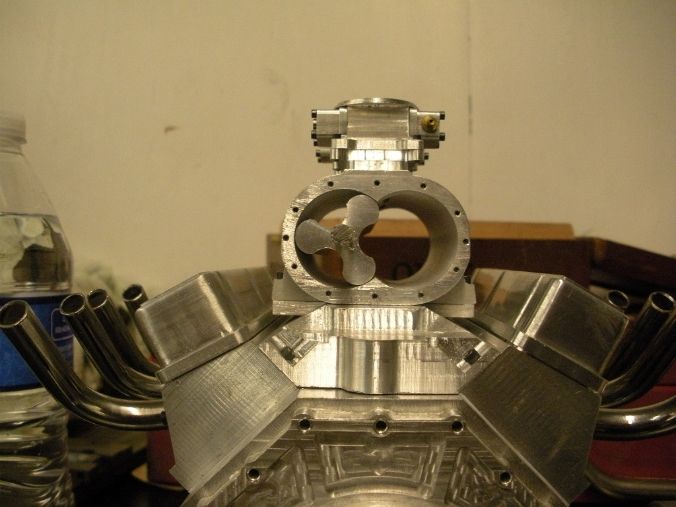
I also made a pattern and poured a few cases for the blower.


I will most likely bounce back and fourth between this and the mini bikes so both builds will take twice as long now.
 
WOW :eek: nice work
do you save any time in doing your casting
compared to machining it
 
WOW :eek: nice work
do you save any time in doing your casting
compared to machining it


Not on the first one. You still have to make the pattern. I was thinking about making the castings available to the people who have purchased the plans. There is one problem with the pattern. If you look at the sides of the case where the front and rear covers bolt on you will see there is a flat spot. The hole pattern can still go on the ends but the alignment pin holes are super close to the side. I would have to fix that problem with some bondo before I could sell the castings. Everything else but that was good.
 
Hi Steve Looking Fantastic. :cool:
Are you running 1 to 1 on the pullys?
I have no idea about sizing my pullys!
Pete
 
Hi Steve Looking Fantastic. :cool:
Are you running 1 to 1 on the pullys?
I have no idea about sizing my pullys!
Pete

I dont remember exactly but I think it was 25% overdrive meaning the blower will spin 25% faster than the engine. The blower being positive displacement will supply X amount of air per revolution. The pistons suck x amount of air per rev so the blower being smaller, it will need to spin faster to give more air. Keep in mind this is a wild ass guess. I have not done the math.
 
I have my blanks made up for the rotors. The length is dead on and the diameter is .125 inch larger than needed. The shaft is a pressed fit but I used a grooving tool and made sone .010 deep grooves and filled them with loc-tite before i rammed the shaft thru.

DSCN0781s.jpg


Here's my setup. The fixture is steel with brass bushings. I spent better than an hour shimming and tapping and indicating to make sure i am perfectly aligned. It's ready to go. If work gets rained out tomorrow I might take a run at one rotor. The RT is for rotating and holding position. The fixture does all the work. With a .188 shaft I didn't want to rely on the RT to support the work. I was worried about the center shaft flexing. I have only allowed .005 clearance in the case so I need all the advantage I can get.

DSCN0779s.jpg
 
Looks great Steve,

The matt finish on the blower housing goes well with the shiny bits on the last picture, post #2.

I am very interested with this thread. Can't stop looking at it, My wife keeps telling me off :D

Baz.
 
Looks great Steve,

The matt finish on the blower housing goes well with the shiny bits on the last picture, post #2.

I am very interested with this thread. Can't stop looking at it, My wife keeps telling me off :D

Baz.

I also like that old skool look of the raw casting. I might put a clear coat on it. Tell the wife I said hello!
 
Looking awesome Steve, love the pulleys.
I wonder though if it would have been possible to machine one extra long rotor and then cut in half to make two rotors?
 
I also like that old skool look of the raw casting. I might put a clear coat on it. Tell the wife I said hello!

Sounds good, can't wait to hear it, told the missus you said hello, disappointed I didn't get a bight, Damm! ;)
 
Looking awesome Steve, love the pulleys.
I wonder though if it would have been possible to machine one extra long rotor and then cut in half to make two rotors?


No reason you cant. I want to have the shafts pressed in and machine them on the shaft so they are concentric. .005 clearance in the case so these have to be perfect.
 
All went well with the first piece. In this extremely poor quality video you can see the blank has been rough cut and the profile of the lobe is getting cut into the blank. The profile gets cut and then the cutter steps over 3 thousands and cuts again. The cutter walks all the way down the length of the piece. The part is rotated 120 degrees and the same program is used 2 more times.

[ame]http://www.youtube.com/watch?v=wF3fiEoAVKA&feature=c4-overview&list=UUTCVWcFfA5u7dc0yWJTTr7w[/ame]


After 2 runs

DSCN0784s.jpg


After all 3 runs

DSCN0787s-1.jpg


Then the blank gets rotated 60 degrees and this program is run 3 times every 120 degrees. This one works the same way and cleans out the valleys.

[ame]http://www.youtube.com/watch?v=jhOgIGKxnC0[/ame]


DSCN0788s.jpg


DSCN0791s.jpg


DSCN0793s.jpg


DSCN0795s-1.jpg


If all goes well I hope to clean up, setup the second blank, and get it indicated in and ready to cut for friday.
 
Back
Top