Blower for The Demon V8

Home Model Engine Machinist Forum

Help Support Home Model Engine Machinist Forum:

This site may earn a commission from merchant affiliate links, including eBay, Amazon, and others.
They aren't showing up on the PB site either. And I really want to see them. I've been following this build from the beginning.
 
Yeah doesn't work for me either.
You sure you've logged out of PB when you try this Steve? I'm guessing as owner you are still able to see the pic's on PB but no one else can.
 
Hey mate
Out of interest where did you have to file etc to make the profile work?
saw photos the other day looked great. Cant see any photo's now though
 
if i remember correctly it is a cycloid or hypercycloid.... one of the cycloids

i was fascinated by Steve's motor way back when and drew this up after chatting with him. i think my file has a zero offset at the moment. the surfaces of the lobes will be in rolling 'contact' with each other. ie: a zero relative velocity between the two lobe surfaces.

View attachment ROOTS.zip
 
Hey mate
Out of interest where did you have to file etc to make the profile work?
saw photos the other day looked great. Cant see any photo's now though

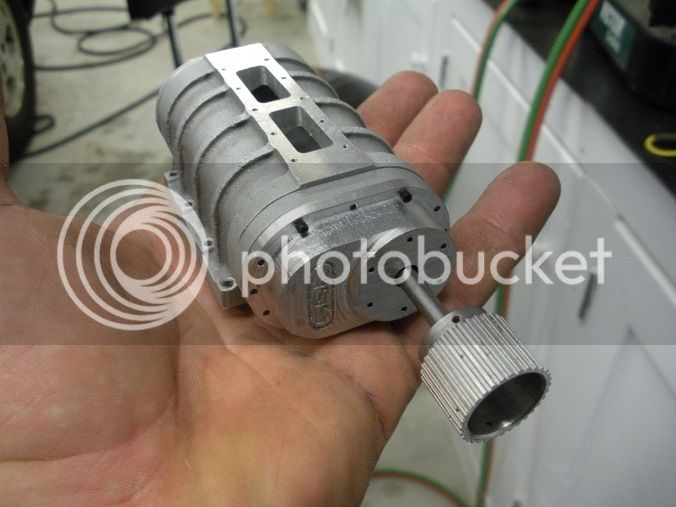
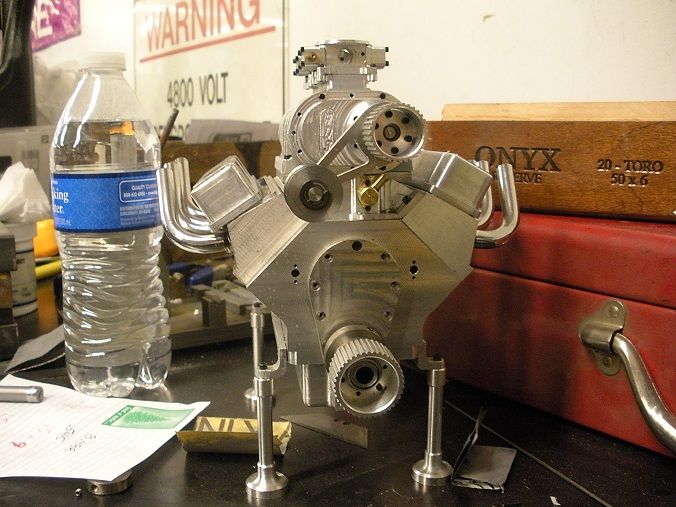
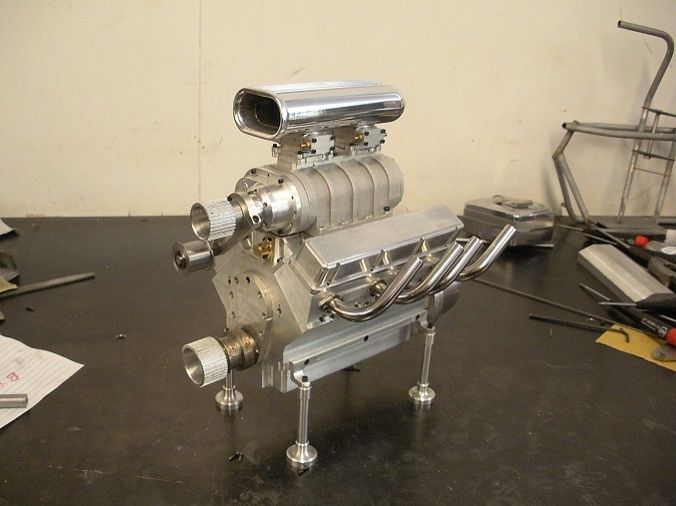
The rotors are machined with a .005 clearance from each other and the blower case. IN REALITY you factor in

Back lash in the CNC machine. Backlash is just a reality. Every machine that costs 1200 bucks to build has it. Under .001 even after 3 years of use.

The resolution of the CNC machine. Another factor that is just a reality that has to be dealt with.

When setting up the machine X, Y, and Z must be set up perfectly.

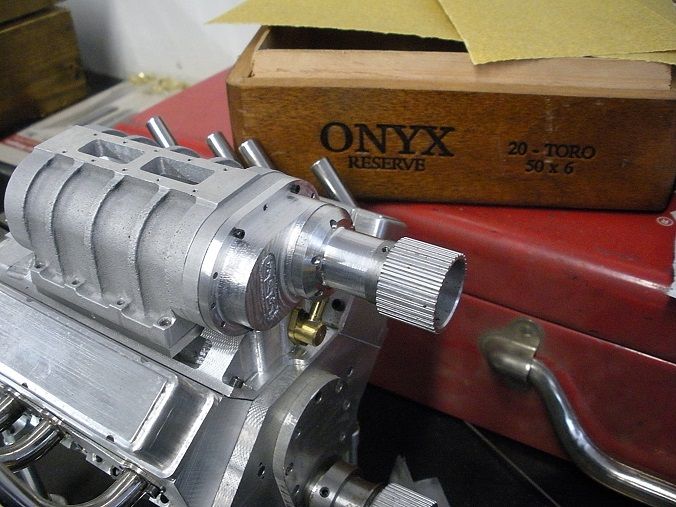
When the case was machined the hole pattern to bolt on the bearing plate was created. Then the case was rotated 180 degrees, and the two rotor bores were made, the bores had to line up with the bolt pattern that is now at the bottom of the case. Factor that error. (only missed by .006, Not bad)

All these errors and a half dozen other things that can go wrong can pile up.

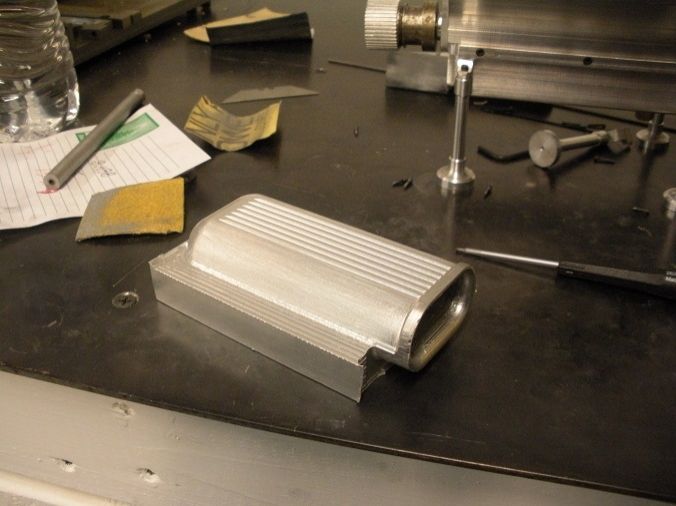
The first thing I did was grab a piece of sand paper and measure how thick it was (.006). Then I turned a piece of stock .012 smaller in diameter than the finished size of the valleys and made sure they were exactly to size. After all 6 valleys were done the rotors would turn about 3/4 of a turn freely. Then I installed the rotors in the case and sanded the bores until both rotors spun in the case freely. Then installed them both, geared them together and gave them a twirl. Dissassemble and look for scuffs. Then polish, assemble , spin, dis assemble, polish. Keep tracking down the spots that rub until nothing rubs anymore. Its very time consuming but needs to be done unless you have a half million dollar machine and 20,000 dollar software.

If everything was spot on none of that would have to be done but I'm not that good.
 
I have the new gear cover done. Just need to sand blast it and thread the holes.

DSCN0813s.jpg
 
This is really weird yesterday I post I can't see the picture
today I go back at it and the picture is in my reply:eek:
 
Well i'm done for the day.

The adjusting bracket I had made long ago. All I had to do is drill and tap the threads and then slit it so it would snug down on the snout. Then I threaded it so the idler wheel pin would thread into it. The idler pin I cheated a little and used a piece of 9/32 hex bar I had on hand. The idler wheel itself is to the drawing. Alignment looks very good with the crank pulley. I need to get a belt so the pictures will be much cooler.

DSCN0817s.jpg
 
The blower unit itself is 99% done. I still have to make gaskets. I think I'm going to try to make the air scoop next. What I think and what I do is sometimes 2 different things but for now that's the plan. I am working on getting the belt length nailed down. Soon the belt will be in the pictures.


DSCN0820s.jpg


DSCN0821s-1.jpg
 
I am working on getting the belt length nailed down. Soon the belt will be in the pictures.

Blower pulley looks a tad smaller, whats the drive ratio?

I was proud of my homebrew manually spin up three phase converter, but you got 4800 volts in your shop! :bow::bow::bow:
 
Looks awesome Steve, how about a video down the blower intake with the rotors turning.
 
Looks awesome Steve, how about a video down the blower intake with the rotors turning.

I have to tear it apart again to put gaskets in it. I'll try to remember when that happens.

I am about 70% done with the scoop. To clean out the innerds I plunged a 5/8 ball nose mill into the nose. The chips swirling around scuffed up the inside pretty good. After machining the bottom and fitting it to the carbs, if the finish is decent, i'm going to sand blast it inside and polish the outside to a super shine. I hope to finish it up today and see what I end up with.

DSCN0823s-1.jpg
 

Latest posts

Back
Top