Bazmak-A Model Horizontal Shaper

Home Model Engine Machinist Forum

Help Support Home Model Engine Machinist Forum:

This site may earn a commission from merchant affiliate links, including eBay, Amazon, and others.
Magic,do you have all missing dims?
As I mentioned before the photos in the thread replace a thousand words
When Brian and I have finished all the drawings I hope to do a build log/description as to why and how .If anyone plans to make one it can still
be improved upon
 
I'm getting there. At the moment I'm a bit uncertain of just where those blue and yellow shafts go, but I'm sure I'll figure it out.
 
On the sketch you sent me of this part, item #10, you show 7 holes that appear to be both counterbored and threaded for the bolts which bear against the brass gibs. There is no info on the sketch about size, dimensions, or threads on these four holes. Can you please add that info and resend that sketch.---Brian.
 
So far, so good.--What kind of bushings are between that 6 mm yellow shaft with the two bearings on it and the rectangular tube? Where does the blue shaft go ---it is 6 mm diameter x 55 mm long.
 
Last edited:
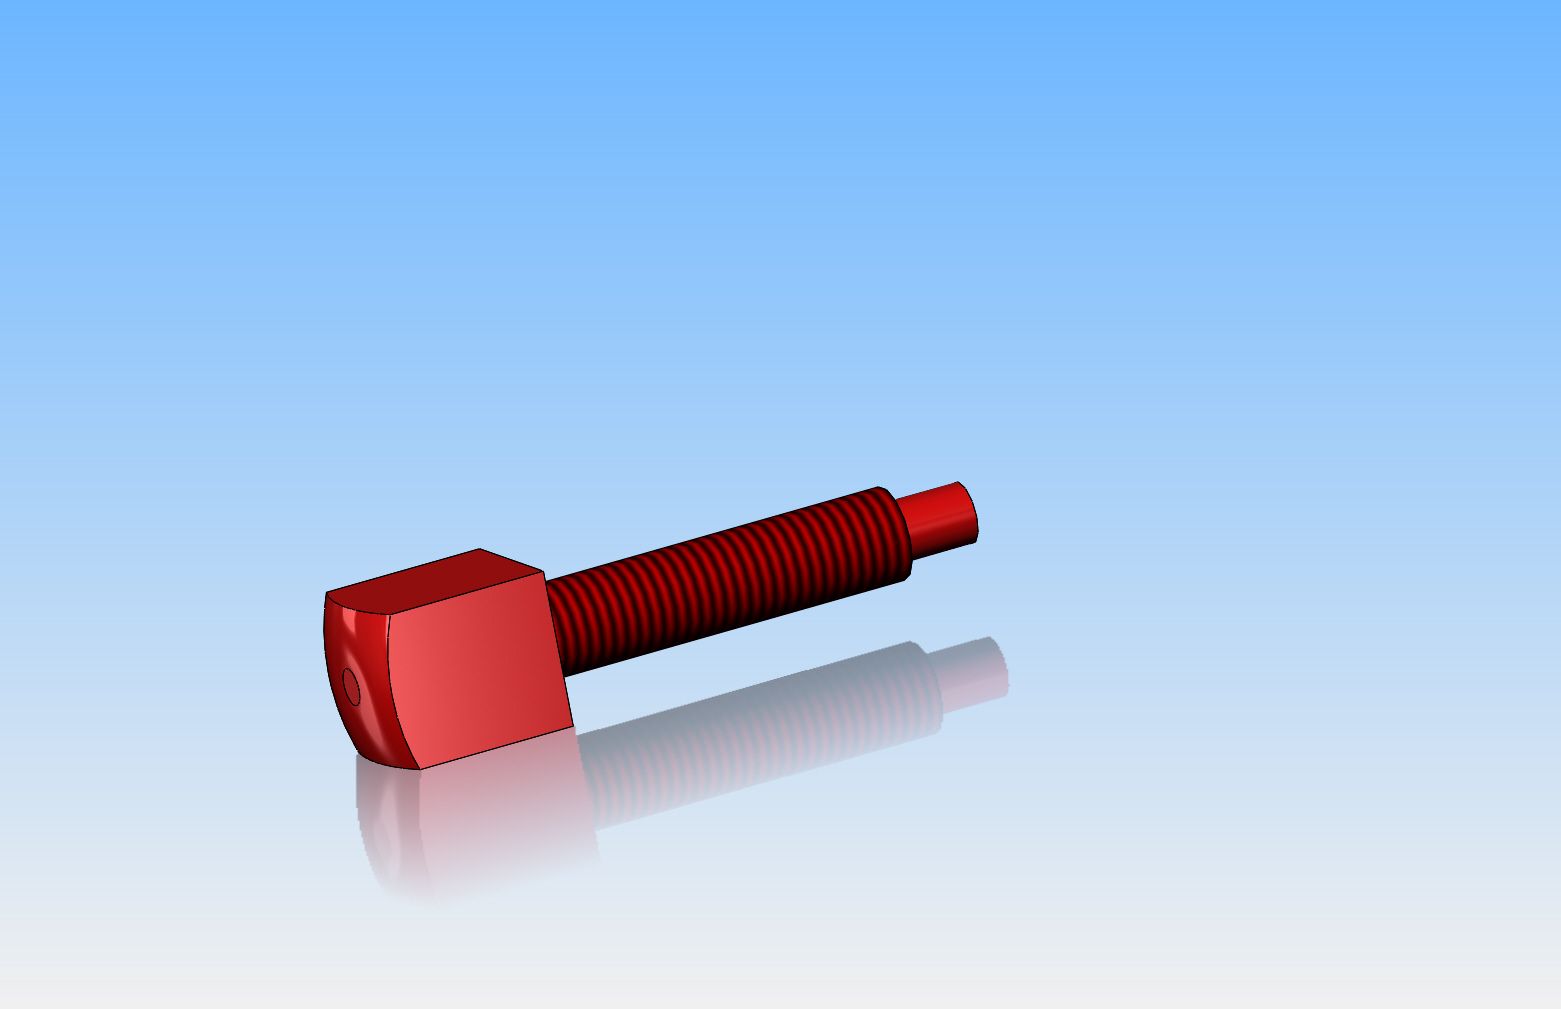
Barry---We are going to have to find somebody to "proof" all the drawings I create, by building one of these after I get the drawings finished. I don't really care where they are in the world, but they are going to have to be experienced machinists, who are comfortable working in metric. This is not a project for "New-bees". Another very important factor in any drawings I make, is that the orthographic views will be in "Third angle projection" as is common practice in North America.---Not in "First angle projection" as is common to Europe. The sketches which you sent me are all in "First angle projection" and I had a difficult time reading them.----Brian
 
Hi Brian,most of these parts I designed/made with hardly any drawings
just as you do with your engines.I do not class myself as a top class eng/machinist and find it easy to understand simply because I have made it and assembled it many times just as you have.I believe there are are people out there who want to make one.I planned to get from you a full set of drawings and go thru them for any major ommisions/problems and also make a comprehensive build sequence/description and bolt list etc.The drawings as yet are for your cad drgs not for production as they do not have any tolerances
My general practice was to drill a hole and make the male part to fit most of the parts fit together as suck it and see.I don't think that all the details could be made as drawn and then assemble together.Its trial and error and build as you go.There are parts already that I see as being improved upon
1-iterm 7 goes thru the ram with 2 roller brgs trapped in the central slot
see photos in thread
2- the 6 x55mmpin is a light push fit thru the clapper box for item 16 to pivot
As I said the details are grouped with the items they assemble to and drawn 1st or 3rd angle to indicate there location
Keep going Brian we will get there,and the best part is you will be as expert as me
 
Actually, Barry,--I completely design my engines and create detail drawings before I ever switch on a machine. I wouldn't even try any other way. It's all a matter of how you got to where you are now. I had 46 years of design experience before I ever owned a lathe or a mill.---Brian
 
I went the other way with this.Very few drgs and dims so I am finding it difficult
to detail and dim,to make it easier for you.But I think we are getting there
Are you using 2 or 3D ?.Do you detail all the items and then assemble them in a GA.Orthographic or can you rotate to find problems.Its more simple to call a 16dia hole and fit a 16 dia shaft for you to draw but at some stage I will
have to add limits and fits etc and a build description.However I think you are underestimating the skill of the majority of model engs out there.Apart from a newby I think most will be able to build from our info and probably improve
it somewhat.Can you email me a sample detail and part ga so I have an idea
of what else may be required.Further details emailed next
 
Barry--the way it works is that I use your sketch information to input the math data and create the 3D part. When I then pull the modelled part onto a detail sheet, the drawing views are created automatically, and the dimensions are drawn from the math data I used when creating the part models. I choose where the dimension lines go, but the software supplies the actual dimension that fits inside the dimension lines. I use 3D, but the way 3D works is that I first do a 2D sketch of a part using all of the math data from your sketches to fully define the part. Then I extrude the part into the third dimension to get the "depth" of the part. I don't add any fits or tolerances when designing at the part level. I create a 16 mm shaft to fit into a 16 mm hole. Tolerances get added at my discretion when the dimensions are added to the detail sheet. Tolerances are not an automated function. I add them manually.
 
Barry---I need the part numbers for all the items on the clapper box drawing. Also you reference part #16 in your written notes, and I don't know which part that is.---Brian
 
Barry--I think there may be something wrong with the sketch of it#20--the leg that you have dimensioned as 21.5 long is sticking down into the part below it as can be seen in this cross section.
 
Hi Brian, the 21.5x11wx5.5w leg goes to the front and the 17.5 x5.5w leg to the back
try turning the table top round 180o Shown on item 22 drg
item 16 is the 40x30x12 flat that lifts on the return stroke
Will send the revised sketchs with the next batch.Almost there about 75% complete.You sent me a private message how do I get to it. got the PM Regards barry
 
Last edited:
Hi Baz,

Gus would like to be the first customer to buy your shaper drawings. Was trained to use shaper in Trade School. Much as I like,I have no room for a full size shaper. Would be great to build this mini shaper.
 
Most of the drgs are done.When ready hopefully Brian will be able to upload
to HMEM.Free download I cant wait for someone to make it.Would like to add a build description as to why I did what and hopefully some improvements
Just got the last inst. of the mag Nothing new so I did well changing all dims and a lot of design/details without problems.Hopefully someone will make a quick start and we can keep this thread going.The unit is stripped down at the moment for me to measure and sketch parts.Brian is doing a computer drg
I found it rather easy to make without drgs etc and its a nice project.As soon as I finish the drgs I will rebuild it and adjust a few things before making a better video of some useful work. Will keep you posted Regards barry
 
Hi Bazmack
when your plans are all done I'm a customer
thanks to you and Brian for the work done

cheers
 
Thank you Brian,i downloaded the software and had a quick look at work in progress thru your eyes. Absolute magic will have to start exploring,do you think its too late for me to learn?? More drgs emailed almost finished the we can tidy up any loose ends. Regards barry
 

Latest posts

Back
Top