A V8 Maybe

Home Model Engine Machinist Forum

Help Support Home Model Engine Machinist Forum:

This site may earn a commission from merchant affiliate links, including eBay, Amazon, and others.
Hi George
At this point in time something reasonable that works will be just fine, the plans are very confusing and changes are needed to almost every part.
As you know when you change one thing it often snowballs :fan:
Hi Johnny
Thanks Mate
Im using the standard GM cyl numbers, the firing order on the plans is 16327458 and does not seem to work with the crank but both the standard chevy firing orders 18436572 and the one you quoted 18726543 seem OK
By the way you quoted me before I got my editing done and EVC should be after top dead center not ABDC.
I tell you Steve this thing is confusing the heck out of me, Cyl number two is on the left from the front but as you say it is forward on this Engine.
Pete
 
Hi:

This is a great project. What are you planning on doing with it?

I am and I am sure others are looking forward to following this great project.

Thanks,

Terryt
 
Hi Terry
Thank you very much for that, and as far as "what I will be doing with it ?"
Historicaly once ive got a motor running I just put it in the display case and start something else :hDe:
Occasionaly I pull one out to tweek something but I seem to lose a lot of interest once its running scratch.gif
Pete
 
Hi Guys
Ive started line boring the Cam tunnel now.
Its about .740 now and I hope to get it finished tomorrow.
Pete
 
Pardon my inexperience, but can you explain a little more about the line boring setup you have there?
 
Hi Bent Rods
I'll try to explane a little of what ive done for you.
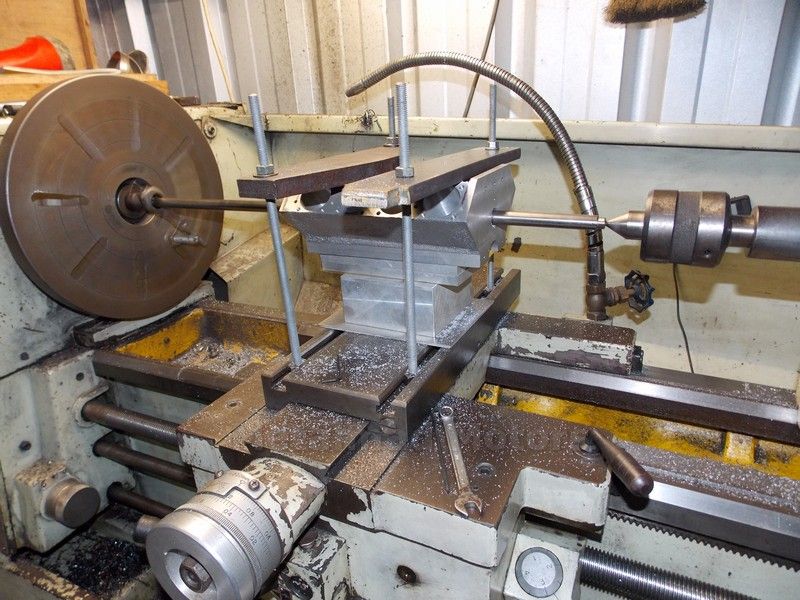
After taking off the Compound, I put my height gauge on the cross slide to find the exact center hight, this was taken from a dead center in the head stock.
I then subtracted the center hight from the sump to the Cam tunnel hight, this gave me the packing height. This I made up from some alli blocks using my height gauge, I was lucky and only needed one shim.
I then set a mic with a magnetic base to set the block true on my datum, once that was done a wobbler was used to center the dead center with the center hole in the old Cam blank inserted in the Cam tunnel.
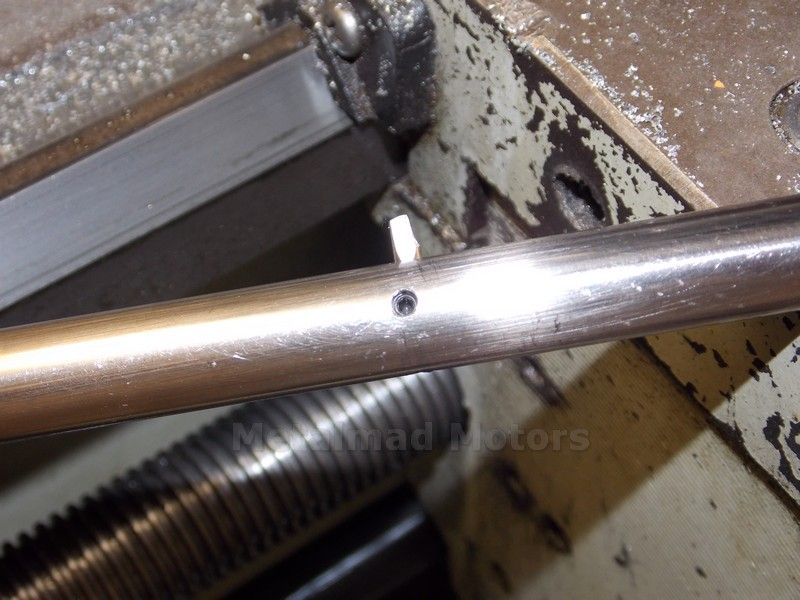
The Boring bar I made out of a bar taken from an old printer, I cross drilled 1/8 and ground up a cutter from a broken drill bit. I held this with a 3 mm set screw.
remember when you set your cutter, it will be upside down if your turning Anticlockwise.
Easy as that.
Drilling a hole can not compare with line boring for accuracy!
But Take what I do with a grain of salt Mate, Im self taught and more often then not, am doing something for the first time myself ;D
Pete
 
I have been following along in the background here Pete keeping quiet. Engine is looking great. It really is a big model isn't it?

Brock
 
Hi Brock
Yes its huge but I really like the 1/3 scale V8's
can still be displayed but more than a toy!
Pete
 
I've belonged to some metal casting forums for a number of years. I've seen lots of people start with all kinds of first projects to learn the art and science of casting. Ash trays and simple household objects are the most common. I have never seen anyone start with such an ambitious project such as a model V8 engine! I admire your can-do attitude and tenacity.

Looking forward to seeing the rest of this thread!

As far as the line boring goes, being a machining newb, I'm having trouble picturing how the cut is being made. Is it possible to see a picture of the tool by itself without the work piece?
 
Hi Moya
This build sort of chose itself
I had just watched a utube clip on the supercharged Black widow and thought "I just wonder if I can cast up a block??????"
Well my first attempt was not usable but was close enougth to get me interested.
The next day I learnt from the mistakes made and had a block!
My first solo Casting.:)
After that it seemed natural to see if I could cast another bit and so on.
After a few weeks I had enougth parts to not seem silly and started my build log.
But I did have good reasons for calling it -"V8 MAYBE" ;D
I had never touched a lathe or mill before starting my first Engine and found the free plans on the internet for the "Webster". I then found this forum and the free kersel hit and miss plans, "the Sows Ear" was born, then the gearless "Rattler" and my first multy, ETW's classic twin the "Wallaby".
So you see every one of my Engines have been a learning exercise, but I must admit this one has forced me to grow the most.
Pete
 
Ok, I think I almost get it. I assume the cutter is indexed with a micrometer then clamped using the set screw?
 
Hi Bent rods
Yes thats basicaly all there is to it. The cutter spins in place and the block is slowly auto fed over it. :)
I have decided to press bronze bush's in for the 3 central bearings and as I want to be able to take out the cam, have machined a counterbore to bolt in the front bush, the back bush will still be pressed in.
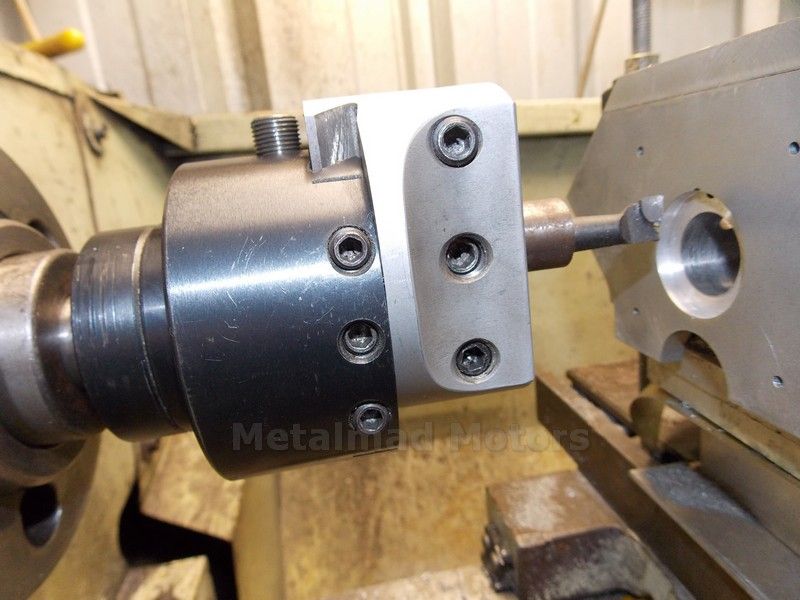
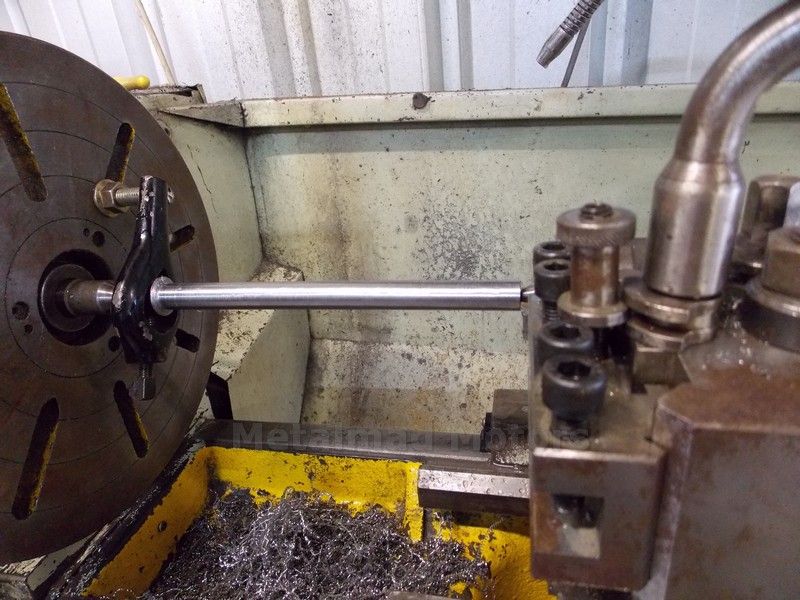
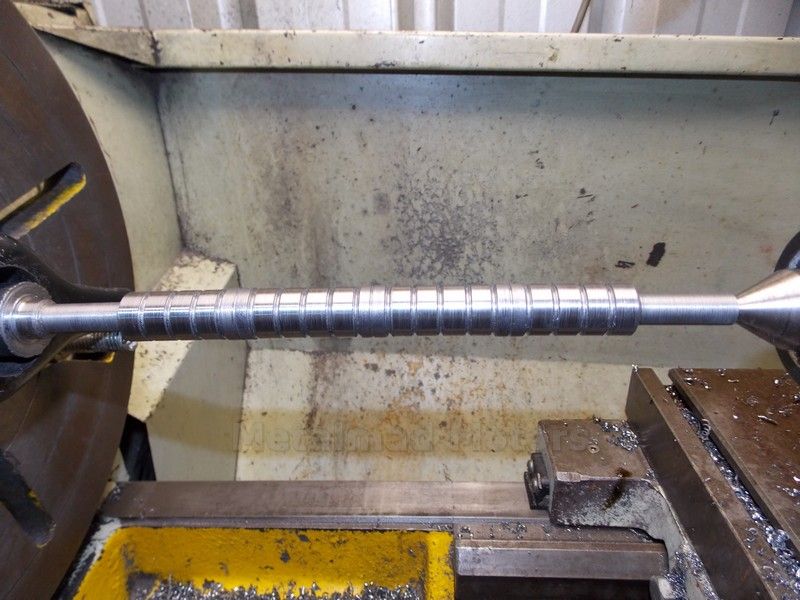
After making up a draw bar for the lathe, I fitted my boring head and did my counterbore and then set up between centers and machined the Cam blank to bearing size.
Pete

 
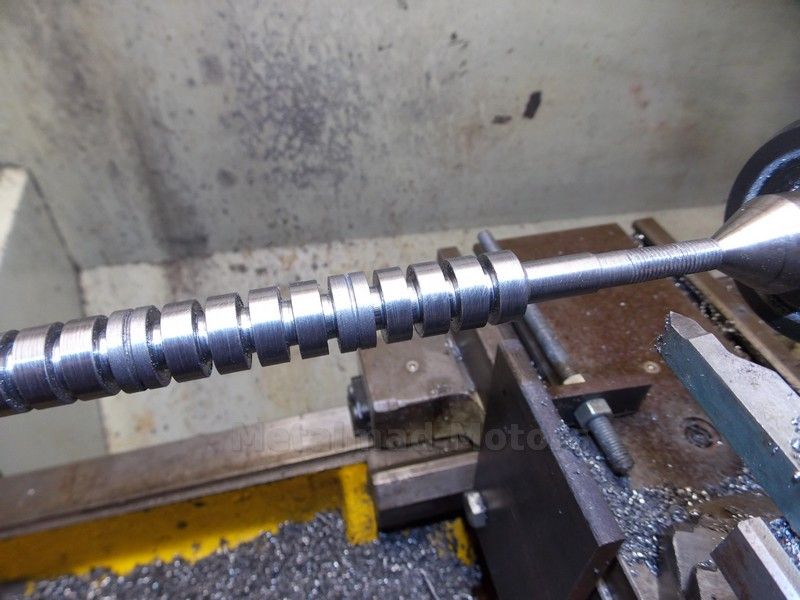
I had to turf all the sheet figures and start again, bit stressful but the blank has been started.
Im wondering if I should leave the ends 3/8 until after the lobes are cut, will have another look at it after work tomorrow.
Pete
 
Got a little more done on the Blank and fixture and am almost ready to cut the Cam.
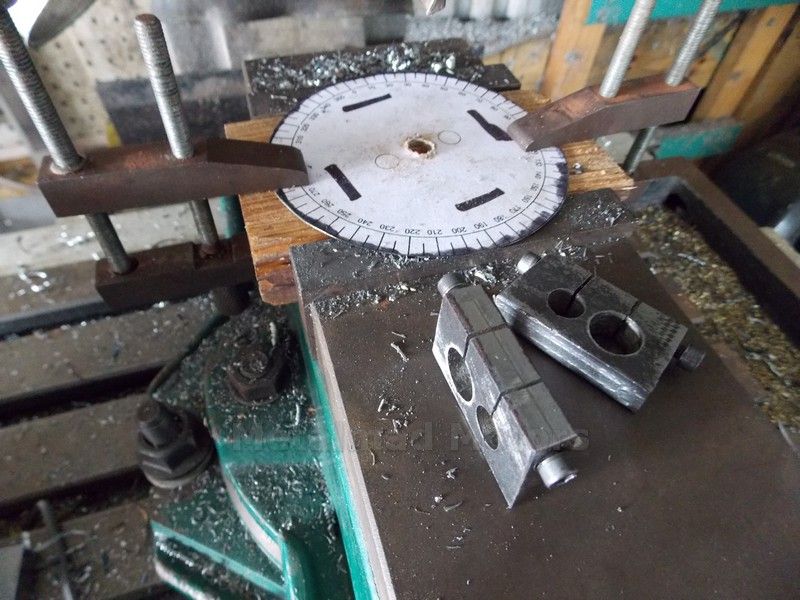
I glued a degree wheel to a bit of tin and drilled 5/16 and then threaded the blank 5/16-24 on the lathe. Have not got a nut yet.
Pete


HI metalmad

:p very nice!


Your engine do very good


I'm a bit worried,Such a large torque of the engine


No pressure casting strength is enough?


I am a Chinese my English is very bad
:fan::fan:
 
Hi Happy
You have seen the lovely quality of the metal in the castings, they will be fine.
My rear bulk head casting was not the best, but all that runs in that, is the distributor and will be bolted to a bell housing for support as well.
I really think that the castings are the least of the problems that must be faced before its done, will I be able to get the Walbo Carbys to work?, how can I sync them? will my Cam work?, will the Blower work or the Engine run at all? will it rain?:confused:
All questions that worry me, but the castings don't, at least not yet!:fan:
Cold Chamber pressure Casting is only for high volume work and yes it does give high tensile casting strength, but that is offset by my much thicker castings.
Other problems with cold chamber pressure casting are the dies need to be made of hardend tool steel and driven hydraulicaly.
I just dont need 15 casting cycles per Min :eek:
Hot Chamber pressure casting is not really used with alli Im told, as the dies tend to disolve in the metal, This is more for zinc etc.
Pete
 
Metalmad--You are doing great work, and I follow along faithfully. I too am astounded by the giant leap you have made, from a few small models to such an ambitious project. However, you seem to be chewing your way through it with great success. As far as casting aluminum with permanent molds---We did it all the time at Volkswagen of Canada, casting aluminum wheels for Volkswagens. The molds were made from H13 heat treated steel, and yes, erosion by the molten aluminum was a constant problem. That was a low pressure casting process. We also did a lot of high pressure casting of smaller aluminum pieces with high pressure multi cavity machines, and there too the molds washed out very quickly. Our annual budget for mold repair and maintenance ran into the millions of dollars.---Brian
 
I love how you just get in there and do it! I have procrastination down pat. Everything else is still in the planning stage :D
 
Hi Brian
Thanks for following along and shearing the journey with me.
Im thinking of using a permant mold for the con rods, but have not come up with any pattern ideas yet.

Hi Mknorr
Im not so good on the planing Buddy, I just like to cut something :fan:
Pete
 
Back
Top