A new attempt at making piston rings

Home Model Engine Machinist Forum

Help Support Home Model Engine Machinist Forum:

This site may earn a commission from merchant affiliate links, including eBay, Amazon, and others.
The piston and rings went back into place with flat screwdrivers, fingernails, and prayer. Everything is back together and hooked up. I'm getting pops and farts but no continued action. Considering that the new rings do have to "wear in" a bit for a really good seal, I may move my operations out to the main garage and hook it up belt driven by my electric motor.---I'll leave the sparkplug electrics turned on, and if I've lived right it should begin to fire after its ran in for a while.
 
Or you can cheat. Motor Honey -- it's not just for selling clapped out used cars!

1619196584977.png
 
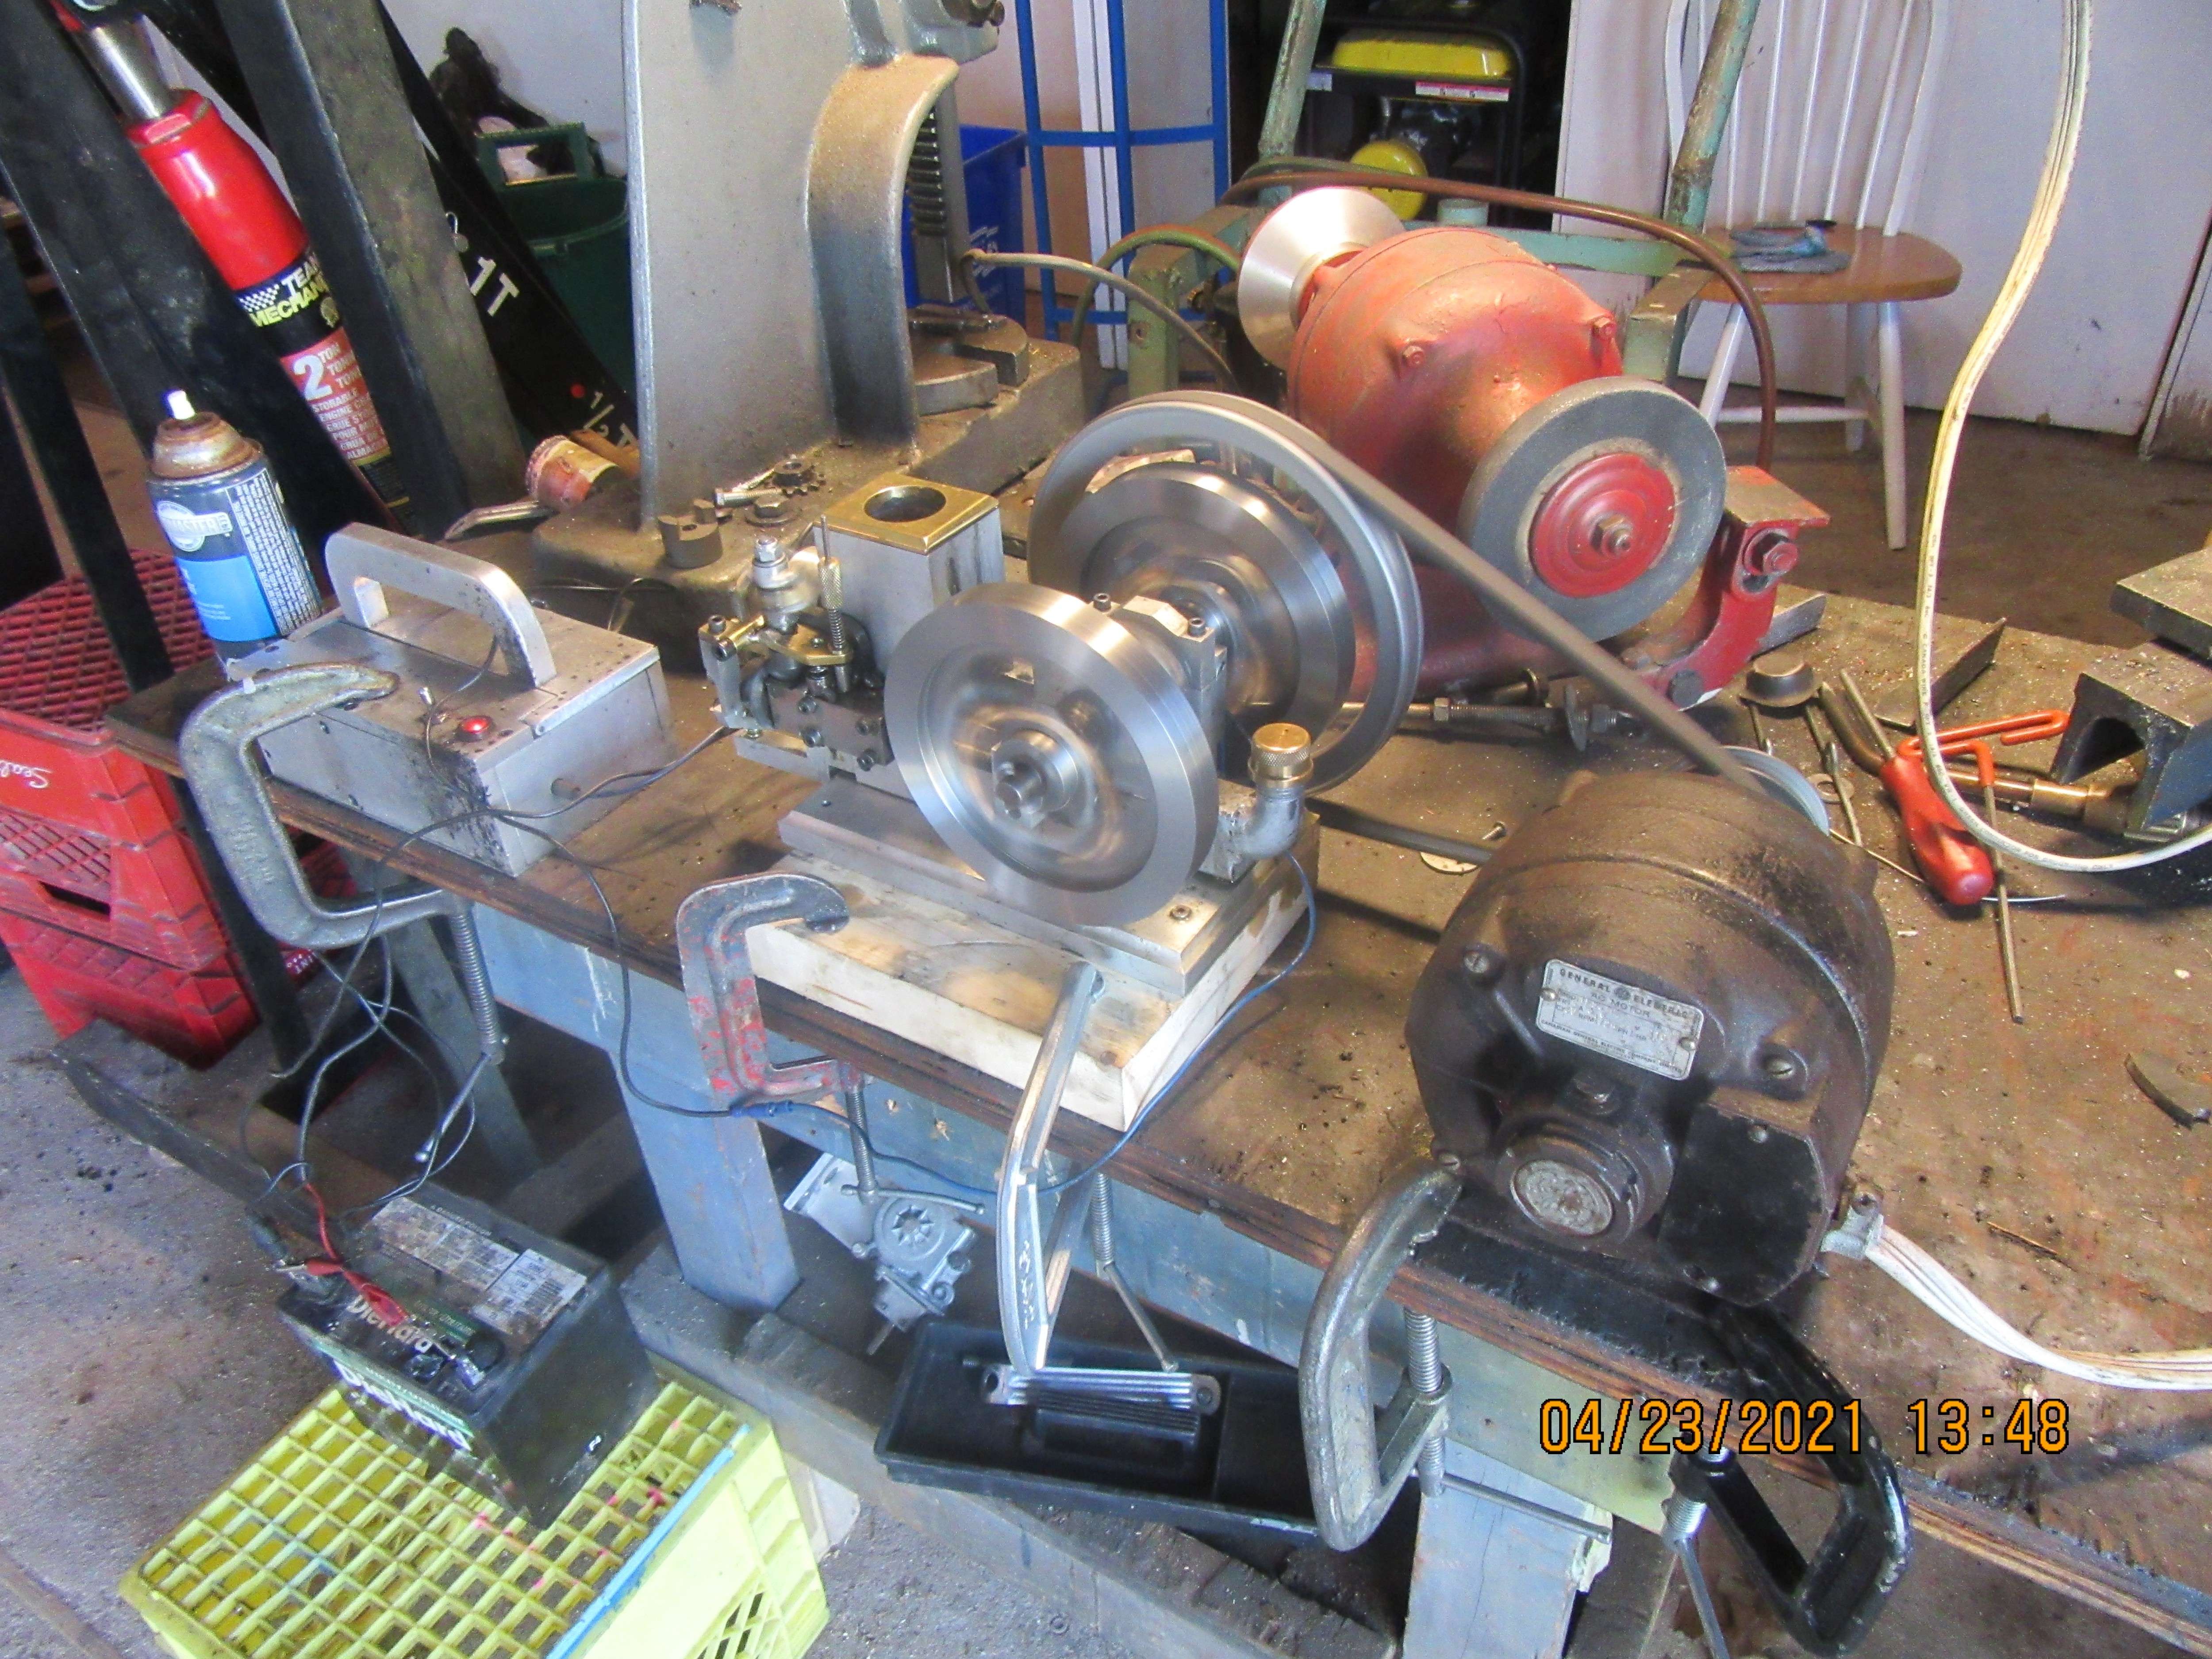
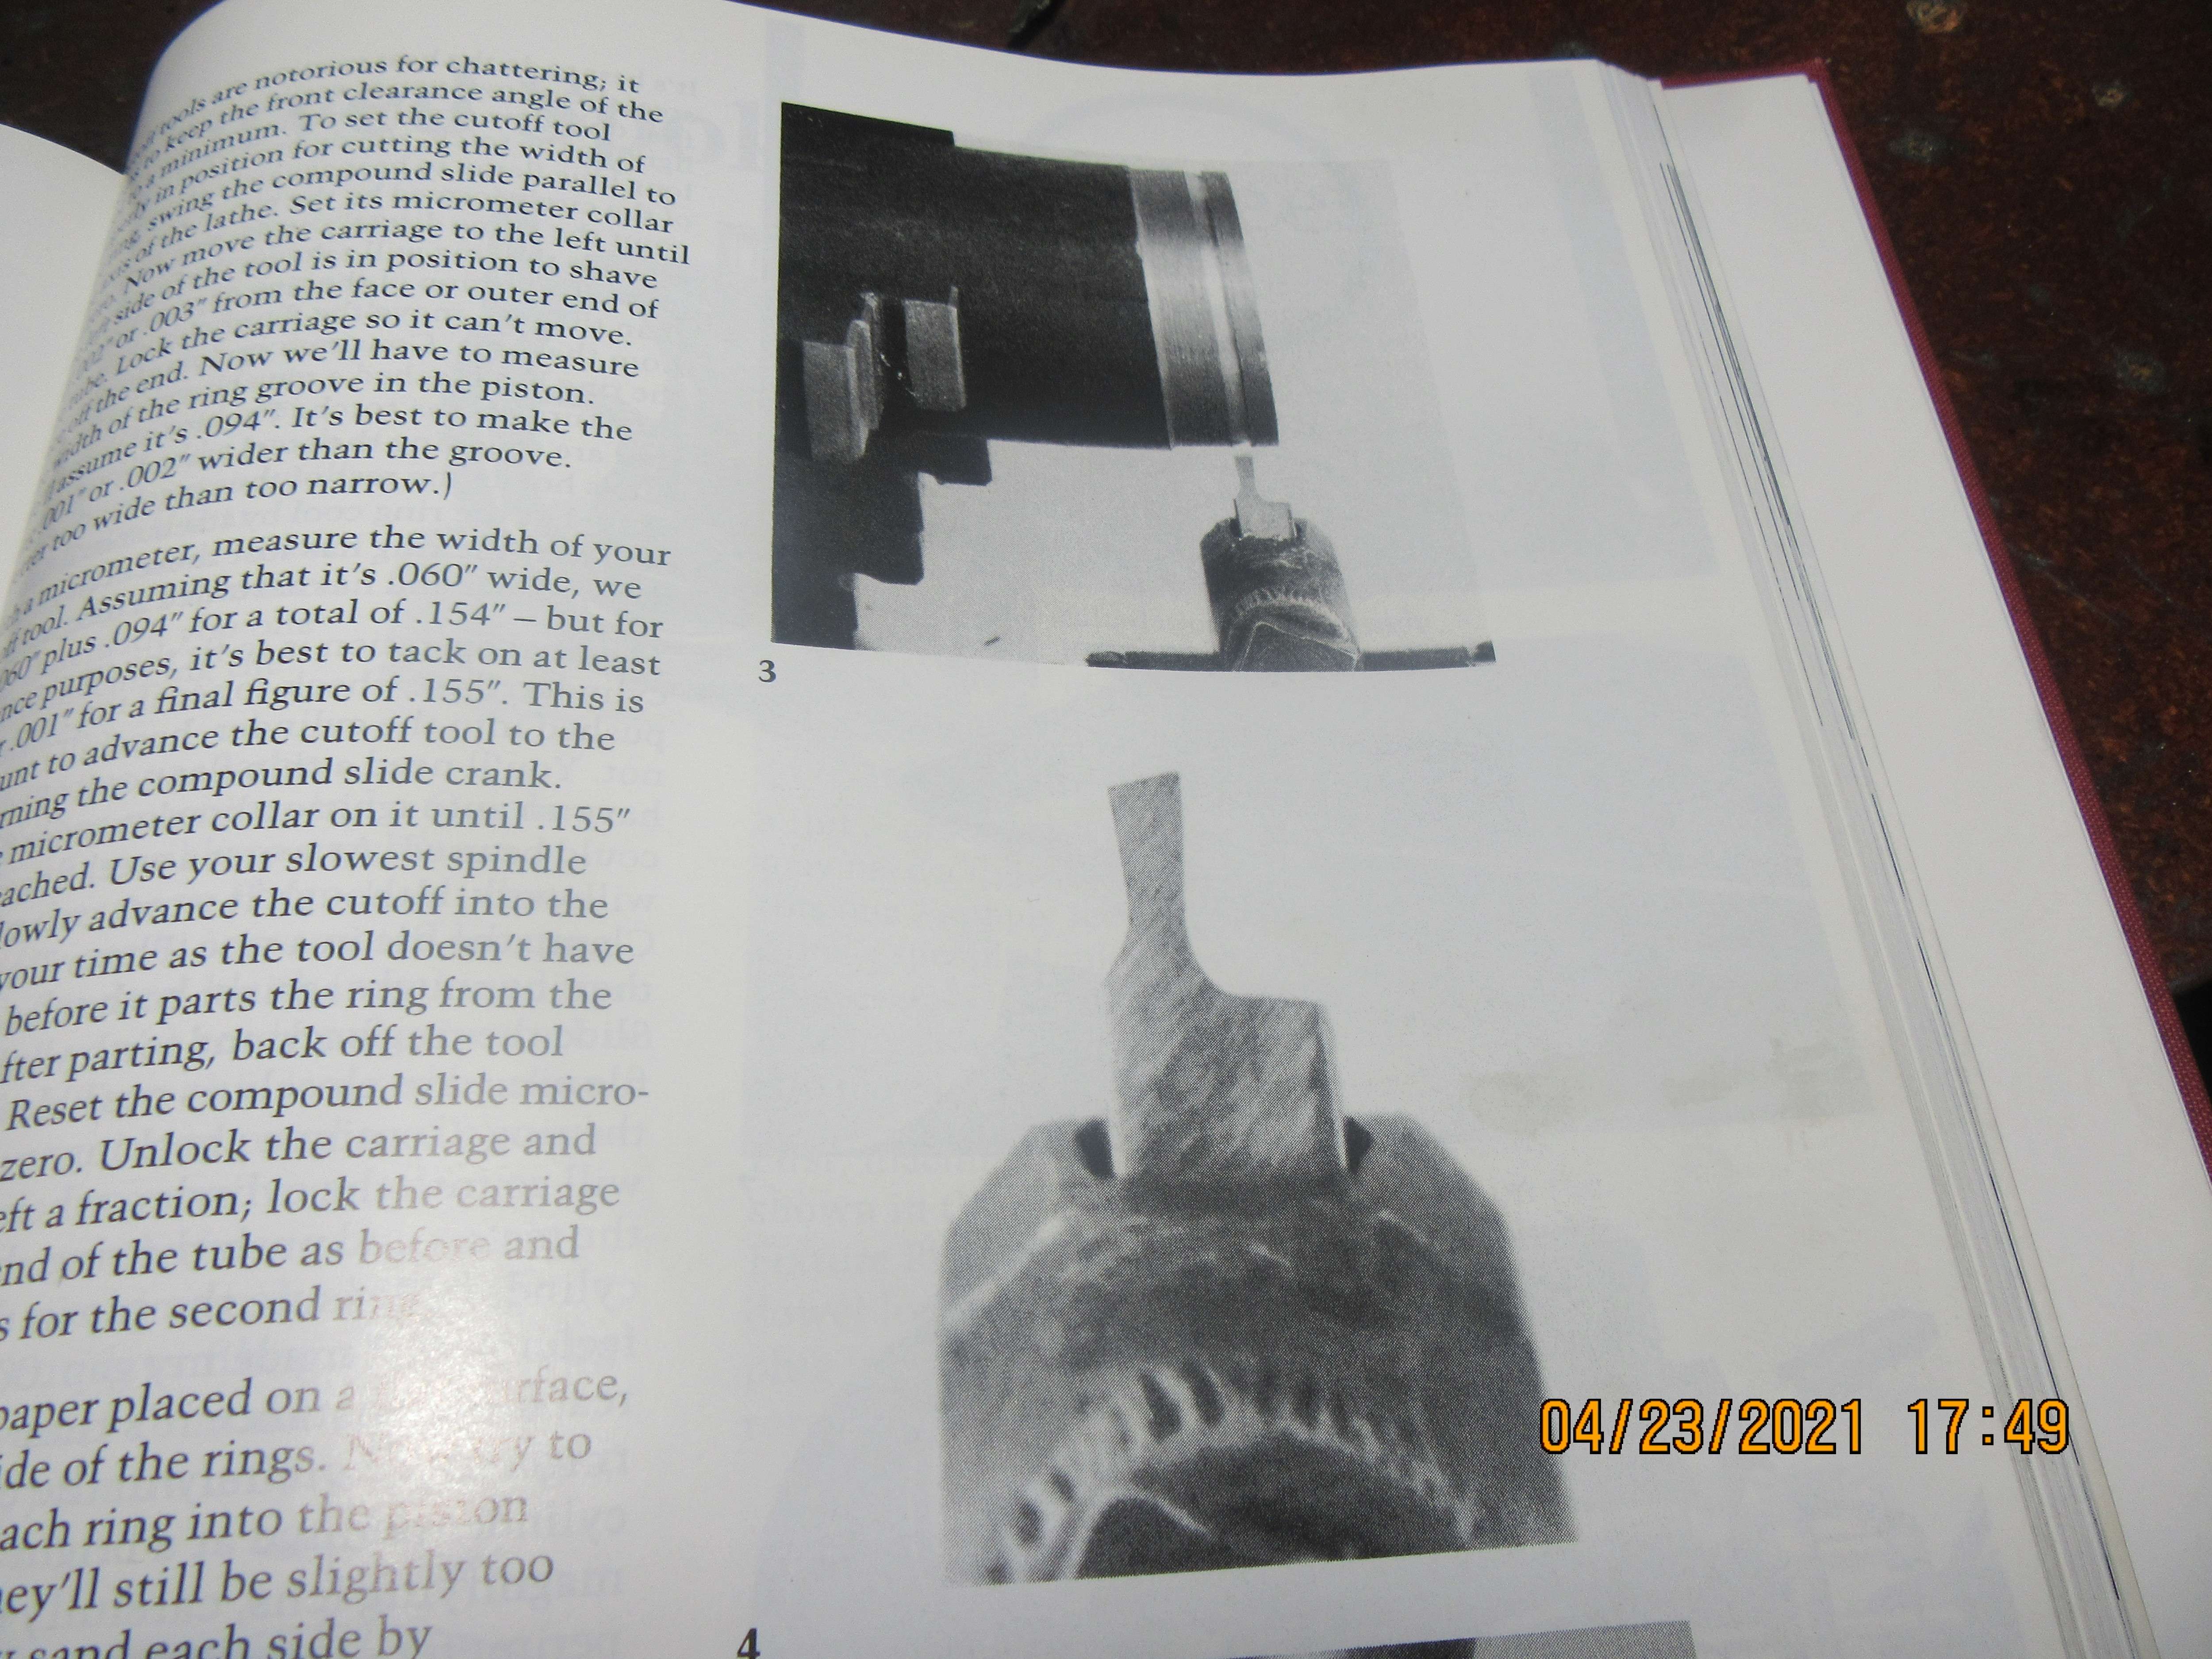
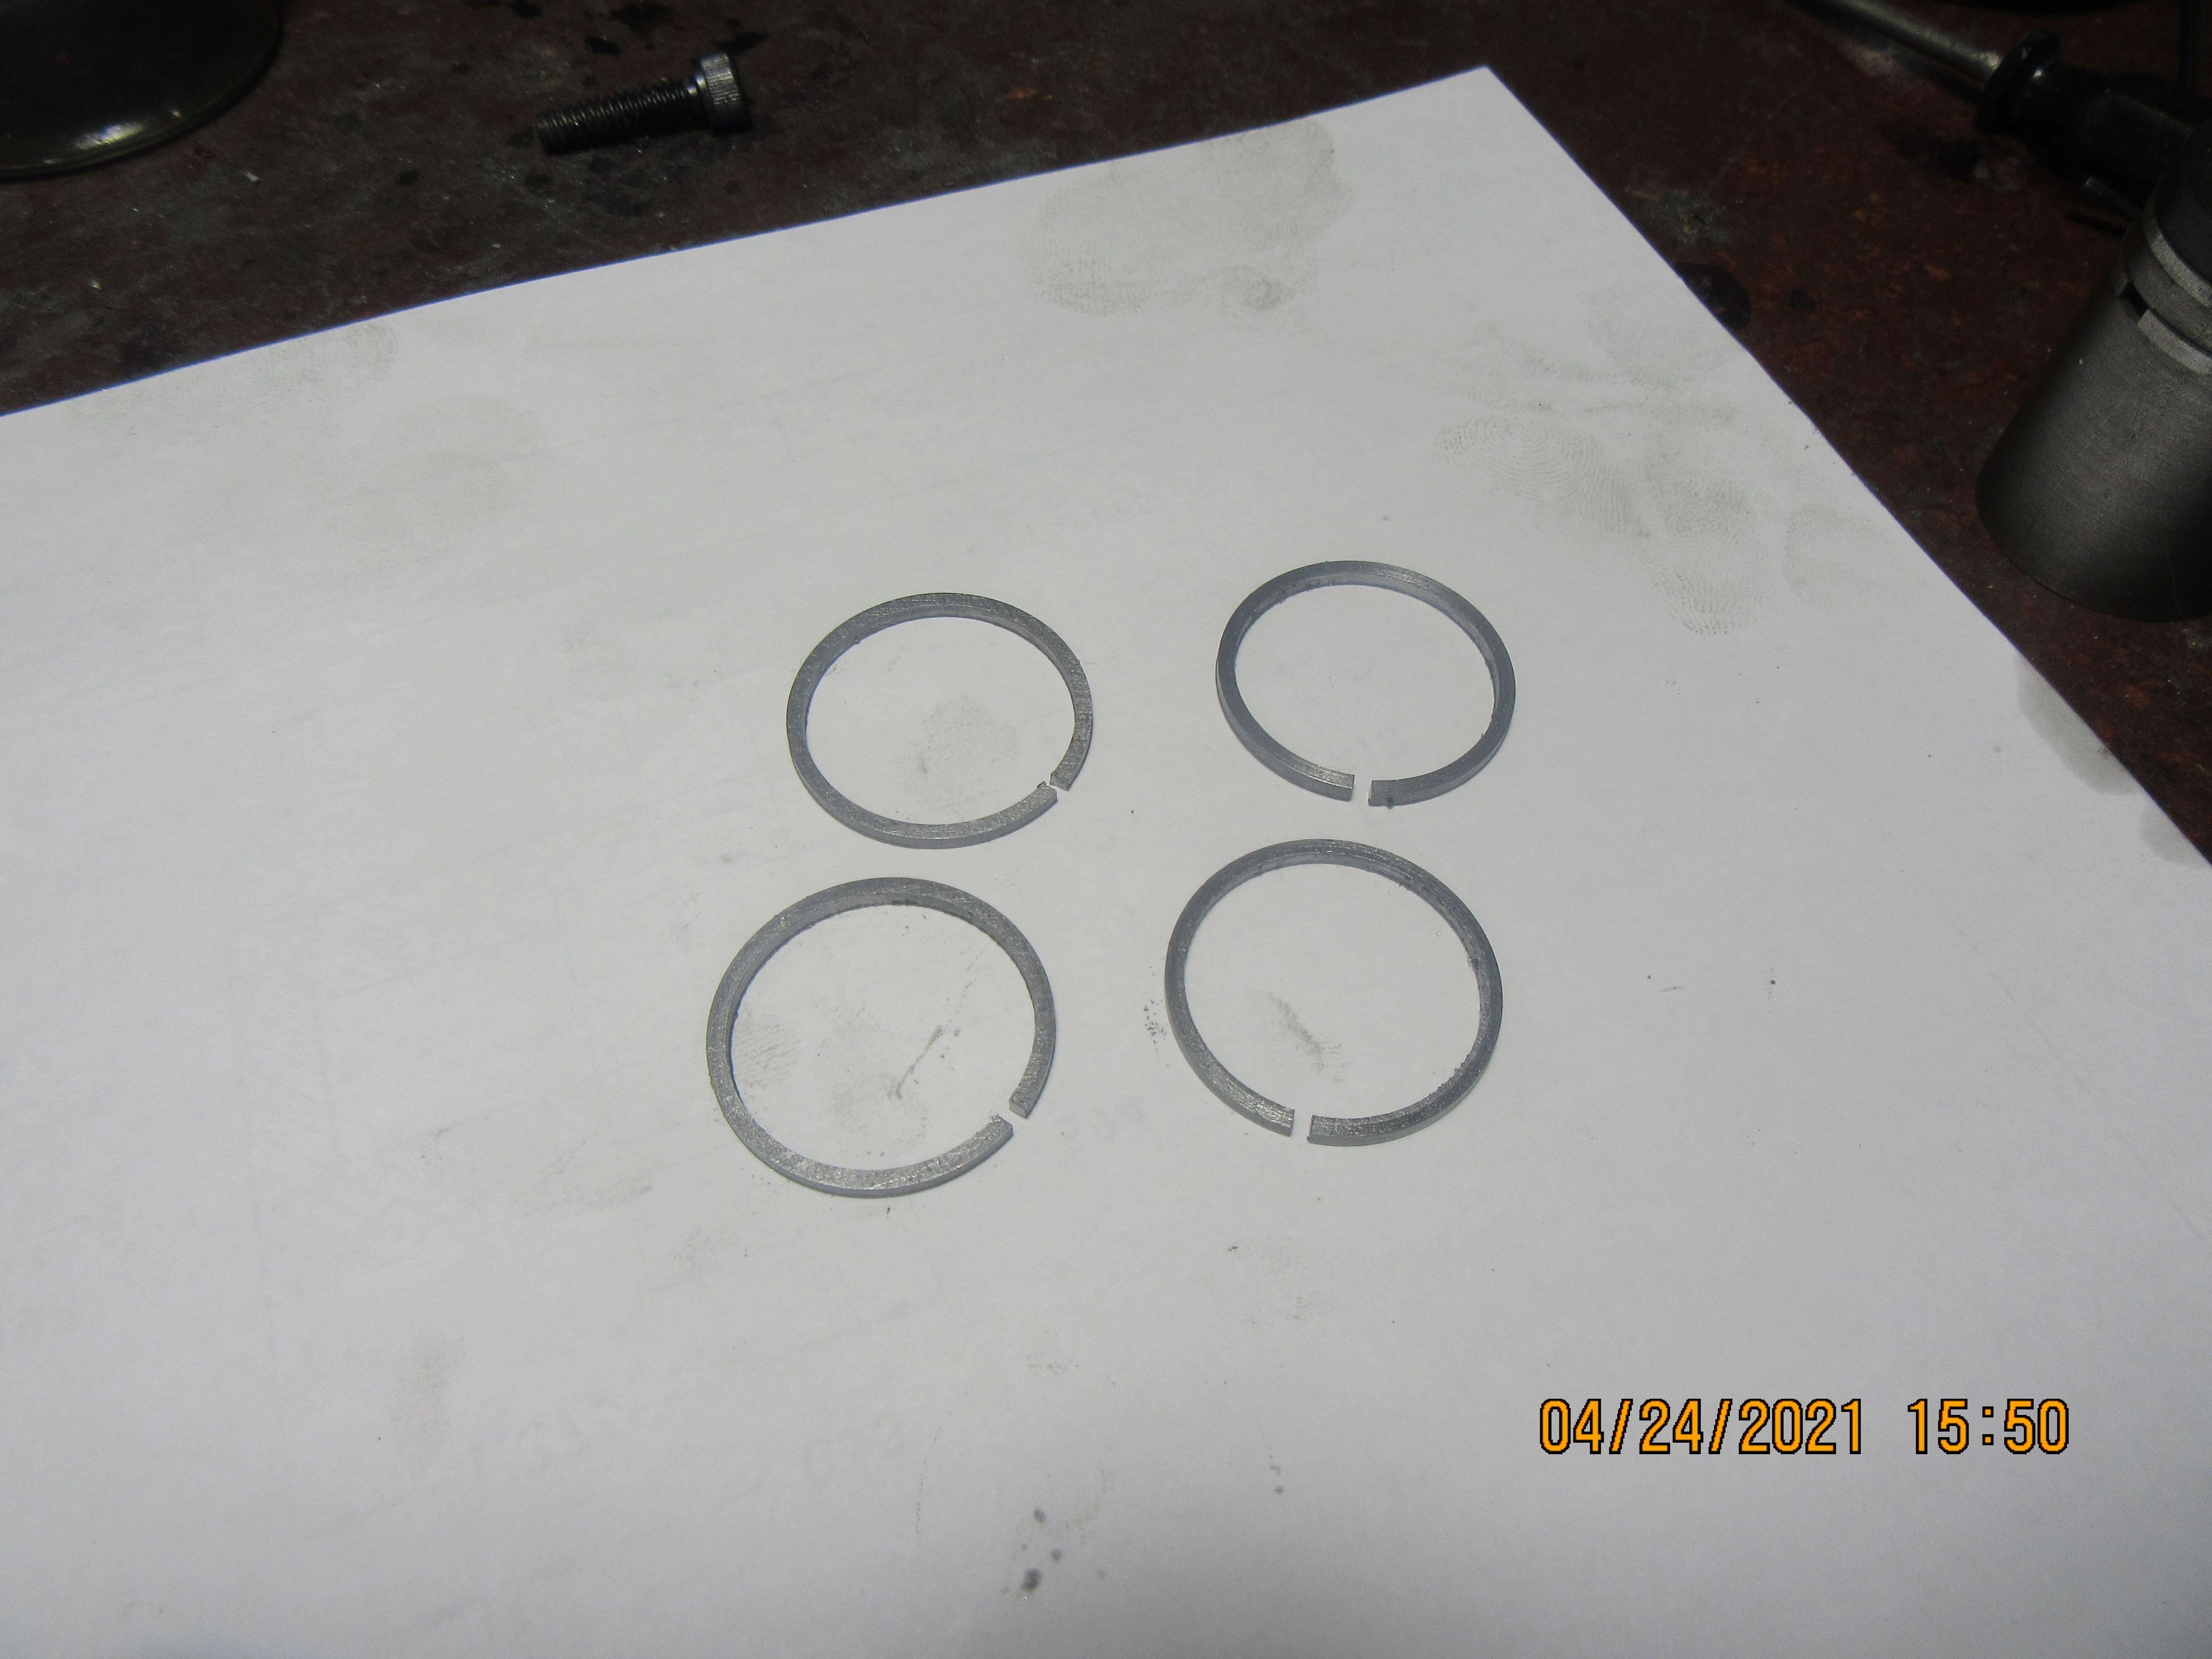
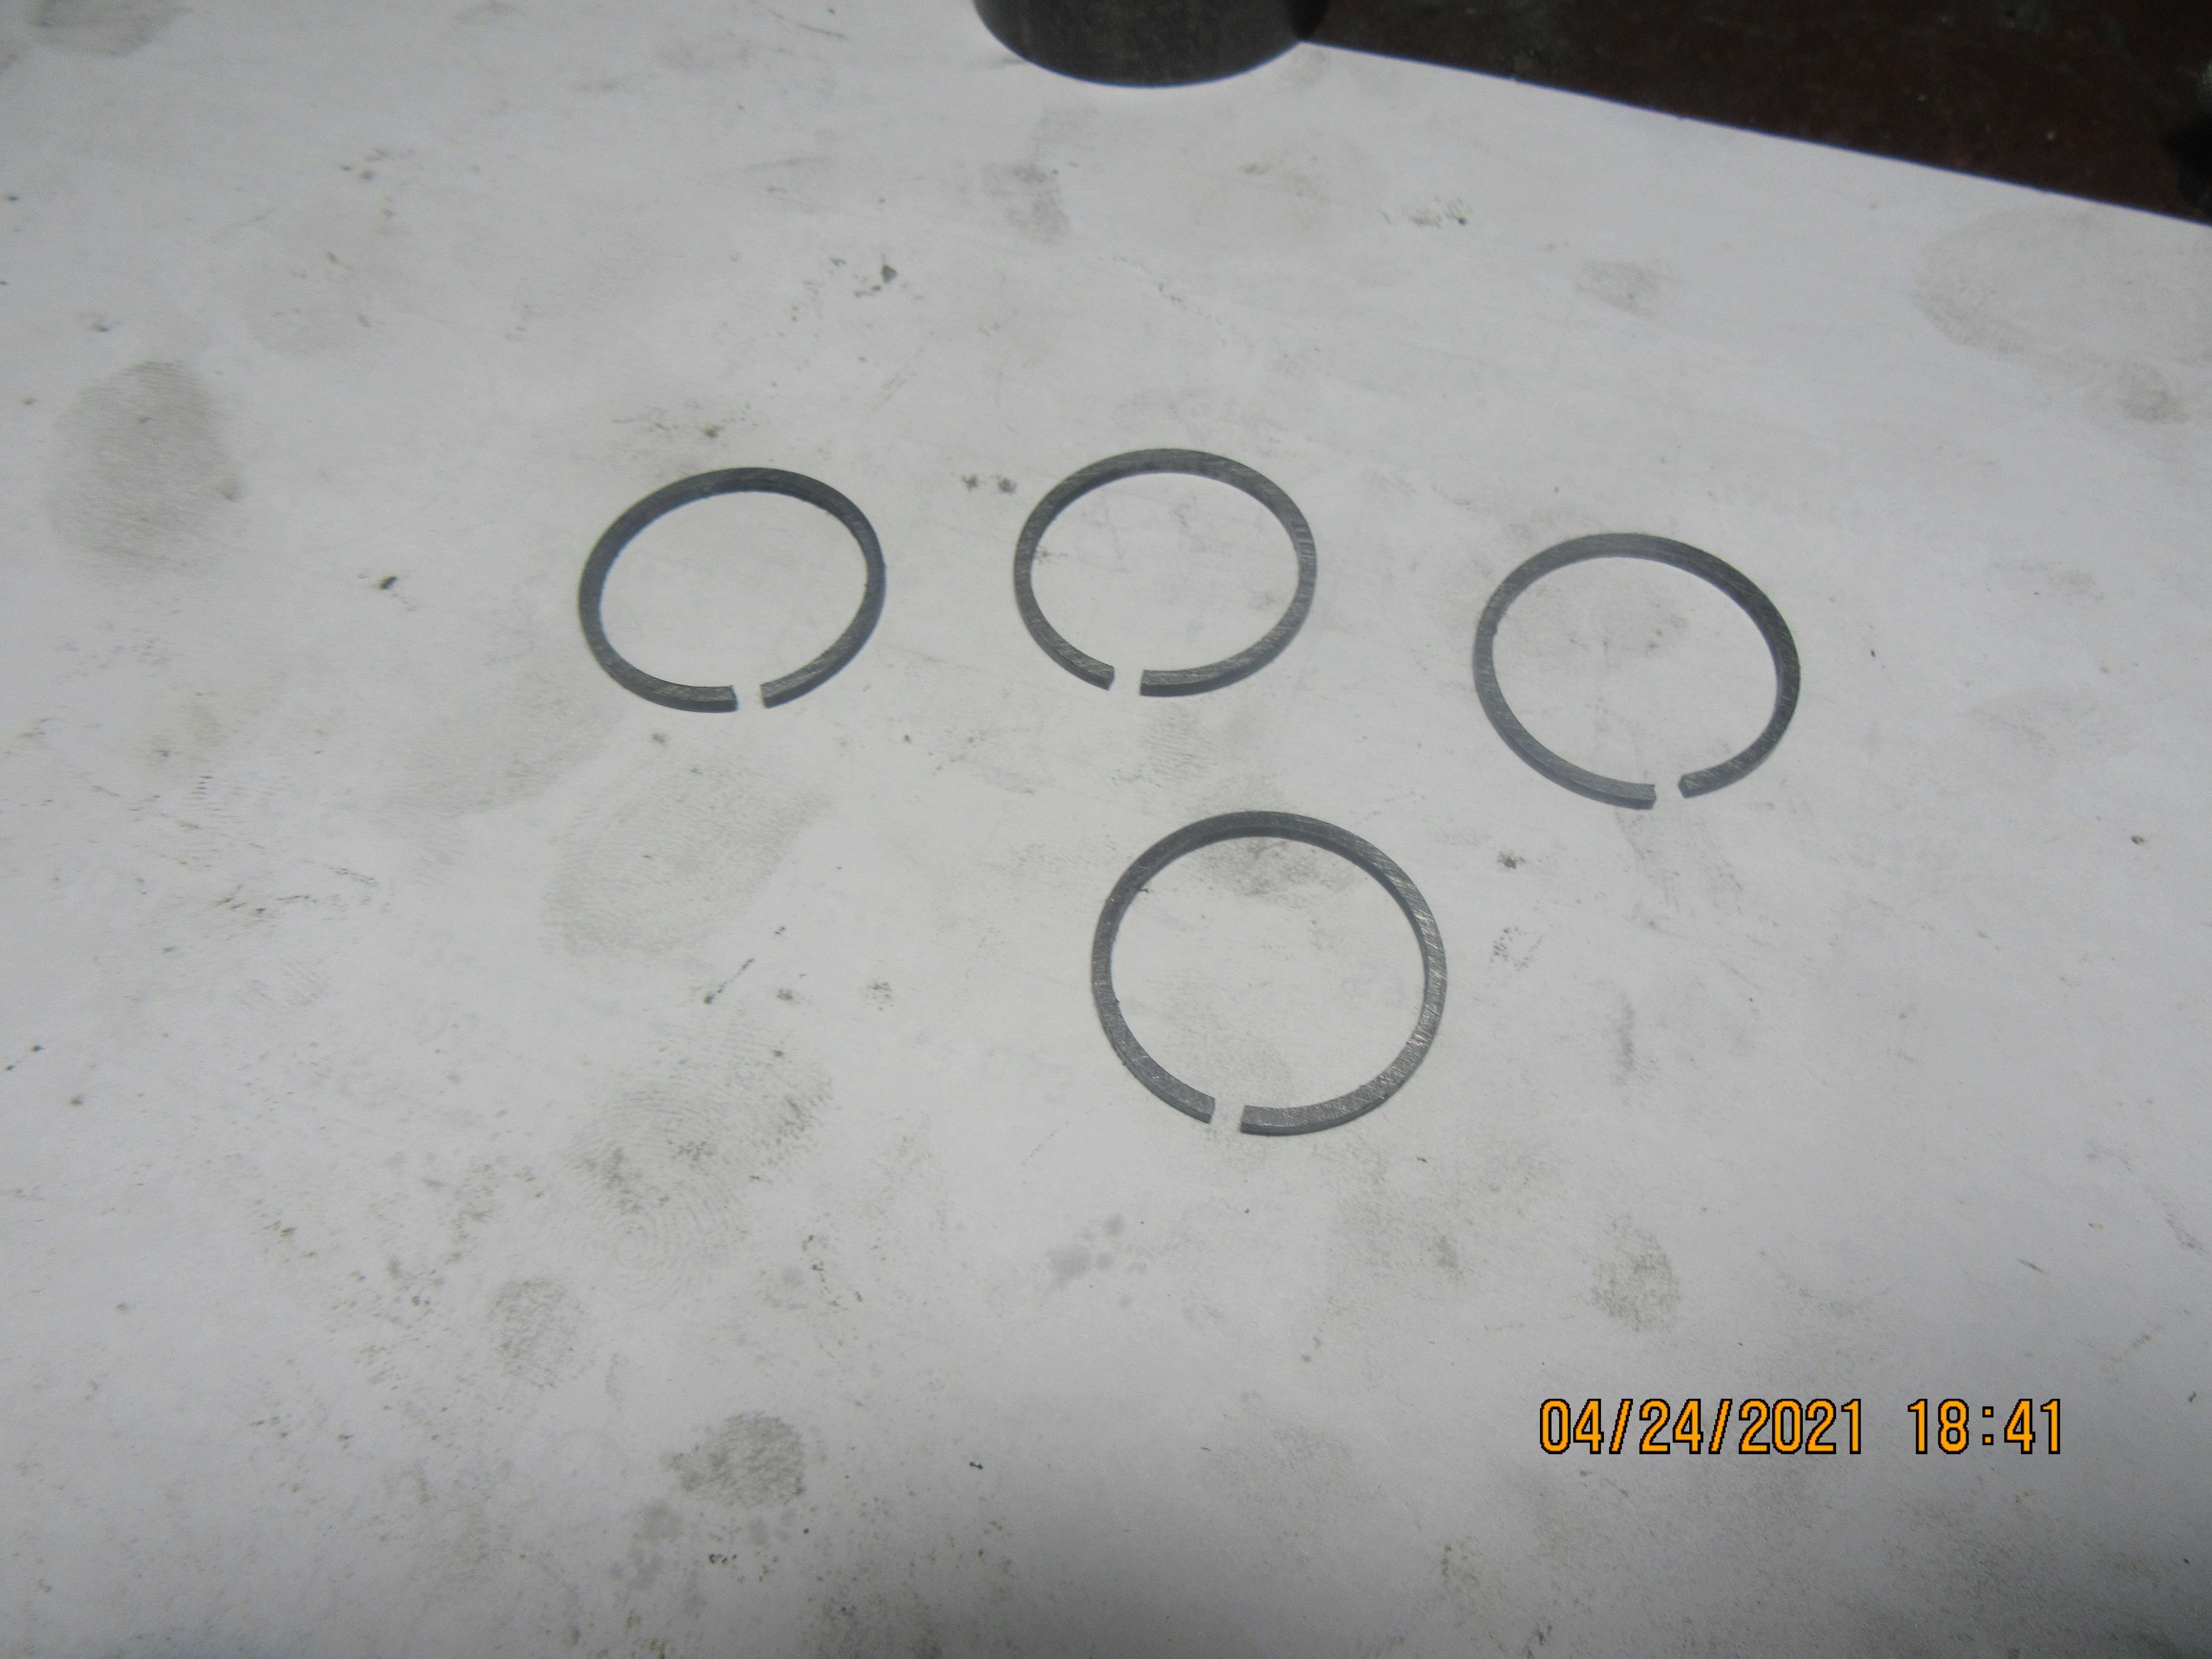
No Joy. Everything is hooked up and is currently being driven from a a 1/4 hp electric motor out in my main garage. Ignition is on and there is fuel in the tank. No puffs of smoke, no backfires--nothing. I pulled the sparkplug out and had a look at it, and it fires when laying out on the block at the correct time in the cycle. I even tried a squirt of "quick start" ether, but nothing happened. I'm going to let it run out there for an hour, and if it doesn't do something interesting I will put the old piston with the viton ring back in it to make sure it runs. That video link I posted is from about three years ago, the last time I had it running. I have discovered one thing related to cutting ring grooves and parting off rings. That little (1/16") wide parting off tool that I have isn't stable. It flexes when in the cut, so you can't trust what it is doing. Before I go any farther down this road, I will grind a 3/8" HSS tool to give me an exact .062" width. It makes me crazy when you know that a tool of a given width is cutting a different width than the width of the tool itself, on a plunge cut.
 
Two things, from a fairly uneducated position: model airplane ringed engines start right off, maybe with extra oil in the fuel (it's always so easy to cheat and add castor when it's a two-stroke!). But -- that's when you're buying an engine from someone experienced at making rings, and who possibly test-runs their engines. And model airplane engines generally call out breaking the engine in at operating temperature.

I'm wondering if you didn't cause problems with your motorized break-in procedure, either because of temperature, or not enough lubrication.
 
Did you rough up the cylinder bore. O-rings require a polished surface, cast iron rings require the bore to be a little rough to wear in the rings.

Mark T
 
Mark--I didn't hone the bore on the cylinder, and you're right, it has a glass smooth finish. Before I tear things down, I will try and get a hone in their and break the wall finish down a little, to see if that will let the rings "bed" better.
 
Two pictures here----One shows the set-up in my garage trying to get the motor to fire with it's new piston and rings---didn't work!!---Don't know why yet. Second picture shows a tool ground by Philip Duclos to part rings off with or to cut ring grooves in a piston. Damn----that's a lot harder to do than it looks. I tried to more or less "free hand" such a tool, but it didn't come out nearly as nice as the Duclos tool. Tomorrow I will dummy up some guides on my grinder and try again to grind this tool from HSS.
e2rL6M.jpg

58t5Au.jpg
 
Great job
One most important part of machine work is grinding the tool bit right

Dave

Two pictures here----One shows the set-up in my garage trying to get the motor to fire with it's new piston and rings---didn't work!!---Don't know why yet. Second picture shows a tool ground by Philip Duclos to part rings off with or to cut ring grooves in a piston. Damn----that's a lot harder to do than it looks. I tried to more or less "free hand" such a tool, but it didn't come out nearly as nice as the Duclos tool. Tomorrow I will dummy up some guides on my grinder and try again to grind this tool from HSS.
e2rL6M.jpg

58t5Au.jpg
 
The up-front price on a carbide system like Nikcole Mini-System (Nikcole Mini-Systems – Niko Nikcole) is worth it for years down the road. Travers sells kits and parts. I've had mine for 15 years +/- and use it often. Amortized over 15 years, the return on the investment is outstanding.
 
Hi ALL !
I usually choose the OD of the ring = ID of cylinder + 0.3 mm
About temperature: I usually heat the rings to about 1000 degrees Celsius (I'm not sure, based on little experience in the past and Look at the red hot color and guess the temperature, I don't have an thermometer )
I slowly increase the temperature of the rings, and decrease it slowly, I try to increase the temperature of the rings evenly.
(These are also based on previous experience, increasing and decreasing the temperature can affect the stretching of the material ...)
I also tried heating the rings to about 800 degrees C and more than 1100 degrees C, I just noticed that with different temperatures the hardness of the rings is different and they are fine for me.
 
All of the rings have been individually placed into the cylinder and the end gap set to 0.004". Is it too stiff?--Well, it feels a lot stiffer to turn the engine than it did with one viton o-ring. Is it sealing? It is very hard to tell, but I don't think it is. My next move here is to put the old piston and viton o-ring back in and make damned sure the engine will run that way. As I said in an earlier post, the last time that engine ran was about three years ago when I made the video. Is it firing?--yes, but very intermittently.
 
That was settled quickly. New piston and rings out, old piston with Viton ring in---and engine runs lovely. Engine is MUCH easier to turn over by hand with old piston and o-ring. The rings aren't round. They have shiny wear spots in some areas and seemingly "untouched spots" in other areas. George Britnell questioned the fixture I made to expand these rings when heat treating them, and it appears he was right. The new piston I made seems fine. Onward and upward---try a different way of making some new rings.
 
As I've said before, I'm batting 1000 following Trimble's Strictly IC method to the "T." The new piston "seems fine." Does that mean it moves nicely if you put it in the engine but omit the rings?
 
I am going to try my next ring and piston combination on this engine, just because the piston is easier to get at and the cylinder is easy to remove. Also, this engine runs a bit faster and I don't have any hit and miss mechanism to think about.
 
Time for Ringmaking-Take2. I am now going to make 4 more rings using the Trimble? method. I do have a 0.020" slitting saw. So---the rings will be turned to (3.142+.020)-3.142=1.006" o.d. and 0.898" inner diameter. This will give an inner diameter the same as rings I have purchased form Debolt. They will be cut to 0.063" thick. Instead of being broken, these rings will be cut using my 0.020" slitting saw. No farther work on cleaning up the i.d. nor the o.d. nor the thickness, until I have spread them individually over a 3/16" piece of steel inserted into the sawn gap and heat treated them to cherry red and then allowed them to air cool. Then they will be polished to 0.062" wide and cleaned on a sheet of emery paper on a flat surface, then positioned in the cylinder bore and if needed the gap will be filed to give a 0.004" wide gap.
 
So here we are---Just like Deja-vu all over again. These rings are identical to the first rings I made, except the o.d. is 1.006" and they are saw cut with a 0.020" slitting saw instead of being broken by hand. Heat treat comes next.
vWQcP5.jpg
 
After making my rings and they have been cracked i put them between 2 1/8 " stainless washers and heat to dull red then quintch they work great!
Alec
 
This is a picture of my heat treat fixture and the new rings--the rings were individually spread over the vertical pieces of 1/8" plate and the torch was applied more or less on the center of the rings. The rings heated up very quickly and dropped off the fixtures, and have taken on that 0.125" distance between the ring ends. I have cleaned up the i.d. and the o.d. and dressed the sides with emery paper laid on a flat surface. The only observation I made is that it certainly didn't take much heat to get that sawn 0.020" gap to open up to 0.125". Tomorrow I will pick the best two rings and put them on the new piston and try this experiment again.
PQN0GQ.jpg

HnPKFk.jpg
 
Last edited:

Latest posts

Back
Top