A new attempt at making piston rings

Home Model Engine Machinist Forum

Help Support Home Model Engine Machinist Forum:

This site may earn a commission from merchant affiliate links, including eBay, Amazon, and others.
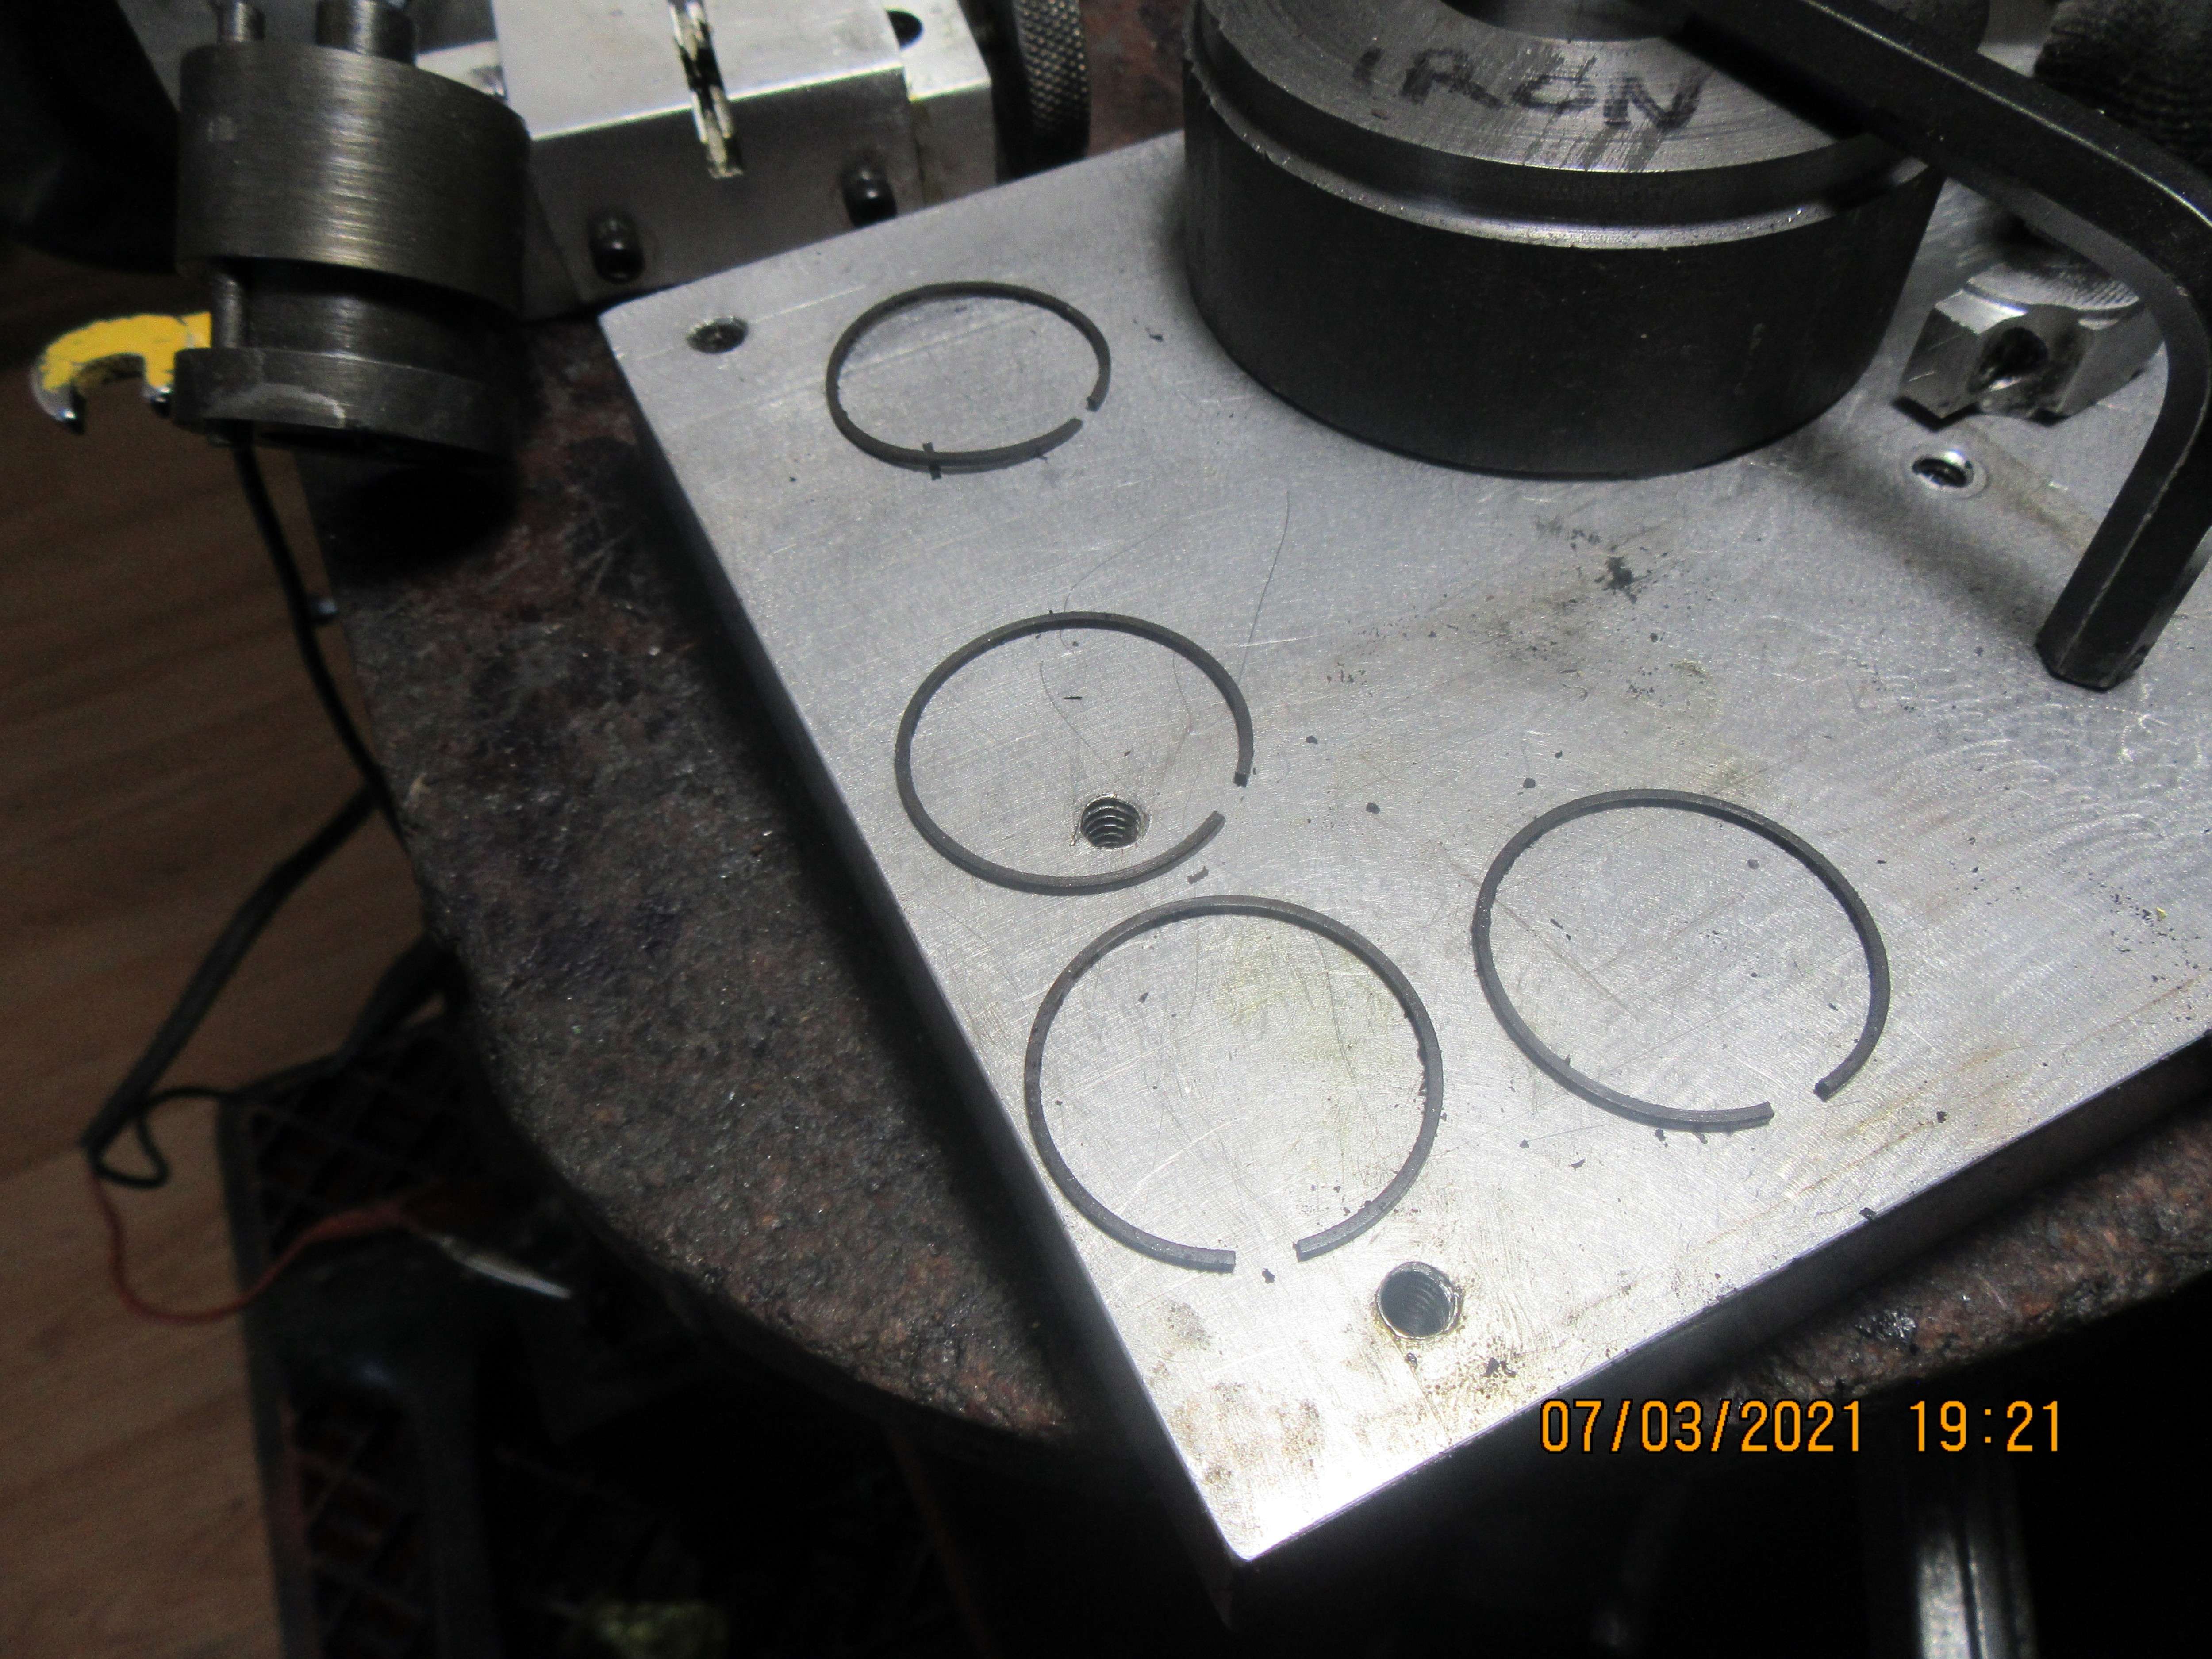
You have not followed the Trimble method again. The idea of the fixture to hold the rings is that you can face them all to correct size (0.038") in your case and ensure they are parallel, rubbing that amount off the rings is unlikely to give an even section. It's only after annealing that Trimble says rub them if any are a bit oversize.

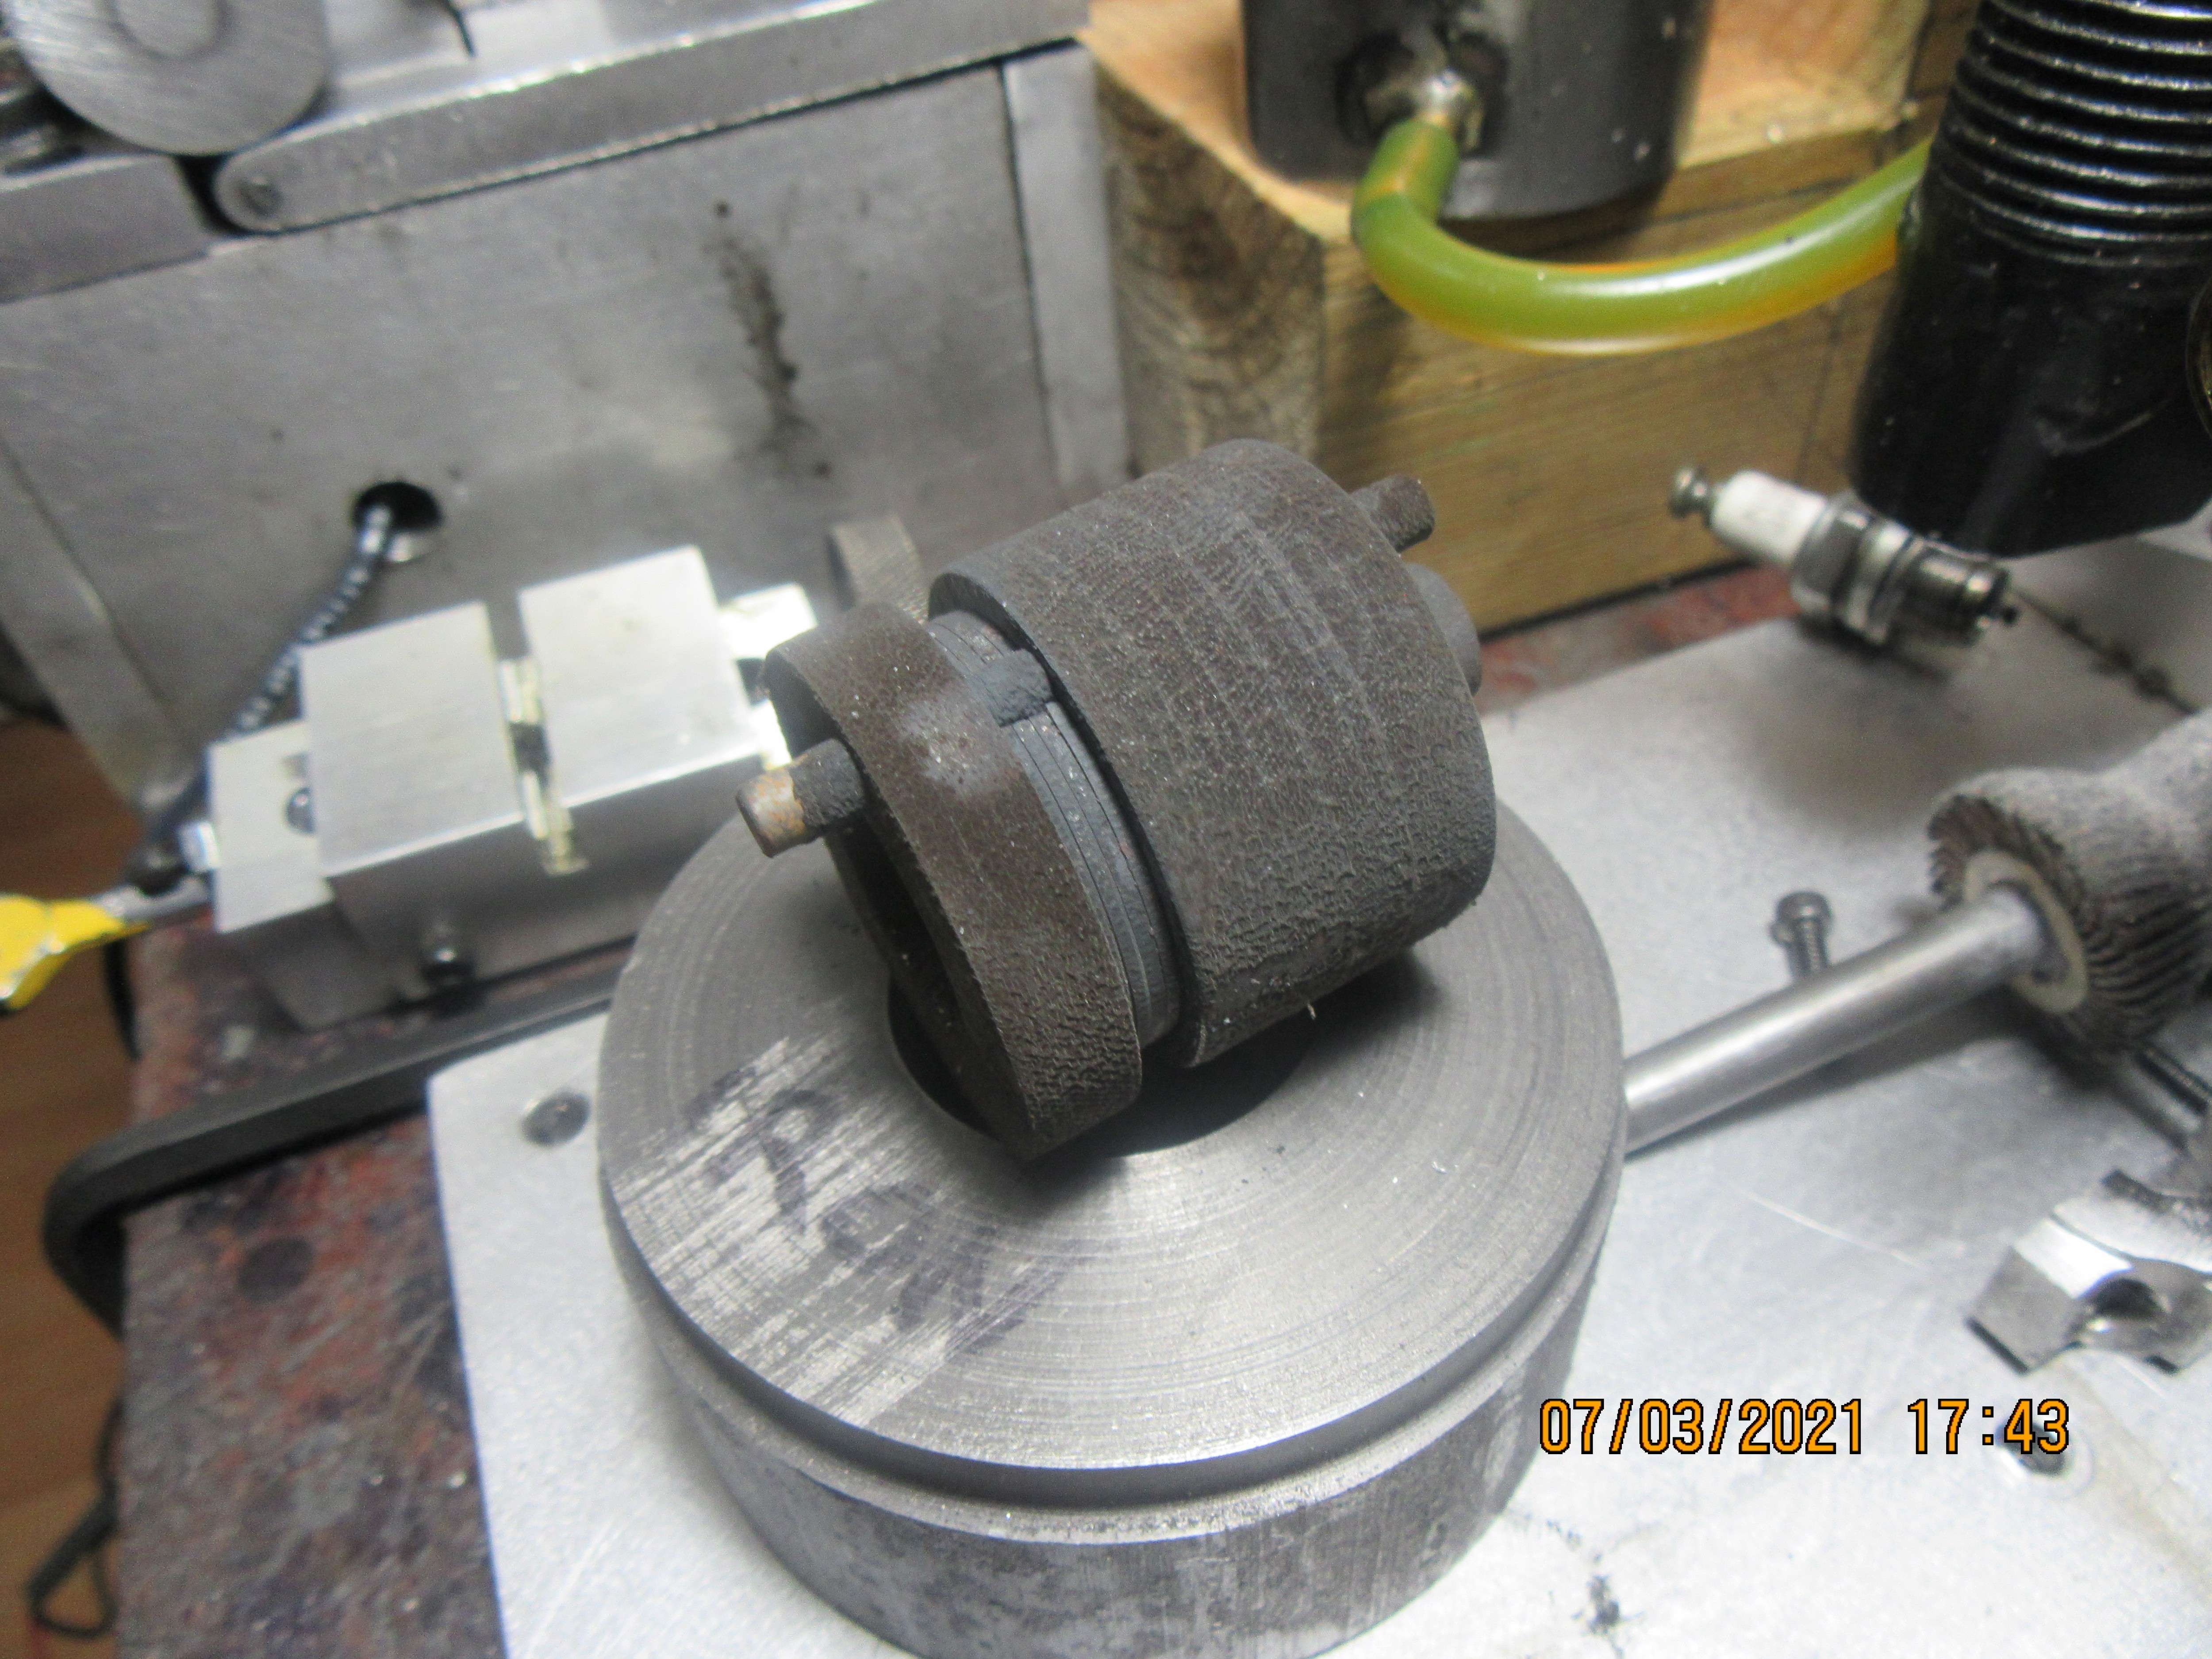
I believe he also faced the exposed end of each ring before parting off from the "tube" as it gives a better finish than parting, looks like you just sliced a stack off.

As Andrew says I always use a bit of flat back to back up abrasives not a file as did Trimble in the text.
 
Out of 8 rings, 4 survived the polishing, deburring, and gapping. The four that didn't was because of a mistake on my part. I have a 1.006" hole thru that round piece of cast iron (same as the cylinder bore) and I used it as a guide for gapping the rings to a 0.004" end gap when squarely inserted into the hole. Surprisingly, Trimble doesn't cover this gapping procedure at all. He just says to run a piece of fine emery paper between the cleaved ends of the ring. The surviving four which are on the heat treat fixture will now go into my heat treat oven at 1100 degrees F for three hours.
l7Q2ki.jpg
 
(page 8) 'before putting the ring on the mandrel, give it a swipe on 400 grit paper on the side already faced, in case there is a burr lurking somewhere. Put the ring on the mandrel...'

My interpretation is this is very light precautionary cleanup, but not altering the cleaved ring part line in order for the heat set to work. The gapping occurs
after heat set. If you are gapping now & putting on the fixture it will surely heat set differently, no?

**edit** Jasonb pointed out in #484 that I grabbed the wrong text above. Thanks for correction. The relevant verbiage is :
..cut them with a cleaver. After cutting the first one, find the split - it where the tiny shiny spots are that are left by the knives. Pull the gap apart a little and look through it against a bright background with a low power magnifier. You will see that the cast iron has separate along grain boundaries and the grains stick out into the gap beyond the knife marks. If you put that ring on the spreader, the neutral axis will be too long. Allow the rings to close and the grains will interlock so that you cannot move the gap faces sideways with respect to each other. So pull a piece of 400 grit through the gap gap two or three times until the interlocking disappears...
 
Last edited:
Peter, that quote is before he even splits the rings. This just removes any micro burr from the internal chamfer cut.

Brian you don't gap the rings until after heat treat, Trimble jays just pull a bit of folded 400g paper through the split a couple of times to flatten the "grain" of the Cast iron. As Peter says your rings won't be opened up as much now that you have prematurely gapped them See last couple of paragraphs page 8

Trimble describes gaping the rings in part 3
 
Last edited:
Brian, why the change of diameter of the pin, the top ring is not going to get opened as much as the others?
 

Attachments

  • pin step.JPG
    pin step.JPG
    20.4 KB · Views: 129
Peter, that quote is before he even splits the rings. This just removes any micro burr from the internal chamfer cut.

Good catch, thanks Jasonb. I had one foot out the door & was hoping to mention before Brian gapped and/or heat set them. My eye saw '400 grit paper' but of course he uses same for different steps. I corrected my post #483.
 
These are the rings about two hours after heat treat. Lots of black crud on both rings and fixture, but it seems to brush off very easily. Tomorrow I will take the heat treat fixture apart to free up the rings and clean them individually.
Honx6m.jpg
 
Rings are installed on piston (lots of 30 weight oil and very deft fingers). Piston is installed in cylinder, rod cap bolts are back on, and engine has excellent compression. I'm not going to try and start the engine tonight. I have trouble sleeping as it is, and if I start this engine tonight I will be too revved up to sleep. This is all looking very positive, and tomorrow morning we will see if the engine runs.---Brian
 
I have learnt so much in such a short time keep up the good work
 
Ladies and Gentlemen--I have a thrilling announcement to make. My engine runs with my own home brewed cast iron rings. This is the first time ever for me to successfully make my own cast iron rings to run in one of my engines. I followed about 80% of the Trimble method of making rings. This makes me feel very good.---Happy Dance-Happy Dance!!!!----Brian
 
Fantastic!!! On the 4th of July no less, now you can declare independence from purchased
or un obtainable rings. Now that is sticking with it! Congratulations.
 
Well done Brian,

You got the result you wanted, despite the stream of rude and offensive comments from one particular person on this and other forums

Mike
 

Latest posts

Back
Top