


Baner
Active Member
Almost done!
I don't need the chucking piece on the pump anymore so that gets parted off and cleaned up:

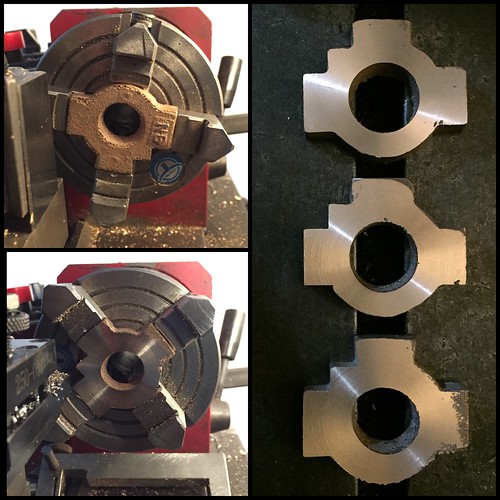
I need a lock nut to clamp the pump to the stay. I didn't have the right sized Hex bar so a stub of 3/4 round goes to the rotary table and get milled into shape. Then to the lathe and finished off:

All that's left is to form the ball seats, (the balls have yet to arrive) clean up a bit and I'll probably paint the leftover raw cast areas. Here it is installed in the chassis:

Dave.
I don't need the chucking piece on the pump anymore so that gets parted off and cleaned up:
I need a lock nut to clamp the pump to the stay. I didn't have the right sized Hex bar so a stub of 3/4 round goes to the rotary table and get milled into shape. Then to the lathe and finished off:
All that's left is to form the ball seats, (the balls have yet to arrive) clean up a bit and I'll probably paint the leftover raw cast areas. Here it is installed in the chassis:
Dave.
Last edited:
 Northumbrian
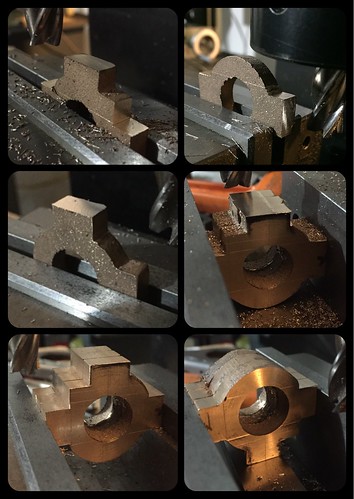 Northumbrian
 Northumbrian
 Northumbrian
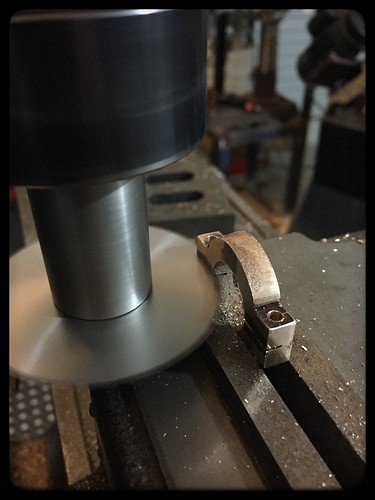 Northumbrian
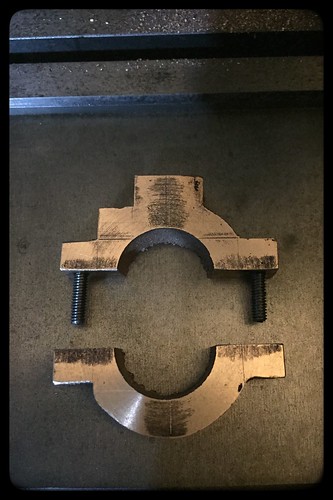 Northumbrian
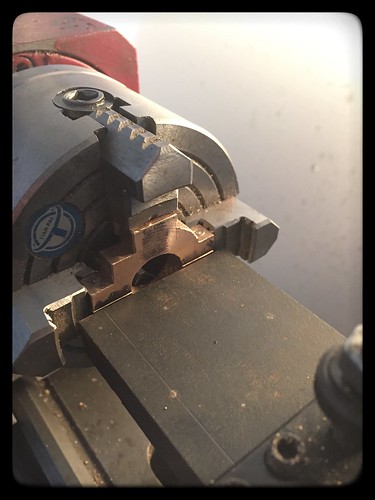 Northumbrian
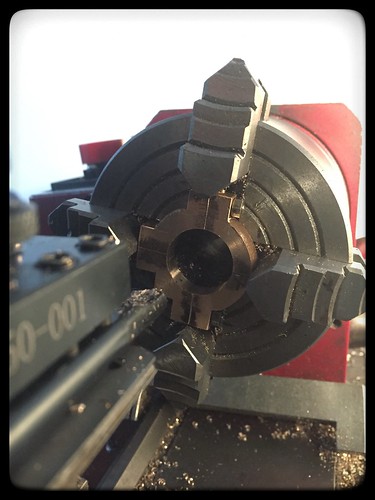 Northumbrian
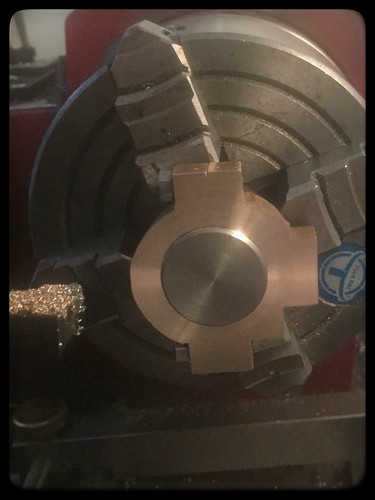 Northumbrian
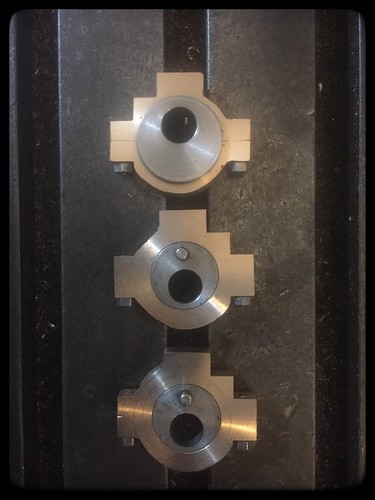 Northumbrian
 There's been a bit of shop re-organizing, work on another project, house and garden work, and preparing for a new baby due on Sept 4th...
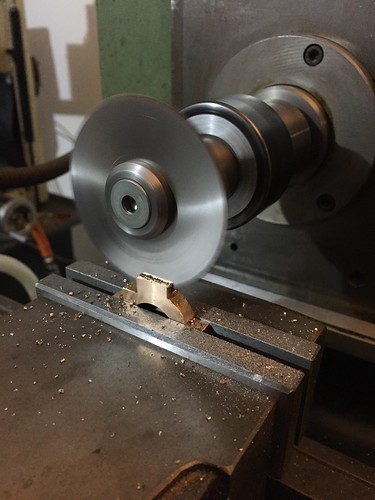 Northumbrian
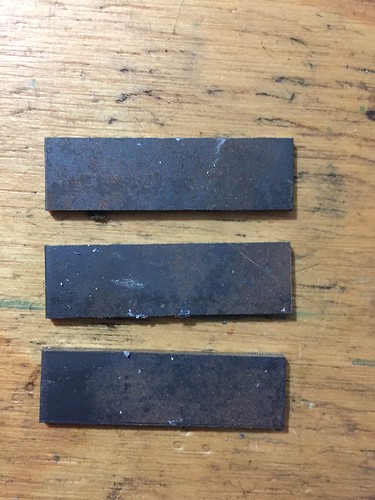 Northumbrian
 Northumbrian
 Northumbrian
 Northumbrian
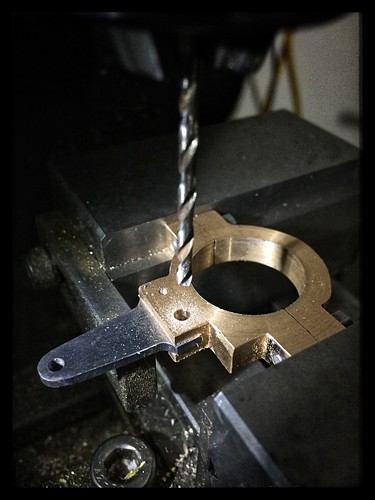 Northumbrian
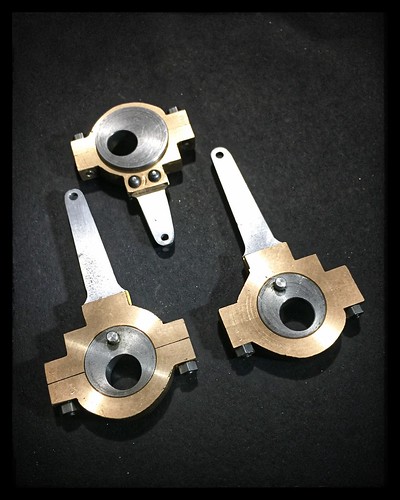 Northumbrian