1" Bore x 1" Stroke Vertical i.c. Engine

Home Model Engine Machinist Forum

Help Support Home Model Engine Machinist Forum:

This site may earn a commission from merchant affiliate links, including eBay, Amazon, and others.
A gearcase is being born--and so far this morning it's been a hard labour. I expect to finish it after I get some lunch!!
KjKn6h.jpg
 
Well!!! That took much more time than I thought it would. The fitting of the gearcase to the crankcase took longer than machining the gearcase. This is the kind of thing where you only get one chance to drill and tap the holes in the correct place in the crankcase, and not have the inside of the gearcase rubbing on one of the gears. My solution to this involves many layers of masking tape around the large gear, to the point where it will just barely fit into the cavity in the gearcase. It doesn't sound like a lot when you say it fast, but it's taken me most of the afternoon to get it to this point. I'm happy with it, but I started this morning at 8:00 and just finished up now at 3:50.
Fnzj0x.jpg
 
Brian, i use a portable ignition unit sort of like you have done on several of your engines so that i dont have to do a sperate coil and battery pack etc for each engine. but found going from cm6 to 1/4 x 32 plug a regular coil wire wouldnt work for me. i ended up making a decent adapter but curious if you have a setup to continue using your portable ignition/coil unit or if you will make a seperate ignition unit that will just fit the 1/4x32 setup. long story short, im just curious to see what your setup is or how you will be for firing the plug. looking for better solutions while still keeping the coil in a portable box and using it on different engines.
 
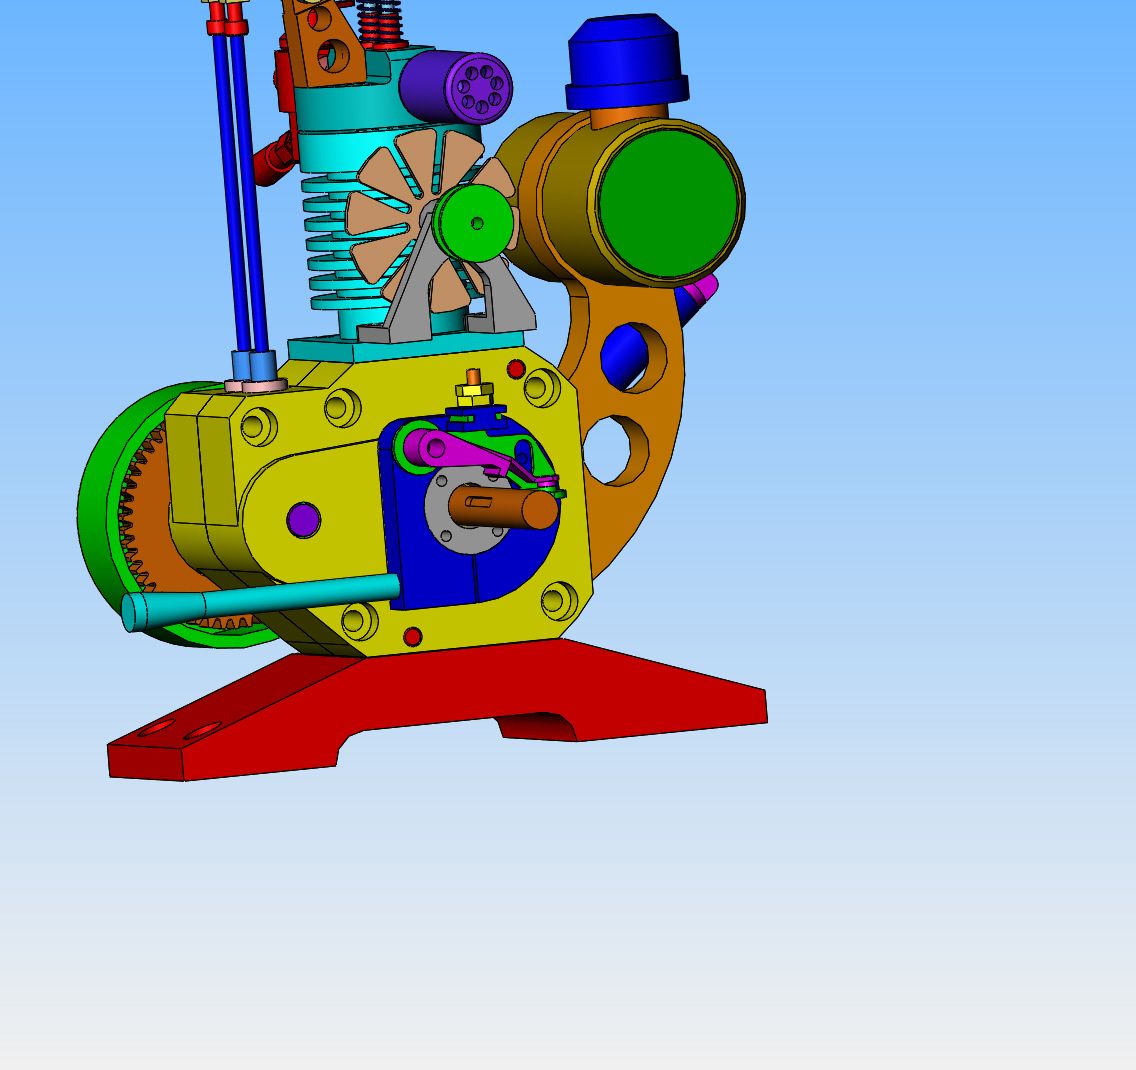
Werowance--some of my engine hi-tension leads with normal plug boots on the end and take a full size ignition wire, which plugs right into the end of the coil. I also have some hi tension leads from Roy Sholl that are about 3 mm in diameter. There is a trick. Make a plug about 2 1/2" long that fits your coil, from wood. Drill the wood lengthwise with a hole just big enough for the small wire to pass thru. Push the wire thru it and bare the last 1/8" of the wire, folding it back over the leading edge of the wood. Use a little crazy glue to keep the wire inside the wood. Then depending on which engine you want to run, use the appropriate plug wire.----Brian
 
I'm going to make a fan to cool my engine. I wanted to buy a pre made fan, but couldn't find one I liked on the internet, and the local hobby shop doesn't have anything close to what I want. Jason made his own cooling fan, and he did it very well. He posted pictures of two different fans he had made on one of the forums, and I'm impressed. I have one piece of 0.050" thick mild steel here (Which I think started life as an inspection hatch cover on an electrical box.) I designed and printed out a 10 blade fan 1.75" diameter, and glued it to the steel. Tomorrow I will drill the 3mm center hole and cut it out using my rotary table and then cut the slots between each blade on my bandsaw. The bandsaw blade cuts a 1/16" kerf and I don't have any files that thin except for a couple of ignition point files to clean up the cuts with after they are sawn. I will let you know what happens.----Brian
zslX2S.jpg
 
Hi Brian, I suggest you make an anvil form - "die block" I think is a more correct term? Then each bend/twist of the fan blade will be the same. BUT practice on a piece of scrap with the die block to make sure it gives you the shape you want before attacking the cut circle. I have never done it, but my Dad told me how.... Anyway, a guy with your expertise probably knows better anyway! I just like to see if my thinking is correct. (If there is a better way, you show us all).
Well done on another interesting build.
K2
 
It's a lot less effort to give each blade a twist with a pair of long nosed pliers, that's how I did mine

DSC03922.JPG

DSC04043(1).JPG
 
You are a better twister than I am David! - The eyes can see where to hit, but the arm does its own thing - sometimes seems independent of any brain attached! (Not that the brain would be right anyway!). I have made fans - just very noisy! Apparently there's a lot of aerodynamic stuff to make them quiet and efficient. But at slow speed, almost anything will work - it just needs to look like a "proper job" - which yours does and mine never do.
Cheers!
K2
 
Excellent build
I am currently building a single cylinder vertical IC engine of my own design so watching your progress closely.
I do have a couple of questions.
How will the cam gears be lubricated?
How do you determine the oil level in the crankcase?

Thanks
Ray
 
The cam gears are lubricated with gear grease for external gears (almost any thick grease will do). The cover is easily removed with two bolts if you want to apply more grease. You will see a blue bolt head just to the left of the gearcase, and a filler tube just below the gas tank. You remove the bottom bolt beside the gearcase and pour oil in the filler tube until it starts to run out the bottom hole. That is the correct level for the oil to be at. Then you put the bolt back in and you're done.
 
Today's rattlesnake roundup starts with an ignition cam. Probably one of the easiest parts on the entire engine to make. The dual set screws keep the engine from getting "out of time" if the cam slips on the crankshaft.
vHNfle.jpg
 
It's a tricky little dance, and it goes like this----There is a round plate up against the side of the crank-case which is bolted in place with flat head screws from inside the crankcase. It doesn't move. Then there is a separate plate which the ignitions points mount to, and it is a sliding fit over the previously mentioned plate, and it has a handle (not shown) that can rotate it around the previously mentioned plate to adjust timing while the engine is running, and lock it in place. The ignition cam sets on the crankshaft and is locked in place. It's a lot to figure out if you haven't seen this before, but it does allow for "dynamic" timing.
OYwPcf.jpg

HNWQpG.jpg
 
Last edited:
So here we have the second step in the fan blade saga---The outside diameter was cut using an endmill, cutting with the side of the endmill, while a 3/16" diameter bolt was places thru the center-hole of the fan and held in my milling vice. This is a very unsafe and "grabby" way to cut, and I held things very tightly and remembered everything my mom ever said about "Brian, you're going to cut your fingers off with that jacknife!!!" Fortunately, no fingers were cut off, so then I used a big sheet metal screw to attach the fan to a piece of wood. This way I could take one cut on the bandsaw, back out, spin the fan blade 36 degrees and repeat the cut, until all the cuts were made. No deburring has been done yet, and the blades haven't been torqued to 30 degrees yet. I will make some kind of funky jig to ensure that each blade gets torqued the same amount.
fT1BaT.jpg
 
I have a really scrofulous old drill press vice, that works for holding just about anything. Clamped to the corner of my desk, it makes a good filing jig to hold the fan in place while I file and deburr inside the slots. My ignition points file which you can see in the foreground is a perfect fit into the slots cut by the bandsaw blade. Next step will be to soak the fan in some boiling water to get the paper pattern off.
fQnoaa.jpg
 
Well, for a first time ever fan experience, that wasn't too bad. If I had it to do again, I would use 1/16" plate instead of the 0.050" that I used, but that is what I had. I silver soldered a hub onto the one side, and right now it's setting in a jar of pickling salts to get some of the flux off, and hopefully some of the rust. Tomorrow I will figure out just how I'm going to attach the 3 mm shaft, and probably give the fan some primer paint to fill the rust pits. Sorry about the blurry picture. I'll put up a better pic when it's finished.
rxFL8J.jpg
 
If my time was worth anything, this might be the most expensive cooling fan in the world. It is fully fabricated and uses 3mm sealed ball bearings on the fan shaft. I fabricated the 1" pulley as well. if I had known how well this was going to turn out, I would have bought a new piece of 1/16" steel plate to make the fan from. All I had on hand was a rather pitted and horrible piece of 0.050" thick metal that started life as an inspection hatch on an electrical box. I have a little cosmetic work to do on the fan yet, but now that I have the experience of making a fan, I may just buy a piece of metal and build another fan. I was going to put a groove for the drive belt into the flywheel, but it seems to track just fine as it is, and I hate to cut on the flywheel.

h4ZDOs.jpg

n7c50q.jpg
 

Latest posts

Back
Top