Brian does Ridders flame eater

Home Model Engine Machinist Forum

Help Support Home Model Engine Machinist Forum:

This site may earn a commission from merchant affiliate links, including eBay, Amazon, and others.
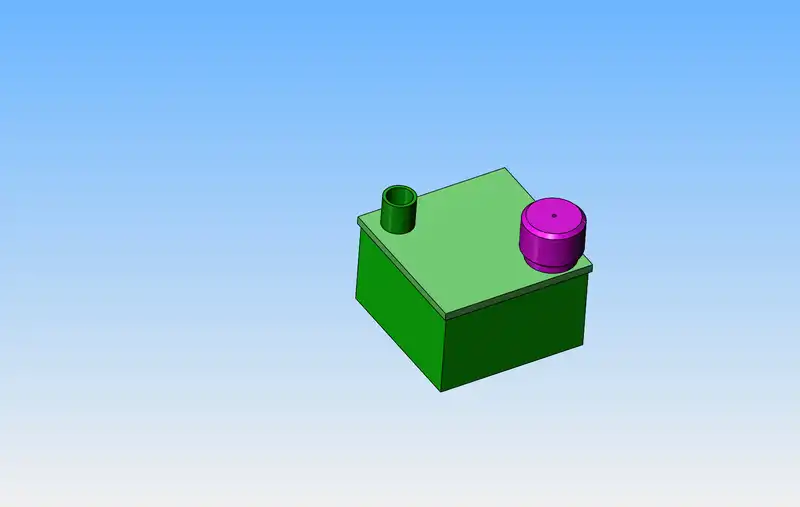
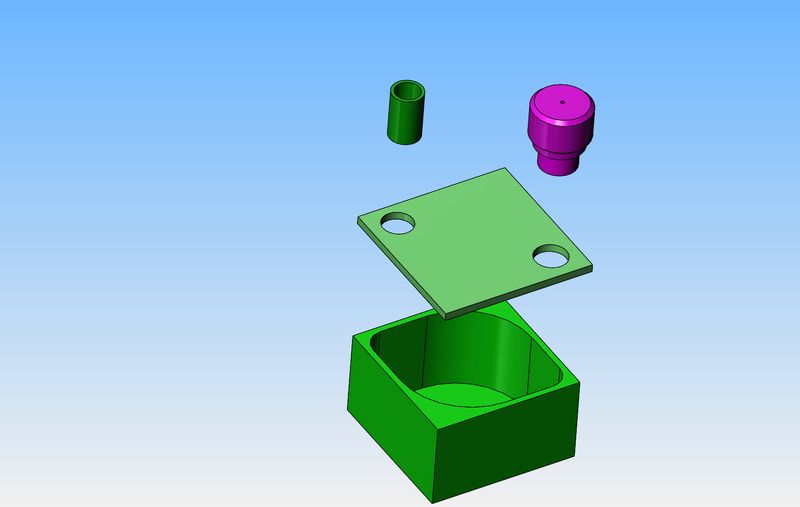
....This is very dangerous, and you want to be prepared to immediately let go of the cylinder if it "grabs" and starts to turn with the cast iron. By letting the 2" long cylinder move to the very limit of the turned cast iron and then sliding it back and forth, this resulted in the full length of the bore being lapped to size, and guarantees that the parted off pistons from the cast iron will be lapped to the correct outer diameter.

I learned that on my Little Machine Shop engine, trying to lap the cylinder, with simichrome aluminum polish. It took a day to separate them again.

May I ask where you bought the cast iron, as in local vs. online? I'm looking for new suppliers.
 
Mechanically, the engine is finished. I will endeavour to build the alcohol burner this coming week, and then see how much is involved with actually getting the engine to run.
[ame]https://www.youtube.com/watch?v=yJYLv-NUWR8&feature=youtu.be[/ame]
 
cfl
I am getting my graphite and 6061 aluminum @ Amazon, good quality and price (free shipping) versus my past suppler. I hven't looked there for cast iron. The last I bought was from Speedy Metals arm and leg for shipping.


Ray M
 
Last edited:
I learned that on my Little Machine Shop engine, trying to lap the cylinder, with simichrome aluminum polish. It took a day to separate them again.
I am not familiar with the Little Machine Shop engine. Where can I find it?
Ray M

Ghosty's link takes you to their page, but I think it's not that easy to find the little steam engine.

The engine kit is here,
and a kit with a DVD that does detailed step by step instructions is here.


Bob
 
-I oiled everything up because turning this thing over by hand you could feel the "roughness" of bare metal scraping on bare metal. I am sure that the oil will add some "stiction" and perhaps prevent the engine from running. I have half a mind to hook an external drive to the flywheel and let it run with oil on everything for a couple of hours just to wear down any "high spots", then flush all the oil away with laquer thinners.
 
It's looking good Brian, though it does seem like it might be a little stiff in the video. It's hard to tell, but it looks to me like the valve has a bit more possible movement towards the bottom of the bore. When you develop a vacuum it will be less work to pull the valve down the bore than pull the piston up, so the valve will travel as far down the bore as it can. This will cost you a little vacuum power there, then you have to expend more driving it back up the bore the extra distance to open it as well. Yours might be fine but mine was so lacking in power that I had to chase every small piece of power loss and friction I could just to get it to run and tuning the valve helped me a lot. Good luck with the starting attemps (warning: frustration ahead!!).
 
"I oiled everything up because turning this thing over by hand you could feel the "roughness" of bare metal scraping on bare metal."
Another possibility might be if you didn't maintain the 90 degrees of the centerline of the cylinder to the main shaft when you slotted the mount holes to center it.

Ray M
 
-I oiled everything up because turning this thing over by hand you could feel the "roughness" of bare metal scraping on bare metal. I am sure that the oil will add some "stiction" and perhaps prevent the engine from running. I have half a mind to hook an external drive to the flywheel and let it run with oil on everything for a couple of hours just to wear down any "high spots", then flush all the oil away with laquer thinners.
Brian, the engine needs to be very free running. Any oil left in the cylinder will burn and gum everything up. Jan Ridders says that it should spin easily and I quote from his website:
"[FONT=Arial, Helvetica, sans-serif]Some friction tests with cold engine and without the flame:[/FONT]
[FONT=Arial, Helvetica, sans-serif] - Push the flywheel firmly by hand;[/FONT]
[FONT=Arial, Helvetica, sans-serif] - The flywheel disconnected from the piston rod must keep running for 1.5 to 2 minutes;[/FONT]
[FONT=Arial, Helvetica, sans-serif] - With only the piston connected the flywheel must keep on running for 15 to 20 seconds;[/FONT]
[FONT=Arial, Helvetica, sans-serif] - With piston, internal valve and pushing rod connected the engine must keep running for 5 to8 seconds."[/FONT]

[FONT=Arial, Helvetica, sans-serif]I never got mine to be as free as that but it still worked, just!
John
[/FONT]
 
"Another possibility might be if you didn't maintain the 90 degrees of the centerline of the cylinder to the main shaft when you slotted the mount holes to center it" ... Ray M.

I too asked that question. I think Brian solved that problem by checking alignment at both ends of the crank throw... assuring parallelism.
 
Brian,
I'm following this because my next project will be similar. I've read multiple times that these little engines can be a ***** to get running. I'm anxious to see how yours goes. You've certainly optimized every detail.
Good luck.
Russ
 
And here we have a video of "running in" the engine. Even though the crankshaft and big end of the con-rod are riding on ball bearings, there is more "drag" than I like caused by the piston sliding in the cylinder (a lapped fit) and the valve rod sliding in it's drilled hole. I have coated everything with oil and will let it run for an hour, then put the entire engine in a solvent bath to wash out any oil and/or metallic residue. It is running very slowly in the video, I doubled the speed after it had ran for a few minutes.
[ame]https://www.youtube.com/watch?v=_NeaicL1dQc&feature=youtu.be[/ame]
 
This is off message but it makes me wonder why we worry about close fits and safety...
https://www.youtube.com/watch?v=xc14jBSlD64

I've gotta say this is impressive at first glance. You'd think that, if anything, we'd be able to make something that runs much better with our more accurate tools and methods than a guy like this who seems to be eyeballing just about everything.

It's not comparing apples to apples.

The difference is that his system doesn't depend on compression and pressure, that "piston" is just a slip fit because the solenoid's magnetic field is doing all the work. If his piston is too loose, he doesn't lose compression and power; he doesn't lose the magnetic field's pull or push. It probably runs better if it's loose. All he's doing is getting something to run with an electric field. Depending on the amount of current the coil is sucking, it could be horribly inefficient but still spin the "flywheel" (ball bearings soaked in epoxy! who would have thought of that?)
 
Okay--the hour is up, and I just pulled the set-up apart. The engine turns amazingly free now compared to what it did before running it in. Won't have much to report now until I get the alcohol burner built.
 
Before I build the alcohol burner, I have to source a wick. The diameter of the metal barrel that comes out of the top of the burner depends on what wick you use. On Jan Ridders plans the inside diameter of this pipe is 7 mm which is just a bit larger than 1/4". The only wick I can buy in Barrie is for Tiki torches and is 1/2" diameter. I just ordered a ten foot length of 1/4" wick from Ebay, and I think its coming from China---they give mid March as a delivery date. This doesn't make me overly happy, but I don't seem to have a lot of options. I may just go ahead and make the alcohol burner and leave the pipe solid, then drill it out to size when I have the wick here in my hands.
 
Jan Ridders plans show a very nice little alcohol burner fabricated by soldering a number of pieces of 1 mm and 2 mm thick brass together. I happen to have a short piece of 1 1/2" square mild steel here that is just long enough to form the tank body and bottom plate from, and I can solder a separate piece of brass to the top to make a burner that will do for me. Since the tank body will then be made of steel, I can put a magnet size counterbore in the top of the engines aluminum baseplate and epoxy a strong magnet in place. That will prevent the tank from hopping around while the engine is running. (I'm an optimist.)
PyjQGe.jpg

ucy4Zp.jpg
 

Latest posts

Back
Top