3/4" Pennsy A3

Home Model Engine Machinist Forum

Help Support Home Model Engine Machinist Forum:

This site may earn a commission from merchant affiliate links, including eBay, Amazon, and others.
Todd,

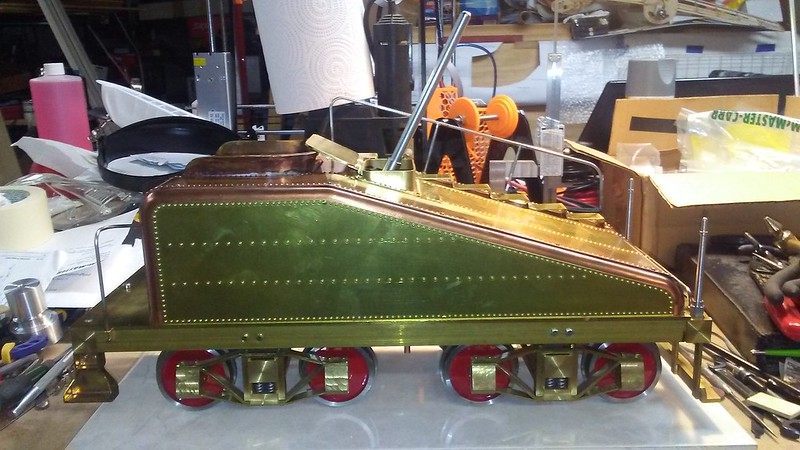
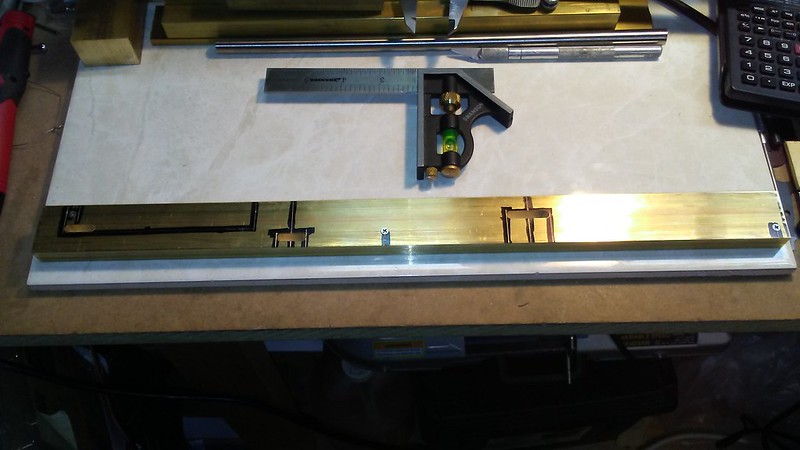
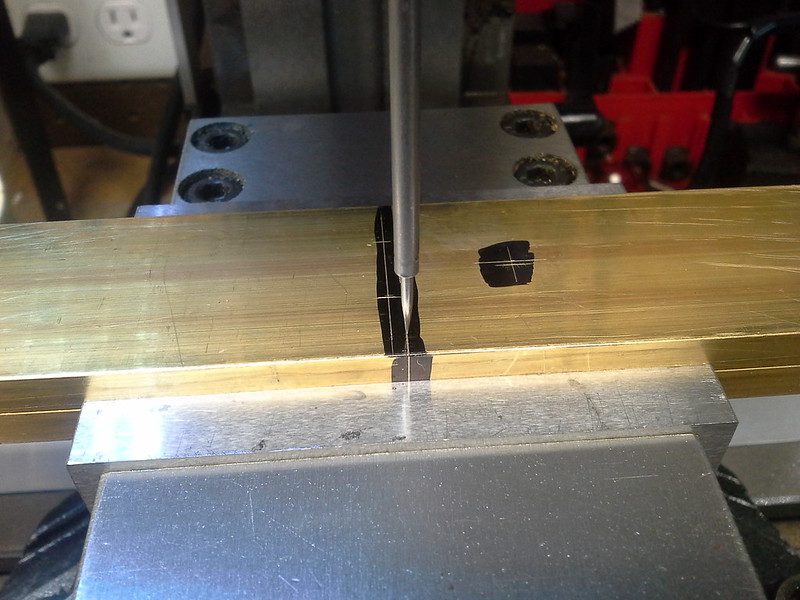
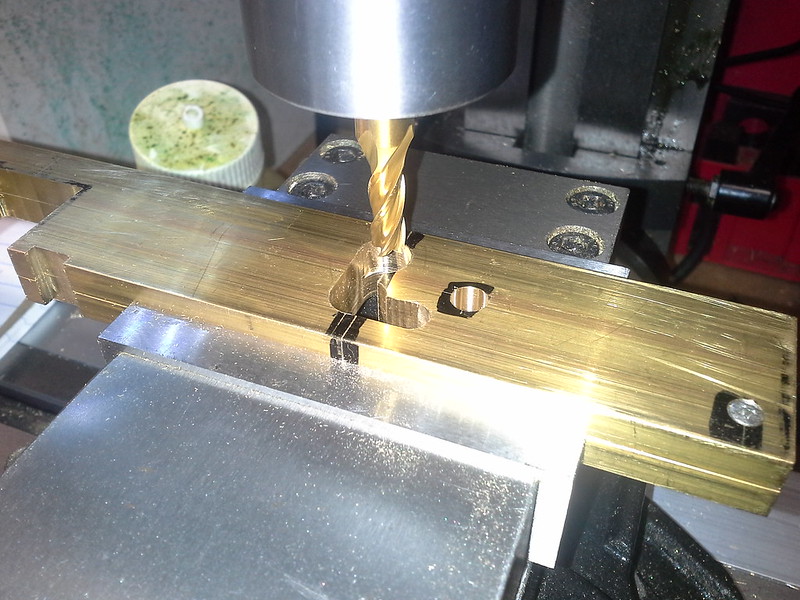
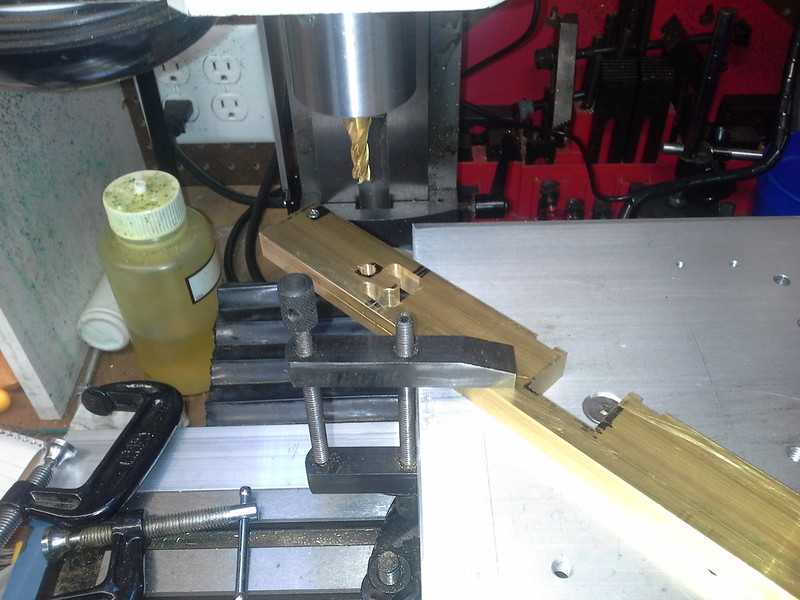
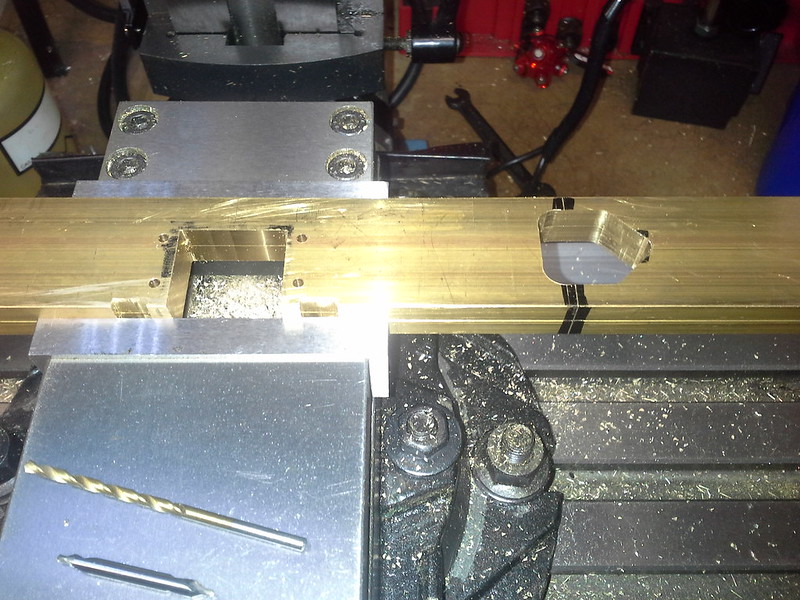
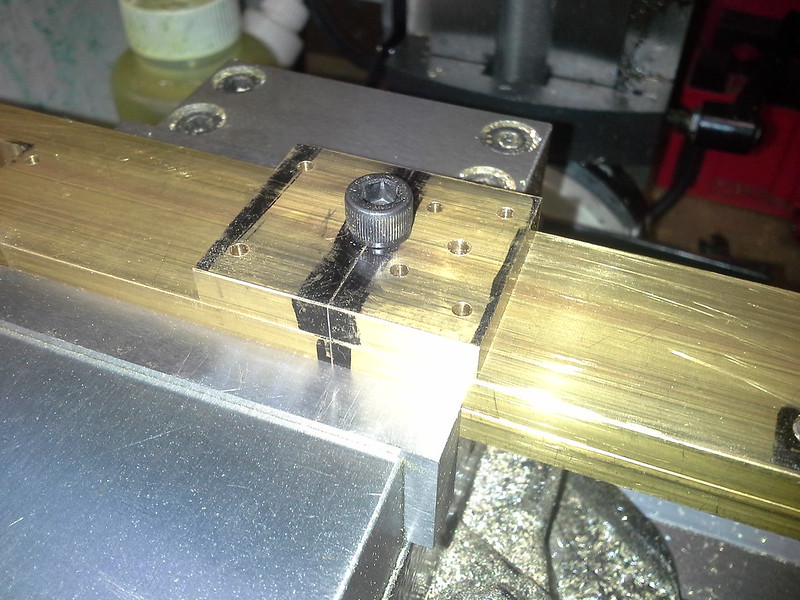
The tender joints are not exposed to heat and could be soft-soldered. However, silver-soldered joints are stronger. But here is the real motivation for silver-soldering - Kozo's plans have you getting a lot of silver soldering experience with various parts before you tackle the boiler. So you get a lot of learning experience and hands-on with these smaller, less-expensive parts. You can get your cleaning and pickling materials and workflow all established and tackle larger jobs with confidence.

Regards,
Ed
 
Thanks, Ed. I went with the silver solder last night. All the joints are complete. In fact the tender is essentially complete now. With the exception of some minor cosmetics and the filter screens on the suction ports. Time to get more materials and get started on the locomotive now. :)

 
Well, I'm calling the tender done.


Of course it still needs to get painted. But, that'll come later. It is now time to move on to the engine. First up is the frame. Well, I have to put in a material request with the boss. And, I also discovered tonight that my 3-jaw chuck will not hold the driver castings. It is only a 3" on my MicroMark 7x14. I have a 4" 4-jaw. But, I'd rather have the self centering of the 3-jaw. So, looks like I need to put in a request for my tooling budget as well. ::)
 
I have just acquired some Eastman Diamond Clear coatings.

http://www.eastwood.com/eastwood-diamond-clear-dtm-and-painted-surfaces-aerosol.html

I intend to use them on my Benson engine rather than painting, as they will keep the brass from tarnishing. If you wanted to keep the tender and loco unpainted, this is an option.

I did a test to compare the gloss vs. the satin on some brass that I'd gotten a very good surface with a face mill. I can't tell that much difference between the two.
 
Hmmm.... Now that is a tempting thought. But, I have plenty of time to think about it. It's taken me about four years to get to this point. :rolleyes: So, I'm guessing another few years for the engine. :D Thanks for the suggestions fellas.
 
Yeah, I said the tender was done. But, while I wait for the funds to buy the materials for the engine frame, I thought I'd make the tender headlamp. I'm going to make it more like the A3 on Long Island in the 20's-30's with an electric headlamp. That headlamp also sat on a base that was made from angle iron. So, I'll start with that.

35588844902_8d43dae534_c.jpg


35626647111_0d2a9e4f04_c.jpg


There are four more frame pieces to add to the headlamp base. The headlamp is going to be a modified version of the one that Kozo designed for his K-27. I'm going to scale it down in size. Instead of angled number plates, I will make them parallel to the body of the headlamp.
 
I have all my materials for the locomotive frame, bearings and axles. :)

35897754986_823ebe7054_c.jpg


The brass tube is for the loco and tender headlamps.

Here is the start of the frame sides. They are screwed together for identical machining. I've slotted the areas for the cutouts.

35938634765_b48ce86153_c.jpg


And, for my birthday my son gave me a set of EasyVUE DROs for my mill. Can't wait to get those installed. :)

35098687834_574f6476f2_c.jpg


And, the fun continues....
 
Kozo calls for silver soldering the brass fittings to the copper tubes. Is it absolutely necessary to do it this way? Or, can I use the lower temperature solder I'd use sweating copper pipes in the house?

First off Amazing work! I got clued in due to this being the project of the month and have to say it should be in the running for project of the year (if they have one).

As for soft or low temperature solder I would have to say don't do it anywhere on the build. I work industrial maintenance in a large plant and you would be surprised at the number of copper pipes the leak of come apart at the solder joints. These aren't high pressure lines either, often process or city water lines. I would imagine because the temperatures are low and the pressures aren't extreme, the joint fail due fatiguing of the lead due to vibration or whatever.

Now consider a steam engine where you have heat, vibration, thermal cycling stresses and much higher pressures. Soft solder will certainly hold in places but I would NOT bother with it if everything else will be silver soldered or better. Beyond that Kozo has a great deal of experience here. If he specced a better solder joint than traditional lead approaches, the I would trust his experience.
 
Thanks, Wizard. :) And, I agree with your reasons on the soldering. I'll be following the specs. And, I also found that silver soldering the fittings was easier that I thought it was going to be.
 
Well, I got the DRO's installed on the mill (If you are interested you can read about it here). So, work now continues on the A3. I finished cutting out the material on the tail of the frame and both of the driver bearing boxes. Kozo discusses the relief of the stress in the cold rolled material when you cut out one side. So, the frame needed to be straightened out after the tail cut and again after the front driver box cut. Let me tell you, the stress may have been relieved in the metal... But, it all ended up stressing me out! :eek: I really had no idea how much force was going to be required to straighten the brass bar back out. I put in so much of an opposite bend that I thought for sure I was ruining the parts. But, lesson learned... Brass is VERY springy. :eek:

Here is the frame back on the mill table.
36035748162_ff8d23be01_c.jpg


X-axis centered over the datum line for the steam tee opening.
35397963923_04c27a830d_c.jpg


Milling out the steam tee opening. The DRO's really made the setup and milling process much easier.
36035748702_cf4e120896_c.jpg


More fun to be had... :cool:
 
As a maker of a couple of steam locos,can i ask your reasoning for
using brass for the frames and not steel.Even if price was not an issue
what other advantages are there.Machining slightly easier,but i assume you are going to paint,then steel would be slightly better.As you have found out
hard drawn brass has more inbuilt tension and spring. Just asking for your line of thought or are you just following Kozos spec ?? Regards barry
 
Hi Barry,

Kozo says you can use either in the model. But, I chose brass for ease of machining. I've machined some steel on my mill and I had some trouble with it and wasn't happy with the results. I don't know if this mill is rigid enough to handle it well. So, I chose to go with Brass on the frame. I don't think this loco will see a lot of heavy running so in the end I feel the brass will be OK. All that being said, I will need to improve my skill with steel as all the running gear is steel. But, I'm hoping to find some easily machinable steel for that. Perhaps I can find some 12L14 in bar stock. I'd be happy to hear any of your suggestions. :)

Thanks, Todd
 
Continuing on with the frame...

I needed to mount the frame at a 45 degree angle to finish milling the steam tee opening.
35831021430_69f94af37f_c.jpg


Next I drilled the four cross-tie mounting holes around the lead driver bearing box. The DRO's made this super easy. It took less than half the time it normally would with all the layout and tooling changes.
35831019000_c0125d386c_c.jpg


A drilling jig was fabricated for drilling the cylinder mounting holes. This jig will also be used on the cylinders themselves.
35418508753_8c18154ed5_c.jpg

35831016540_b9d765f5ae_c.jpg


Operations finished for the evening. Still some work to do on the frame. Up next will be making a pedestal brace for the lead driver box and a bearing box for the rear driver.
35418506403_7851256fd1_c.jpg


More fun to be had...:cool:
 
Back
Top