PM Research #5 complete

Home Model Engine Machinist Forum

Help Support Home Model Engine Machinist Forum:

This site may earn a commission from merchant affiliate links, including eBay, Amazon, and others.

rlfervan

Member
Joined
Feb 7, 2017
Messages
14
Reaction score
16
I am pretty happy with how it turned out. I learned a lot, made some mistakes, got a couple new tools, made a couple new tools.
27DAA19B-0E60-400F-91D0-B9A70BDD047A_zpsyyabuta4.jpg
51B23C54-7C25-4AF1-8795-71CBAA9EEC08_zps9bhmamqc.jpg
 
Have a large steam engine looks like your model engine, it has a 4 inch bore and a 15 inch flywheel was told it came out of a milk plant years ago. Have made some small parts for it on the lathe, have run it on air but it takes a large compressor.

IMG_1427.jpg
 
rlfervan..about what size is your steam engine ?{nice machining job and paint by the way} I ask because I have been working on a older Stuart 5A engine that a friend started and passed before he got done, it is not done yet, but I am slow working on it..I like that green color you did your engine with.

IMG_1434.jpg


IMG_1432.jpg
 
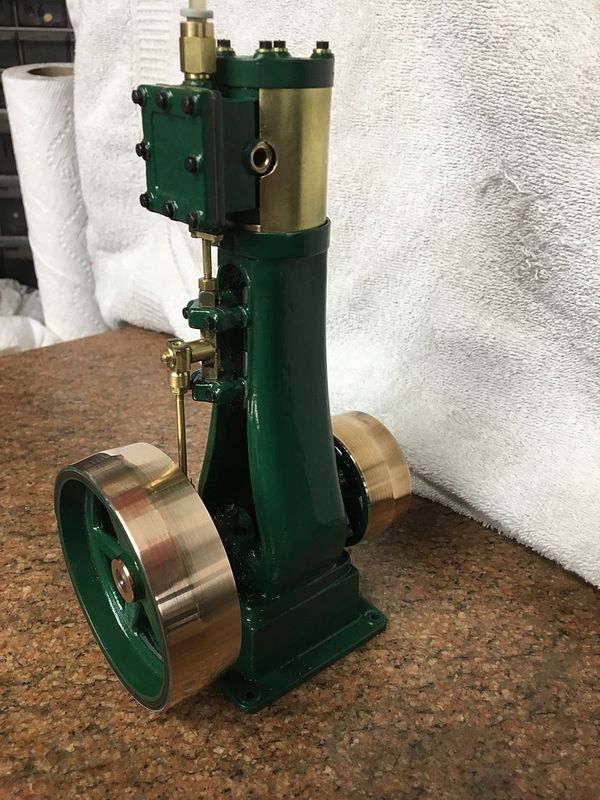
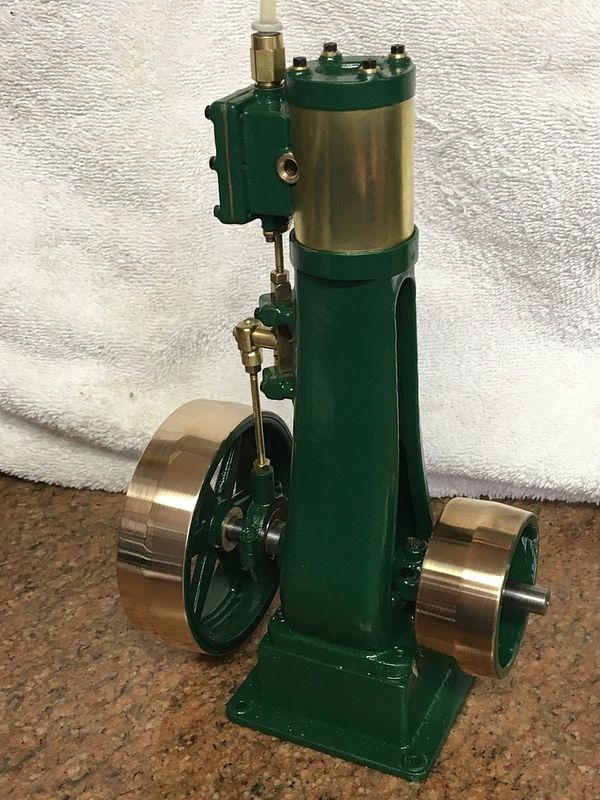
Pack Rat thats relay nice. The PM #5 is a 5/8" bore X 7/8" stroke. It runs very nice on air. I will put up a vid when I have time to figure that out.
I was looking at the Stewart models but was scared off by the British fastener sizes.
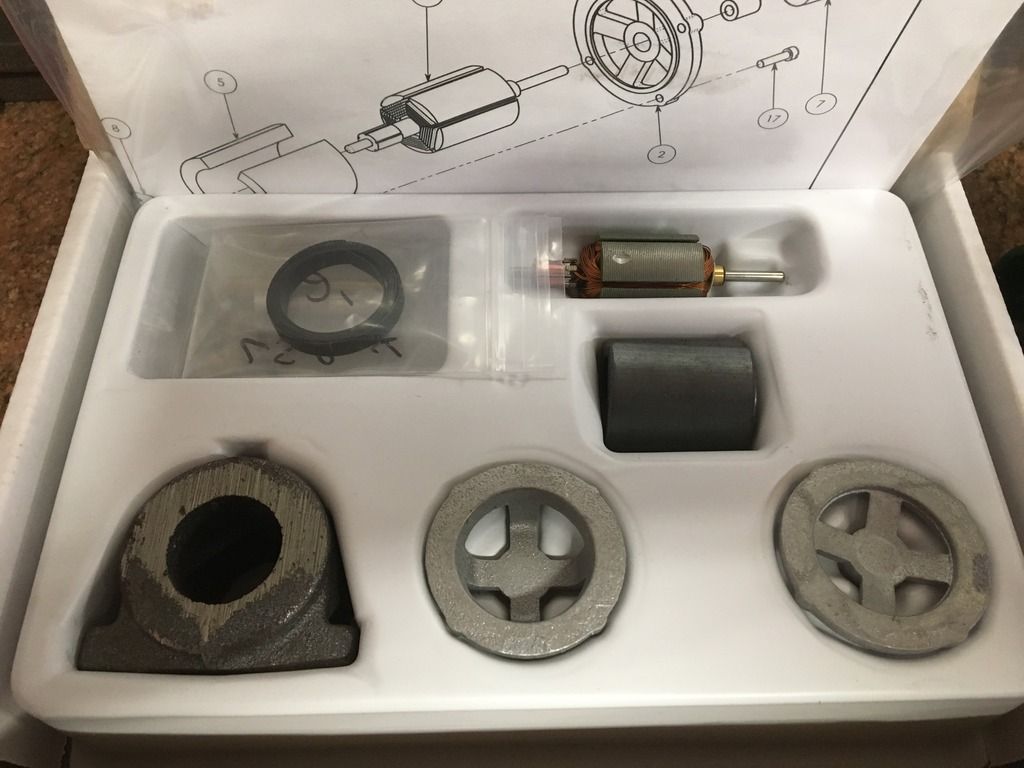
I have the PM research dynamo kit also but haven't started it yet. Was thinking of doing a build log on that if anyone is interested.
I don't know how these guys like Mr. Pete and tinker John have the patients to do the Videos, edit and upload. I give them a lot of respect for that. I cant even remember to take pictures of all of the steps. If there is any interest I will try though.
 
"I was looking at the Stewart models but was scared off by the British fastener sizes."

My friend that I have his engine that I am working on, had with the castings a set of BA taps and dies and all the BA bolts and nuts to finish the 5A engine. When he passed I was given his tools and books on lathe work also. After working with the British thread sizes I like using them. Regards packrat
 
Chucked up the main casting in 4 jaw and bumped it around until I was satiated it was a good "average" then faced it off
9FBA3EF2-CA41-45AF-88A7-EE80787EAE03_zpsl4a7nvfi.jpg
 
You have done a great job on #5!!

It was one of my first some time ago, started it up the other day with its boiler.

Still one of my favorites

IMG_2053.jpg
 
Yes the dynamo will be driven by the 5. Then I plan on making a couple lamps out of small led flash lights. I'm sure the boiler is in my future as well. How was that to build?
 
Yes the dynamo will be driven by the 5. Then I plan on making a couple lamps out of small led flash lights. I'm sure the boiler is in my future as well. How was that to build?

rlfervan

I've enjoyed building the boiler, however I've added a gas camping stove burner into it that took some mods here and there. Works pretty well!

I have a PMR little saw still in a box to built that I would add to #5 later on.

I've also built #1, #6 and their Redwing which was the greatest built for me ever. You should find them on HMEM if you search my name.

As for #6 I've added a homemade dyno with LED lamp that runs on 12v, I still need a boiler for that...another challenge one day.

I will be following your built of the Dyno
 
Thank You for following Al. I welcome any comments, suggestions, even criticism. Why do you say "Redwing which was the greatest built for me ever." Was it the most challenging?

I got the main casting bored out and turned it around and faced off the other end.
BBDB27D8-16C7-4EBA-8CDC-A674D0F9C7D4_zpsc4bsdnwu.jpg

I got the tool height figured out at about the 3rd from last pass.
 
It was challenging but had more satisfaction when I got every part right the first time and running like a dream...

Your setup looks great!
 
Back
Top