


Sshire
Well-Known Member
- Joined
- Jun 29, 2011
- Messages
- 936
- Reaction score
- 259
Now I get it. Building a boiler consists of drilling an infinite number of holes, which are then filled with an infinite number of rivets, which then results in the boilermaker running to the the nearest bar and ordering an infinite number of boilermakers.
I've never riveted before and, after the last two days, I don't think I want to repeat the exercise. Not that it's difficult and the instructions from PM Research are excellent. It's really, really boring and I'm hoping that after I get LOTS of paint on it, my crappy Riveting 101 exercise won't look too bad.
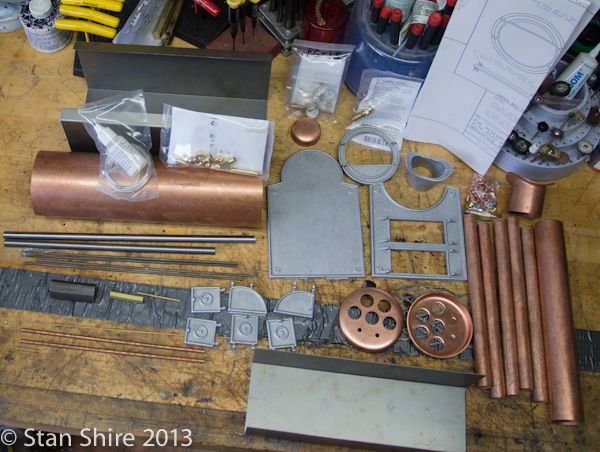
The horizontal boiler kit from PM Research is excellent. Quality castings. Everything you need, including stock to make the tools, is included.
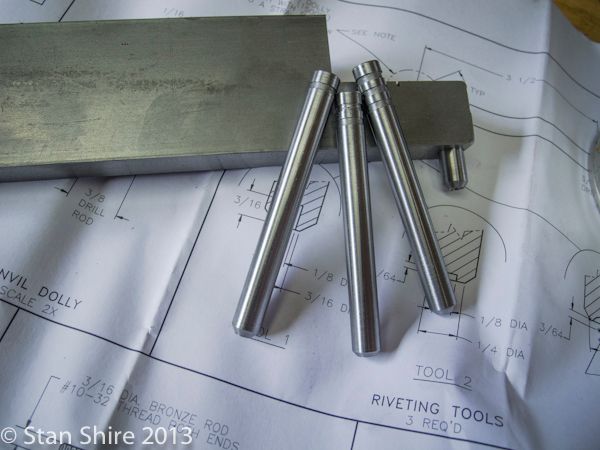
Here are the riveting tools. Simple lathe work. Since they look identical on the bench, I "numbered" them with 1,2 and 3 grooves. The riveting dolly is in the anvil, a piece of 3/4"x 2" x 12" CRS (just about the only thing not included.)
Drilling and riveting pictures will now commence.
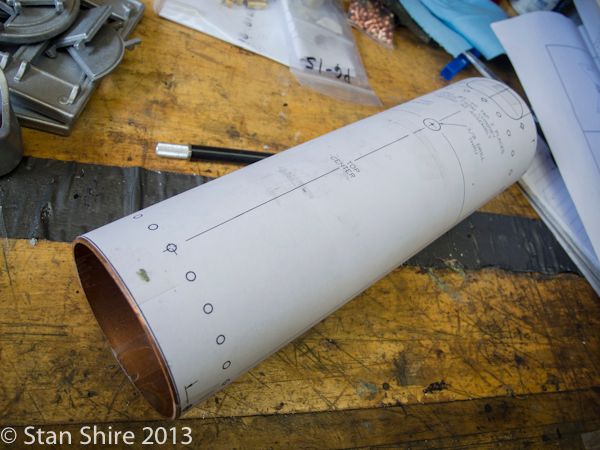
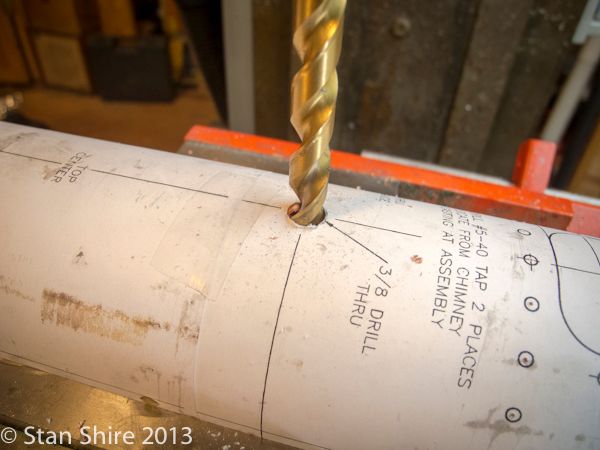
The drilling and milling template from the plans is taped around the shell. This saved much layout.
Fitting the tube sheets to a slip fit. Yesterday I didn't even know what a tube sheet was, now I'm fitting them.
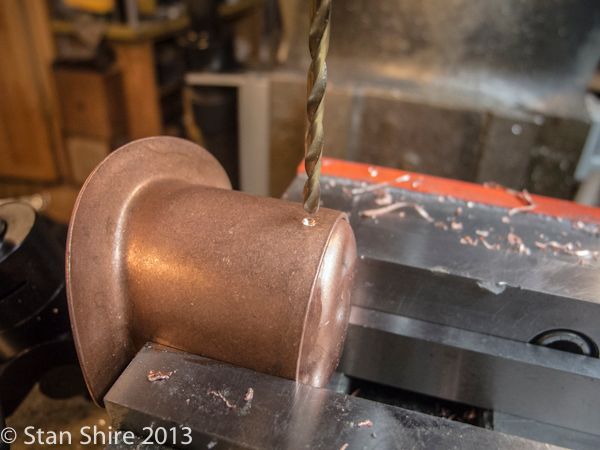
Drilling the outlet hole for the steam dome.
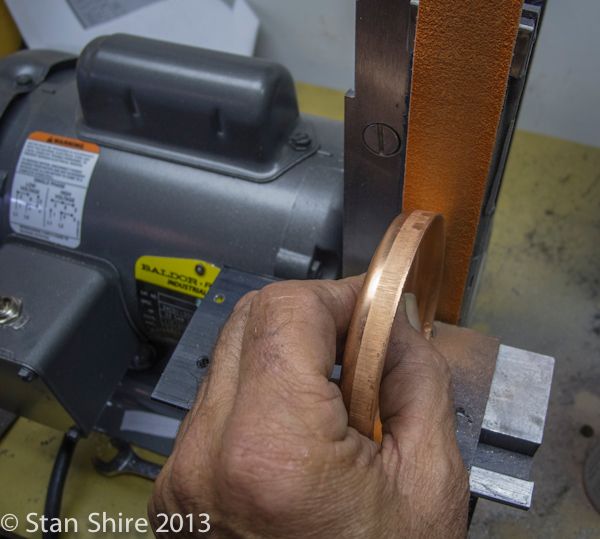
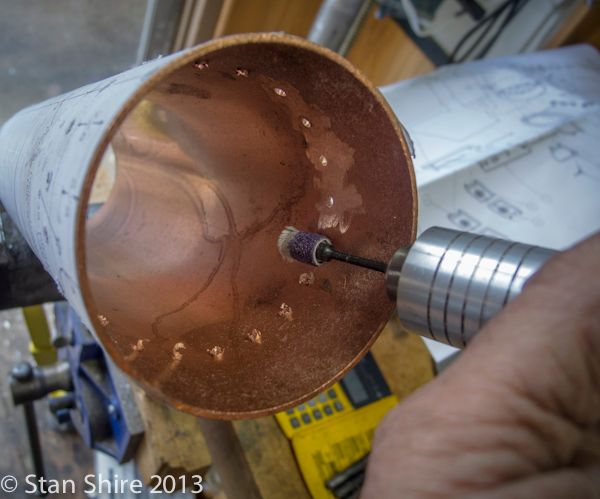
Deburring the rivet holes for the tube sheets.
Milling the shell
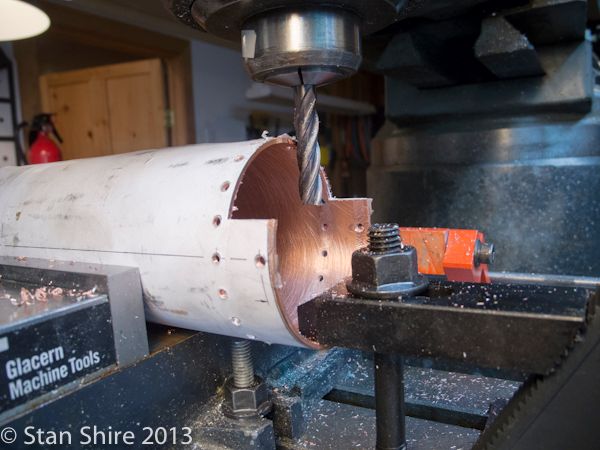

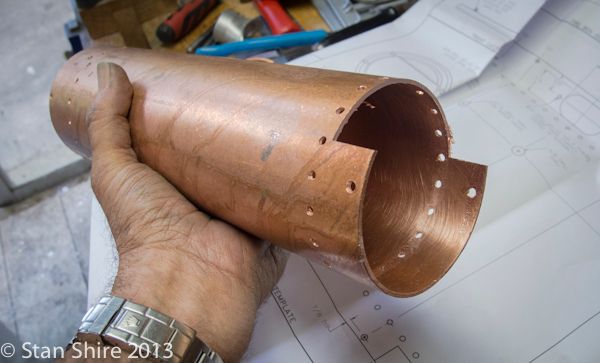
Drilled and milled
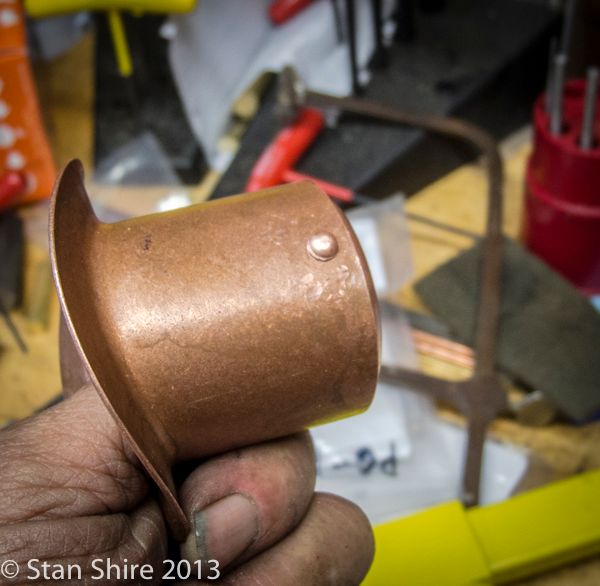
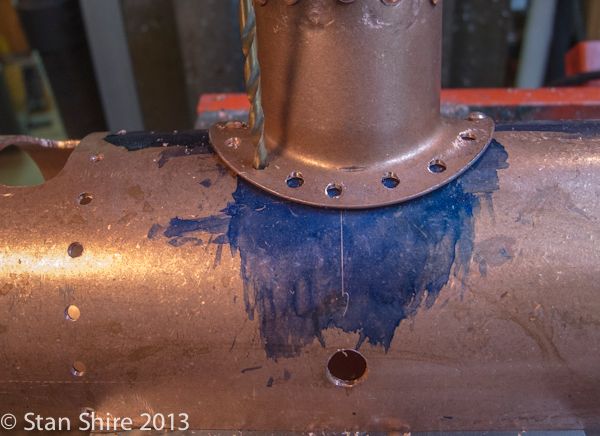
The steam dome. One hole is drilled and riveted to hold position. then a second hole is also drilled and riveted. With the parts now fixed in place, the remainder of the holes are drilled.
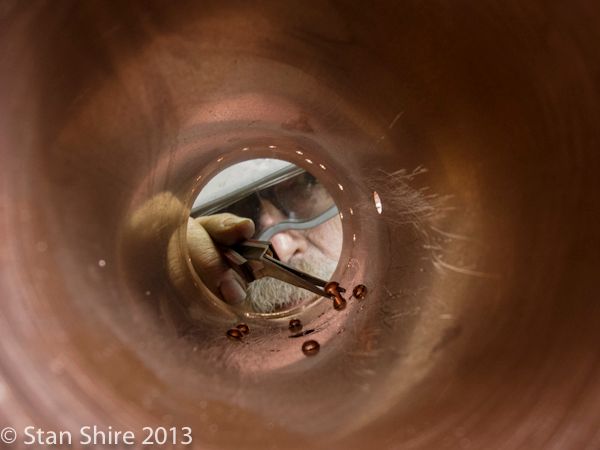
More holes for more rivets.

It's like building a ship in a bottle.
Next installment - End sheet riveting if you can stand the suspense.
I've never riveted before and, after the last two days, I don't think I want to repeat the exercise. Not that it's difficult and the instructions from PM Research are excellent. It's really, really boring and I'm hoping that after I get LOTS of paint on it, my crappy Riveting 101 exercise won't look too bad.
The horizontal boiler kit from PM Research is excellent. Quality castings. Everything you need, including stock to make the tools, is included.

Here are the riveting tools. Simple lathe work. Since they look identical on the bench, I "numbered" them with 1,2 and 3 grooves. The riveting dolly is in the anvil, a piece of 3/4"x 2" x 12" CRS (just about the only thing not included.)

Drilling and riveting pictures will now commence.
The drilling and milling template from the plans is taped around the shell. This saved much layout.

Fitting the tube sheets to a slip fit. Yesterday I didn't even know what a tube sheet was, now I'm fitting them.

Drilling the outlet hole for the steam dome.

Deburring the rivet holes for the tube sheets.

Milling the shell


Drilled and milled

The steam dome. One hole is drilled and riveted to hold position. then a second hole is also drilled and riveted. With the parts now fixed in place, the remainder of the holes are drilled.


More holes for more rivets.


It's like building a ship in a bottle.

Next installment - End sheet riveting if you can stand the suspense.


