Small V8

Home Model Engine Machinist Forum

Help Support Home Model Engine Machinist Forum:

This site may earn a commission from merchant affiliate links, including eBay, Amazon, and others.
Finally got the final coats on the box over the last few days.


DSCN2045s.jpg
 
Steve,
When will you furnish some pops? Or better, some roar.
Another 10 hucks!!
Inspirational and educational.
Mosey
 
It is looking real great Steve! Truly a work of art. :bow:

What do you have left to do? It seems like your real close to getting some 'Music' from her.

Kel
 
kcmillin said:
What do you have left to do? It seems like your real close to getting some 'Music' from her.

Kel

Hello Kel!

Lets see, I have a half dozen gaskets to make. Still need to something about sparkplug boots. Of course exhaust pipes but I did get a oxy/acy torch so that will be good. I broke a plug so I need to make a few more sparkplugs.
 
Hi Steve,
I haven't been staying away on purpose. I've been following along like the others and admiring the progress on your engine. What can I say that hasn't been said? I even went to the online thesaurus to see if I could come up with some descriptive words that haven't been used. All I can say is :bow: :bow: :bow: woohoo1
George
 
Great progress Steve.
I have a feeling this engine design will become 'the one' that people aspire to work up to, considering the size, availability of detailed info from your thread and your superb plans. And the fact that it's a fat V8. Great work, and I am itching to hear it run.
 
Dont worry G I know you are busy with the H&M engines.

LongRat, Thank you. The intent was a small V8 for those with small machines. I really didn't think it would be followed to this extent.

Thank you both!!
 

DSCN2041s.jpg


Beautiful Craftsmanship.

Great ideas in your jigs, and setups.
Keep up the excellence.

 
waynes world said:
pm inbound mr hucks.

wayne


Wayne asked the question via PM but for those who missed it or was wondering, the plans are emailed to you after purchase in PDF format. I think going this route saves me alot of printing and postage and goes a long way to keeping the cost down.
 
I have made the LAST gasket. The bellhousing adapter has a water passage in it so it needs a gasket. I made the last fixture but I couldn't use the part to cut the outside shape because the gasket needs to follow the shape of the oil pan. I made the fixture duel sided with a plate in the shape of the gasket.

DSCN2047s.jpg


As always a piece of material is sandwiched between both plates.

DSCN2050s.jpg


The bolt holes are run thru with a drill bit and the big hole is cut out with a razor blade. The gasket is removed and this is what i had.

DSCN2052s.jpg


The piece is then moved to the right side of the fixture and sandwiched again.

DSCN2055s.jpg


The outer shape is cut with a razor blade and the gasket is ready to be installed.

DSCN2057s.jpg
 
Thanks for sharing your gasket procedure - nicely done.
 
Hey Steve, have you found a solution for your spark plug boots?

FWIW I was roaming the hardware store today and I found this

http://www.google.com/products/cata...&sa=X&ei=cd86Toa3GePjsQKHouUP&ved=0CFQQ8wIwAg

I purchased some and currently have a good size blob of it drying out to see if a large hunk will dry, it seems like it might be a good product to use for this. I will see though, one it sets up that is. Not sure what to coat the mold with though?

 
kcmillin said:
I purchased some and currently have a good size blob of it drying out to see if a large hunk will dry, it seems like it might be a good product to use for this. I will see though, one it sets up that is. Not sure what to coat the mold with though?
That usually shrinks a good bit, but that can be dealt with. Wax coating would be my first thought.
 
Hey Steve,

It has been a few hours since the blob, it flattened out after a bit and got about 1/16" thick. It feels and stretches like electrical tape and did not stick to the quarter I had it on. I also made a makeshift mold from a bar of acetal. I made a pocket 1/2" wide x 3/8" deep. I filled it to the top with this stuff. The top turned into a bit of a bowl and is dry on the surface. I checked the middle and it is still liquidy. I will check again in the morning to see if it sets up.

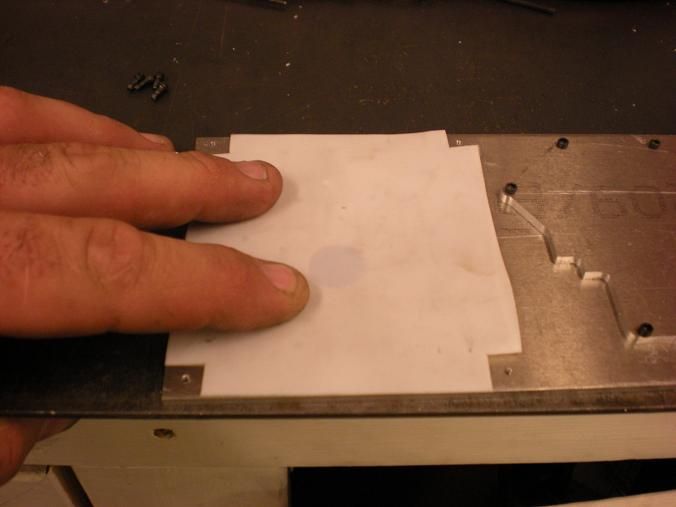
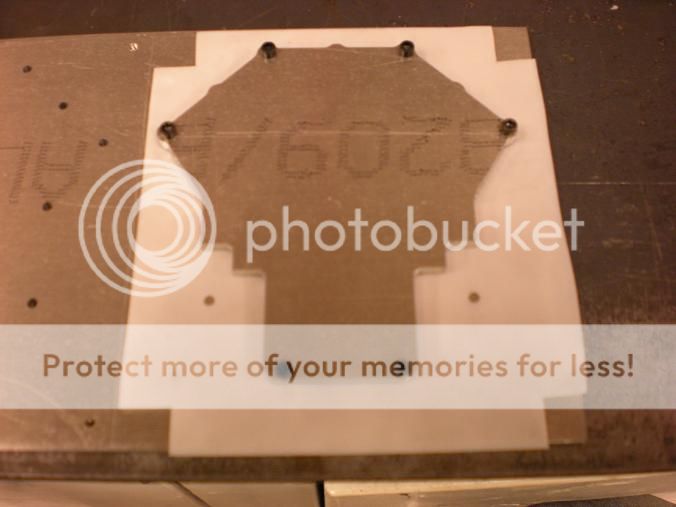
I also tried brushing it on like the picture, brushing it on. This indeed does work well. It is kinda hard to get a non lumpy surface with the brush, but a spat on finger works OK, implementing some kind of spatula might work too. There could be a better way. Brushing it on requires a few coats, so this might aid in the anti-lumping.

I think in thick sections it will get a bit squishy, and not hard rubber like found on spark plug boots.

Kel
 
Back
Top