rsendys
Member
- Joined
- Dec 27, 2009
- Messages
- 19
- Reaction score
- 0
I decided to build the simplest steam engine.
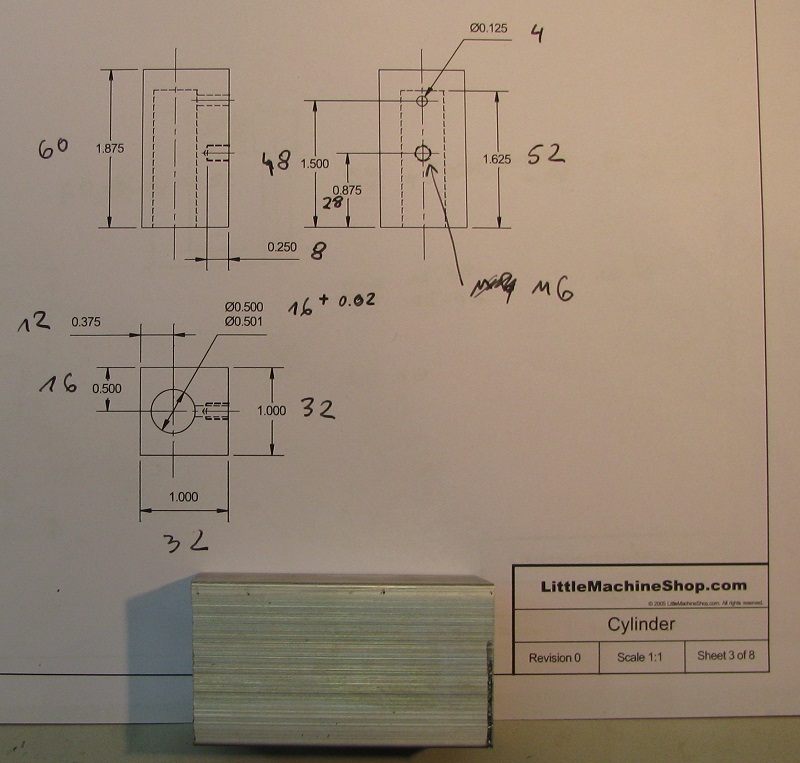
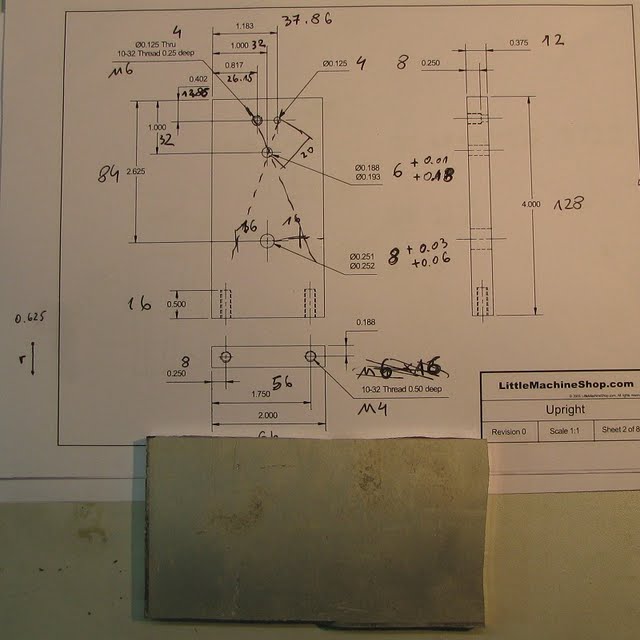
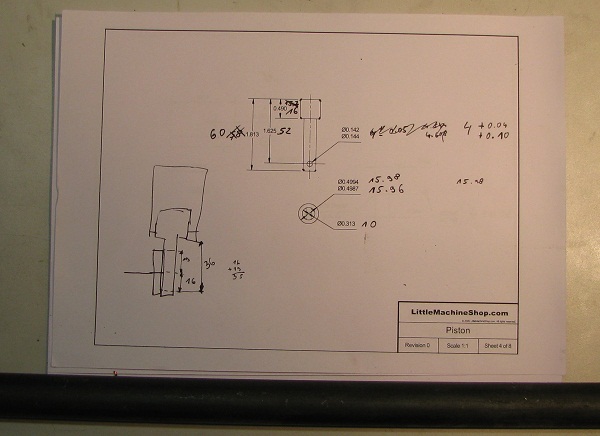
I decided to use the plans http://littlemachineshop.com/Products/Drawings/2593OscillatingEngineAssembly.pdf
Maybe a little less ambitious - but maybe I can finish it ;D
I decided to change imperial to metric because all my tools are metric.
But according to the rules: 1 mm = 1 / 32 " - where I need to change the sizes - especially thread.
I hope that the establishment metric scheme of this machine - I hope this does not affect the rights copyright ???
Today the piston:
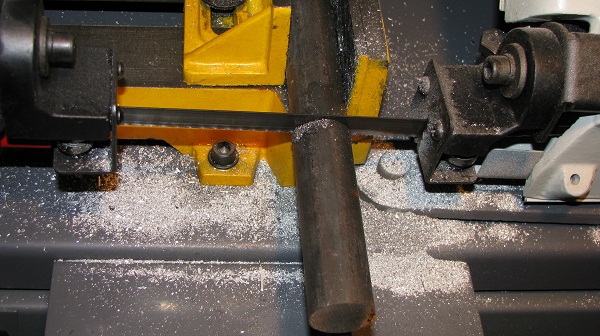
I have some steel in grade 35HGS
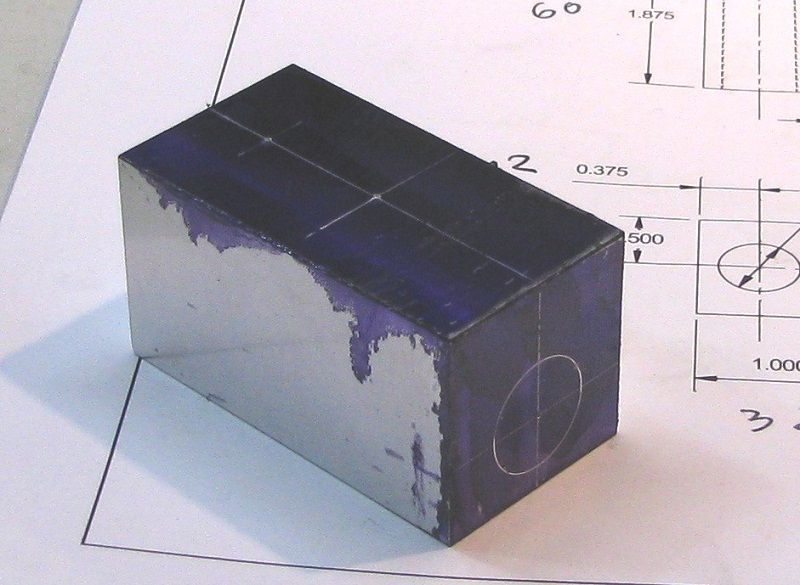
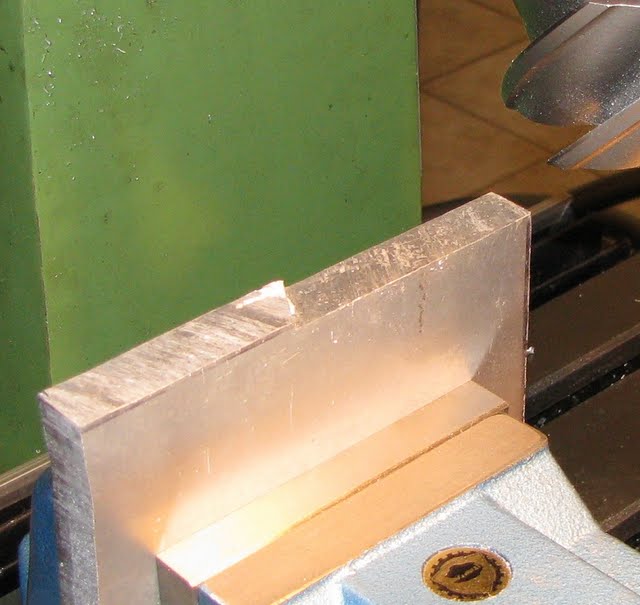
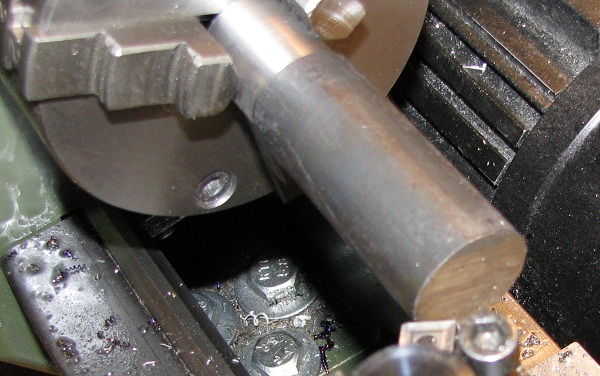
cutting off a piece
Flat edge surface
outside surface
good fix and secod flat edge surface
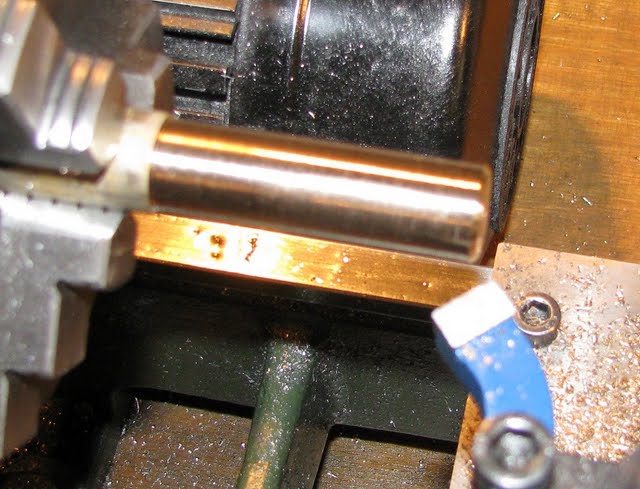
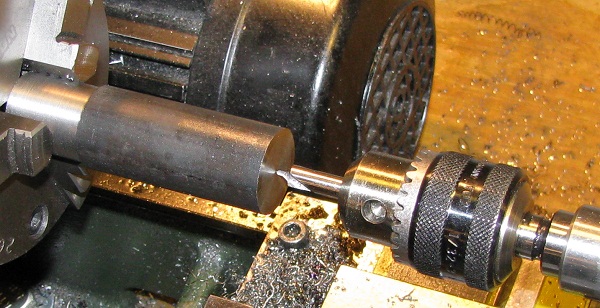
centering
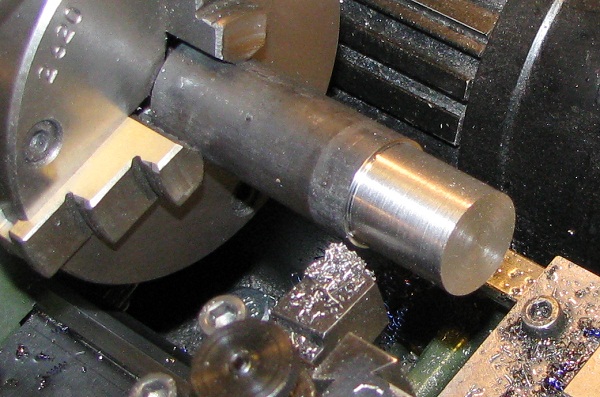
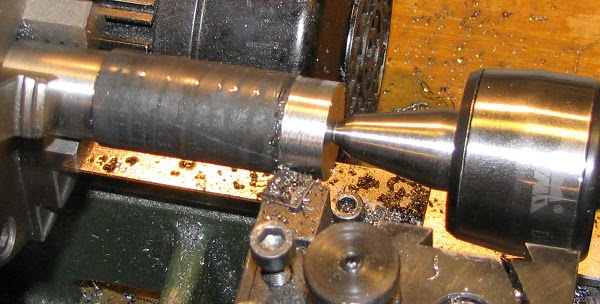
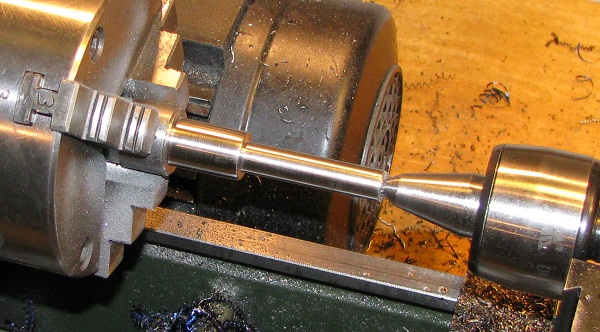
outside surface
get the first dimension - 10 mm
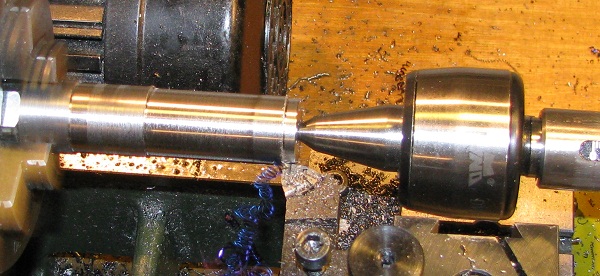
and get second dimension - 15.98 mm")
cutting ... This is not my favorite operation
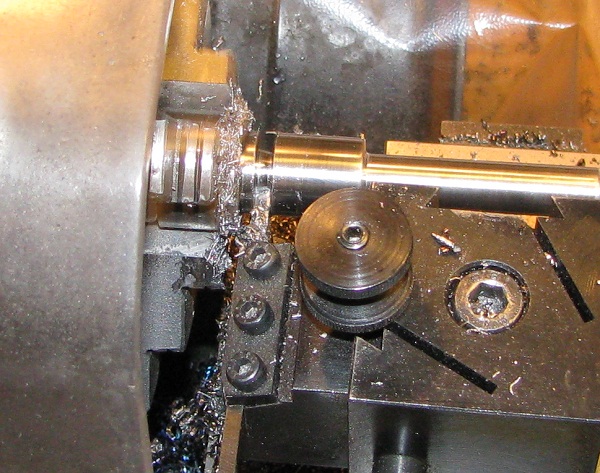
A little too long element - I have to shorten
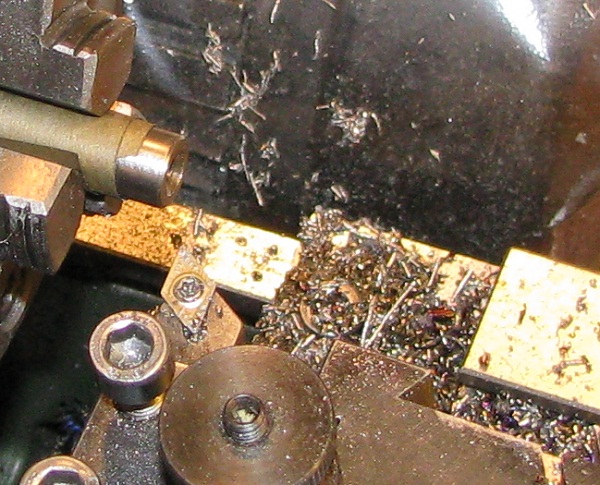
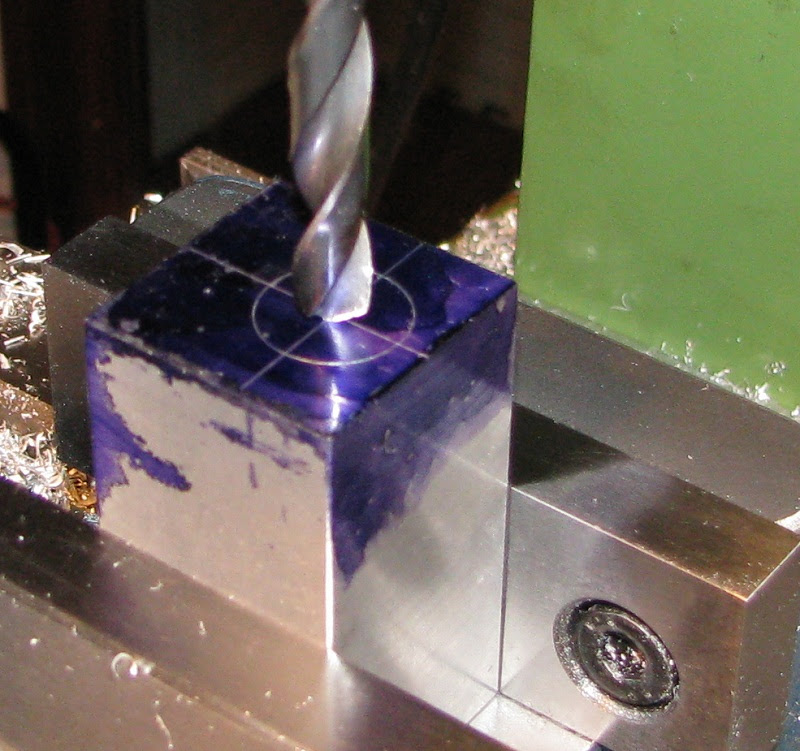
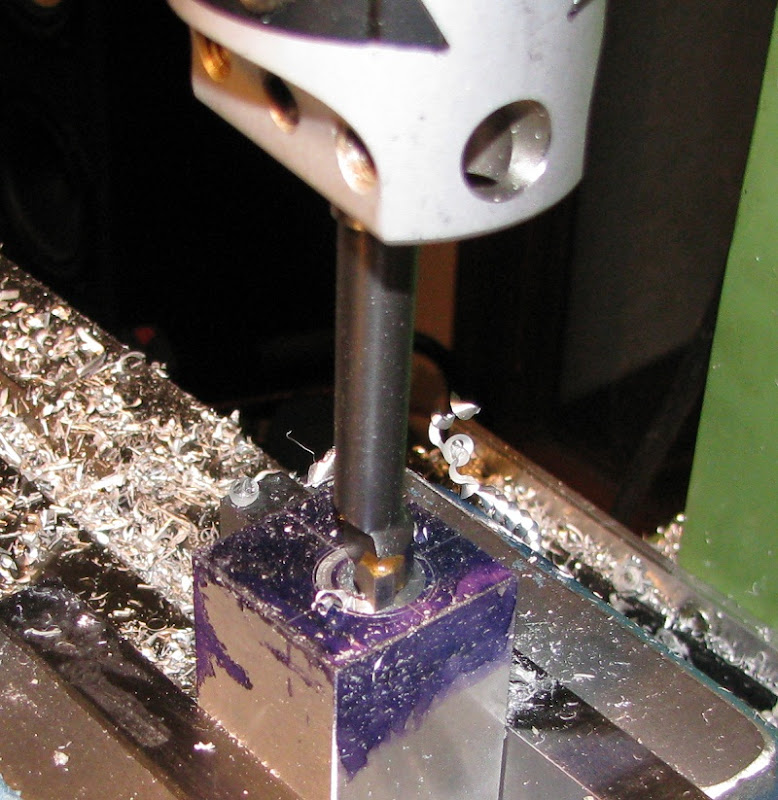
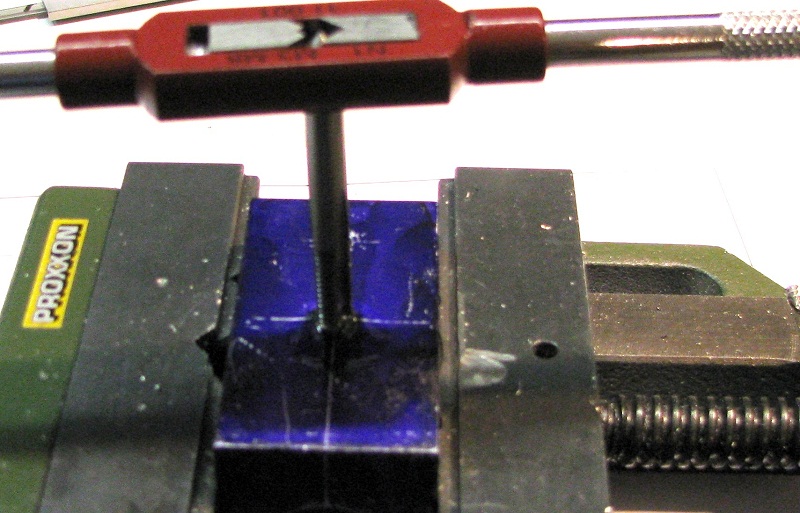
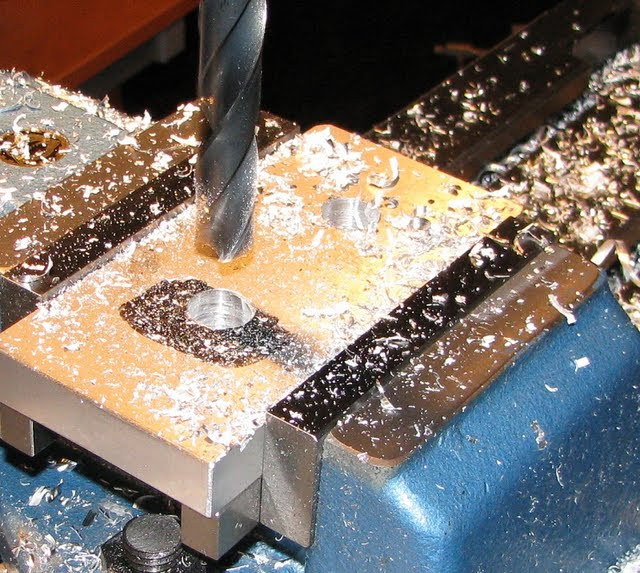
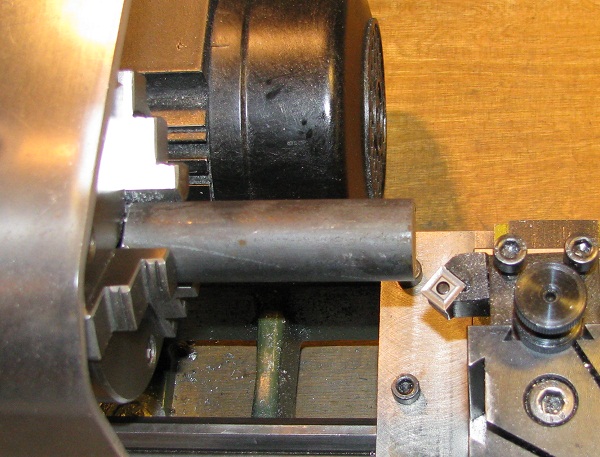
routing the hole
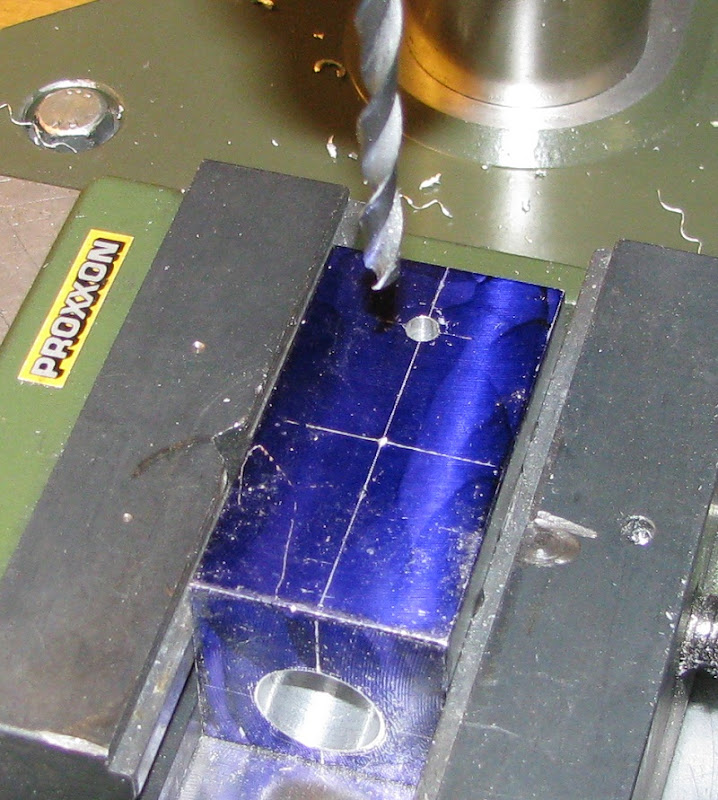
drilling

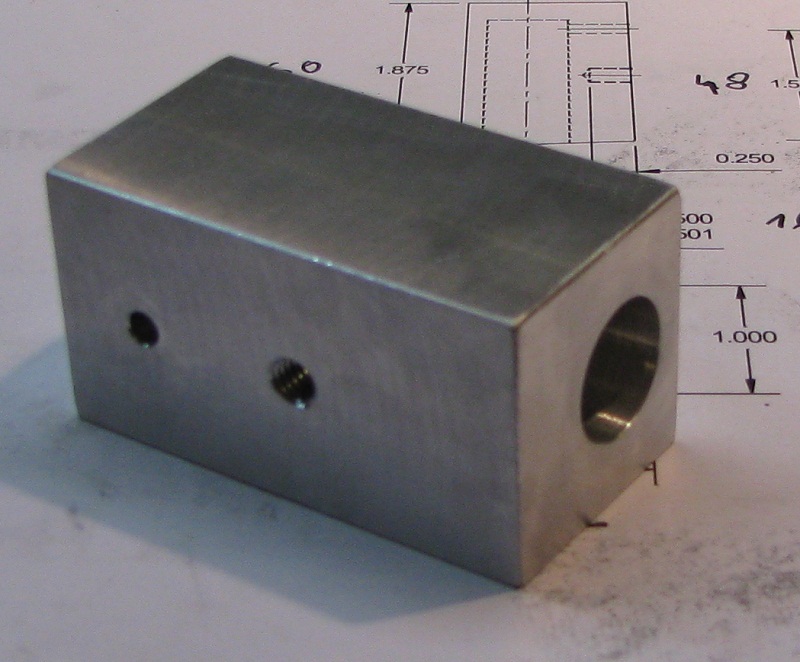
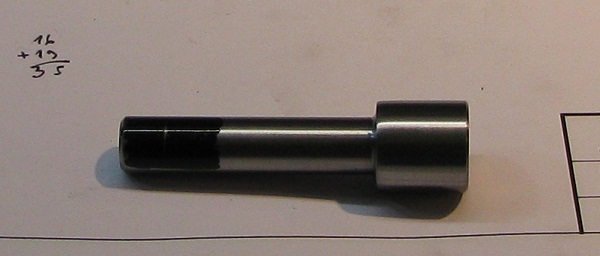
Ready piston

I decided to use the plans http://littlemachineshop.com/Products/Drawings/2593OscillatingEngineAssembly.pdf
Maybe a little less ambitious - but maybe I can finish it ;D
I decided to change imperial to metric because all my tools are metric.
But according to the rules: 1 mm = 1 / 32 " - where I need to change the sizes - especially thread.
I hope that the establishment metric scheme of this machine - I hope this does not affect the rights copyright ???
Today the piston:
I have some steel in grade 35HGS
cutting off a piece
Flat edge surface
outside surface
good fix and secod flat edge surface
centering
outside surface
get the first dimension - 10 mm
and get second dimension - 15.98 mm
cutting ... This is not my favorite operation
A little too long element - I have to shorten
routing the hole
drilling
Ready piston