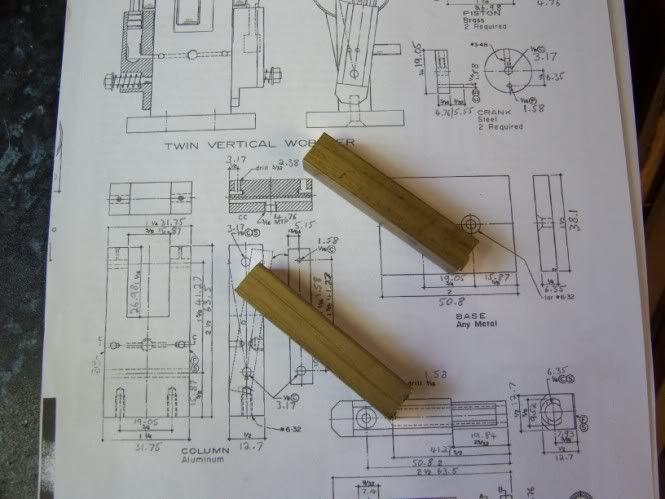
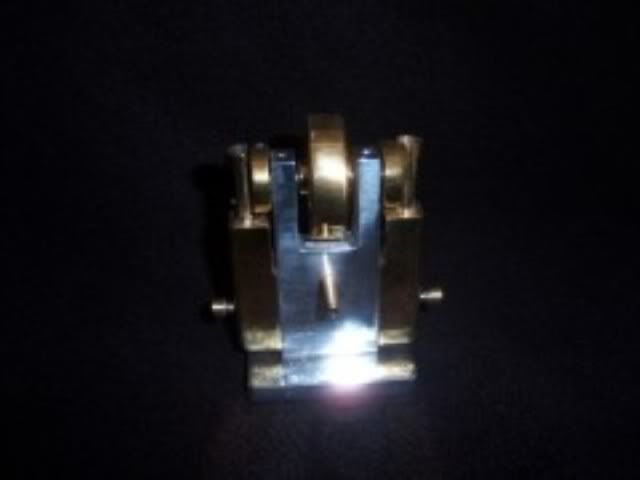
I have just finished my third build Elmer's Twin Wobbler so i thought i would share a few pics i took while i was making it.
As i have said in my previous posts i have no experience at all of machining i have only learnt by trying , from reading what you guys have to say and a few emails to John Summers who is always willing to help.
Please feel free to give some constructive criticism because i think it is one good way to learn.
By the way i haven't posted photos before so i hope this works.
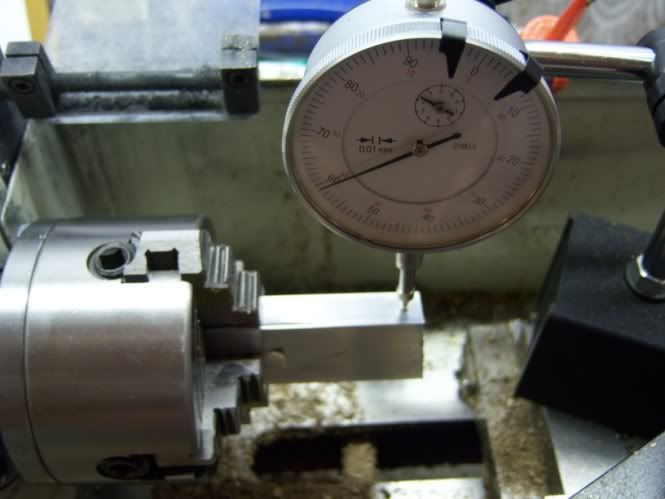
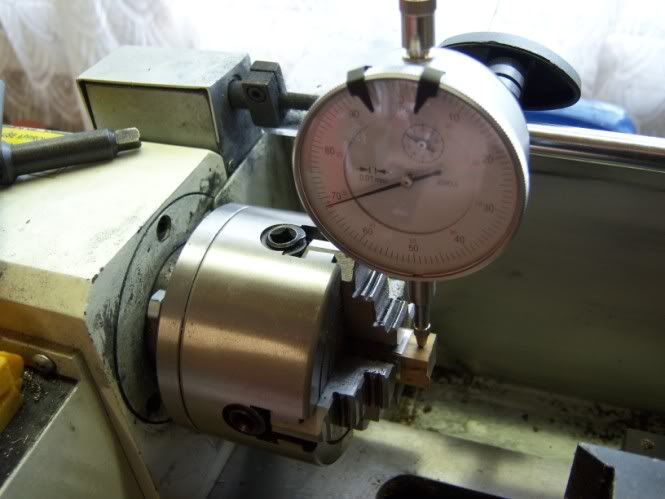
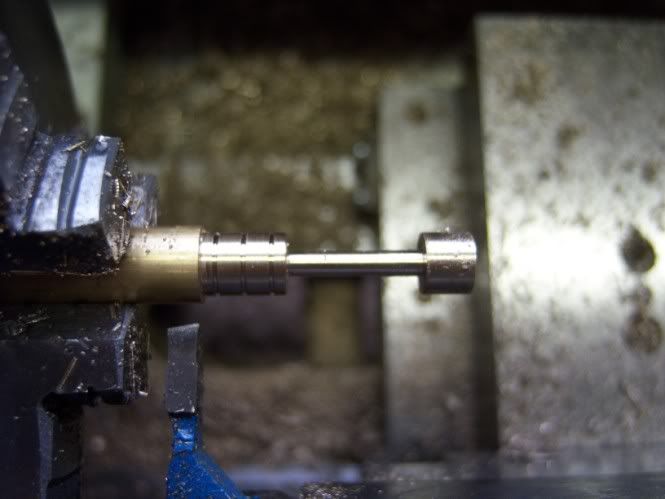
I started with the column by hack sawing of a piece of ally and setting it up in the four jaw.
After squaring it up i centered it ready for drilling.
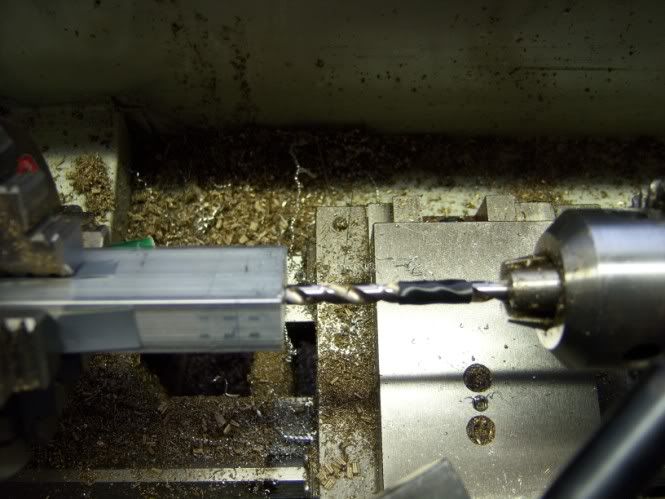
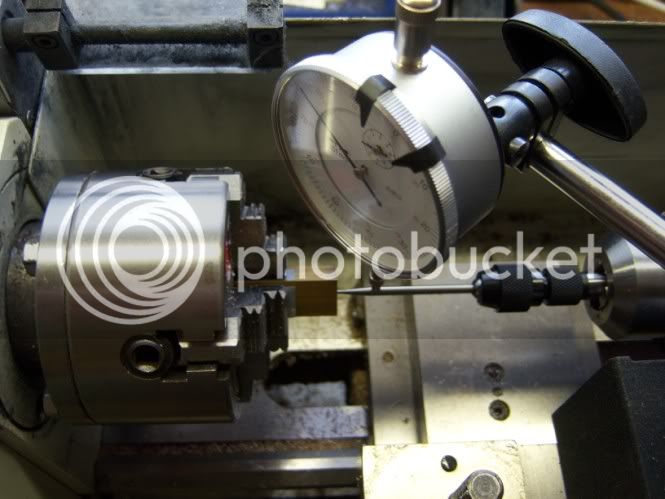
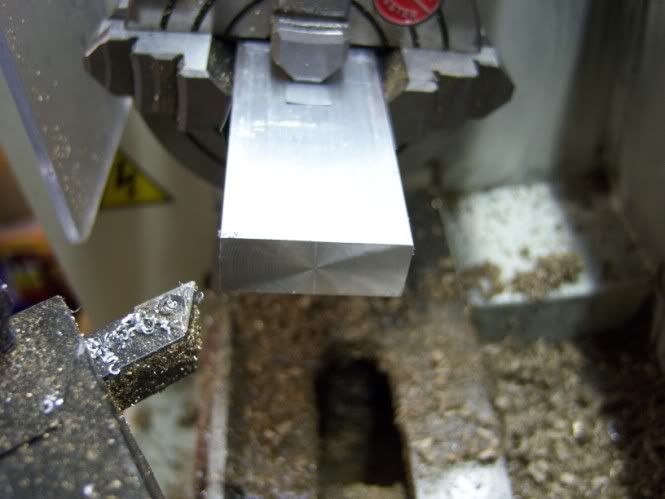
Having drilled it out to 13mm i used my boring bar to take the hole out to just under the 15.8mm needed
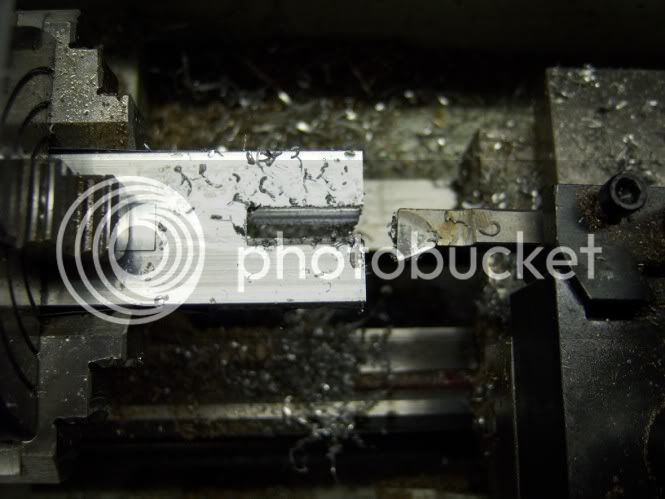
I then finished the job with a file. I did it like this because i don't have a mill and decided it was the easiest way to remove most of the ally.
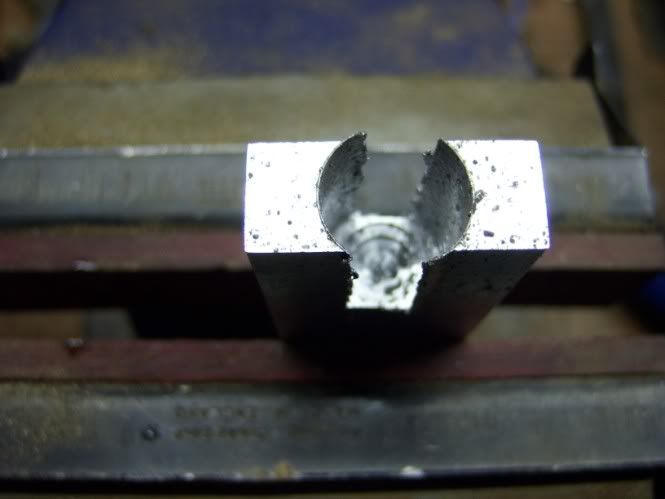
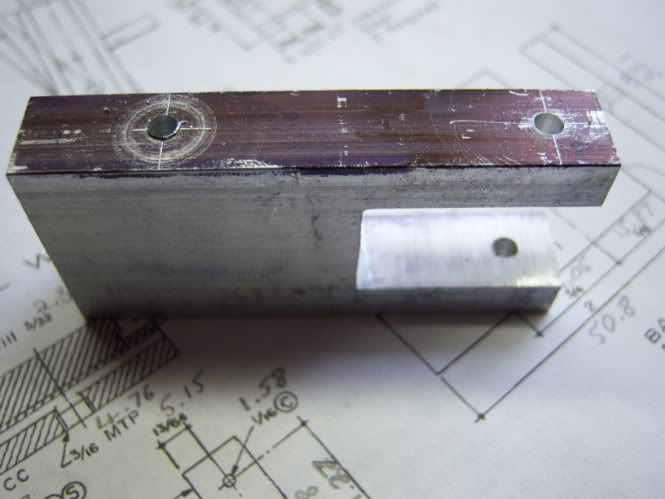
This is how it looked after filing.
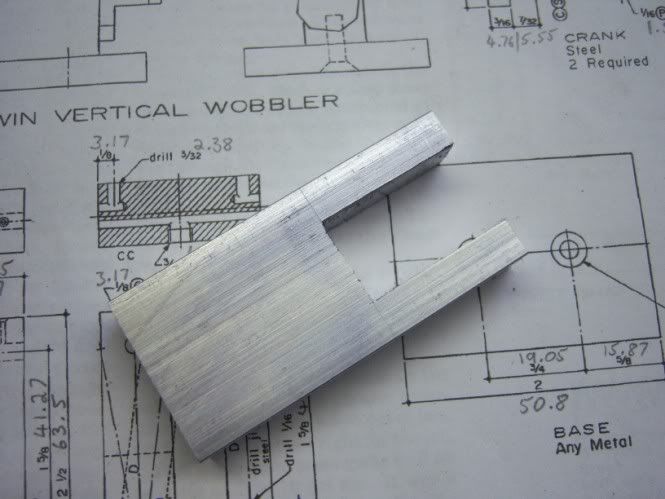
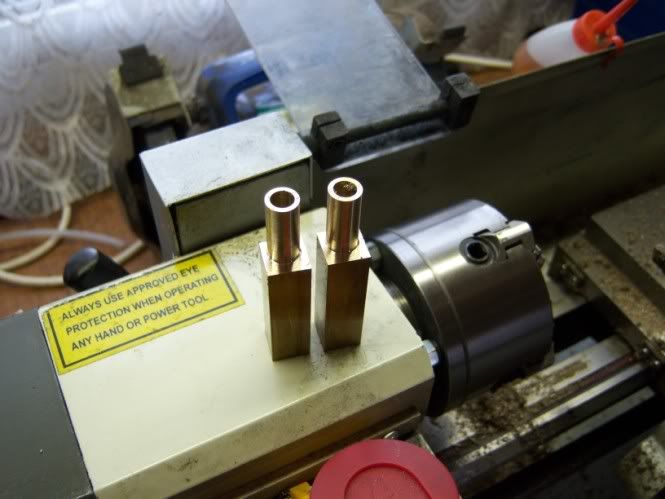
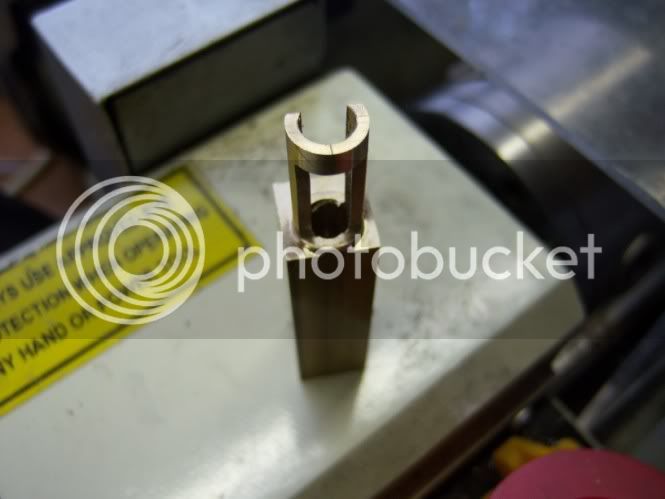
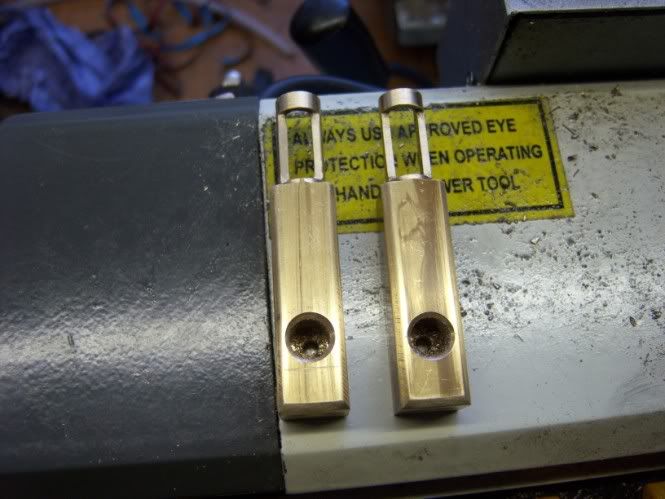
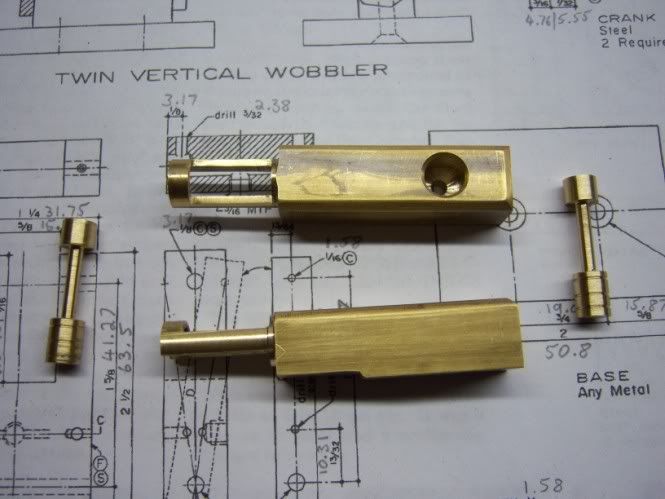
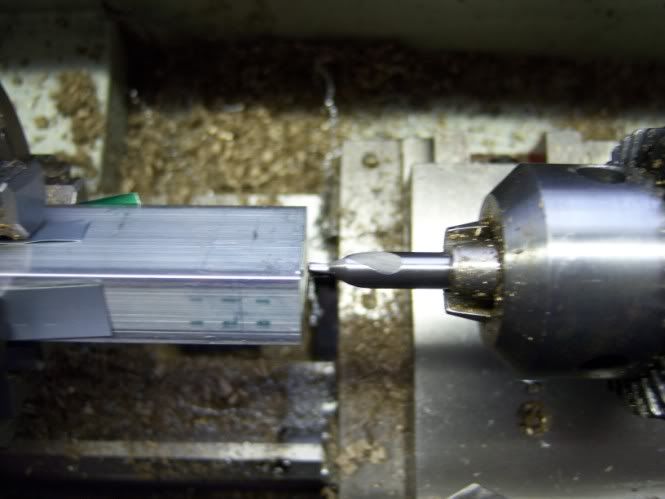
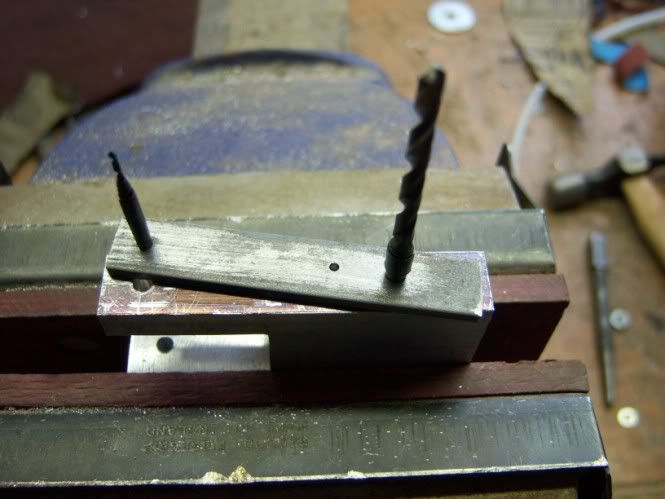
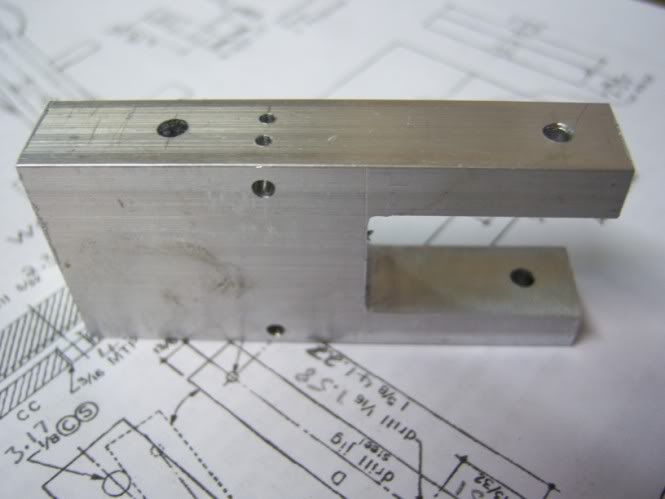
After this i drilled for the crank shaft and pivot shaft then using the jig in the drawings drilled for the inlet and exhaust ports.
For some reason Photo Bucket has gone funny and wont let me look at my pictures so i will try and finish this later sorry.
Rob.......
As i have said in my previous posts i have no experience at all of machining i have only learnt by trying , from reading what you guys have to say and a few emails to John Summers who is always willing to help.
Please feel free to give some constructive criticism because i think it is one good way to learn.
By the way i haven't posted photos before so i hope this works.
I started with the column by hack sawing of a piece of ally and setting it up in the four jaw.
After squaring it up i centered it ready for drilling.
Having drilled it out to 13mm i used my boring bar to take the hole out to just under the 15.8mm needed
I then finished the job with a file. I did it like this because i don't have a mill and decided it was the easiest way to remove most of the ally.
This is how it looked after filing.
After this i drilled for the crank shaft and pivot shaft then using the jig in the drawings drilled for the inlet and exhaust ports.
For some reason Photo Bucket has gone funny and wont let me look at my pictures so i will try and finish this later sorry.
Rob.......