Time for a new Horizontal Hit and Miss engine

Home Model Engine Machinist Forum

Help Support Home Model Engine Machinist Forum:

This site may earn a commission from merchant affiliate links, including eBay, Amazon, and others.
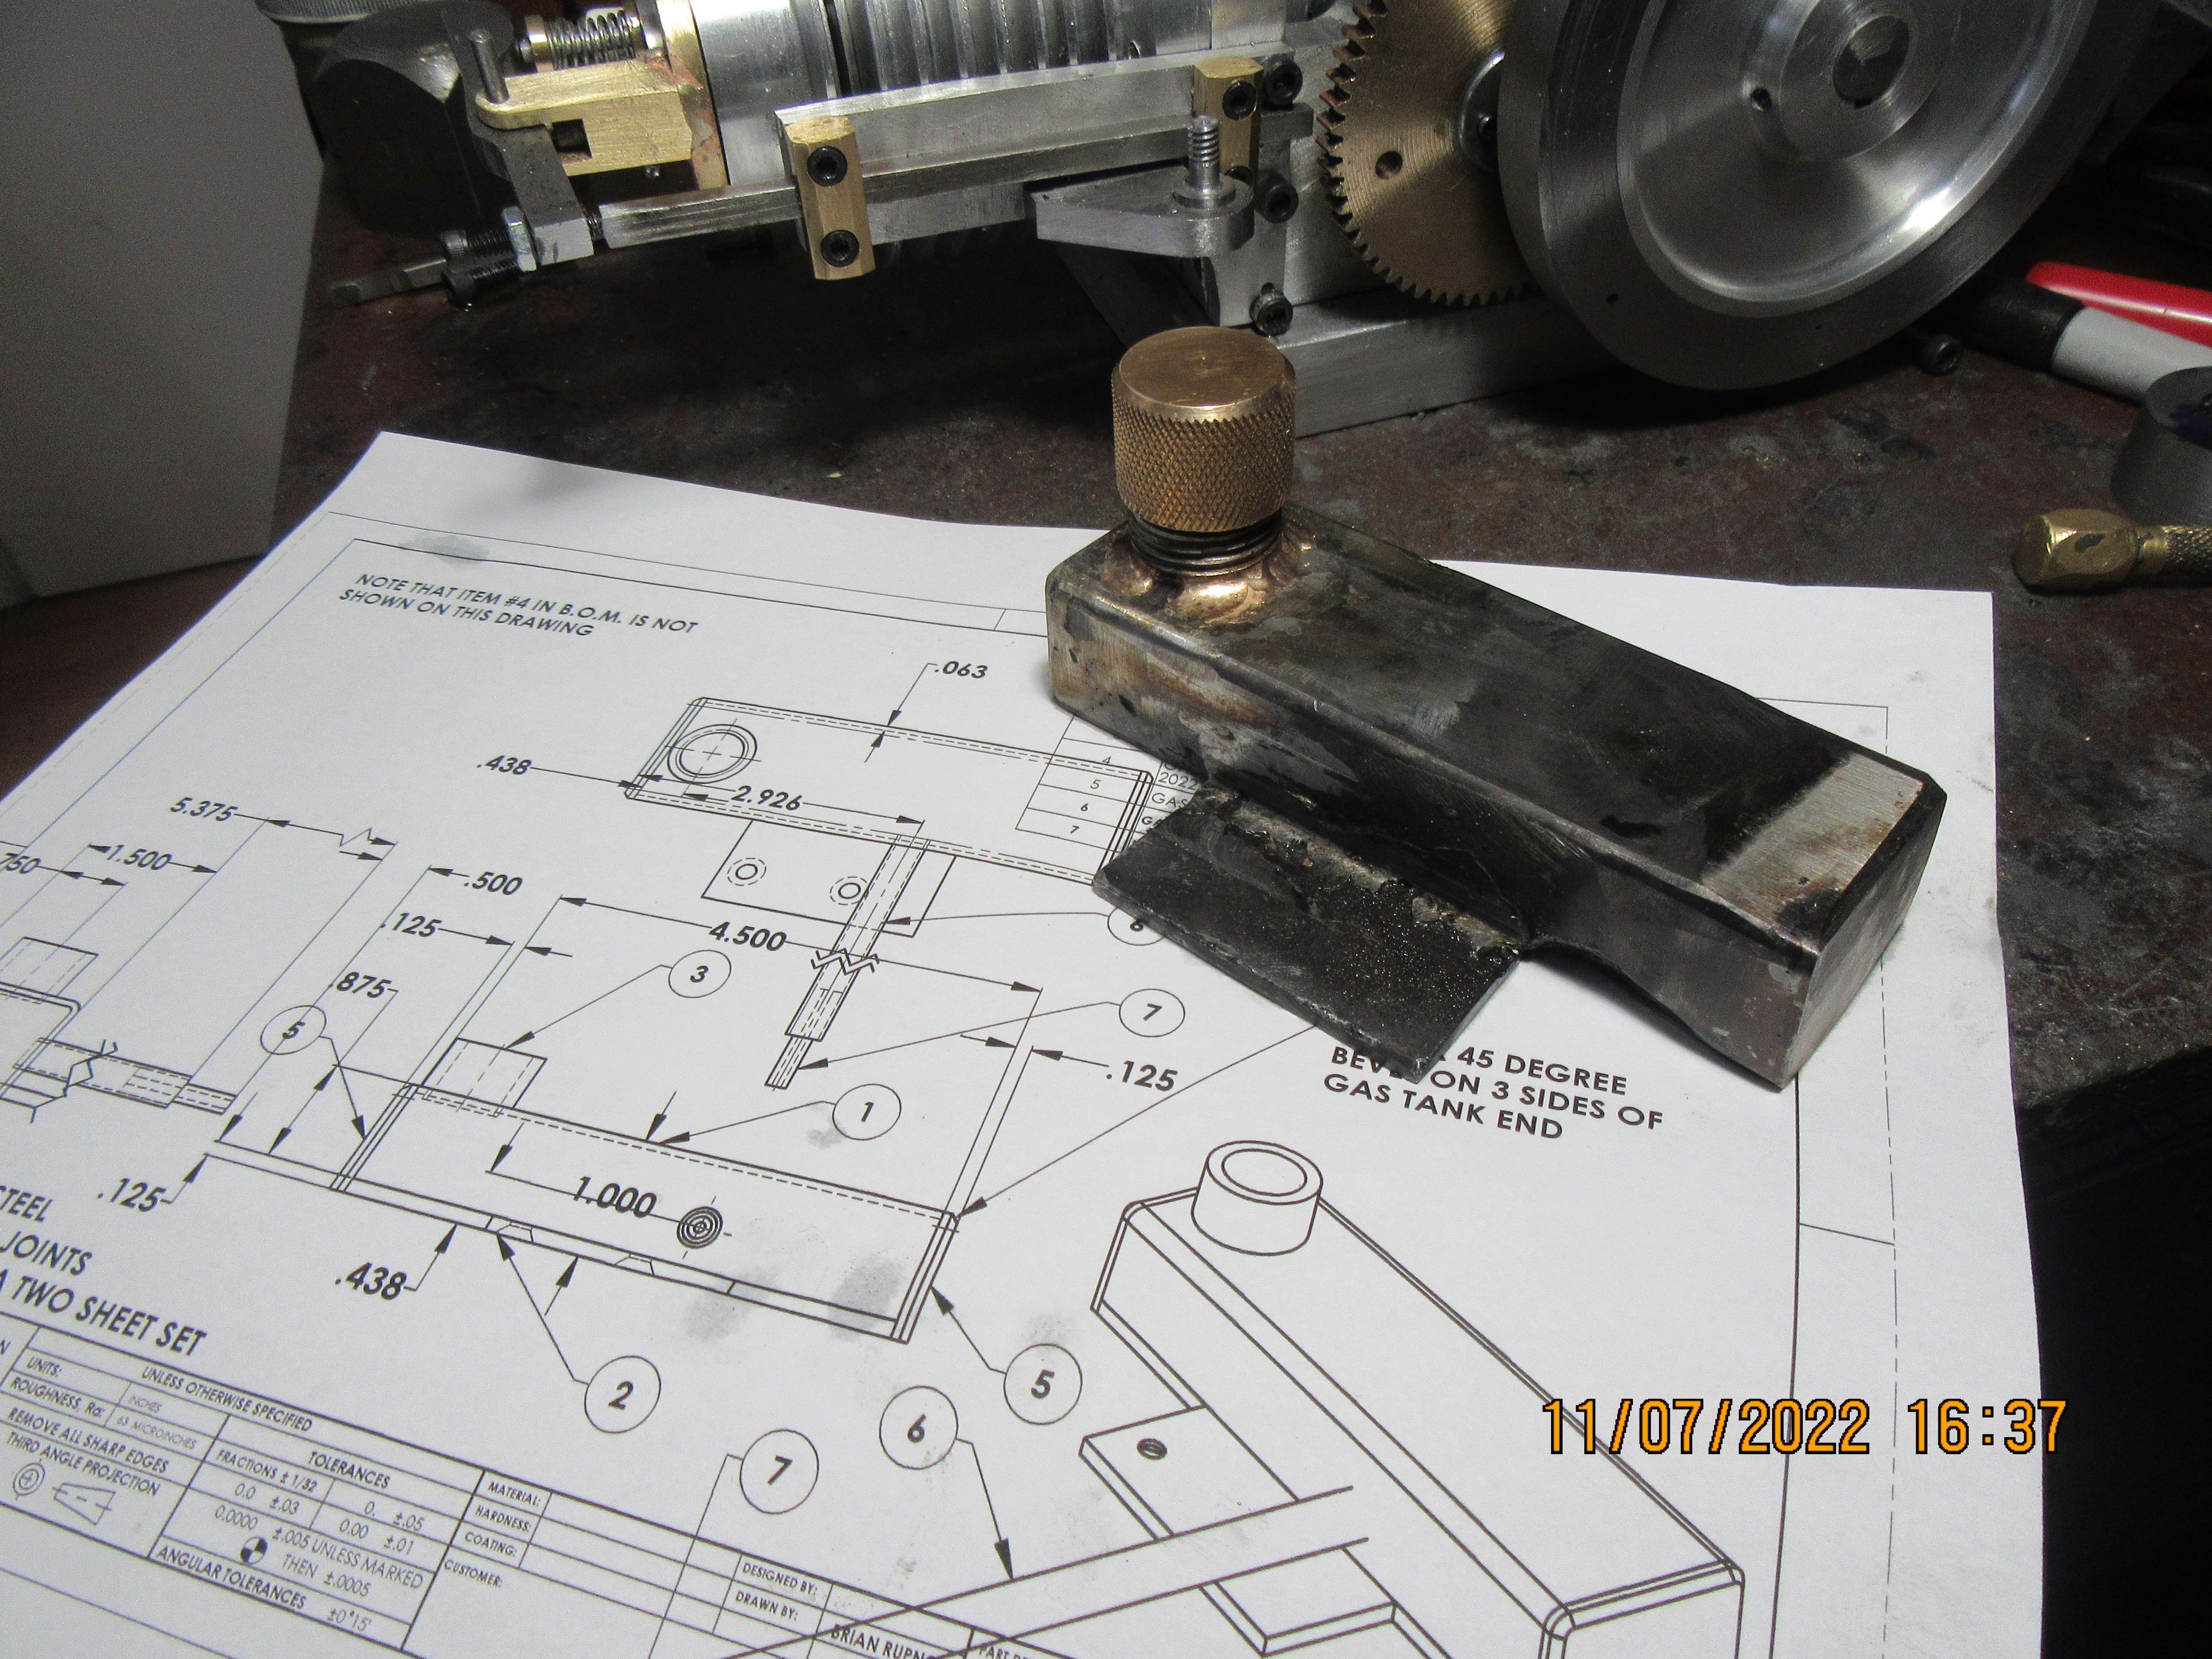
2% lanthanated electrodes work extremely well for both aluminum and steels, 3/32 size for general purpose. It is the go-to electrode for most TIG welding.

The other thing is to be sure and remember to switch to AC for aluminum and DC for steel. I have forgot on more than one occasion and it reminds you real quick.

 
Hi Brian: "As far as I know, all hit and miss engines used atmospheric intake valves." - I didn't know that. I thought the hit and miss option worked on the inlet valve push rod linkage: engaging the inlet valve when required, but disengaging when the governor said "Slow down boys!". That way you always need two push rods for the 2 valves. But yours is more economical with friction I guess?
Must look closer at other engines... I haven't paid this much attention to these engines before. Thanks for the help,
K2
 
All hit and miss engines that I am aware of, used atmospheric intake valves. The governor would lock the exhaust valve open during the miss cycles so that the engine could not build compression and fire. Once the rpm's slowed down, the governor would unlock the exhaust valve, the exhaust valve would close and let the engine fire, thus increasing the rpm and reactivating the governor.
 
Thanks Brian, My understanding was wrong then. I thought the inlet valve being held from operating, when over-speed for the governor, meant no charge taken in for combustion. In your description/method, the charge is not taken into the engine because the cylinder with open exhaust valve does not develop the vacuum to draw fuel-air mix past the automatic inlet valve. Just a development of engines that I had not realised existed.

Here is the earliest infernal combustion engine design I have found: Otto's original!
https://oldmachinepress.com/2018/01/20/otto-langen-atmospheric-engine/
Thanks for the help,
K2
 
I found this Crossley engine hit and miss arrangement... but have not yet worked out what is happening! - Just clickety clack repeated 7 to 10 times then Wheeze-Chuff!

- Lovely!
The attached description says, "Instead of holding the exhaust valve open, the governor lifts up the latch and prevents the gas intake valve from opening. " - So today's lesson for me was that both systems existed and worked.
K2
 
Brian, the problems you are describing with the TIG sound like either bad ground or no gas. Or at least, those are the causes I have when I have had those symptoms ... I can't comment on the effect of the "wrong" electrode, because as Sparky mentions above, I use 2% lanthanated electrodes for all TIG welding, steel or aluminum.
 
Brian, the problems you are describing with the TIG sound like either bad ground or no gas. Or at least, those are the causes I have when I have had those symptoms ... I can't comment on the effect of the "wrong" electrode, because as Sparky mentions above, I use 2% lanthanated electrodes for all TIG welding, steel or aluminum.
Probably not in this case, but I will mention it anyways. Another pretty common problem is the wrong gas, welding suppliers have been known to occasionally mislabel a tank. 75/25 blend intended of MIG really raises hell if used on a TIG for some reason. Brian stated he was burning up the electrode so that means he had a decent ground at least. He will figure it out. I was just surprised when he mentioned using different electrodes for steel and aluminum.
 
Today was spent making a gas tank. I found that with the correct electrode, the welder worked much better. I do have the correct gas. I'm not very good with the tig--it is a new welder that I just bought last year. I'm going to have to check and see if the local community college is running any tig welding classes. I am a good welder with my old AC buzz box and my mig, but the tig is still mostly a mystery to me. At any rate, the gas tank is built, except for the long outflow pipe, which I will add tomorrow. You will see that I silver soldered the filler spout. Tomorrow I will leak test the gas tank, reweld any leaky spots, add the outflow pipe, and then do some cosmetic work on the tank before priming and painting it.
1CtYnP.jpg
 
Brian, you are a master at anything, you will get it, I don't have on yet and that sometimes holds me back, I like the Miller Mig and Hyperthern Plasma cutter but still a stick man, been looking at Tig's but will hold out a little while, your engine looks great, thanks for sharing your knowledge, Joe
 
Today I am going to build this long peckerd gas tank. I have a piece of 1 1/2" sq. tube with 1/16" wall, and hopefully can come up with enough scraps of 1/8" plate to build it without buying anything.---An interesting side note---The last time I used my relatively new tig welder, it was just horrible. Kept arcing like crazy, burning off the electrode, terrible results. I switched over to the mig welder and accomplished what I had set out to do. Last night, as I was laying in bed, going over my days work, I had a sudden thought. --The last time I used that tig set up was to weld aluminum, and I never changed to a proper steel welding electrode afterwards. I'm hoping that today, with the correct electrode in the tig, I get better results.---Brian
9h2i0e.jpg
Since you have a closed vessel, you should let it fill with argon--makes a better weld inside. make sure you practice on something before just jumping into the weld of your box. It would be good to put some backing if possible to keep the stainless from warping. It is stainless, didn't you say? also, lots of little tacks.

What kind of TIG machine did you get?
 
Brian, In service, how will the tank be vented to prevent low pressure developing in use? I don't know... but guess the seal under the filler screw cap can have small slit - not in line with a tiny hole in the cap - that can relieve internal low pressure? ( internal pressure will push the seal against the cap to prevernt fuel leakage).
Keep up the good work.
K2
 
Time to back away and take a fresh look.--I have so many pin holes in this gas tank that I have decided to start over again. This time around I will use a piece of rectangular tubing with the ends J.B.Welded in place. Only the filler neck and the discharge pipe will be silver soldered into place. This is a formula I have always used in the past, and it has proven to work well and look good. I hate to do this, but until I have a better grasp of using my tig welder I think this is for the best.
 
Hit and Miss engine intake valve....https://www.youtube.com/watch?v=ajvd0YO8vqI
 
Brian. I have soldered the end caps on. I usually use round tube and turn a shoulder on the end caps so the solder flows into the joint. I also have the outlet at the top with a ball check in the dip tube.
 
You should continue to try to get it right with TIG. TIG will work well, just practice a bit before trying the box.. also tack it lots. If you need to turn down the amps, do that too. Cooler is slower so it gives you plenty of time to weld and not be in a hurry. What are you using for filler?
 
Richard--I am using the filler rod recommended by the manufacturers of the welding machine. I have been welding for over fifty years---just not with a tig. I really need to learn more of the basics of tig welding.
 
Richard--I am using the filler rod recommended by the manufacturers of the welding machine. I have been welding for over fifty years---just not with a tig. I really need to learn more of the basics of tig welding.
Exactly. I have been welding for about the same time. I learned first, in my teens to weld with acetylene but I did not like doing it. Then I learned stick, using that for many years. then I learned Wire feed which was like spreading hot butter on hot toast and lots of fun. About 1980, I bought a TIG attachment for my Lincoln -- This is not like the TIG welders on the market today--it was a "strike" like a match type TIG. It was too much trouble to use for aNYthing I did in those days. Last year, I managed to get a TIG machine that I did not get set up till last month. it is SO much easier to use than the old TIG which you set by the transformer settings, and that was about the onl7y way you could adjust it.

But now, one can turn down the amps, or up, and do all those other manipulat5ions to make TIG welding so much easier just by the flip of a switch or turn of a knob. TIG is without a doubt, the most difficult of all welding techniques and takes practice practice practice. I struggled with the adding of the filler metal till I saw on a utub vid that the welder used his fingers differently to move the filler wire in. I was using my thumb and forefinger to try to move it in but it didn't work well. The utub welder held the wire betwee his forefing and middle finger and moved it ahead with that. He wasn't constantly struggling to get a new grip on the filler to move it ahed.
 
Brian- it sounds like, as others have pointed out too, that your settings are off and maybe even your filler rod. It’s best that you do the research yourself, rather than blindly accepting the guy behind the counter. That maybe a good start, but need to know for yourself. Good TIG welding is an art that does need practice. Even if you’ve been doing it for a while and go away from it for any period of time, you loose a little muscle memory.
It’s a whole different set of feelings compared to stick or Mig.
 
Back
Top