The beginners tool box

Home Model Engine Machinist Forum

Help Support Home Model Engine Machinist Forum:

This site may earn a commission from merchant affiliate links, including eBay, Amazon, and others.
480.3184.jpg


http://www.littlemachineshop.com/products/product_view.php?ProductID=3184&category=

these T Gauges or telescoping gauges are used to gauge an inside diameter. the measurement is then taken with a micrometer. I showed the pec brand made in USA and half the price of starrett . my favorite set is a used starrett set of four.

480.1840.jpg

IMHO the small set has plenty of range for models.

the technique with these is make the T smaller than the hole. set it at an angle slightly off perpendicular and release the slide so it extends sug slightly then rock the tool the tor slide will compress to the size of the hole . lock the slide in place and measure. this does take some practice.


smaller holes need smaller gauges. like these
480.4492.jpg


or these
480.3545.jpg

these expand in the hole untill you feel drag when moving the gauge.
many brands to choose from but make sure the tools adjust smoothly .

IMHO the ones from harbor freight have too rough of a finish on the T gauges for my taste. I would not trust them for consistent and accurate measurements. Mileage may vary ......

Again this is a tool I leaned to use in USAF tech school.
All photos are from Littlemachineshop.com
Tin
 
I hope that is still in keeping with the spirit of the thread!
No problem Troy all good ideas many I would not thought of posting here. and not something IN my tool box.

also the full copy of older editions of the machinery Handbook can be had cheaper than the latest and greatest. They are used as college text books so used copies are available.

I like the Poster size markers for layout dye.

The reason I set the guidelines I did was to try to keep things realistic as far as filling a beginners tool box and encourage maximum participation and not have one or two guys fill the box with tools. like I said guidelines. I want this to be fun for as many people as want to get involved.
Tin
 
Why I was using my .400-.500 gauge and my 0-1" micrometer just last night as I bored the cylinders for a couple of new Elmer's engines. That's new to me, by the way. I haven't found Elmer's lost archives.

A lot of folks have mentioned using cigarette papers to find zero as they touch off a tool. They are getting harder to find, but a good substitute and perhaps just as bad for your health are plastic wrappers from "penny" candy. I personally prefer the clear wrapper from the grape or raspberry Jolly Ranchers with results from the watermelon and apple wrappers almost as accurate. I can't get a decent read off the cherry ones to save my life. I suspect many other brands will do as well. Mic the wrapper of your choice after tossing the contents in the bin. I find they are usually right at .001. The clear areas let you see the stock as you get close and I find a little concentrated back light lets me see pretty well when the tool is about to touch down. Keeping a small box of unused JR wrappers also helps ensure my 9-year-old makes it into the shop reasonably often. He had a lot of fun helping me clock in the cylinder blocks in the 4-jaw and determine the offset with my drop indicator mounted on the lathe cross slide.

Speaking of dedicated tool lights, I really like the Jansjo LED work lamps from Ikea. At $10 per, they are worth scattering around the shop. I mounted on to the ceiling joist above my drill press and plugged it into the switched circuit also overhead (remember the 9-year-old?). Whenever I want to use the drill press the light comes on with the power and reminds me to turn off the circuit at the end of the evening. I also have others mounted near my scroll saw and disk sander, so the waist level switch drives the lamp, tool and shop vac. Yes, the boy is checked out on those.

Attached are stock images from Jolly Rancher and Ikea with a link for more info on the lamp.

Thayer

http://www.ikea.com/us/en/catalog/products/20169658/

jansjo-led-work-lamp__0098927_PE240312_S4.JPG


jolly_ranchers_bulk.jpg
 
Last edited:
also the full copy of older editions of the machinery Handbook can be had cheaper than the latest and greatest. They are used as college text books so used copies are available.

That's exactly what I did.... I want to say I got it for ~$30, it was several editions behind and from the early 80's, which matters absolutely naught as my machining equipment uses absolutely no technology that wasn't available by the early 60's, (1860's?) LOL.
 
I have several copies of the Machinery Handbook.
My first one is a copy of the 13th edition post ww 2 1948 I think. when I completed USAF tech school I decided I needed a current copy so purchased a 25 edition from Enco. Later I purchased tool box full of tools including a 22nd edition. And I have digital copies of the 1st/3rd edition and 11th. available on internet archive and can be loaded on a tablet. The latest to the collection is a hard copy of the 1st 1915 edition. I also have a couple of the guide books.
and I put a copy of the 25 th edition in my sons tool box.
25th Edition can be had for under $30
Tin
 
Hmmmmmm...beginners tools..
How about this place? HMEM. A great beginners tool.
Years upon years of experience here, friendly folks
To answer ANY questions you may have, advice, best practices,
Tips, tricks, free build plans...

Oh yeah, drill & tap charts, in inch & metric.

John
 
I posted these in hole layout 101 here are a few valuable layout tools


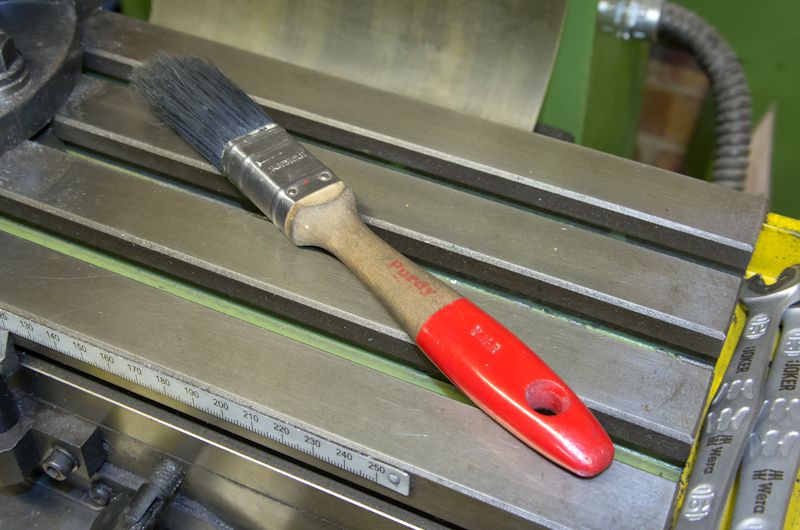
you NEED two finished edges that are perpendicular (square) to each other. use a poster marker to dye the part.

s0070857_sc7


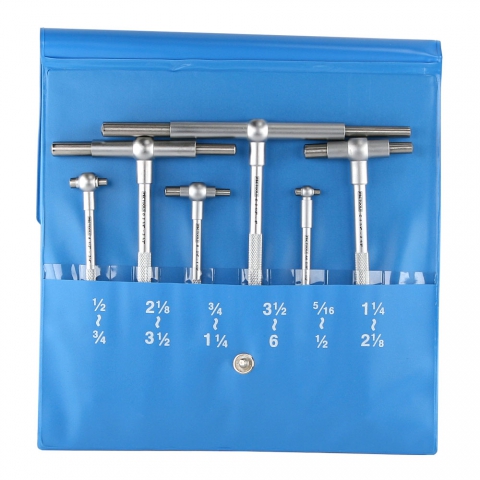
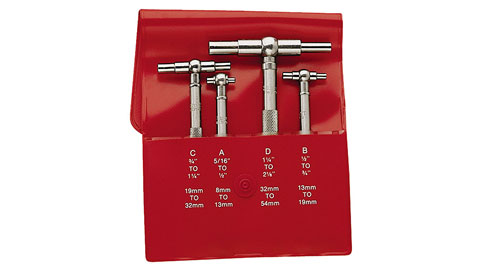
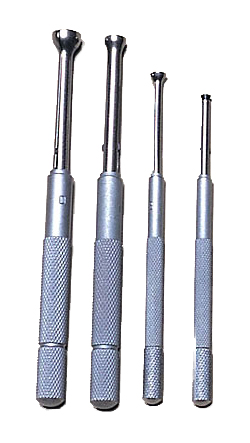
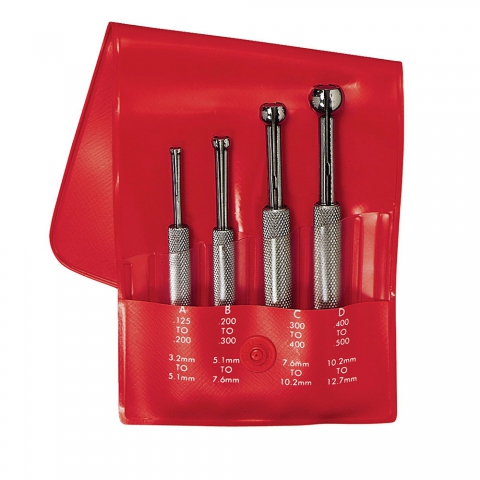
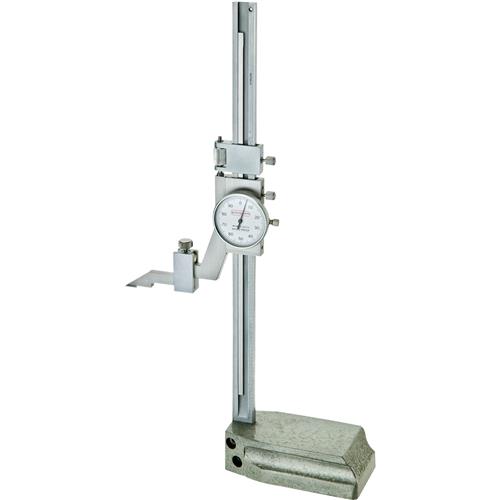
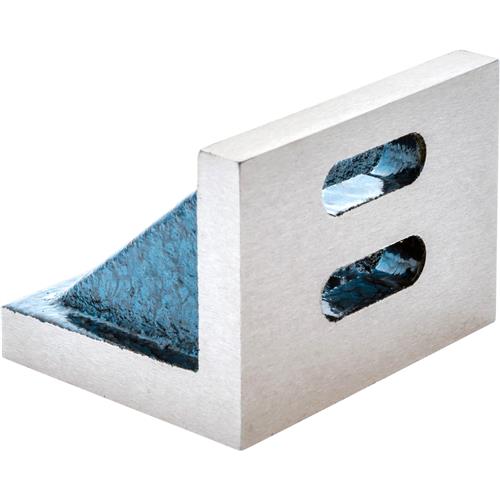
scribe lines with one of these.
g9619.jpg

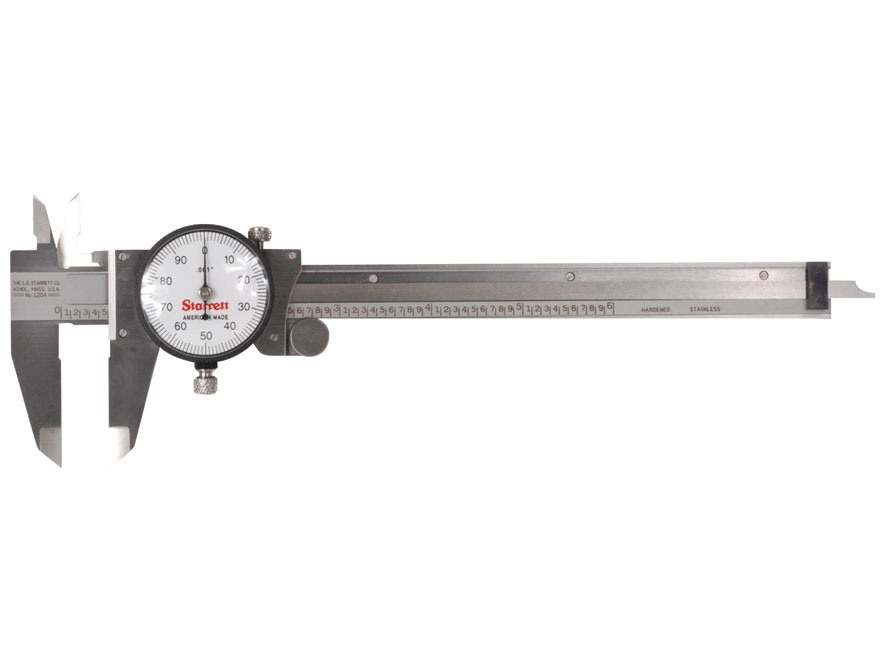
sitting on a granite surface plate and resting against
g9574.jpg


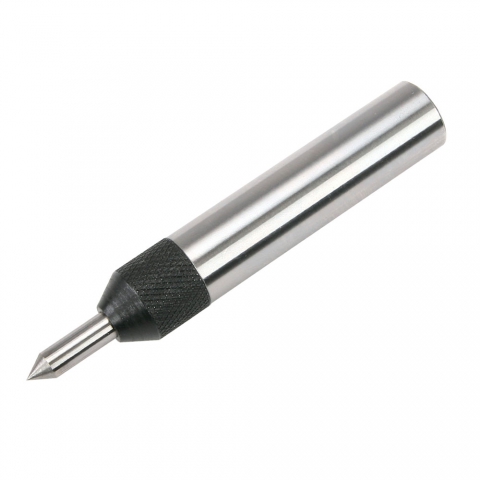
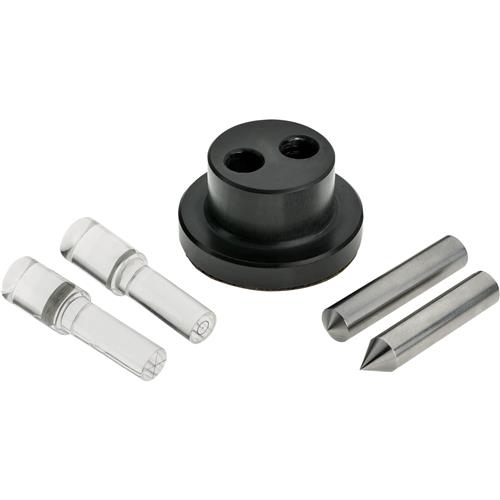
Once all lines are scribed use an optical center punch to punch centers of the holes.
h5781.jpg

Above photo grizzly tools
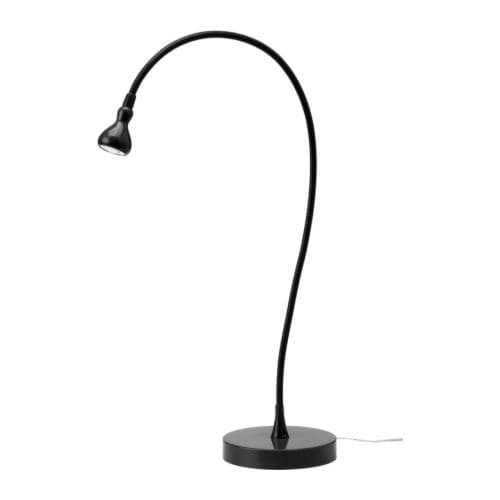
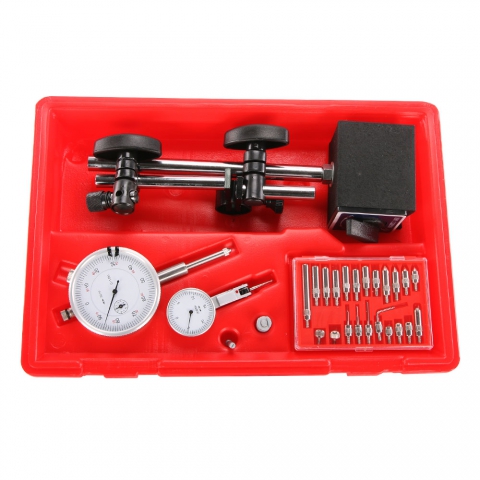
Then center punch with one of these:
image_18511.jpg


photo HF tools

Then drill with a thin drill bit like 1/16 this will follow the punch mark. then with a spot drill . the a pilot drill and finish drill .
Hope this helps.


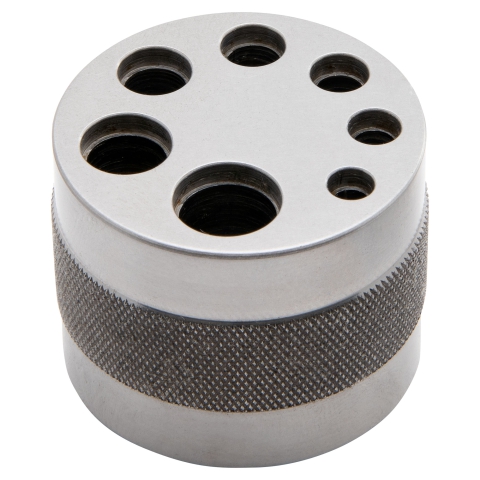
for bolt circles I like a 6 hole cirlce it so happens that the radius of the circle and the cord distance between holes is the same. Uese the humble diver to lay out.

1426.jpg


or you can use the above method to lay out after converting from polar to rectangular coordinates. This can be done with math or consulting the machinery handbook.
Hope this helps
tin
And guys there is still room in the tool box so feel free to add to the box.
 
A 1 inch Paint Brush! I always have one on or near the mill and the lathe for cleaning stuff down, particulary the milling vice. I paint the ends red so I don't lose them and drill a hole through the handle for hanging them up. Doesn't have to be a Purdy though! :D

IMGP1759_zps64bad079.jpg
 
How about a dial indicator, magnetic base, and dial test indicator set?? This one is from littlemachineshop.com

480.2925.jpg
 
And how about a quality dial caliper?? This photo is from midwayusa's website and is a nice Starrett unit.

304163.jpg
 
One last thing, probably the most important item in the toolbox, and I don't think I have to name them:

prescription-safety-glasses-with-side-shields-7198-3132175.jpg


And the side shields are necessary too!!

Many thanks to directindustry.com for the photo
 
Terry, the coffee mug is great and fits me to a tee! Where did you find it?

Dave
 
Back
Top